
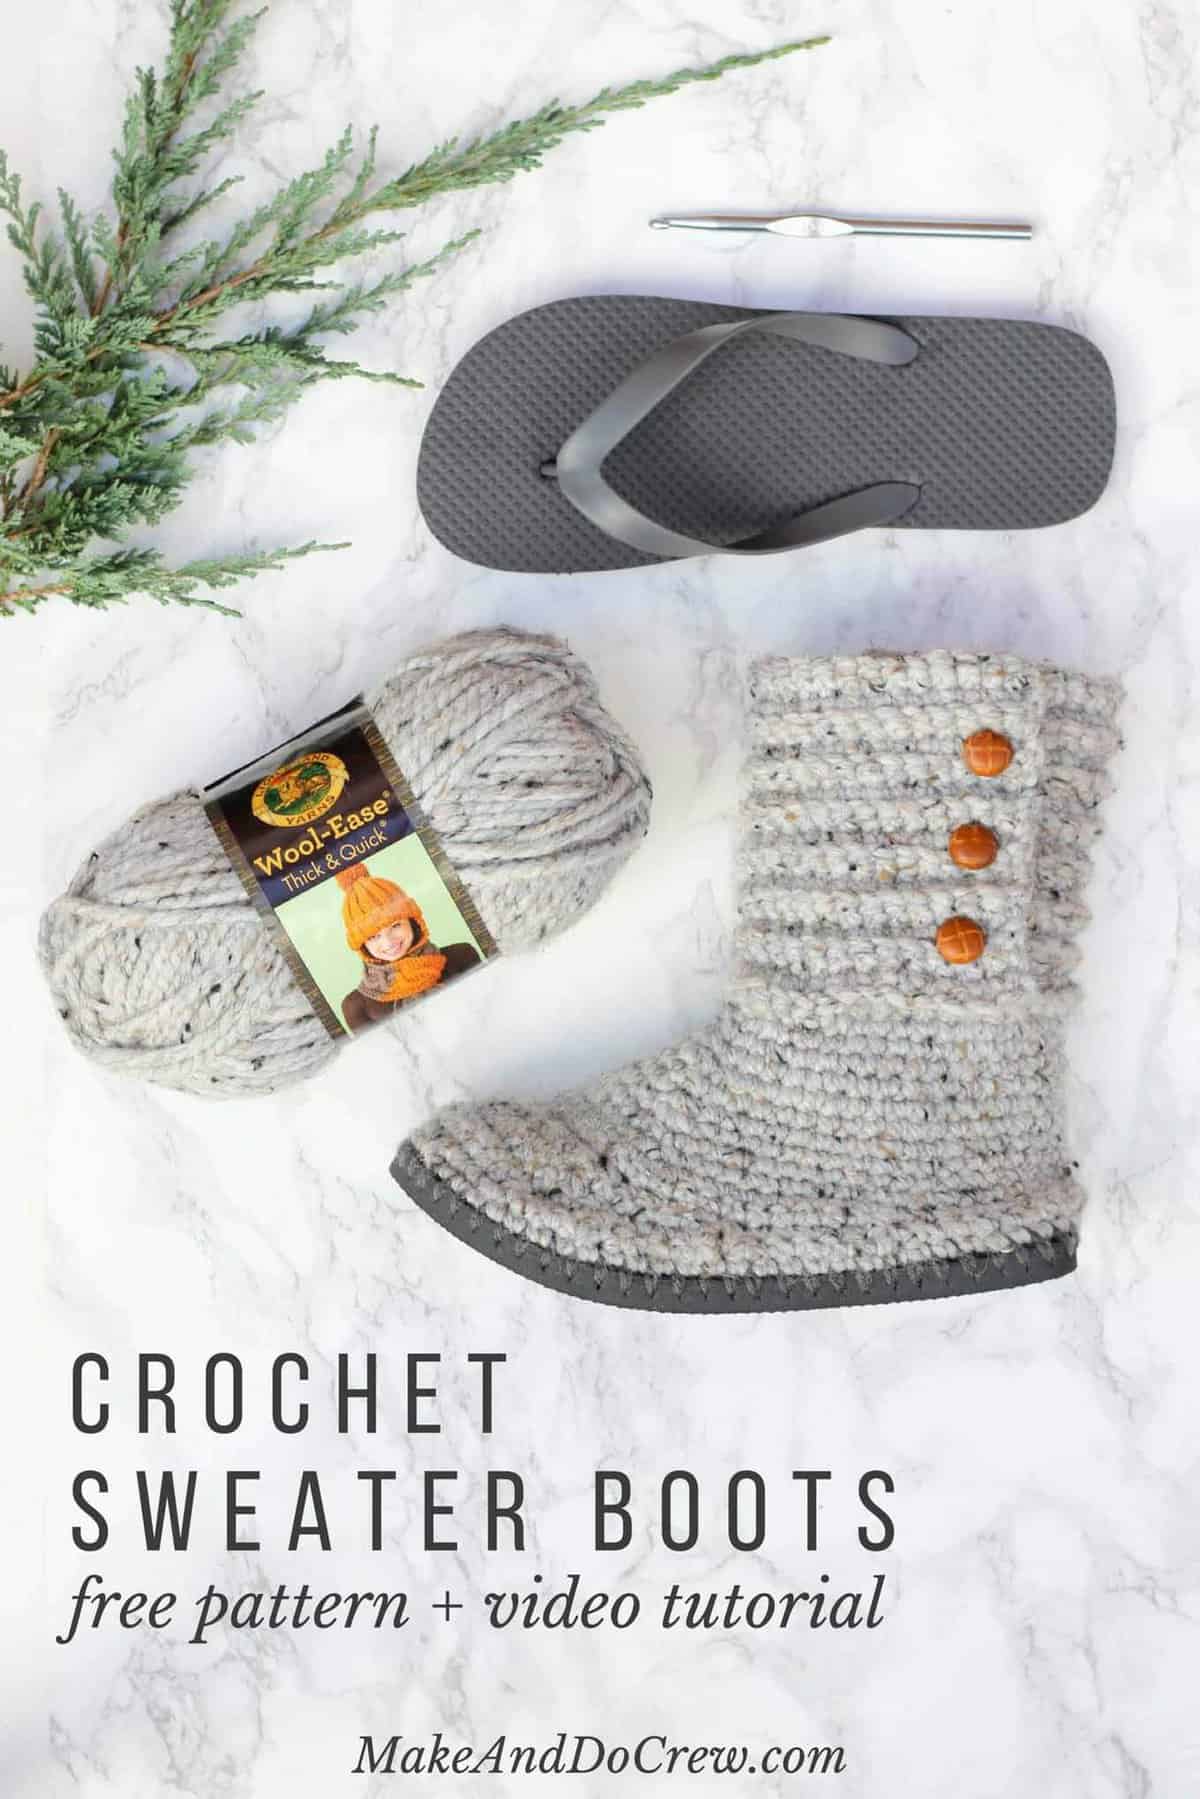
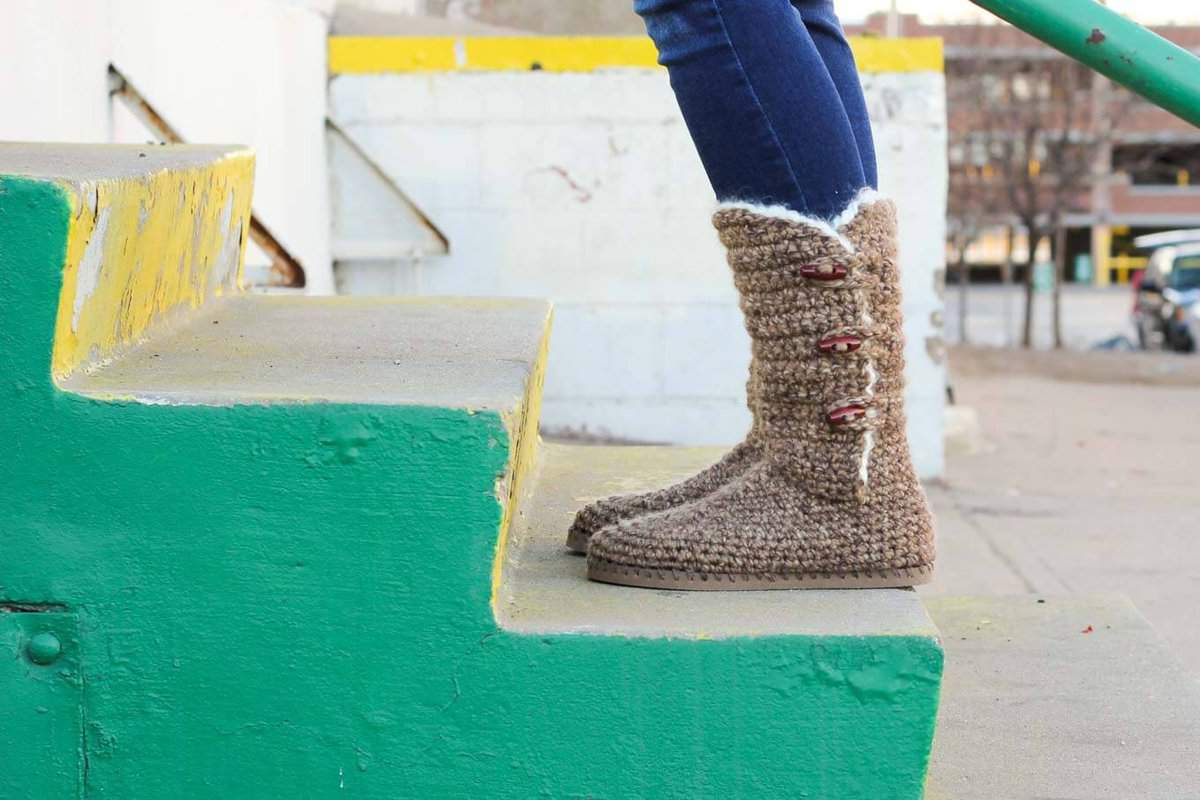
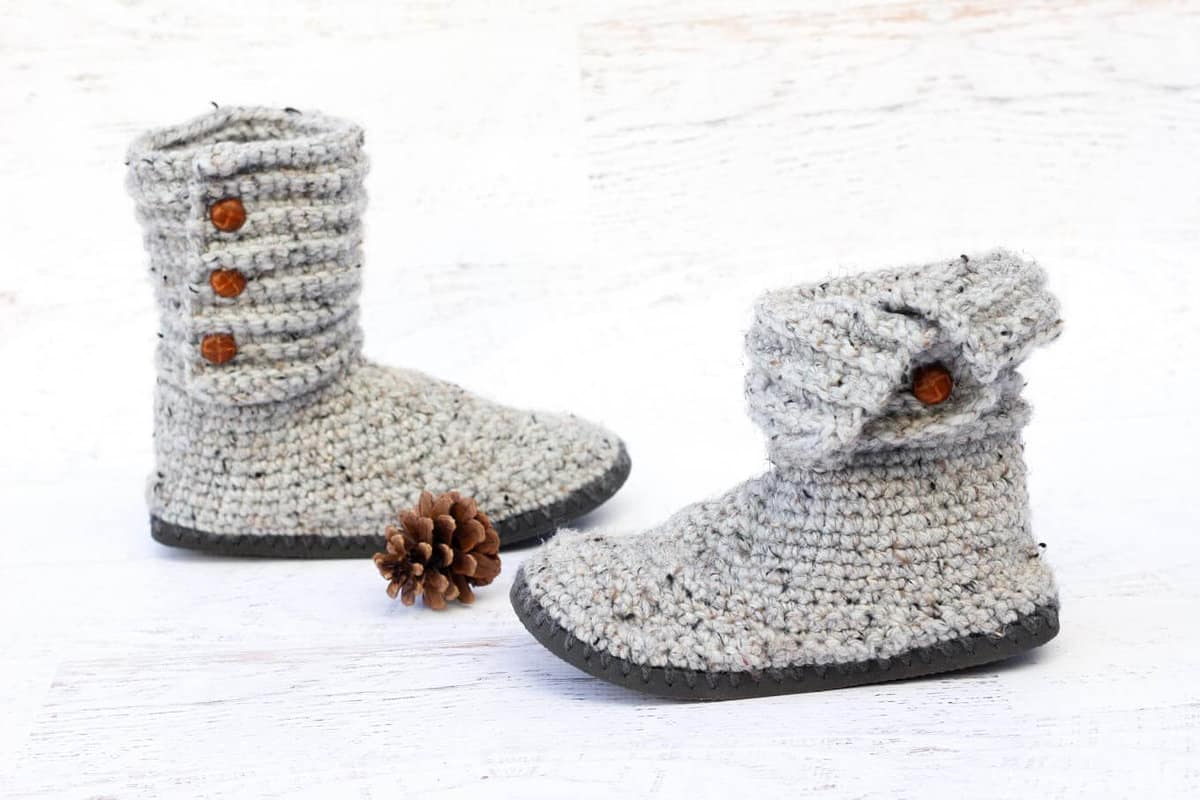
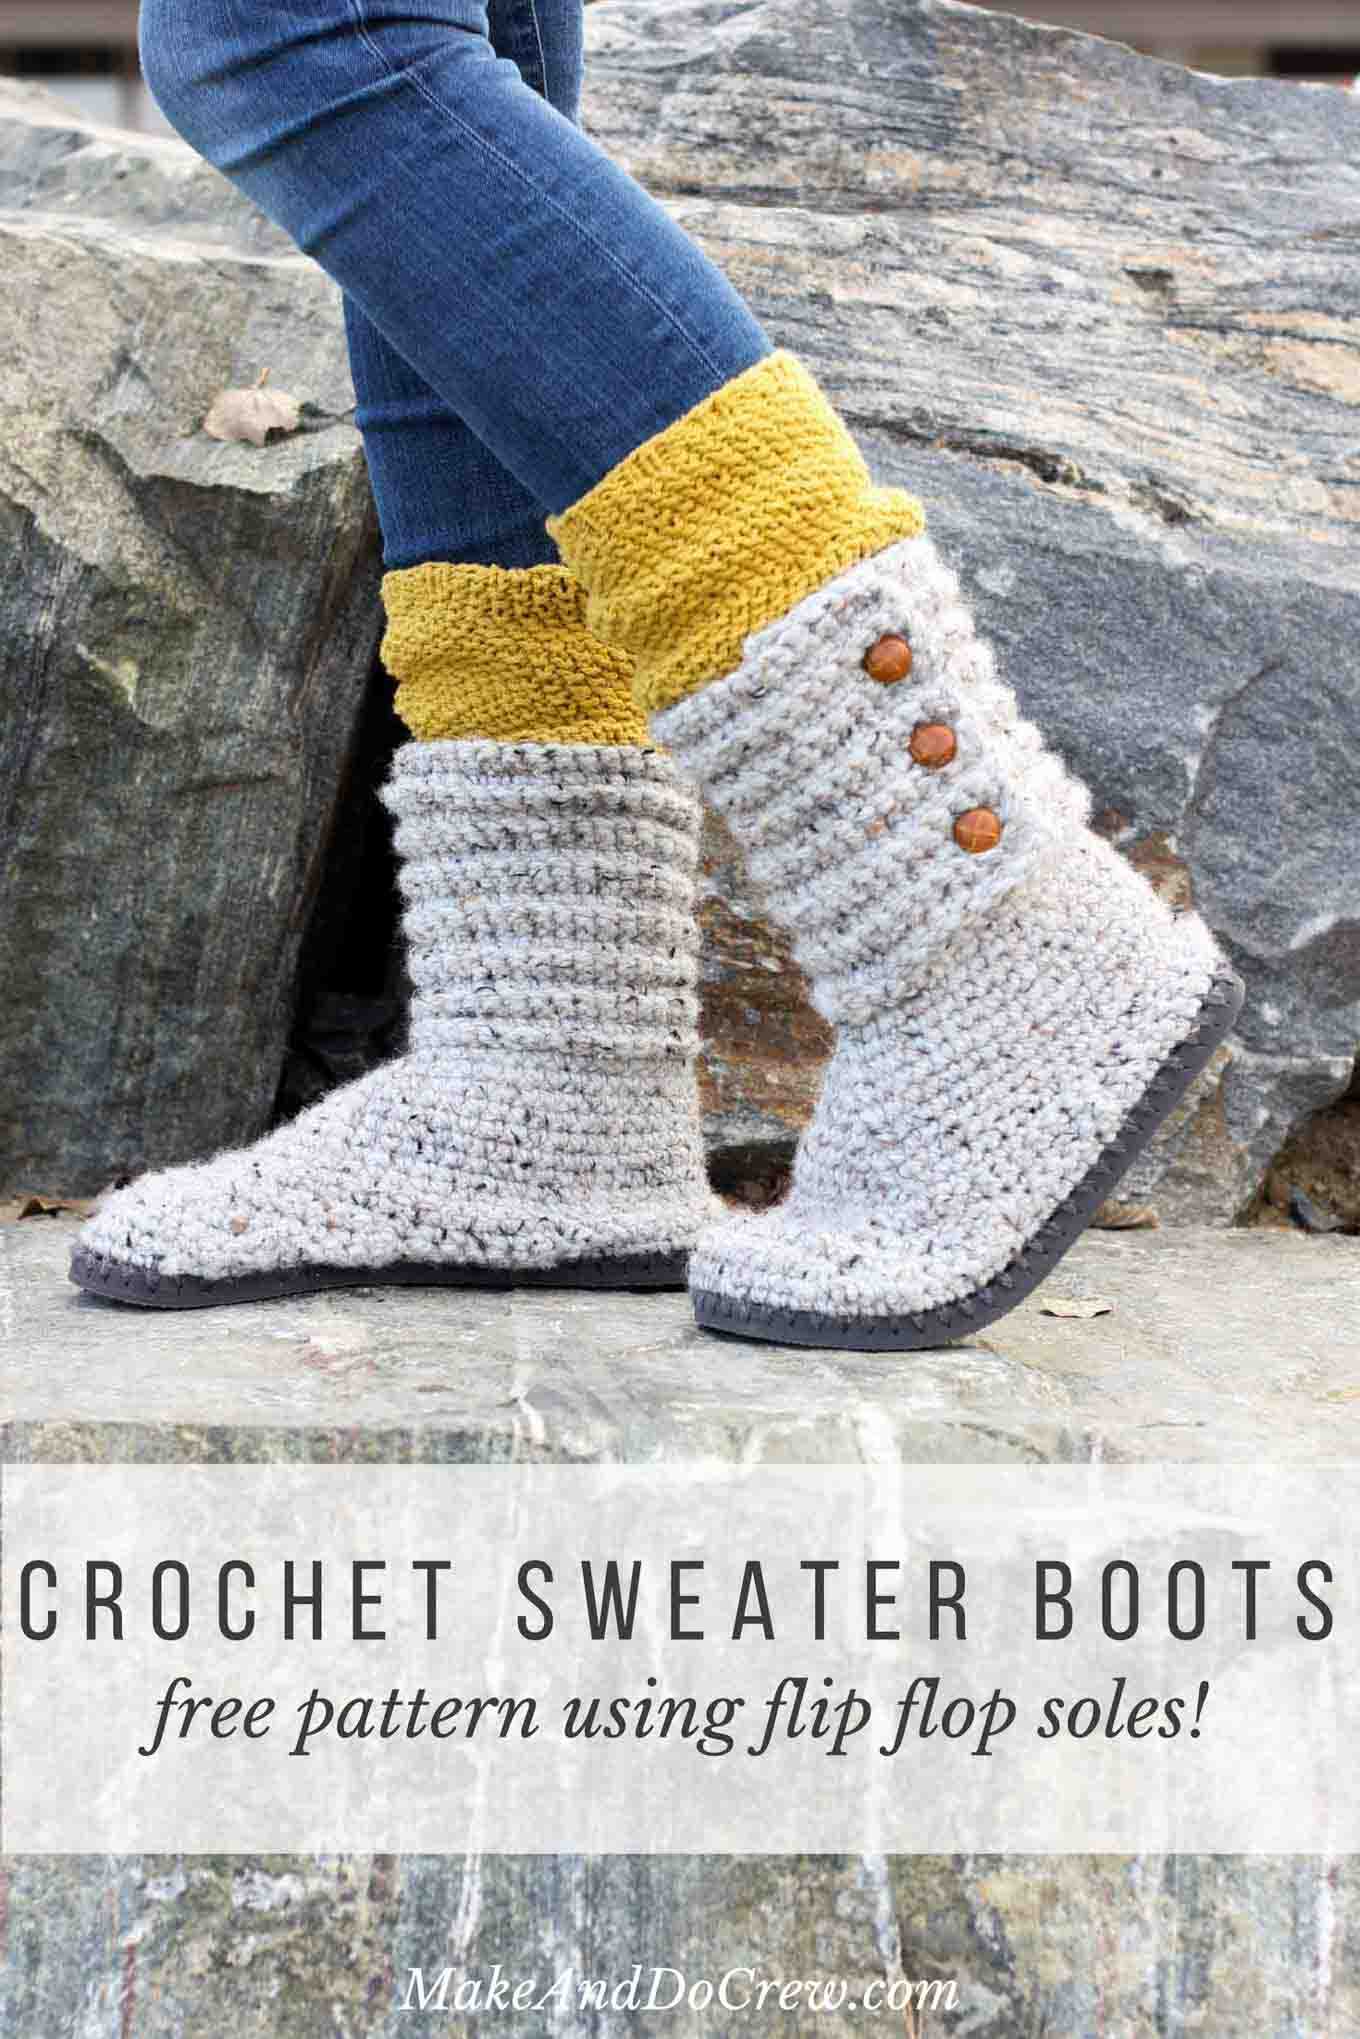
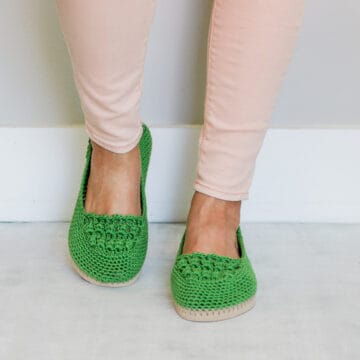
You'll be a DIY goddess of cozy with these crochet boots with flip flops for soles! They make excellent slippers or UGG-like sweater boots to wear around town. As always, you'll find the free crochet pattern and video tutorial below or you can purchase a convenient ad-free, printable PDF.
This crochet sweater boot pattern is a collaboration with my friends at Lion Brand Yarn. This post contains affiliate links.
I went to college at the University of Colorado in Boulder. It's pretty much everything you might imagine. Incredible views. Hippie kids. Yuppie kids. And kids (a lot of them) who literally wore flip flops all year round. Yes, in the snow. Yes, when it was three degrees. Blame it on the snowboard culture, or the need to rebel, or sheer stupidity.
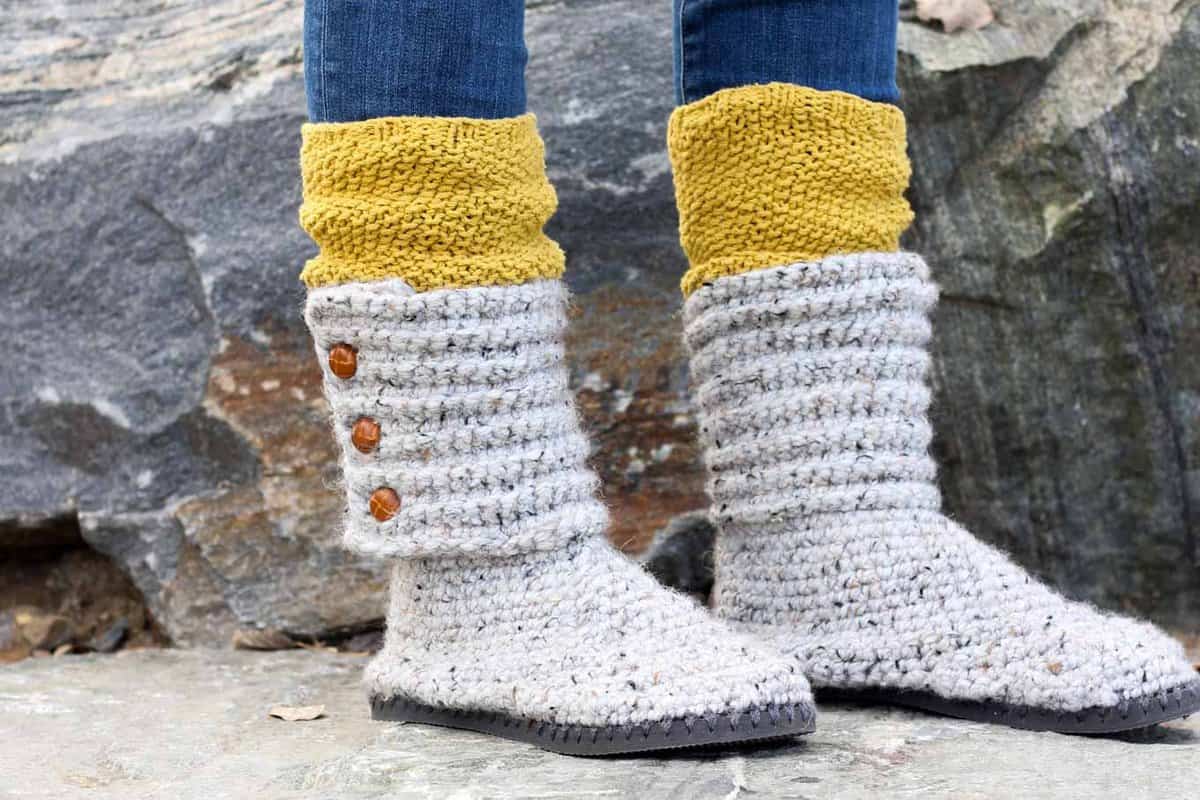
Well, today I offer a little more practical alternative to the students of CU Boulder and everyone else who loves to wear flip flops. Crochet boots with flip flops as soles! I knew the cozy factor would be high on these when I started designing them, but honestly, wearing them is like a yarn dream come true. They combine the freedom of flip flops with the snuggle of chunky yarn. Winning!
If you've been following along here for a while, first of all, thank you, and secondly, you know I have been having so much fun designing crochet patterns that use flip flops. If you love the idea of crocheting your own shoes as much as I do, you're definitely going to want to check out these other free crochet flip flop patterns:
Find Your Next Crochet Pattern on Flip Flop Soles
Crocheting on flip flops can fast track your feet straight to comfort-ville. Flip flops offer functional, non-slip soles for your crochet slippers. They also allow you to crochet shoes customized for your particular feet.
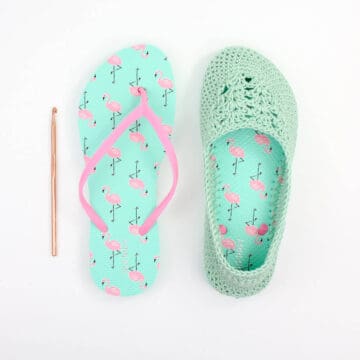
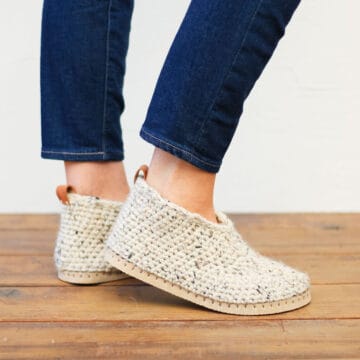
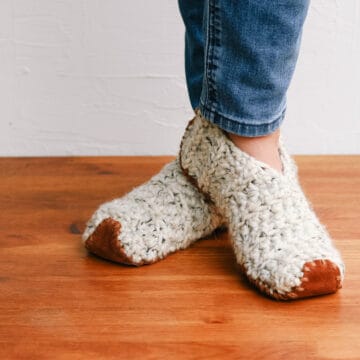
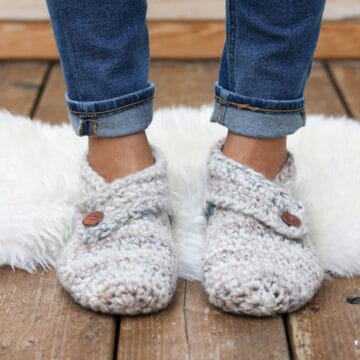
See more free crochet flip flops patterns →
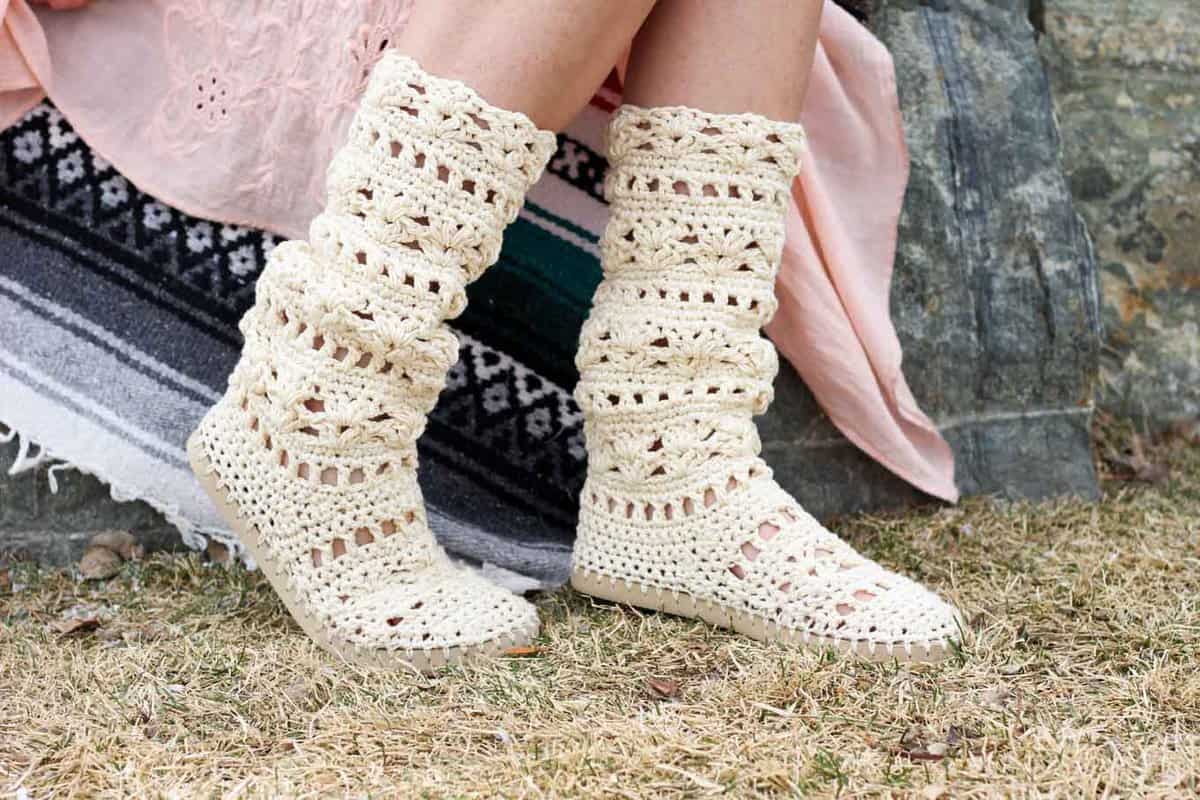
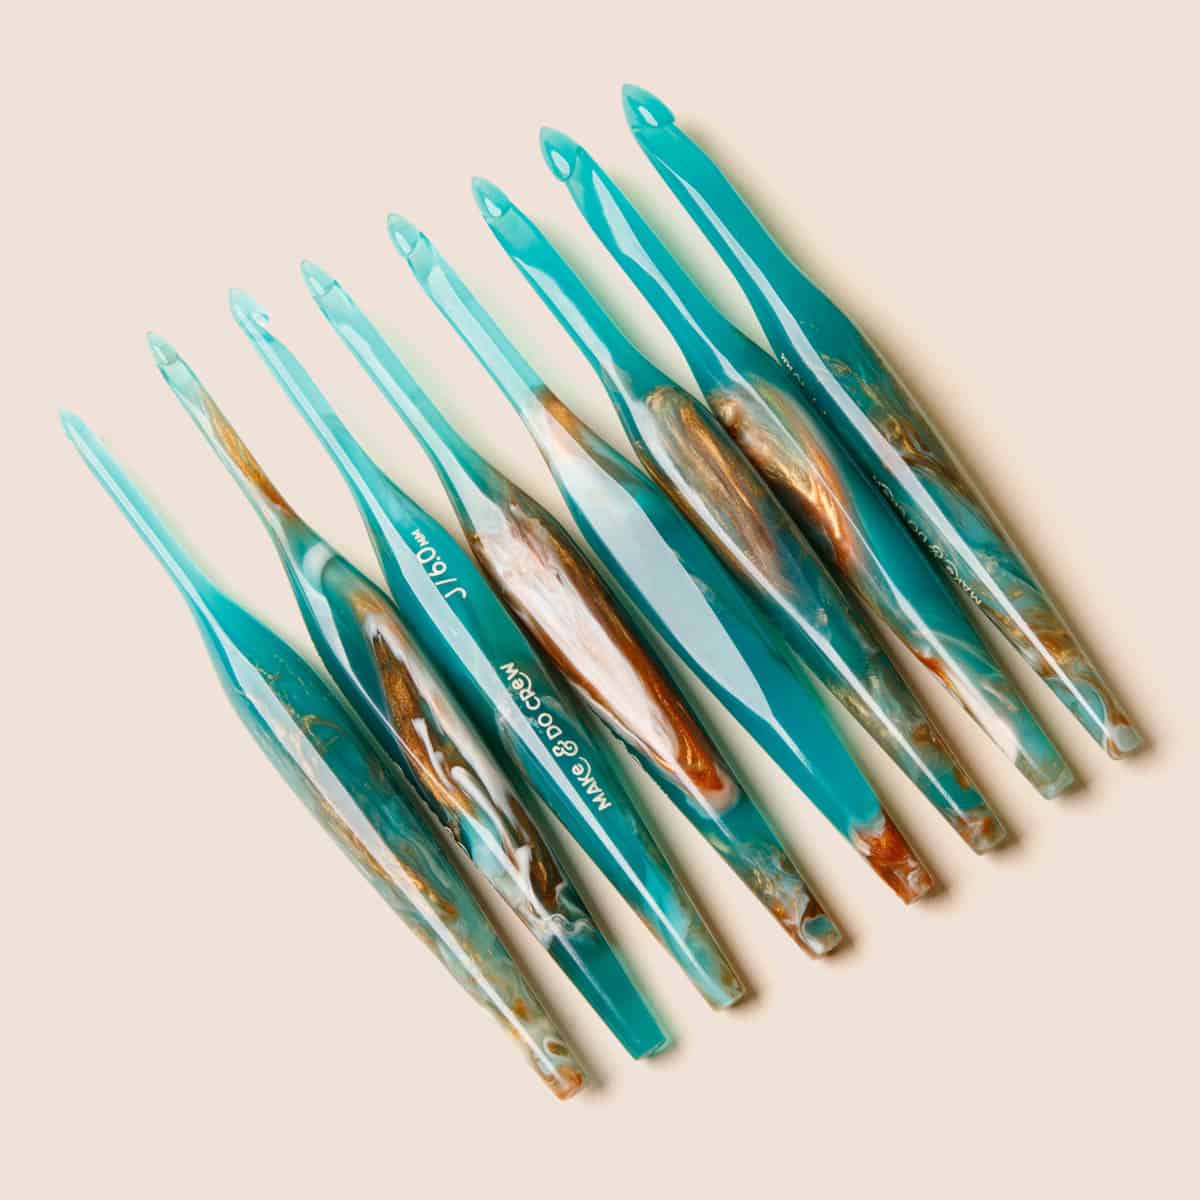
A Hook Designed By Crocheters, for Crocheters
Our first batches sold out in hours. Don't miss out on getting yours!
★★★★★
"This is the best designed crochet hook I have used in 55 years of crocheting." - Mary M.
I'm thrilled to be adding these crochet boots with flip flops to the mix because not only do they look like crochet UGG boots you'd buy in a store, they also will work as legit shoes for the winter. (And if you like the look of UGGs, be sure to check out my free Breckenridge Boot flip flop patten as well.) Some creative readers came up with the idea to glue the round "plug" from the flip flop straps back into the sole, which ensures that your flip flop sole will function pretty much like any other knit boot sole would.
Whether you wear them outside as boots or inside as slippers, you're going to have some incredibly warm, stylish and happy toes.
UPDATE: Many readers have asked how these crochet boots with flip flop soles hold up over time. I've answered that question (with photos!) and many more in my FAQs about crocheting on flip flops.
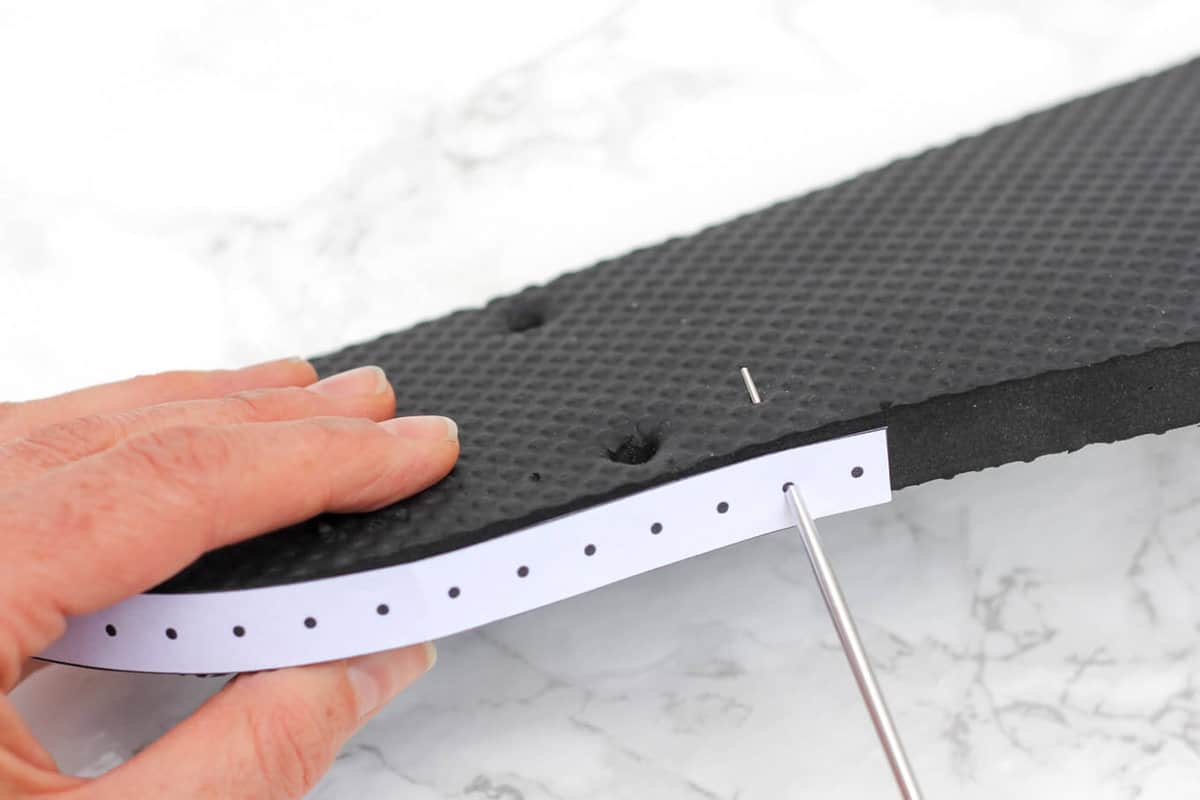
NEW! So if you've made any of my past flip flop crochet patterns, you know that the distance between the holes you poke in the sole has a big impact on how the gauge of your shoe turns out. That is why I'm really excited to share that the inexpensive, printable PDF of this pattern now contains a "ruler" to guide your hole poking. The ruler helps ensure you have the perfect number of holes to achieve the gauge regardless of what size flip flop you use.
Please find the video tutorial and free written pattern below. Even if you prefer to learn by video, you'll want to have the written pattern handy because the right and left ankle sections vary slightly. If you prefer crocheting on the go (or on the couch!), you can purchase the ad-free, printable PDF of the pattern. It's great for mobile and tablet viewing too.
"Cabin Boots" - Free Crochet Pattern using Flip Flops
Sizes: Adult women’s 7 and up
Supplies:
So you can spend more time making boots and less time shopping, this pattern contains affiliate links at no extra cost to you.
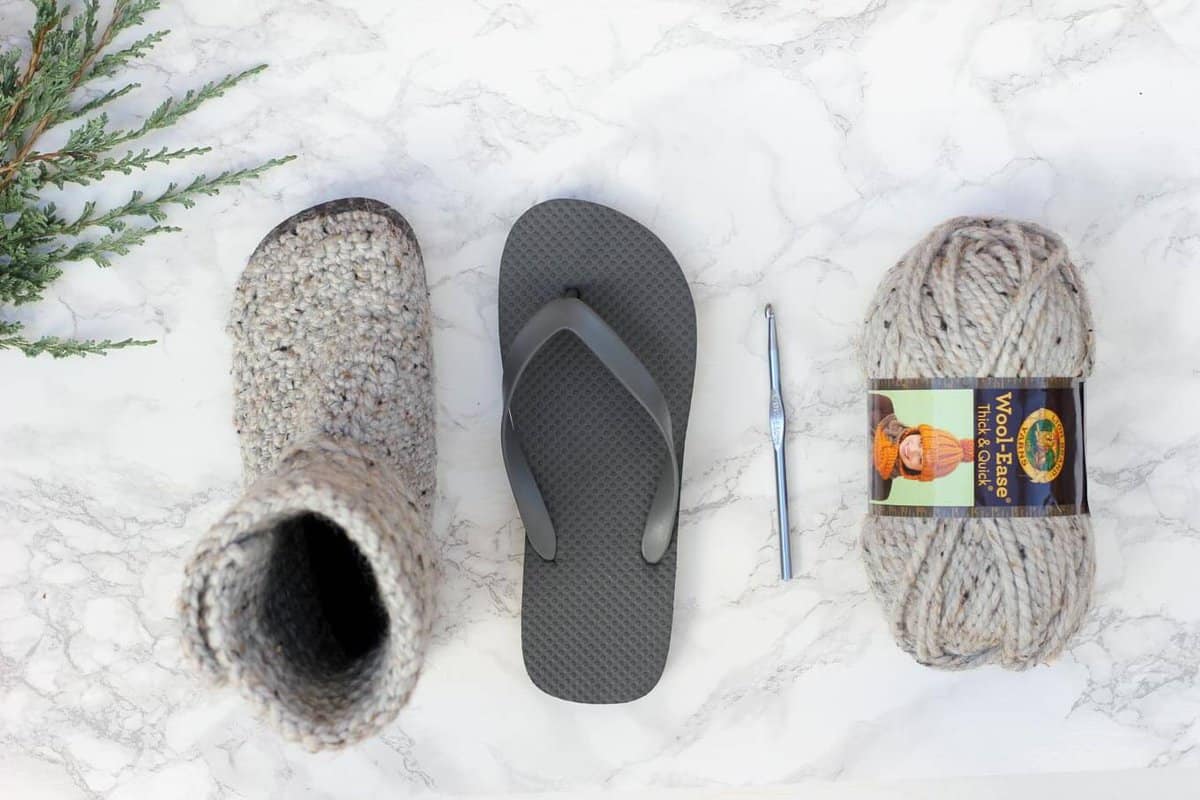
• Lion Brand Wool Ease Thick and Quick – 2 skeins (220 yards total) – color: Grey Marble (MC)
• Approx. 10 yards of Lion Brand Vanna's Choice Yarn or other worsted weight yarn in color to match flip flops (SC)
• Tapestry needle
• Size B [2.25 mm] crochet hook or size needed to fit through flip flop holes
• Size K [6.5 mm] crochet hook (I really like this affordable set!)
• Size L [8 mm] crochet hook
• 1 pair of flip flops (One size smaller than you wear normally. See pattern notes.)
• Sharp tool to poke holes in flip flops (skewer, thin drill bit or tapestry needle)
• ¾ inch (19mm) buttons (6)
• Sewing needle and thread
• Stitch markers
• Sharp scissors
• Strong glue like E6000 (optional)
• Measuring tape or "ruler" from printable pattern
Gauge:
• 6 holes per 2 inches on flip flop sole
• Boot Base: 6 sc = 2 inches, 6 rows = 2 inches
Gauge will vary a bit based on distance between poked holes on flip flop sole. Use the "ruler" in printable pattern if you want to ensure gauge.
Abbreviations and Glossary:
sc – single crochet
sk – skip
sl st – slip stich
hdc – half double crochet
scblo – single crochet back loop only
MC – main color
SC – sole color
dc – double crochet
ch – chain
RS – right side
WS – wrong side
Sc2tog (single crochet 2 together)– [Insert hook into next st and pull up a loop] two times, yarn over and pull through all 3 loops on hook.
Overall Pattern Notes:
- Transforming flip flops into slippers isn’t an exact science! Unlike other crochet patterns, these slippers have some variables, most significant of which is the size of flip flops used and the number of holes poked. Use the "ruler" that's available in the printable pattern if you're struggling with hole spacing.
- The flip flops pictured are a women’s size 7-8 and they have 64 holes poked on each sole. To make shoes with bigger or smaller flip flops, just adjust the number of holes, poking them slightly further apart than every ⅓ inch.
- Find inexpensive flip flops on Amazon or at Walmart. Dollar Tree’s $1 flip flops tend to be a bit too flimsy, but can work if you are careful.
- Pattern explains locations on the flip flop as if it’s a clock where the top of the toe is midnight and the heel is 6:00.
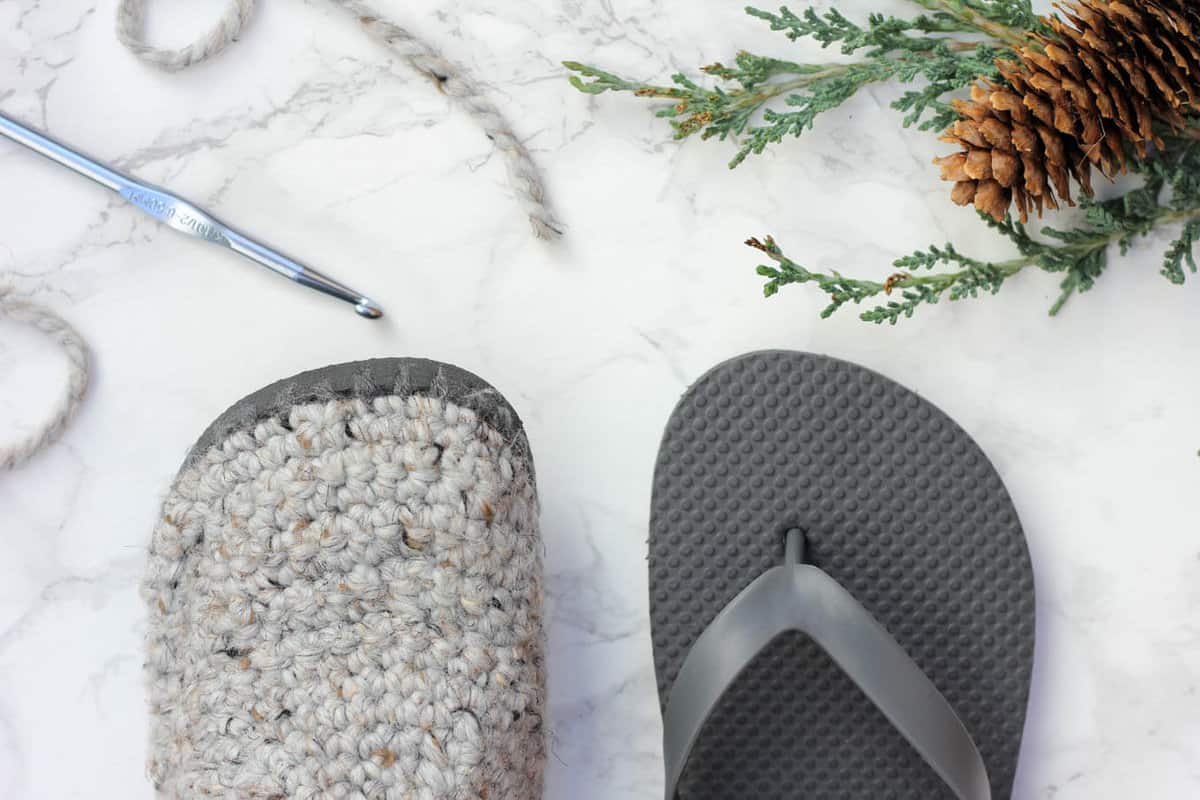
Boot Base (Right and Left Foot)
Notes;
• The base of the boot pattern is crocheted tightly, similar to amigurumi. Make a deliberate effort to keep your stitches tighter than you might usually. Check your gauge if you’re unsure.
• If at any point your boots are feeling too roomy, watch part 3 of the video tutorial for suggestions on how to make them better fit your foot.
To begin:
Trim straps off flip flops. Save the rubber plugs that connect the straps to the flip flop soles. Print “ruler” on page 8 of the printable pattern and trim, tape pieces together and tape ruler around flip flop sole. With your sharp instrument, poke holes in each dot on the ruler. OR using your measuring tape, poke holes slightly less than 1 cm apart. You want the hole to go at an angle from about the middle of the way down the sole to about ¼ inch into the top of the sole. (Reference Part 1 of the video tutorial for help or see photo toward the bottom of this boat shoes pattern.)
Using smallest hook (B), attach SC yarn at the back of the heel by inserting your hook from the top of the flip flop toward the bottom of the sole, grabbing the yarn and pulling through to the top. Ch 1 through the loop you’ve created to attach the yarn to the flip flop. (See video Part 1 or photos in this boat shoe pattern for help.)
SC Round: Using Size B hook and SC, sc in each hole around sole, join with a sl st to first sc. Fasten off.
Using size medium-sized (K) hook and MC, join to previous round with a slip stitch at position 11:00 if you’re right handed and position1:00 if you’re left handed.
Foundation Round: Ch 1, sc in each sc around, join with a sl st to first sc. Do not turn.
Row 1 (RS): Ch 1, sc in next 10 sc, turn. (10 sts)
Wanna save this pattern?
Row 2 (WS): Ch 1, sc in next 10 sc; on Foundation Round sts sc2tog, sc in next 2 sc, turn. (13 sts)
✨Unlock this free subscriber-exclusive pattern ✨
Follow these steps to view the full free pattern below
Round 10 (RS): Ch 1, sc in each sc around, sl st to join.
Sizes 10 and larger:
Repeat Round 10.
Place markers at positions 10:00 and 2:00, with 8 stitches between them. The following rounds are worked without turning.
Rounds 11 - 17 (RS): Ch 1, [sc in each sc to marked st, sc2tog (place marker in created st)] twice, sc in each sc to end of round, sl st to join. (2 sts decreased each round)
Sizes 8 and larger:
Round 18 (RS): Ch 1, sc in each sc around, sl st to join.
Find Your Next Crochet Slippers Pattern
See more free crochet slippers & socks patterns →
Left Boot Ankle
Place marker at position 8:00. Use largest hook (L).
Row 19 (RS): Ch 1, sc in each sc to marked st, turn. (This row is intentionally very short.)
Row 20 (WS): Ch 1, scblo in each sc to marked st, (remove marker), ch 8, turn.
Row 21 (RS): Sc in second ch from hook and in next 6 ch, scblo in each sc across, turn.
Row 22 (WS): Ch 1, scblo in each sc across, turn.
Row 23 (RS, Buttonhole Row): Ch 1, scblo in next 2 sc, ch 1, sk next sc, scblo in each sc across, turn.
Row 24 (WS): Ch 1, scblo in each st across, turn.
Rows 25-26: Ch 1, scblo in each sc across, turn.
Rows 27-34: Repeat Rows 23-26 two times. (3 total buttonholes created)
Fasten off and weave in ends.
Right Boot Ankle
Place marker at position 4:00. Use largest hook (L).
Row 19 (RS): Sc in each sc to marked st, ch 8, turn.
Row 20 (WS): Sc in second ch from hook and in next 6 ch, scblo in each sc across, turn.
Row 21(RS): Ch 1, scblo in each sc across, turn.
Row 22 (WS): Repeat Row 21.
Row 23 (RS, Buttonhole Row): Ch 1, scblo in each sc to last 3 sts, ch 1, sk 1 st, scblo in next 2 sc, turn.
Row 24 (WS): Ch 1, scblo in each st across, turn.
Rows 25-26: Ch 1, scblo in each sc across, turn.
Row 27-34: Repeat Rows 23-26 two times.
Fasten off and weave in ends.
Finishing
Attaching Buttons: Sew on buttons, ensuring ridges in ankle section appear lined up when boots are buttoned.
Plugging Flip Flop Holes: If you’d plan to wear your boots outside, consider gluing the small rubber circles that connected your flip flop straps to the sole back into their original holes.
Fancy Feet: Tap those cozy toes together because you just crocheted your own sweater boots!
That was so fun! Now what?
Invitation to our Facebook group
Come discuss crocheting boots patterns and lots of other crochet projects and techniques in our Make & Do Crew Facebook group. Here thousands of helpful crocheters answer each others questions and share their stitches. Come join us here.
More Free Crochet Patterns Using Flip Flop Soles
- FAQS: How to Crochet on Flip Flops - and will they fall apart?
- Lightweight Crochet Slippers with Flip Flop Soles
- Free Crochet Ugg Boot Pattern
- Crochet Espadrilles Pattern
- Crochet Slip On Shoes Pattern
- Crochet Mukluk Slipper Pattern
- Crochet Slipper Boots Pattern
- Crochet Summer Slippers with Flip Flop Soles
If you're on a roll with cozy crocheting, you might like these free patterns!
"Aspen Socialite" Headband (sizes baby - adult)
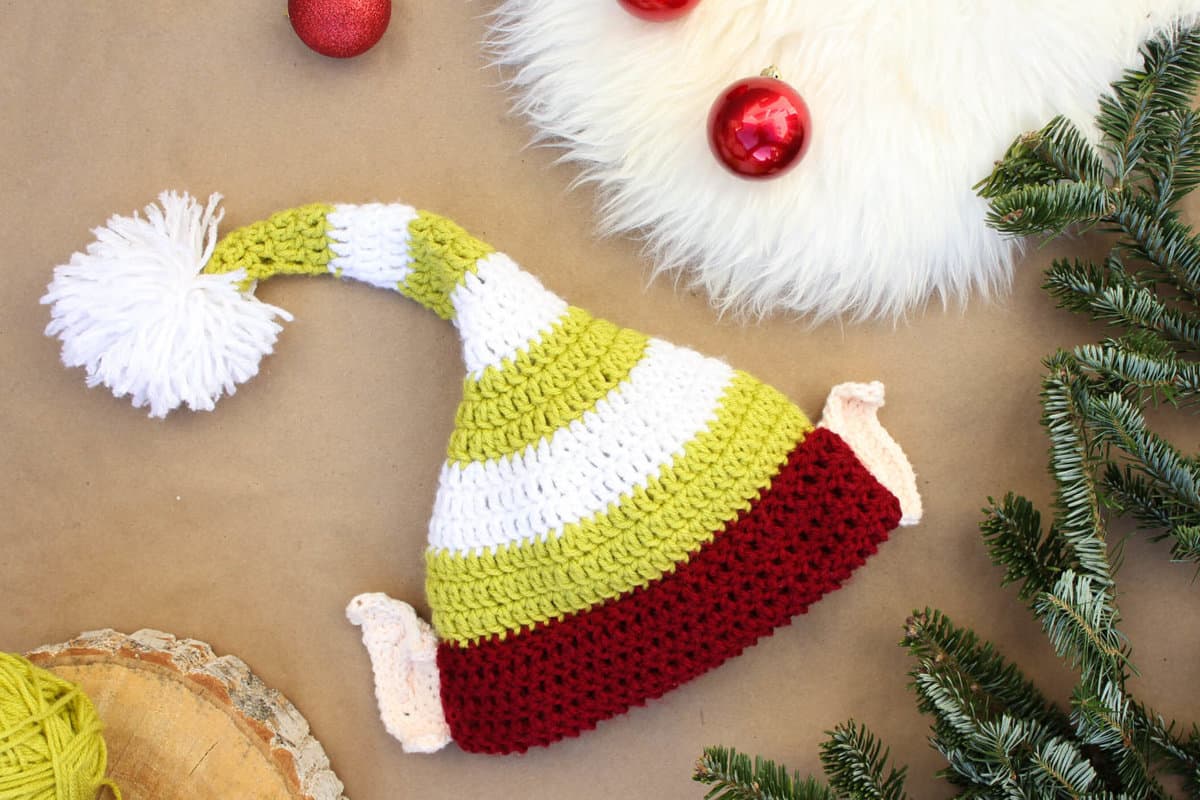
Santa's Helper Elf Hat with Ears (sizes newborn - adult)
[convertkit form=4869877]
Patricia says
You do beautiful work. I love the ideas to take advantage of flip flops. Although I can follow a pattern, I really have no idea how to adapt a pattern. Many diabetic or older individuals suffer from edema. If you CAN find something to fit, it is extremely expensive and doesn't take your color and style preferences into account. Would you be able to create a tutorial to adapt the crochet sweater boots? My chubby ankles would warmly thank you!
Jess @ Make and Do Crew says
Hey Patricia!
I think these boots could actually be really easily adapted for a variety of ankle sizes. In the "ankle" section, instead of chaining 8 for the flap, I'd just add several chains, depending on how much extra fabric you think you'd need to accommodate your ankle. This will make the flap section longer which means you should be able to continue buttoning it around your ankle. You can follow the rest of the ankle pattern as is, just add those chains to the flap. 🙂
Hope that's helpful!
Jess
Christine Alleyn says
Not sure if this is a silly question or not. For making smaller or larger sized boots, do we need a total of 64 holes no matter the size. Or is the the number of hole change depending on the size of the boot?
Jess @ Make and Do Crew says
Hey Christine,
That's not a silly question at all. You'll have a different number depending on the flip flop sole size. So you'll just poke them a little more than 1/3" apart (or use the printable guide in the for purchase pattern) and you'll end up with with the right spacing for your particular flip flop. Just count the holes to make sure you poke the same number on the other flip flop. 🙂
Jess
Rachel says
I made two pairs... Already shared your link... ???? going through a breakup and crotchet is very therapeutical for me. And these boots are exactly what i needed. I ripped them apart so many times but i still made it. Thank you so much... Now i wanna try the mocassins Oh and am from Kenya... Your creativity is spreading????
Jess @ Make and Do Crew says
Oh Rachel, I'm so happy to hear crochet has helped you through a difficult time. I find it really therapeutic and calming as well. I hope you do try the moccasins! I'd love to see what you make if you'd like to share a pic. 🙂
Jess
Nancy Drummond says
I just want to thank you for this pattern, and for posting the video to go with it. I bought the pattern, just to get the hole template, but I am a visual learner. I was having trouble even getting started, so watched the video, and everything was made clear for me.
I am making the first pair for me (so I can work it out) then my daughter and her family all want pairs.
With the videos, I am finding everything pretty simple, and I am a fairly new crocheter.
Thanks again, and I will watch your site for new ideas
Jess @ Make and Do Crew says
You're welcome, Nancy! I'm so glad the video what helpful for you. That's always my intention. 😉
Konstantina says
HI! This is such a genius idea! I was wondering whether the crochet part keeps your foot in place. I have seen knitted ugg type boots and all have a leather part on the heel in order to keep the foot from sliding off the sole and that got me a little worried since I am planning on adding insoles and wearing them outside. Thanks a lot!
Jess @ Make and Do Crew says
Hmm. Do you mean like slipping around inside the boot? I usually wear mine with socks and don't have a lot of slipping issues. I'm not sure about having an insole inside, but my guess is that it would grip a bit to the rubber of the flip flop. If that's not your question, let me know and I'll try to answer what you're asking. 🙂
Donna Ney says
I always use insoles inside my crochet flip flop shoes for more comfort on my soles and their is no problem with it.
tami Holmberg says
I need help getting the commercial free video to load. I bought the pattern but the link will not open the video. Ive tried settings etc and no luck. Ideas?
Eve C. McQuire says
I received a hand made pair of these over the holidays and have enjoyed them a lot so far! They are unexpectedly warm and cozy
Jess @ Make and Do Crew says
What a wonderful gift! I'm so glad they've kept you cozy. I can't wait to put mine on when I get in the house. 🙂
Krystle says
Hi! I'm makin these for a friend and I'm super excited she sent me the link to them! Anyshwayz, do you have an Instagram account? I post pics of things I make on IG and I would really like to tag you in the post especially since I make money crocheting things for people. I want to give credit where it's deserved!
Melissa says
I was wondering how you might recommend doing a smaller size than a 7-8 i have a coworker who wears a size 5 shoe but wants me to make her some. I would love to hear your thoughts and ideas about how to do smaller boots. I was thinking about trying your boat shoe/slipper pattern and just adding an ankle or using a smaller gauge yarn but if you have better ideas i would love to hear them. Thank you!
Jess @ Make and Do Crew says
Hey Melissa,
I think you can totally make a smaller size. I'd make sure you're using a tight gauge when you make them and just follow the instructions for the smallest size. Once you've gotten a good portion of the toe section created, you can decide when you want to stop making that part and move onto the ankle. If you scroll up in the comments, one reader shared some notes on how she made a smaller size. You might have to add a few rows toward the back of the heel to build it up before starting the ankle section.
Hope that makes some sense? I think if you watch the videos and learn the basic concept, you can improvise and have fun! 🙂
Jess
Fayth says
I've been itching to make these, I just haven't found myself some flip flops. That said, I did just receive some amazon gift cards 😀 Mean while, my 7 year old bought me bernat blanket yarn for Christmas, and not in my favorite color. You know how children are, they pick colors they love for us haha. I'd love to make matching boots for us! Is there any chance you'll make a child size version? (he's in a big kid 12--is it big kid? hmm...just think 1st grader lol). I plan to purchase the pattern, because I NEED the ruler. Just wondering if it would be simple to convert it to child size also.
Jess @ Make and Do Crew says
Hey Fayth,
Kids are def funny like that. My husband let my daughter choose underwear for me one time (she was 2) and it was atrocious! So funny.
I do hope to eventually create a child's pattern, but I'm not sure I'll get to it this winter. That said, I think you could take the concepts of the adult pattern and apply them to a child's size. All the same ideas apply, you'll just have less work to do. 🙂
Deborah J Womack says
I have purchased the pattern and I am wanting to make the boots.
I am concerned that after you wear the boots, the thread will pull out of the flip flop. Is there anything I can do to make sure the thread will not tear the flip flop?
Thank you
Jess @ Make and Do Crew says
Thanks for your purchase! I've worn mine daily for about 4 months with no issues at all. The tension is spread between enough holes that no one hole has too much pressure on it. Just be careful punching the holes and getting the yarn through them and you should be good!
Briana says
Hello, I love your pattern and your printable instructions and videos are very straight forward. Thank you!!
I completed both boots after following all the instructions. One issue I''m having is that there are small holes (you can easily poke your second finger in) where we sctog after rows 7-10. These holes are in the same places for bothe feet.. any suggestions to make the holes less noticeable or fill them in without starting over?
Jess @ Make and Do Crew says
Hmm. Do you want to send me a pic so we can brainstorm some solutions? My email address is Jess (at) makeanddocrew (dot) com.