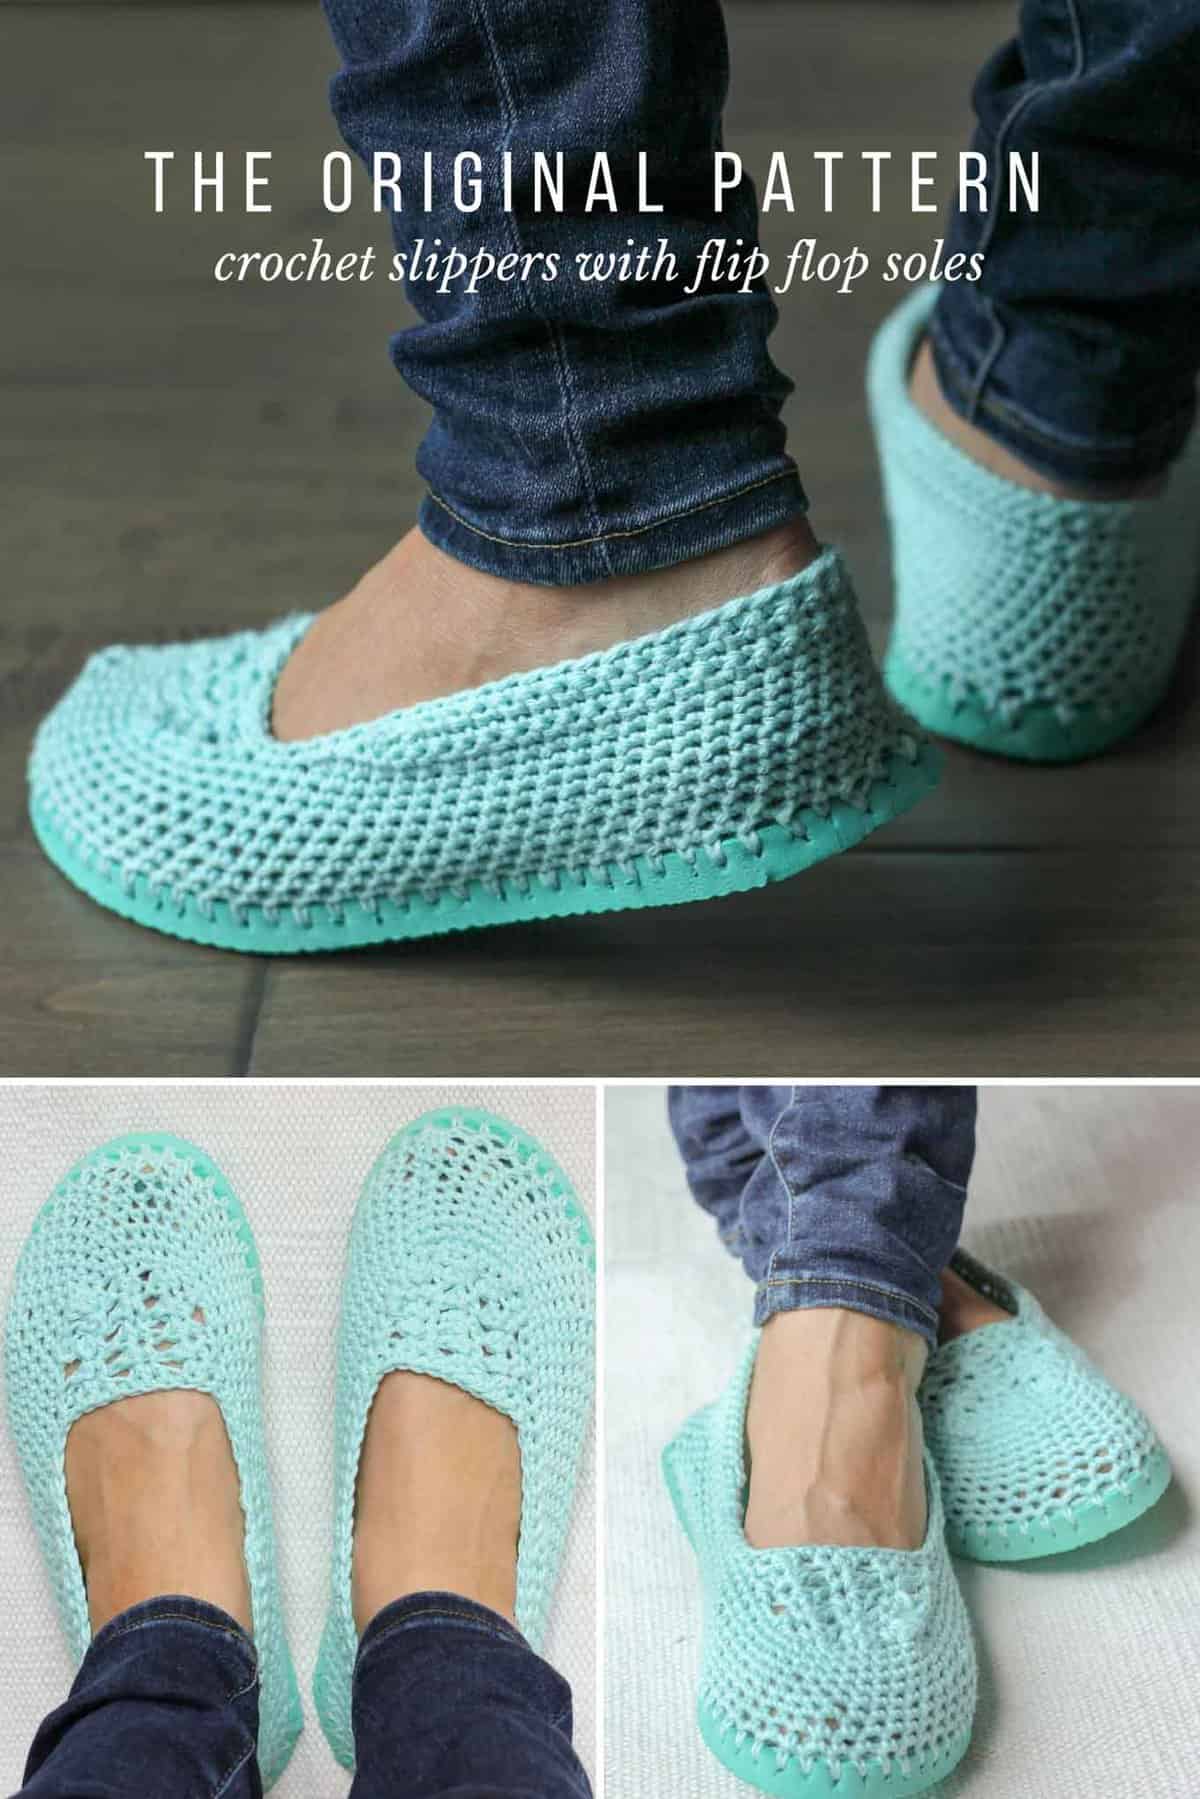
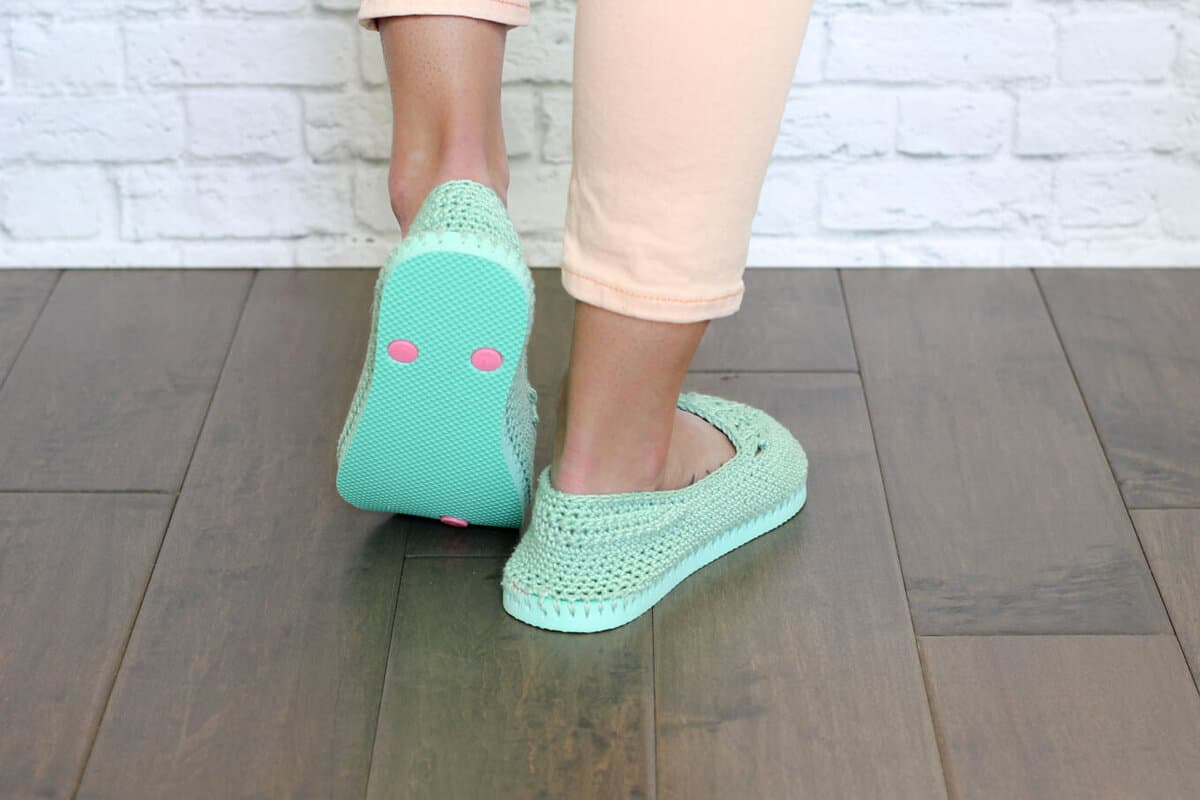
Cotton yarn and a rubber sole make this free crochet slippers with flip flop soles pattern perfect for wearing around the house (or even outside!)
View the entire free pattern and video tutorial below or purchase the printable, ad-free pdf with hole poking guide here.
This free crochet slippers with flip flop soles pattern is a collaboration with Lion Brand Yarn. This post contains affiliate links.
UPDATE: This pattern has been super popular since I published the original version last May. Many of you have requested a video tutorial for these crochet slippers with flip flop soles, so today I'm really happy to have a totally revised and updated version of the pattern that includes a step-by-step video tutorial.
In this version, I've updated the toe top section of the pattern, re-written some details for clarity AND added a printable ruler to the ad-free PDF of the pattern to guide your hole poking.
(If you just want the original crochet slippers with flip flop soles pattern though, don't fret, you can still find it for free here!)
 Many readers have asked how these crochet slippers with flip flop soles hold up over time. I've answered that question (with photos!) and many more in my FAQs about crocheting on flip flops.
Without further ado, here's the original blog post with the updated free crochet slippers with flip flop soles pattern and new video tutorial below. And if you're interested, you can find all the free flip flop crochet patterns I've shared since making this first pair, right here.
Guys, I’m so excited to share this pattern. I hope you love making crocheted slippers with a legit, flip flop sole as much as I did. When I originally stumbled across these crocheted boots made by Croche Da Alessandra, the idea for some flip-flop-based summer slippers wedged in my brain and refused to shake loose until I just made the things.
 Until about a week ago, I’ve been wearing some felted knit slippers my mom made me. They’re AMAZING. But now that it’s officially spring, they’re becoming a little less practical with each tick of the thermometer.
 So if, like me, you prefer to keep your feet covered when you’re shuffling around the house, but you find warm weather to be less than slipper-compatible, these are for you! (And if you're the free-wheeling type that prefers not to have your toes covered at all during the summer months, check out all my other free crochet patterns instead.)
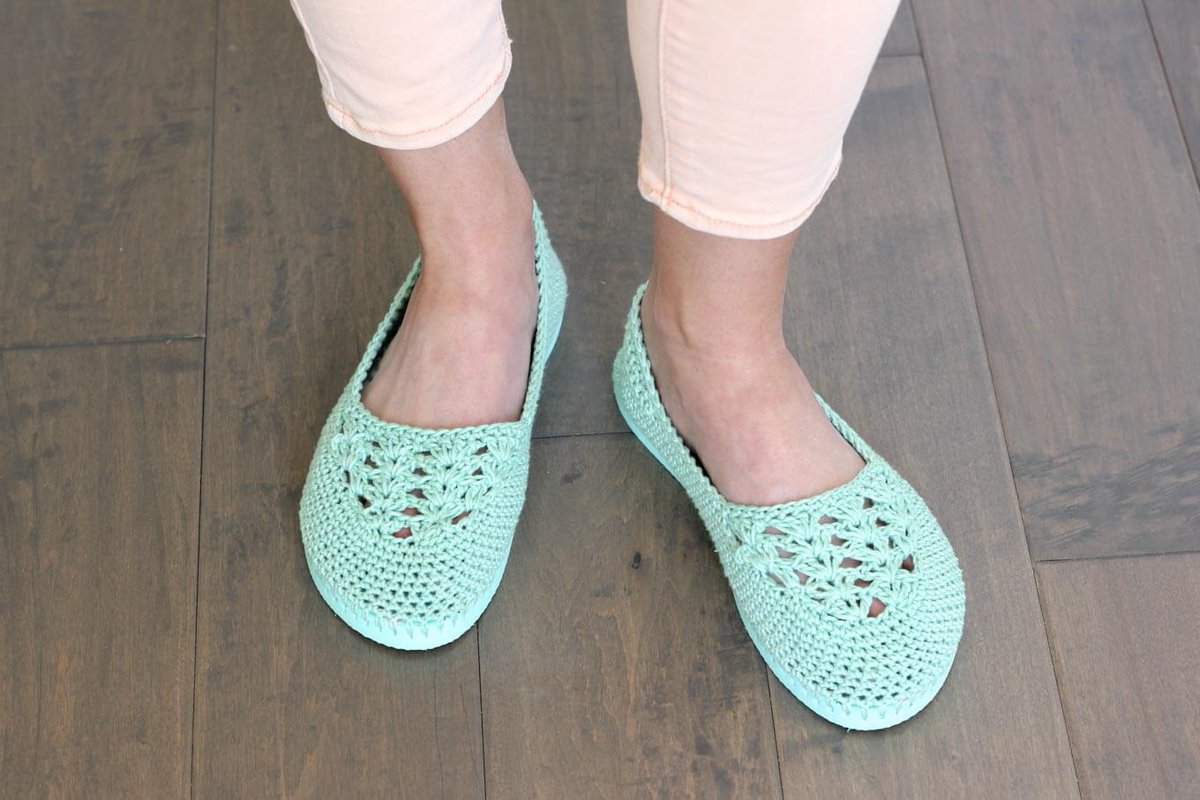
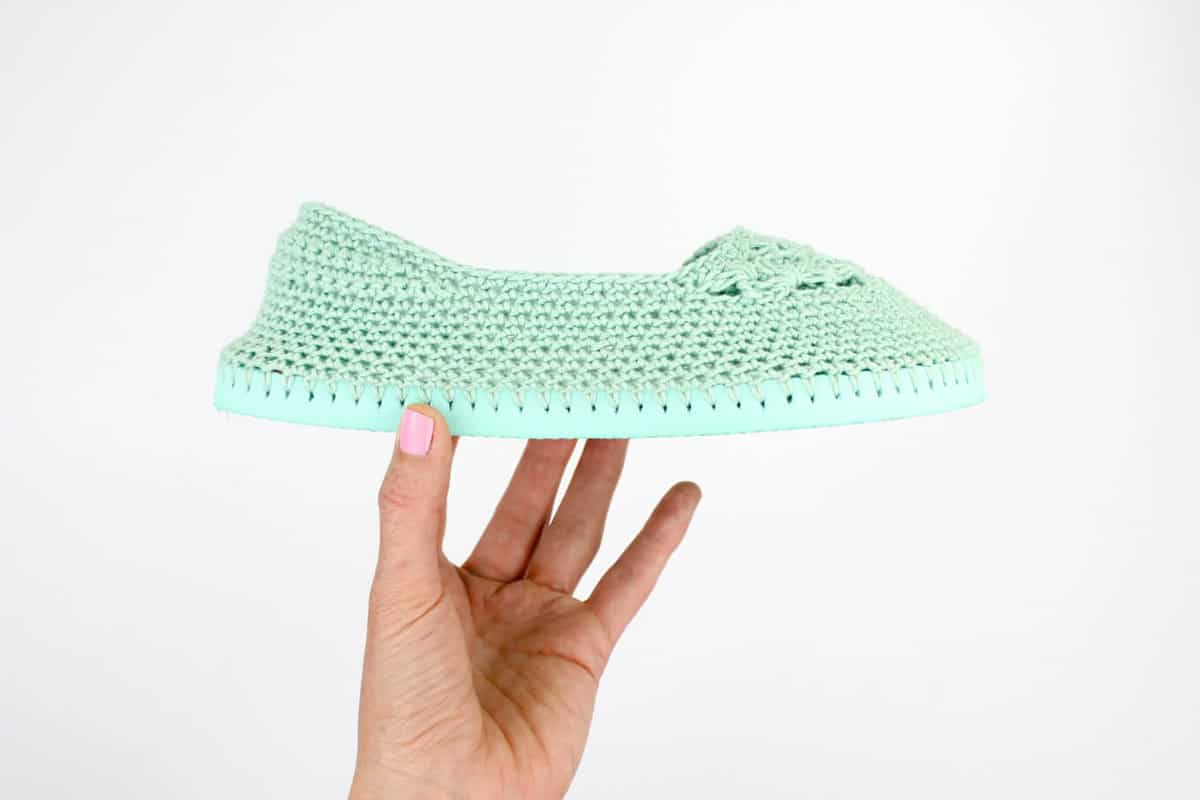
These crocheted slippers with flip flop soles let in a lovely breeze with each step, thanks to the slightly open weave and breathable Lion Brand 24/7 Cotton yarn. The flip flop (or “thong” if you live in certain parts of the world) sole makes these a little more substantial than regular crocheted slippers and perfectly grippy to scoot around your house.
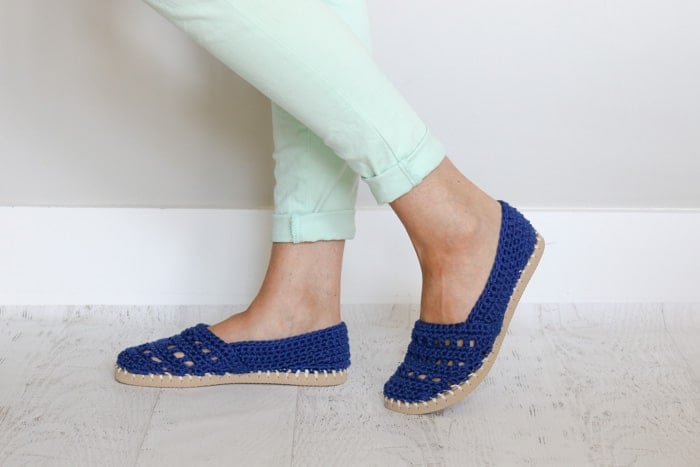
These even work well as crocheted shoes to wear outside. They might just be the most comfortable pair of shoes you've ever worn. (And don’t they look a bit like Toms?)
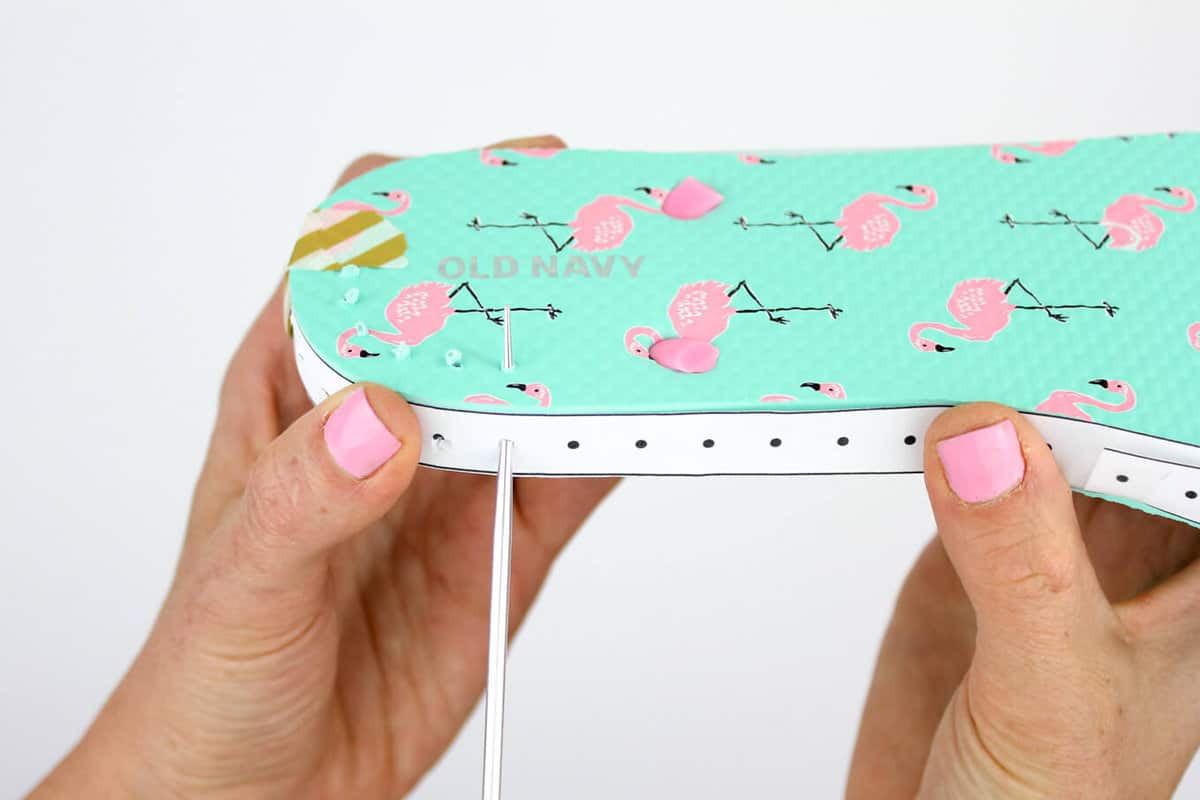 The ad-free PDF now includes a printable ruler to help guide your hole poking. This little bonus is super helpful in achieving the gauge and ensuring that you don't have too many or too few stitches around your flip flop sole. (Regardless of the size you're making--isn't that magic?!)
You can purchase the PDF of this pattern with the ruler here on LoveCrafts.com or here on Etsy.
Related: 30+ Free Crochet Top Patterns for Warm Weather
Find Your Next Crochet Pattern on Flip Flop Soles
Crocheting on flip flops can fast track your feet straight to comfort-ville. Flip flops offer functional, non-slip soles for your crochet slippers. They also allow you to crochet shoes customized for your particular feet.
See more free crochet flip flops patterns →
Please do not publish or share this pattern as your own. You may make items to sell with this pattern. In exchange, please link back to this post. Do NOT use my photos as your own sales photos. You can read my policies here. Now let’s make something awesome!
Summer Crochet Slippers with Flip Flop Soles - Free Pattern
Purchase the printable, ad-free PDF with hole poking ruler here on LoveCrafts.com or here on Etsy.
Add this pattern to your Ravelry favorites here.
Pin this pattern for later here.
Sizes:
This pattern works well for women's sizes 6-10, but you can easily add or eliminate a row to the top section to make it longer or shorter for other sizes.
Abbreviations (US Terms):
ch – chain
cluster – 4 dc in one stitch
half cluster – 2 dc in one st
dc - double crochet
sk - skip
sl st - slip stitch
sc - single crochet
st(s) – stitch(es)
 Supplies:
So you can spend more time making shoes and less time shopping, this pattern contains affiliate links at no extra cost to you.
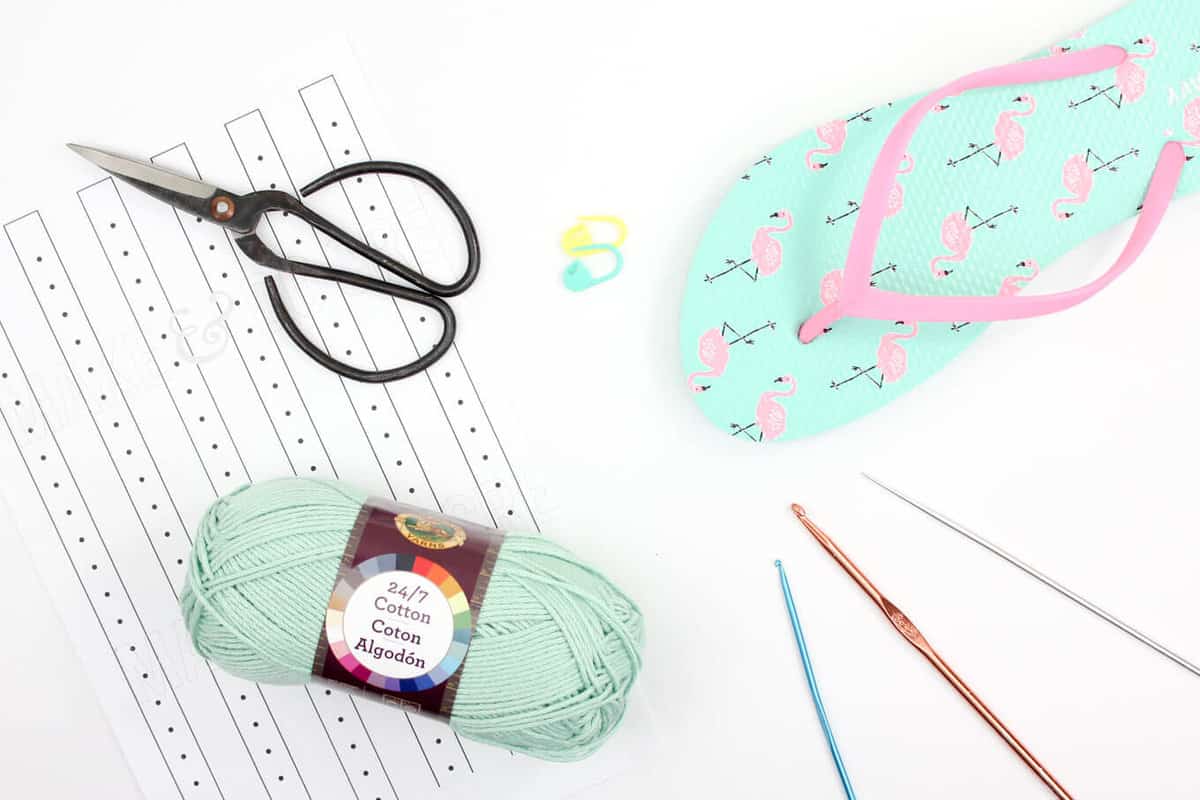
• Lion Brand 24/7 Cotton – 1 skein (186 yards) Color: Mint
• Tapestry needle
• Size B [2.25 mm] crochet hook or size needed to fit through flip flop holes
• Size G [4.0 mm] crochet hook
• 1-2 printed copies of the “ruler” at end of the printable pattern or a measuring tape
• 1 pair of flip flops (One size smaller than you wear normally. See pattern notes.)
• Sharp tool to poke holes (I use this clay tool. You can also try a skewer, thin drill bit or awl.)
• Sharp scissors
• Stitch markers
• Strong glue such as E6000 to glue strap plugs to sole (optional)
Gauge:
7.5 sc = 2”
12 rows = 2”
Notes:
• Transforming flip flops into slippers isn’t an exact science! Keep an open mind and don’t be afraid to customize the shoes to your liking. Check out this Flip Flop FAQs post for answers to commonly asked questions.
Wanna save this pattern?
• You’ll likely want to size down when buying your flip flops. Look for a flop flop that offers about .25" of sole around your foot (more like the fit of a normal shoe). In the pattern sizing, the shoe sizes mentioned describe the shoe size you normally wear and not the sized-down size of your flip flops.
• The flip flops in the sample are from Old Navy--they have a great selection of colors. Find $1 flip flops on Amazon or at Walmart. Dollar Tree’s $1 flip flops tend to be a bit too flimsy, but can work if you are careful. And LionBrand.com now offers flip flops so you can get your yarn and soles in one place!
• Left and right shoes are identical.
• Similar to some ballet flats, your slippers should curl in a bit. That’s what gets them to shape to your feet without a lot of increasing or decreasing. They will stretch out slightly with wear.
• The slipper sides and heel are worked in a spiral, so you will not ch 1 at the beginning of each round.
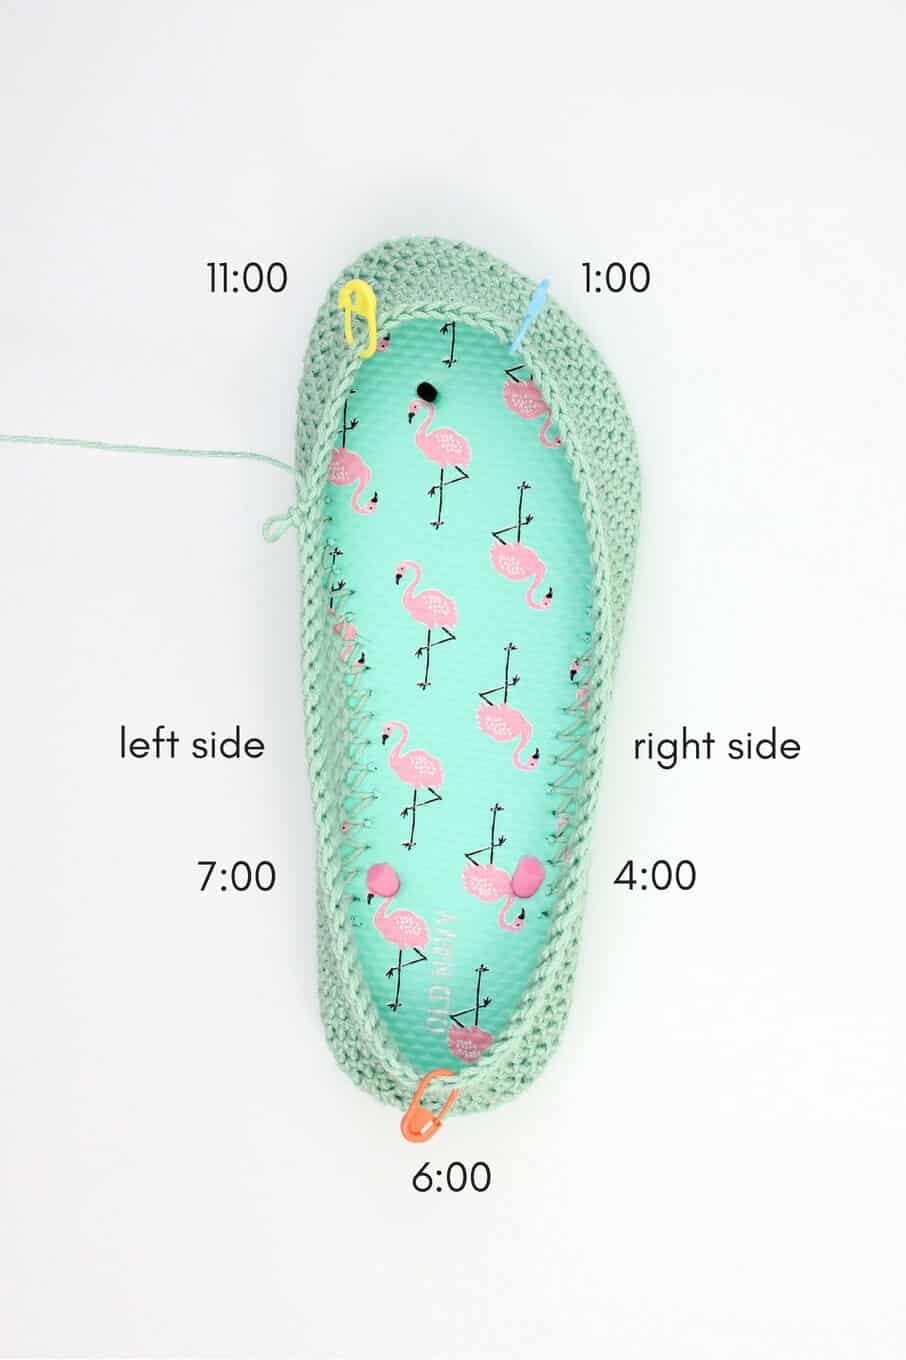
• Pattern explains locations on the flip flop as if it’s a clock where the top of the toe is 12:00 and the heel is 6:00.
Related: 30+ Free Crochet Dress Patterns: Beginner to Advanced
Slipper Sides and Heel
Notes:
• The shoes are crocheted tightly, similar to amigurumi. Make a deliberate effort to keep your stitches tighter than normal. Check your gauge if you’re unsure.
• Be sure to poke the same number of holes in the second flip flop as in the first.
To begin:
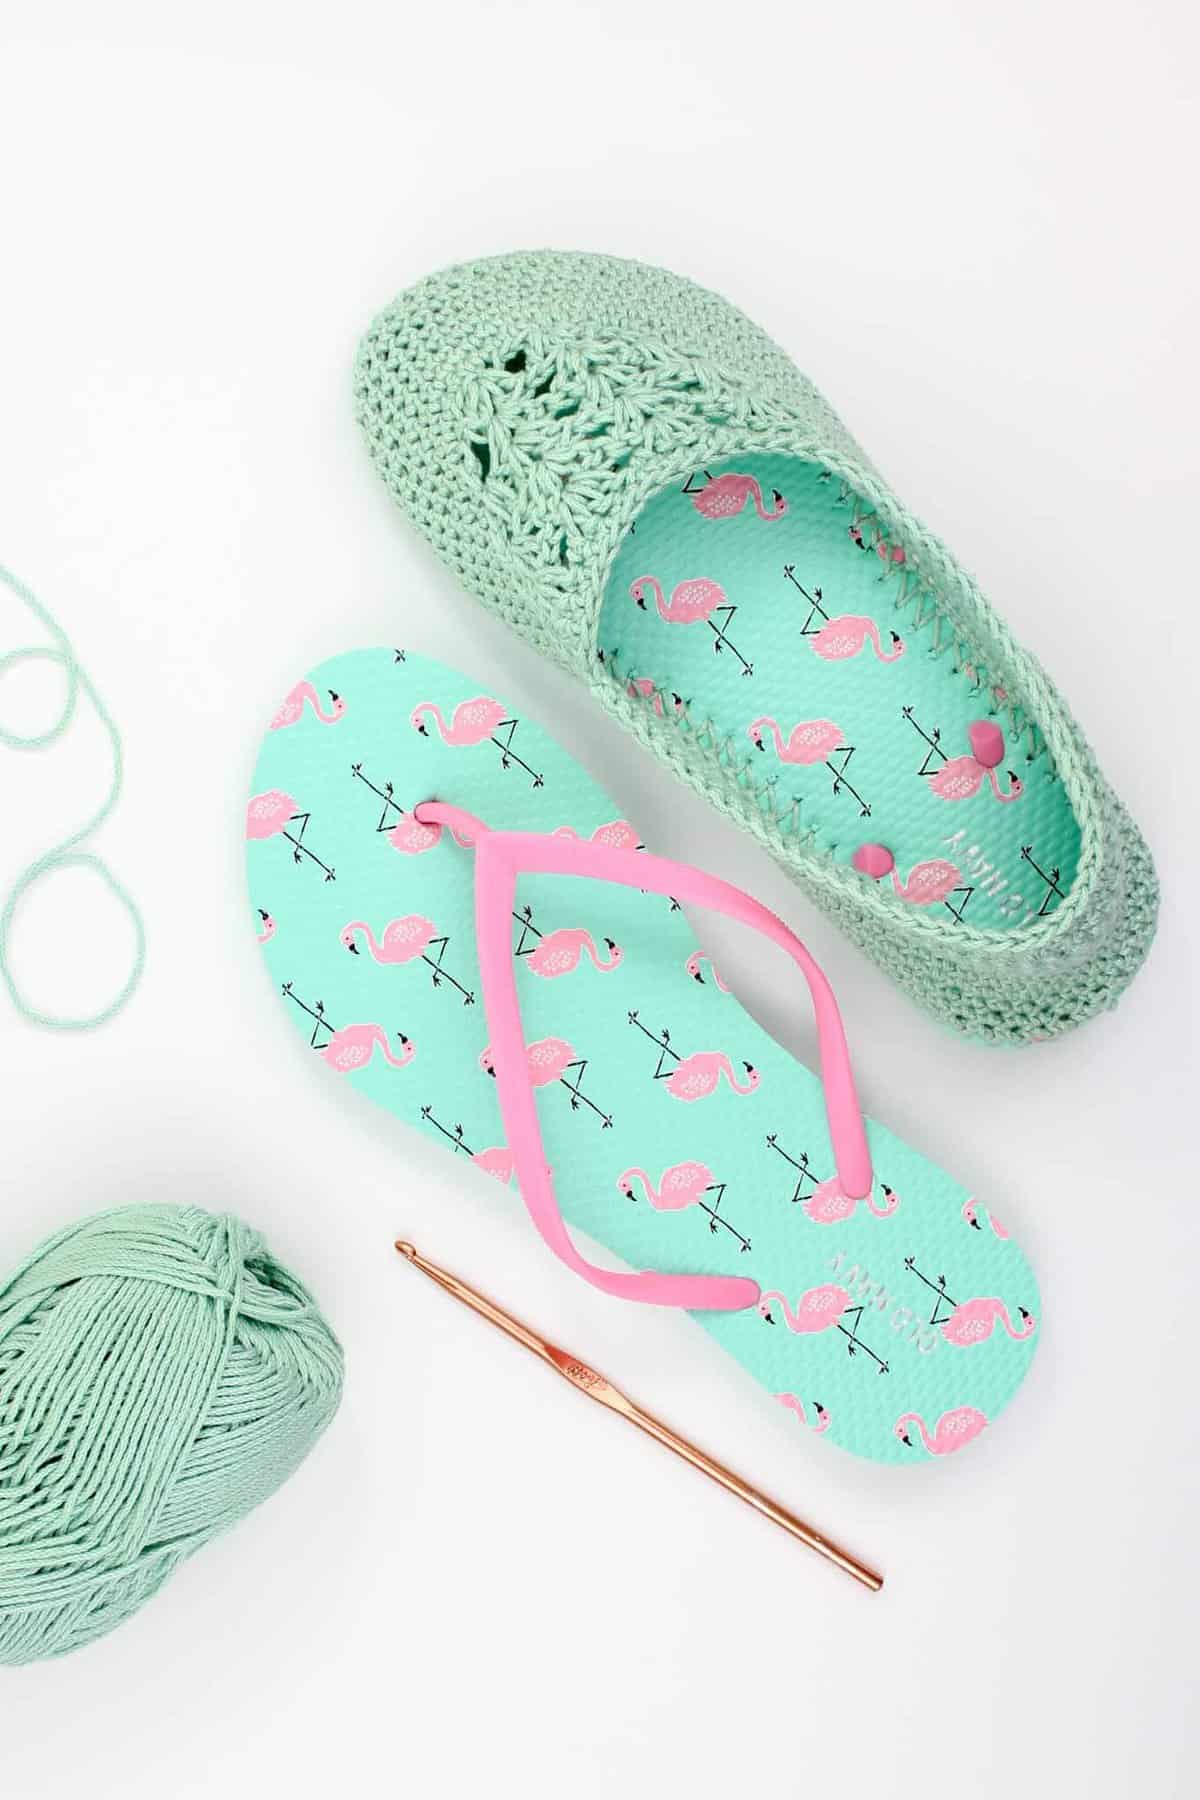
Trim straps off flip flops by cutting the mid-foot straps at an extreme angle so you can keep them in place without feeling them inside the shoe. (See photo above with the hole poking ruler.) Save the rubber plug from the strap between your toes to glue in later.
If you're using the printable ruler, trim and tape the pieces together and tape ruler around flip flop sole. With your sharp instrument, poke holes in each dot on the ruler. (See photo above the pattern.) Alternatively, use a measuring tape to poke holes slightly more than .25" apart around the sole. Pierce the hole at an angle from about the middle of the way down the sole to approximately .25” into the top of the sole. Reference the video tutorial for help.
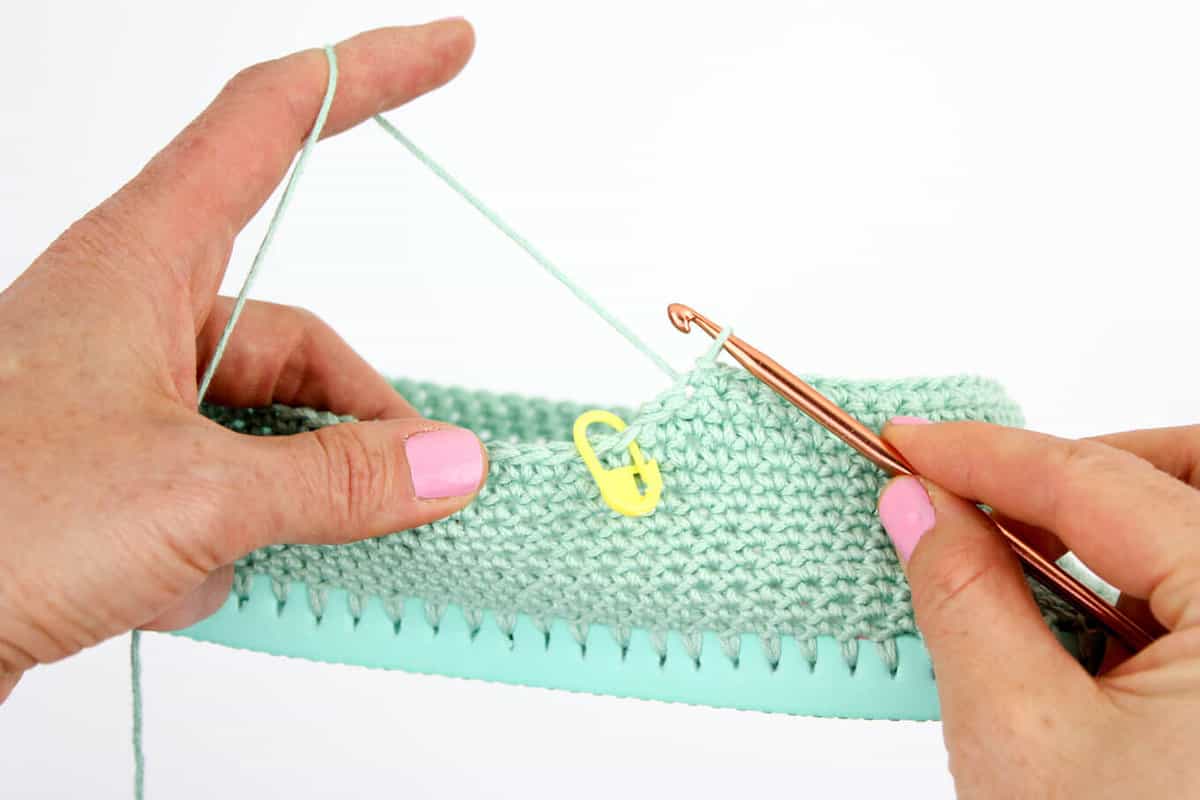
Tie slip knot around smaller hook. Insert hook at back of heel (6:00 position) from the top of the flip flop toward the bottom of the sole, grabbing the yarn and pulling through to the top of the flip flop and through the slip knot to attach the yarn to the flip flop. Crochet over the tail of this yarn as you work Round 1.
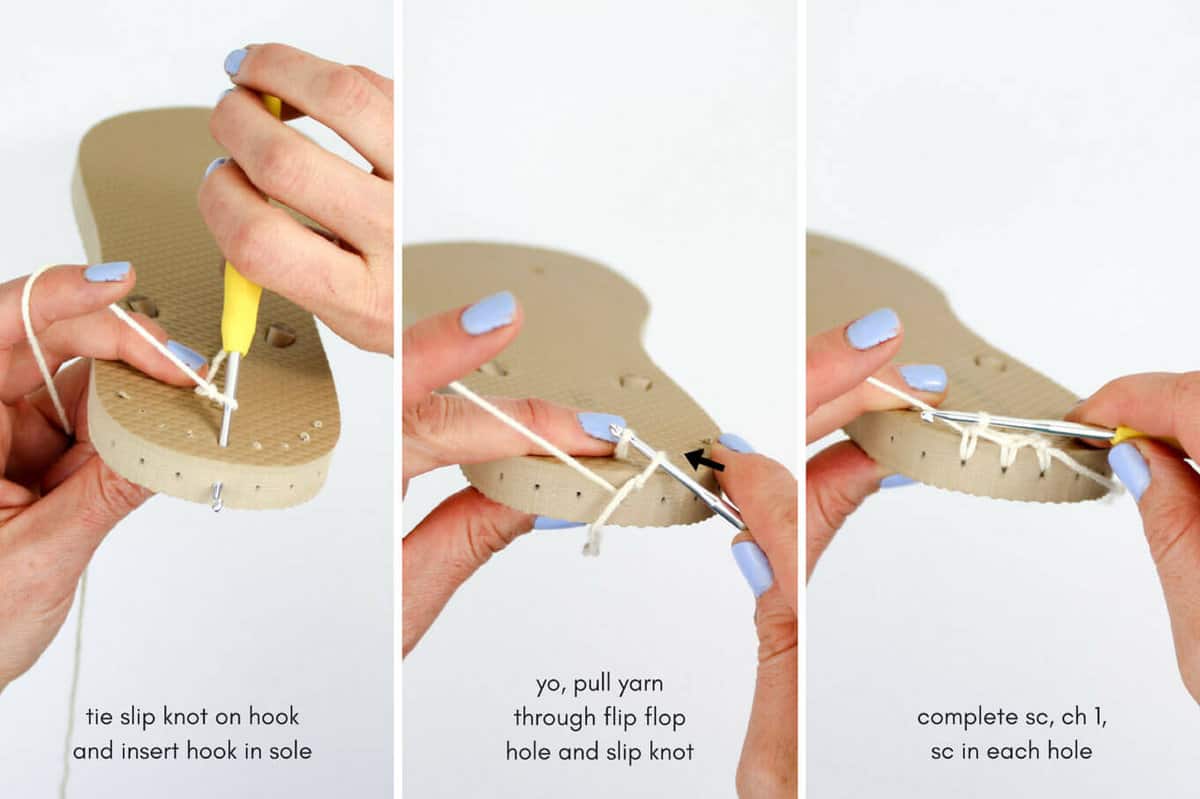 Round 1: Continuing with smaller hook, sc in each hole around sole, join with a sl st to first sc. Do not turn. Place marker in first st of round and move it up as you work each round (or just keep track of which sole hole you began in).
✨Unlock this free subscriber-exclusive pattern ✨
Follow these steps to view the full free pattern below
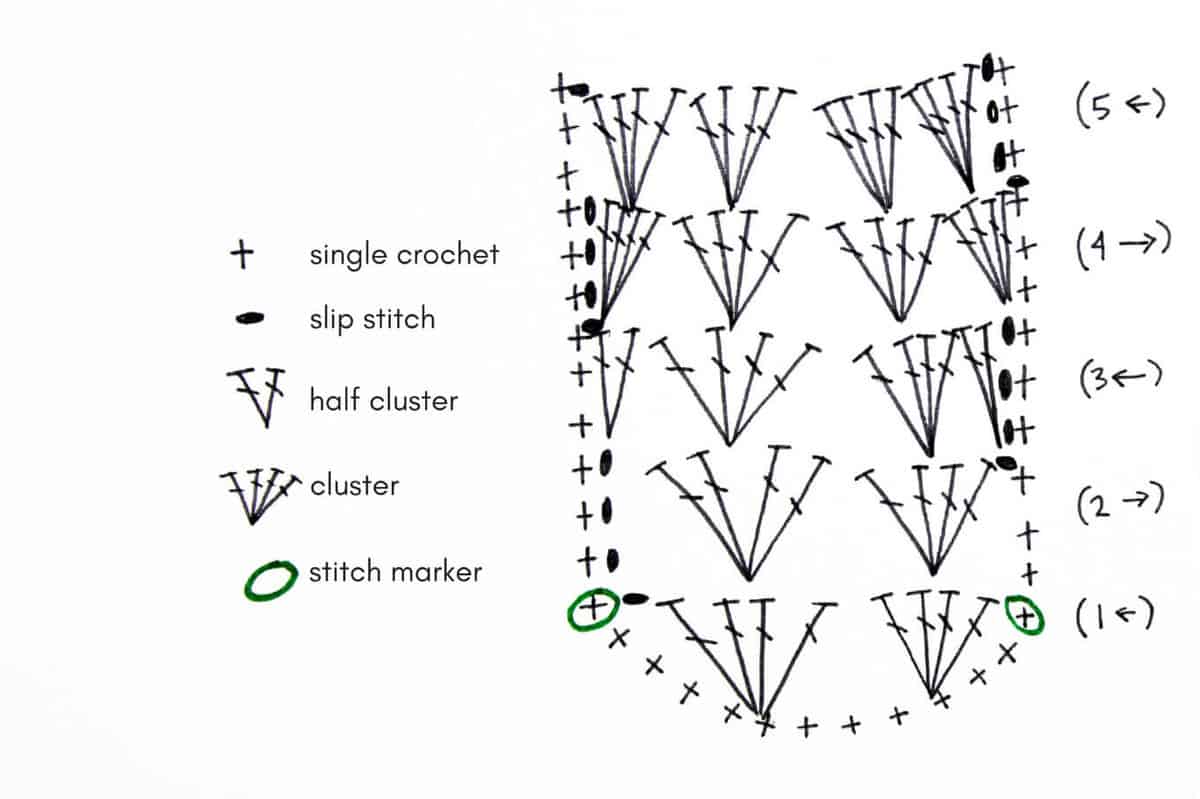
Row 2: Cluster in center of each of next 2 clusters, skip 2 sc in Rnd 9, sl st in next sc of Rnd 9 to join, sl st in next 3 sc (up right edge of slipper), turn. (2 clusters)
Row 3: Half cluster in sl st where Row 2 joined Rnd 9, cluster in center of each of next 2 clusters, half cluster in last sl st of Row 1, skip 2 sc in Rnd 9, sl st in next sc of Rnd 9 to join, sl st in next 3 sc (up left edge of slipper), turn. (2 clusters and 2 half clusters)
Row 4: Cluster in sl st where Row 3 joined Rnd 9, cluster in center of each of next 2 clusters, cluster in last sl st of Row 2, skip 2 sc in Rnd 9, sl st in next sc of Rnd 9 to join, sl st in next 3 sc (up right edge of slipper), turn. (4 clusters)
Row 5: Cluster in center of each of next 4 clusters, skip 2 sc in Rnd 9, sl st in next sc of Rnd 9 to join, do not turn. (4 clusters)
Round 6: Sc in each st around entire shoe, do not turn. (See photo J.) (Crochet over yarn tail at heel as you work.)
Round 7: Sc in each sc around heel stopping once you reach the slipper top section, sl st 1 into edge of top.
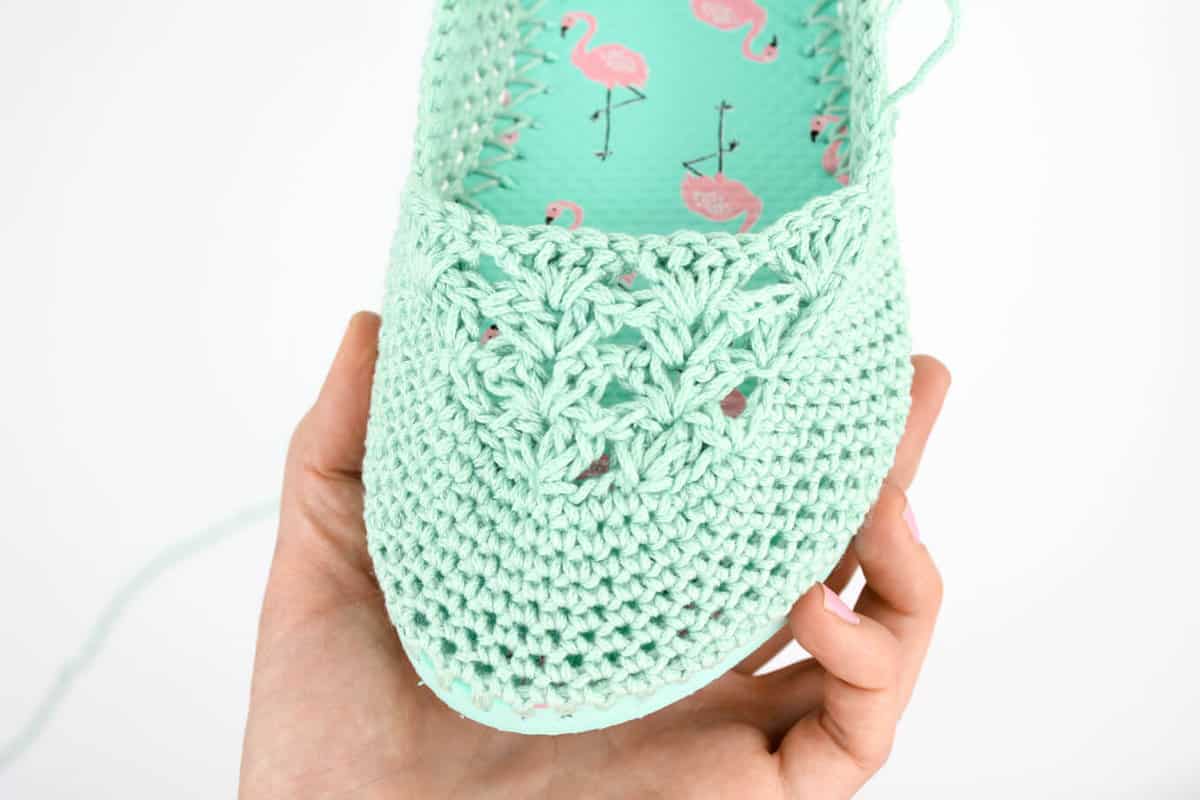 Fasten off and weave in end. Repeat pattern with second flip flop sole. Tap your toes together, smile and run around your house because you just made your own crochet slippers with flip flop soles!
That was so fun! Now what?
Invitation to our Facebook group
Come discuss crocheting flip flop slipper patterns and lots of other crochet projects and techniques in our Make & Do Crew Facebook group. Here thousands of helpful crocheters answer each others questions and share their stitches. Come join us here.
More Free Crochet Patterns Using Flip Flop Soles
- FAQS: How to Crochet on Flip Flops - and will they fall apart?
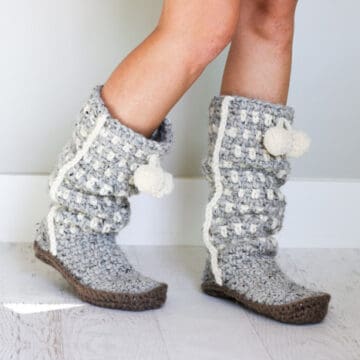
- Crochet Boots With Flip Flops Soles
- Free Crochet Ugg Boot Pattern
- Chukka Crochet Slipper Boots with Flip Flop Soles
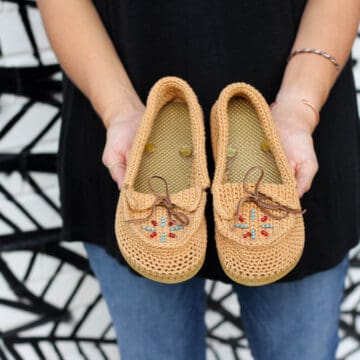
- Crochet Moccasins Shoes
- Crochet Beach Shoes Pattern
- Crochet Festival Boots Pattern
- Crochet Boat Shoes Slippers (for kids)
Now that your toes are comfy, you might enjoy these free crochet patterns:
 Cocoon Cardigan -- free crochet pattern made with two simple rectangles!
[convertkit form=4869877]


Kathryn says
Is the printed ruler from the Sweater Boots the same as this one?
Kim McAllister says
Hi Jess,
Can you tell me the height of the slippers on the side after rows 2-9? Having a little trouble with my gauge. Thanks!
Kim.
Jess @ Make and Do Crew says
Hey Kim,
I'd say it's 1.5-1.75". Basically you want it just slightly below where a shoe would hit the back of your heel. Then you work the last few rows to build a little "lip" to keep your heel from slipping out.
Happy crocheting!
Jess
Kim McAllister says
Do you think these would work with a felt sole? Do you think they would curl up with a felt sole and cotton yarn? I want to make a summer slipper with cotton yarn but do not want a flip flop sole. I do not want a cotton yarn sole either because I find that they do not last long enough. I have wood floors and they get chilly even in the summer.These slippers are so cute! I was thinking of cutting out a felt sole and using a blanket stitch around to crochet the slipper onto.
Sascha says
Hello I got a question 🙂
I am doing the Single Crochet rounds.
Do you end a row with a slip stitch, or just continue with SC?
Greetings, Sascha
Jess @ Make and Do Crew says
Hey Sascha,
You don't need to slip stitch, you can just continue around and around and around. 🙂
Happy crocheting!
Jess
Caitie says
These are gorgeous! Getting going with some right away 🙂
Jess @ Make and Do Crew says
Thank you so much, Caitie! I just love your bunny ears egg cosies! Just pinned them. 🙂
Lori says
I purchased the PDF pattern, but it did not come with the hole placement ruler, which is why I even bought it! Can you please send it to me?
Jess @ Make and Do Crew says
Hmm. That's strange! I've just emailed it to you at the account you listed in this comment. Please let me know if you don't receive it. 🙂
Thanks for your purchase!
Jess
Debbie says
Finished my second pair of these today (first one was for a child) - these are mine - I don't see a place to post a photo, so I'll add the link to my Facebook page where I posted them.
Nicky Lomax says
Please please please please make a video of this, I know you have a lot of other projects to do, but I want to crochet these and I'm an absolute beginner and I don't understand the lingo very well. Trying to read the instructions makes me overwhelmed and frustrated but I enjoy your other tutorial videos. Please make one for these! I want to make slippers for people. I even had an idea to make some and donate them. I don't know, because the more I think about it the more I think people would benefit more from crocheted boots, but I want to make sure they are male-friendly too so men who need warm shoes can enjoy them thoroughly. Do you have any gender neutral or male design boots with a video I could try? I'm disabled and have some free time and I thought maybe I could take up a hobby I could donate to those who need at the end of each year. Anyway those are my ideas, thank you for all you do!
Jess @ Make and Do Crew says
I'll be sharing a video of this in the next couple of weeks! 🙂
Tammy says
Jess, these are awesome ! I tried out my old flipflops first in case I couldn't do it.
Your tutorial was so easy to follow that I could make changes to modify what I liked while following along. I didn't expect that my first pair would look so great and be so fun. I don't know how to show you my pics except on Ravelry, my Rav ID is TammyBlondon
I hope you check out my pics. I was able to change the top of the foot and I love it. thanks for saying how the flipflops size up, it makes a big difference. I want to make these for my grandkids and adult boat shoes for myself as well as the heavy slippers. I go outside in my slippers a lot in the summer so these are perfect.
I can see lots of these for gifts in my future 😉
Jess @ Make and Do Crew says
Tammy! I love your flip flop slippers! Gosh, they turned out fantastic for your first pair! And I was blown away by the prolific amount of beautiful knitting and crochet you've shared on Ravelry. Holy cow! Seriously. What an inspiration!
Thanks so much for saying hello.
Jess
Naty says
I have a simple question, you wouldn't by any chance, have this pattern in French, not the video but the pattern, otherwise I will have to translate it for my non speaking English friend, like I did for your Boots with flipflop pattern.
Jess @ Make and Do Crew says
I'm so sorry, I don't right now. If you do translate it and would like to share your translation, I'd be thrilled to post it as a PDF on the blog for other French-speakers to benefit from. 🙂
Naty says
I have translated the gray boots, I can send it but I need an email so I can do so. I am going to translate the turquoise sandal flip flop too and I will send it too if you want.
Tamela says
What is done with the holes ?
Thank you
Jess @ Make and Do Crew says
You can just leave them open if you plan to wear your shoes around the house as slippers or you can glue the plugs from the straps back in if you want to wear the shoes outside. 🙂
Connie Blais says
I think I found a solution to the flip flop problem. I am making hi-top slipper sneakers and I purchased a pair
of rawhide soles w/the stitch holds already punched.. I sewed them between the crochet sole and the bottom of the flip flops. Seem to work ok so far.
Jess @ Make and Do Crew says
Great idea! I'd love to see a pic of how they turn out. It sounds like a really interesting concept. 🙂