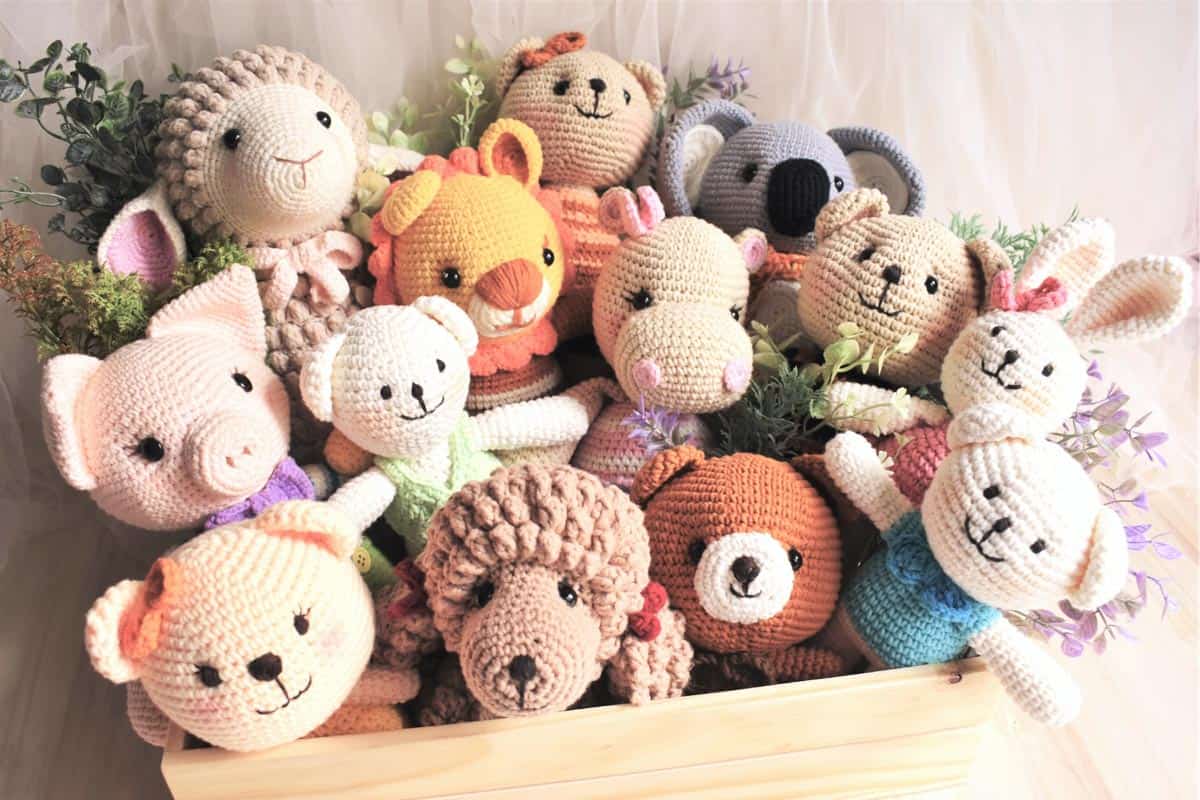
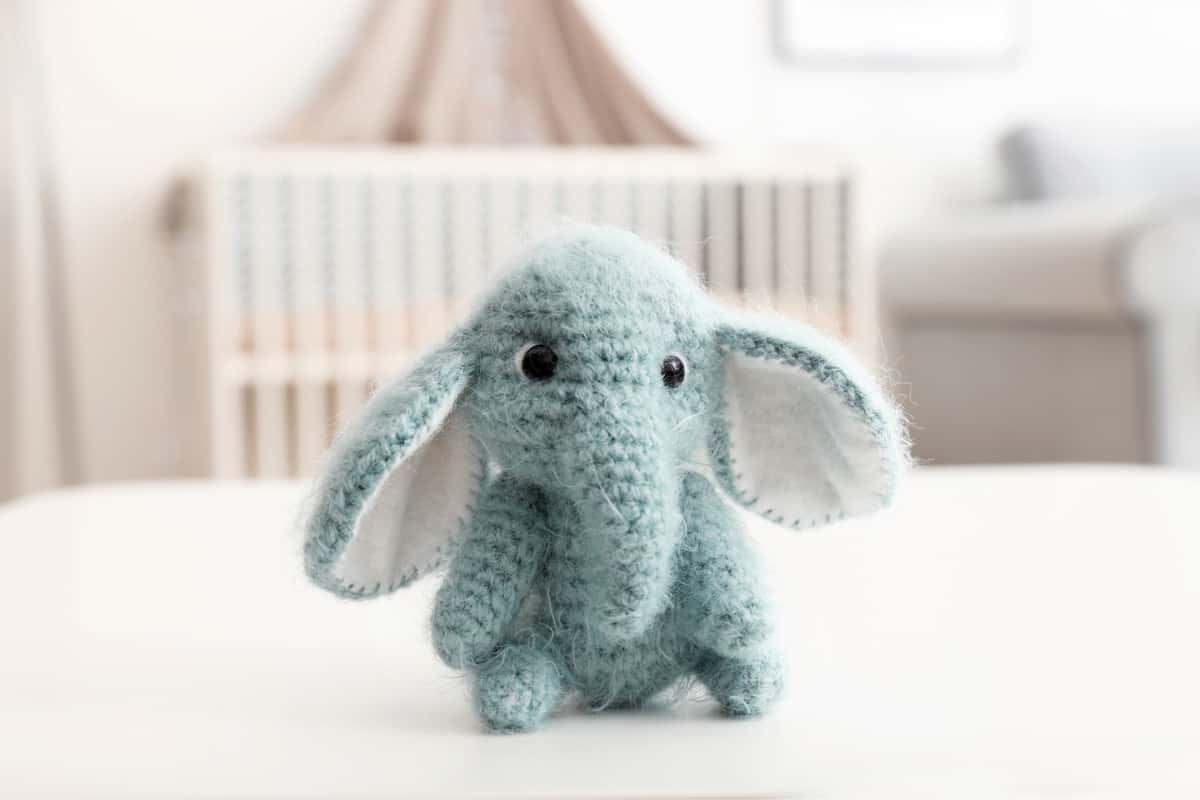
If you need more cuteness in your life, look no further than crochet amigurumi! This step-by-step guide will show you exactly how to crochet amigurumi for beginners and more experienced crocheters alike.
Amigurumi plushies are surprisingly easy to make. So whether you're completely new to crochet or a seasoned veteran, you can learn how to crochet amigurumi toys and stuffed animals.
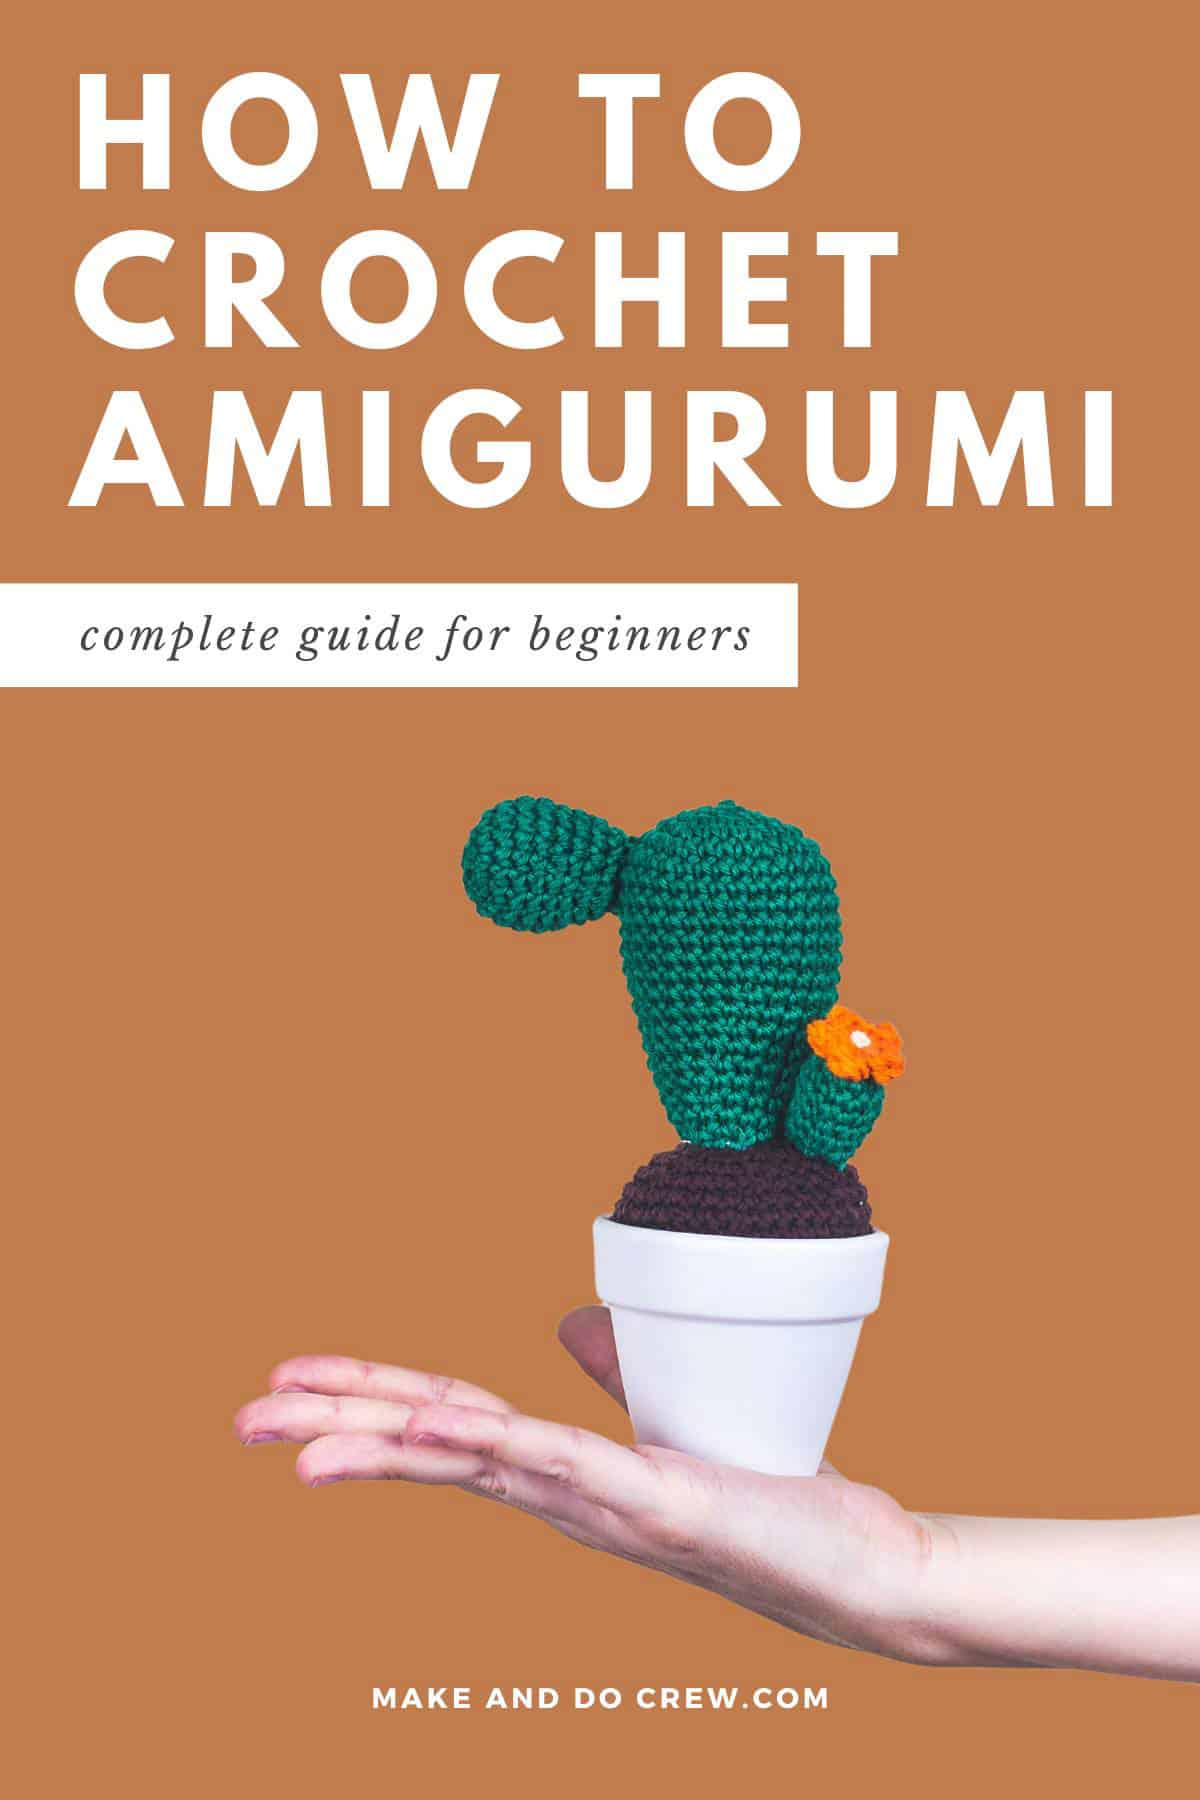
Learn How to Crochet Amigurumi
You only need to know some simple stitches to get started crocheting your own toys and plushies!
In this guide to beginner amigurumi, you’ll learn all the basics of amigurumi including:
- How your supplies will differ from typical crochet
- How to choose the right beginner amigurumi pattern
- The basic stitches you’ll want to know
- How to read an amigurumi pattern
- Finishing tips that can make or break your project
[ez-toc]
What’s the Difference Between Crochet and Amigurumi?
Amigurumi is a type of crochet so there isn't a difference between the two. When people say they are making an amigurumi craft, they mean that they are crocheting a stuffed plushie.
The term amigurumi has slowly grown to encompass all kinds of crocheted stuffed toys. While stuffed animals may be the most popular type of amigurumi, the category also includes crocheted everyday items, cute-style food, and even dolls.
Why you'll love crocheting amigurumi!
Step 1: Choosing the Right Beginner Pattern
When you are first learning how to crochet amigurumi, look for a simple pattern with minimal joining. Ideally, choose a beginner amigurumi pattern made of basic shapes that is just one or two pieces.
Also, look for a project that includes a video tutorial or step-by-step photos. This way you can compare your plushie to the images to make sure you are on track.
Step 2: Read Through the Entire Instructions
Like a recipe, it’s helpful to read through the written instructions before starting. This lets you check your supplies and make sure you understand the entire crochet pattern. Look up any techniques or crochet stitches you are unfamiliar with.
I like to set out all the supplies I need before beginning, including stitch markers and safety eyes. That way I can make sure I have everything. Trust me, few things are worse than working on a project only to realize you only have one safety eye when you need two!
Step 3: Choose the Right Supplies
The supplies to crochet amigurumi have a lot in common with other crochet projects. There are also a few additional materials you'll likely want to have available.
Yarn for Amigurumi
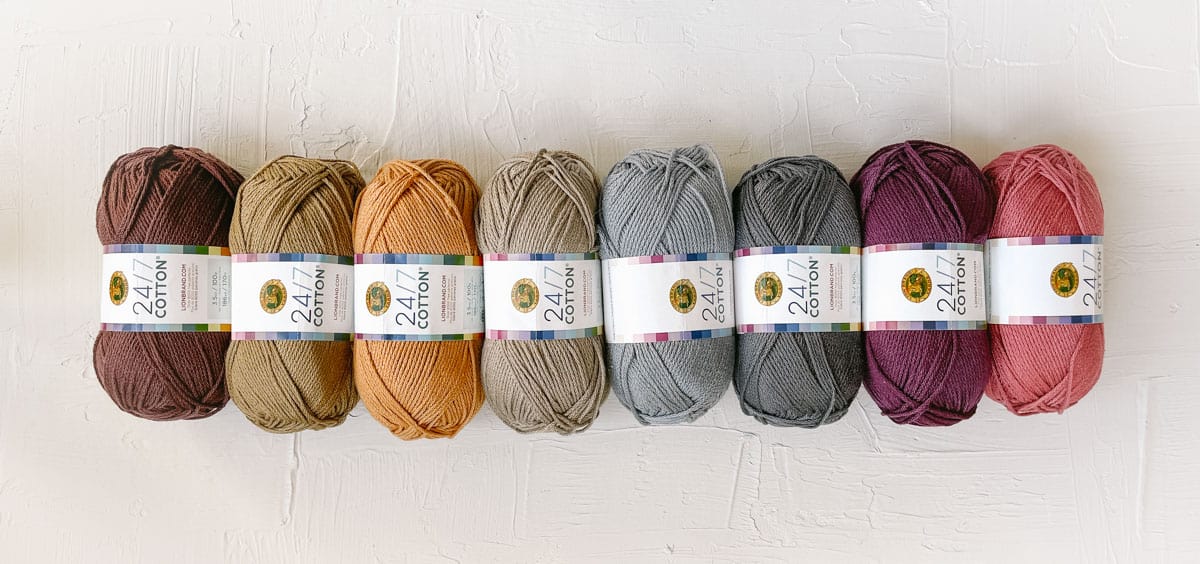
You can use almost any size and type of yarn for amigurumi. But, cotton, acrylic, or cotton blend yarn is best. Here are some reasons you might choose one yarn over another.
Fiber Type: Cotton yarn is especially good for beginners since it is easy to use and holds its shape. Cotton yarn also creates very clear stitch definition. Once you are more familiar with the basics of crocheting amigurumi, acrylic yarn can be more affordable and softer.
Yarn Weight: Sport weight yarn is most common and results in orderly, tight stitches. Worsted weight yarn is also a popular choice since it is bigger and can be easier to work with, but it also makes larger plushies.
Care Instructions: Since amigurumi toys are often well-loved, the best yarn is machine washable. All yarns should have recommended washing instructions on the label.
PRO TIP: While it’s fun to think about what yarn you’d like to use for your crochet project, always check the pattern for the specific weight of yarn you should use.
Substituting Yarn
While you can change things up, going with the yarn suggested in your pattern is ideal for beginners learning how to crochet amigurumi. This reduces variables and means you are less likely to end up with a plushie in an unexpected size.
It's especially important in amigurumi to choose the right yarn weight and hook combination since stuffing can escape if your stitches aren't tight enough.
More experienced crocheters can substitute a different yarn weight to increase or decrease the size of the plushie without having to change anything in the amigurumi design. If you decide to adjust the yarn thickness, remember you’ll also want to change your hook size.
PRO TIP: If a pattern calls for a yarn you can't find, you can use YarnSub.com to look for a similar replacement.
What to Look for in a Crochet Hook for Amigurumi
Learning how to crochet amigurumi requires keeping your stitches quite tight. For this reason you will most often use a hook size 2 mm smaller than you’d typically use for a given yarn.
Hook Size
The ideal hook size is determined by the amigurumi project you are working on. While there are many different sizes, options you’ll see most often in amigurumi patterns range from 2mm to 5mm. TinyCurl has a helpful guide to choosing the correct hook size for amigurumi projects.
Comfort
Crocheting the tighter stitches of amigurumi can become tiring on some people’s hands and wrists. When picking a hook, remember to choose one that is comfortable in your hand. Consider a hook with a wider handle that is easier to grip.
For amigurumi, I like crochet hooks with thick, plastic handles. This makes it easier to keep your grip on smaller crochet hooks that would otherwise be very thin.
PRO TIP: Stretching periodically when crocheting amigurumi (or really anything else) can help you avoid pain and fatigue. Check out Kirsten Holloway's guide to stretching for crochet and knitting for ideas.
Shape of Hook Tip
I also like to use a hook with a more pointed tip. I find that a sharper tip angle makes it easier (and therefore faster) to work into the tight stitches required for crocheting amigurumi.
After trying dozens of types of hooks, my preference might surprise you. My favorite hooks with pointed tips only cost a few dollars each. They're made by Hobby Lobby's in-house brand called Yarnology. (Check out the hooks I'm talking about here.)
These Hobby Lobby hooks don't tend to be the most durable in my experience though. So if you fall in love with them like I have, it's worth buying a few backups in your most used sizes. I don't want you to have the experience I've had of breaking a hook mid-project without having a backup at home!
Additional Materials
The specific materials you need when you’re learning how to crochet amigurumi vary from project to project. Here are some other tools used you might need:
- Scissors
- Stitch markers
- Tapestry needle
- Embroidery thread
- Safety eyes
- Blush or eyeshadow for adding rosy cheeks
- Fabric glue
- Measuring tape
- Erasable fabric markers
- Stuffing (sometimes also called poly-fil or fiber fill)
- Plastic pellets (for adding weight to stuffed animals or amigurumi hacky sacks)
Stitch markers
Stitch markers can be a lifesaver, especially when you're learning to crochet stuffed animals. They can make it easier to switch colors and keep count of stitches. In addition, you might use stitch markers to help you keep your rows straight.
You can use anything from bread ties to safety pins as stitch markers. But, buying stitch markers is generally the best option since alternatives run the risk of causing snags.
Options for Amigurumi Eyes
There are many ways to put eyes on crochet or knit characters. The most common methods are to embroider facial features or to use safety eyes.
Safety is the first thing to consider when buying eyes for your dolls or other amigurumi patterns. Despite their name, safety eyes are not recommended if you are crocheting toys for young children.
If you are crocheting baby toys, using embroidered or crocheted eyes is best. As a rule of thumb, avoid attached eyes such as safety eyes for kids younger than three-years-old.
When you buy eyes online, check the reviews and beware of buying cheap materials. You don't want the eyes to come unfastened or otherwise break. I've personally used this set of safety eyes and they have worked well.
Examples of Different Eyes
Small pieces of felt can be embroidered to amigurumi to create eyes.
Embroidery also allows you to create eye shapes and facial features with charming details.
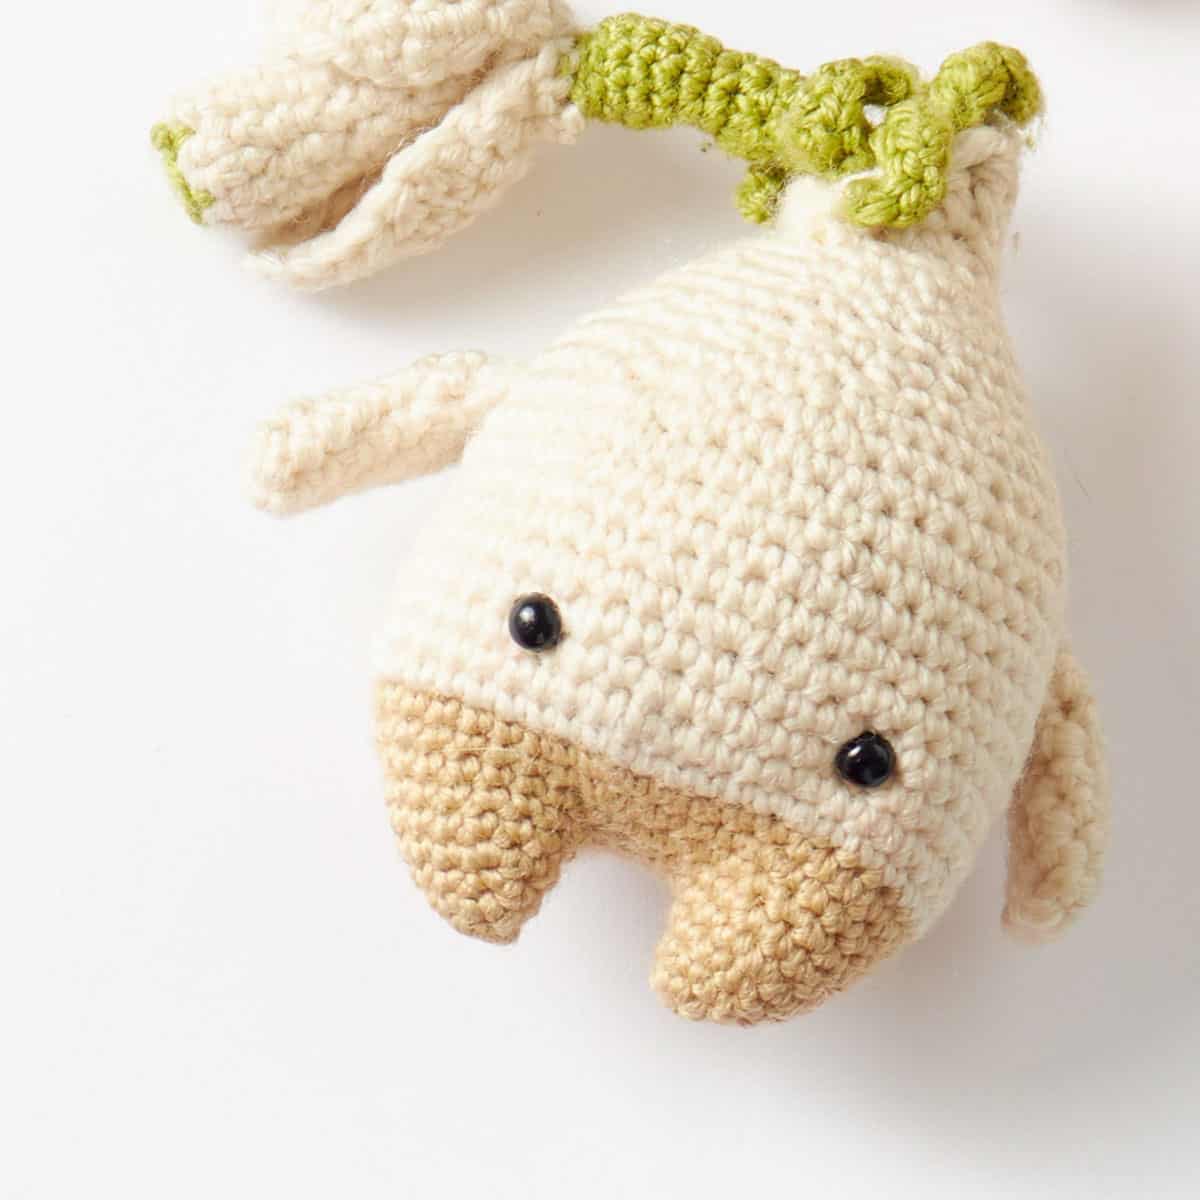
Safety eyes are not recommended for young kids, but they are great for creating instant cuteness.
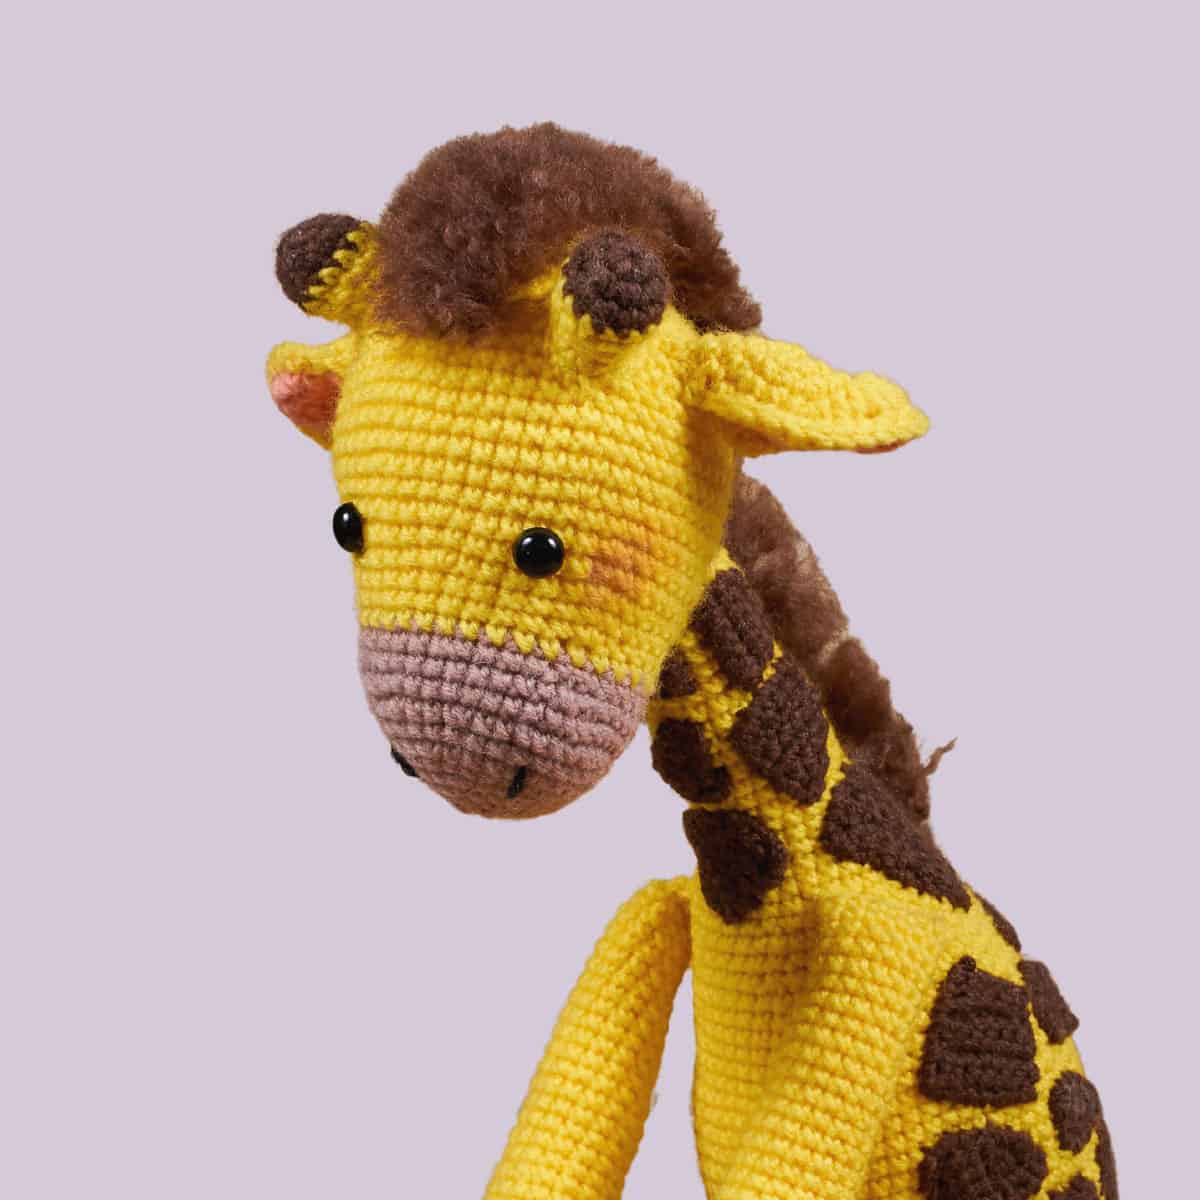
A little bit of blush makeup can add even more appeal and tie all the facial features together.
PRO TIP: Often eyes are added before an amigurumi project is stuffed and joined together. Be sure to read through the entire pattern before beginning so you understand the sequence of steps.
Step 4: Begin Your Amigurumi Project
Congratulations! You're ready to begin your amigurumi project. Let’s dive into some skills you’ll need to crochet stuffed animals and toys.
How to Read an Amigurumi Crochet Pattern
Reading amigurumi patterns is like reading any other crochet pattern. As long as you are willing to learn the crochet basics, you should be good to go!
The main difference with reading amigurumi patterns is they are often worked in rounds rather than rows. So for example, "R1" will usually mean round one rather than row one.
Here are some tips for reading an amigurumi crochet pattern:
- Read your pattern all the way through before beginning
- Make sure you know all the stitches and concepts
- Pull out your supplies before you get started
- Look at your pattern for the order the limbs should be made and attached
- Keep an eye on how tight your stitches are
Check Your Tension
The goal when crocheting amigurumi in particular is to have no gaps that stuffing can escape or be seen through. This means that even if your yarn label lists a specific hook, start with the hook size your pattern recommends.
After you have crocheted a few rounds, hold up your project and look at the stitches. If you think your stitches don't look tight enough, you can adjust your hook size down a bit. For example, if your stitches look loose with a 3.5mm hook, you might try a 3mm hook.
When in doubt, I tend to go with a smaller hook. While this will result in a smaller plushie, it is better for your stitches to be very tight rather than too loose.
If you notice your project is looking lumpy or misshapen, this could be a sign your stitch tension might be inconsistent.
Want some company while you crochet?
Get support (and camaraderie!) in the Make & Do Crew community. Join for free here.
Basic Amigurumi Crochet Stitches
Most of the skills you need when learning how to crochet amigurumi are easy to master with practice.
Often plushie patterns will start with a magic ring (mr) which allows you to easily crochet in the round. Other common crochet stitches you will see in amigurumi patterns include chains (ch) and single crochet (sc). Ami patterns also increase (inc) and decrease (dec).
These basic crochet stitches are also used in multiple types of round crochet projects, like coasters and circle purses.
Magic Ring
The magic ring (also known as magic loop or magic circle) is truly magical, no question about it!
You might want to practice a magic circle a few times since it can be tricky at first. The first stitches worked into the loop are especially difficult, but when you get past the first round it gets easier.
Once you have the concept down, you can use magic loops (aka magic circles) to crochet anything from hexagons to granny squares to puff stitch circles.
Here is a video tutorial that covers how to crochet a magic ring.
Single Crochet (sc) and Increase (inc)
Single crochet is the main stitch used in amigurumi crochet patterns. The most common way to increase is to place two single crochet stitches into into the same stitch. You’ll see this used often when increasing the stitch count of a round (aka making the circle bigger).
Single crochet increases are quite easy to do. Just remember to count your stitches and use stitch markers to mark each increase.
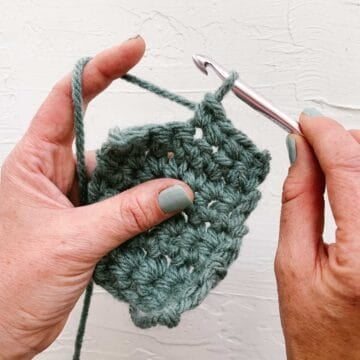
How to Single Crochet: Once you have a loop on your hook, put your hook into the next stitch. Then, pull the yarn over and pull your hook through both loops.
How to Single Crochet Increase: For an increase, you simply put two single crochets into a single stitch.
Check out the video below for a step-by-step tutorial on how to increase the stitch count in an amigurumi round.
Invisible Decrease (inv dec)
While there are multiple ways to decrease, the invisible method is best when crocheting amigurumi. When decreasing you are replacing two stitches with one (aka eliminating one stitch). The invisible decrease tends to result in stitches that look more tidy.
Follow the video tutorial below to learn how to crochet an invisible decrease.
Double Crochet
While single crochets are the core of amigurumi design, double crochet stitches are also part of the basic techniques you should know when making cute crochet animals.
Follow the video tutorial below to learn how to crochet double crochet stitches.
Wanna save this pattern?
Slip Stitch (sl st)
Slip stitches are important crochet skills for most projects and ami projects are no exception. This technique is most often used for moving across stitches without creating the typical height of a single or double crochet stitch. Slip stitches can also be used to create surface details on top of crochet fabric.
How to Crochet a Slip Stitch: A slip stitch is really easy to do. Insert your hook in next stitch. Yarn over and pull up a loop. Pull the newest loop on your hook through the original loop on your hook. That's all there is to it!
Follow the video tutorial below to learn this helpful amigurumi technique.
Step 5: Learn More Amigurumi Stitches & Skills
There are limitless possibilities when it comes to mastering how to crochet amigurumi, so there are also endless things to learn. I find the best way to learn new crochet techniques is to find good tutorials and get hands-on experience.
How to Change Yarn Color
If you are looking to upgrade your amigurumi skills, learning how to change colors is a great place to start. While there are many ways to change color when crocheting, it's important to use invisible color change when crocheting amigurumi pieces.
Here's a helpful video tutorial on four different methods of changing colors in amigurumi.
The Magic of Jog-less Stripes
When crocheting in spiral rounds, your stripes will meet up in a slightly misaligned way. This causes the stripes to look almost like stair steps.
That's where the jog-less stripe technique comes in. While perfecting crochet stripes might take some practice to master, you can watch this video to learn the basics in just a few minutes.
Yarn Over Vs. Yarn Under
Most people learn how to crochet by yarning over. However, some people argue yarning under is best for amigurumi because it can create tighter stitches.
What's the difference between yarning over and yarning under in crochet anyhow? Well, in a nutshell: yarning over creates a "v" shaped stitch while yarning over creates an "x" shaped stitch.
If you're a beginner just learning how to crochet amigurumi, it's best to not get too mired in the details. But if you are really wanting to choose a team, take a look at this detailed tutorial on yarning over vs yarning under.
As with most crochet techniques, there are many ways to approach learning how to crochet amigurumi.
Right Side Vs. Wrong Side
In most crochet projects there is a right and wrong side of the crocheted fabric. In amigurumi, you are crocheting in a round, usually with single crochet stitches. So either side can look good and some people say the "wrong side" is best when crocheting plushies .
The default method of crocheting amigurumi is to stick with the right side facing out. The right side tends to be more textured and the stitches will have more of a "v" shape.
Some people prefer the look of the wrong side though because the stitches look more like horizontal lines. However, having the wrong side facing out can also risk causing your amigurumi to look a bit misshapen.
While the best way to see the difference between the wrong side vs the right side is just to practice with a few crochet circles. The next best thing is to watch this video tutorial which explains why each might be preferred.
Step 6: Finishing Your Stuffed Toy
The end of your first amigurumi project is in sight! Don’t despair if your pile of amigurumi pieces is not nearly as cute as the pattern photos. The next few steps will give your crochet plushie character and definition.
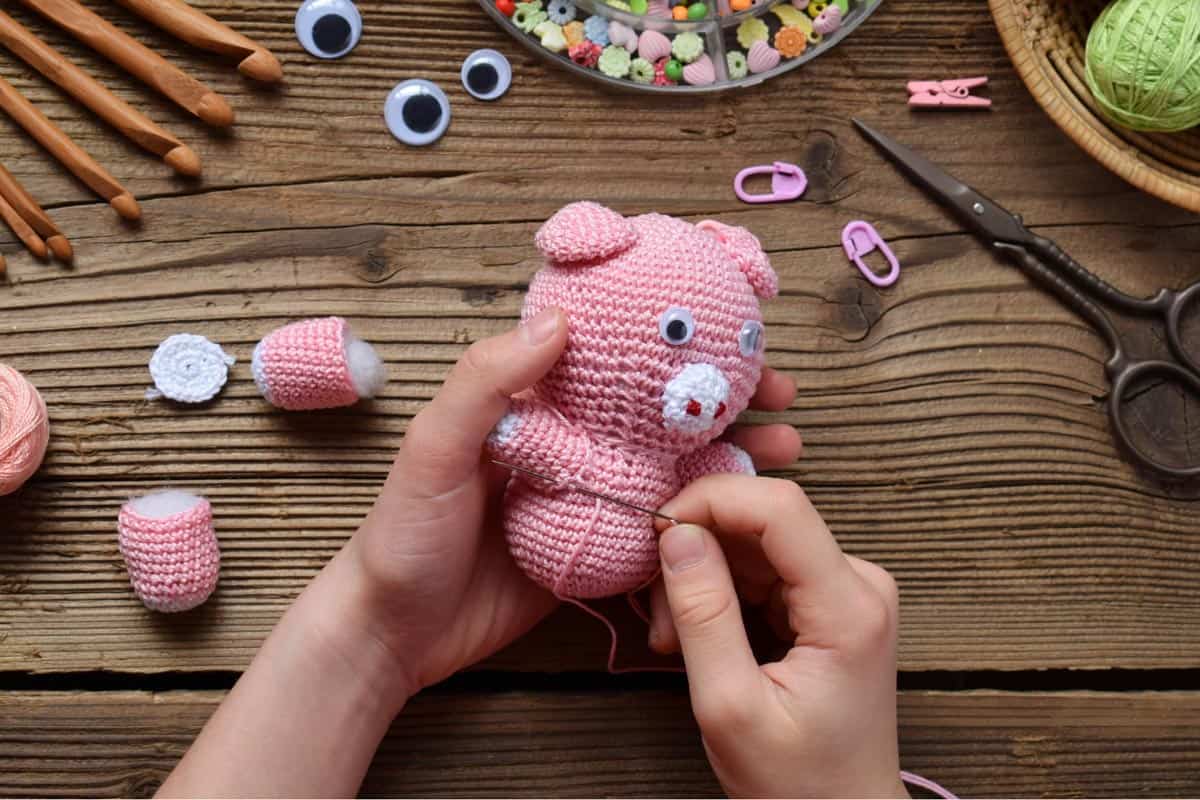
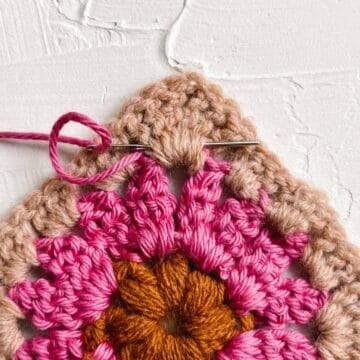
How to Attach Pieces
When sewing your pieces together, placement can make the difference between your amigurumi toy looking irresistibly cute or just sort of weird.
You want pieces, especially ears and arms, to be placed symmetrically. The best way to assure symmetrical spacing when joining amigurumi pieces is to count stitches and pin the pieces before attaching them. Your pattern will usually give you guidance on spacing.
Here are some tips for attaching amigurumi limbs:
- Count your stitches
- Weave in your ends securely
- Mark or pin where you want the limbs to go
- Trust your intuition
If you are more of a visual learner, here is a fantastic guide on how to sew on amigurumi limbs.
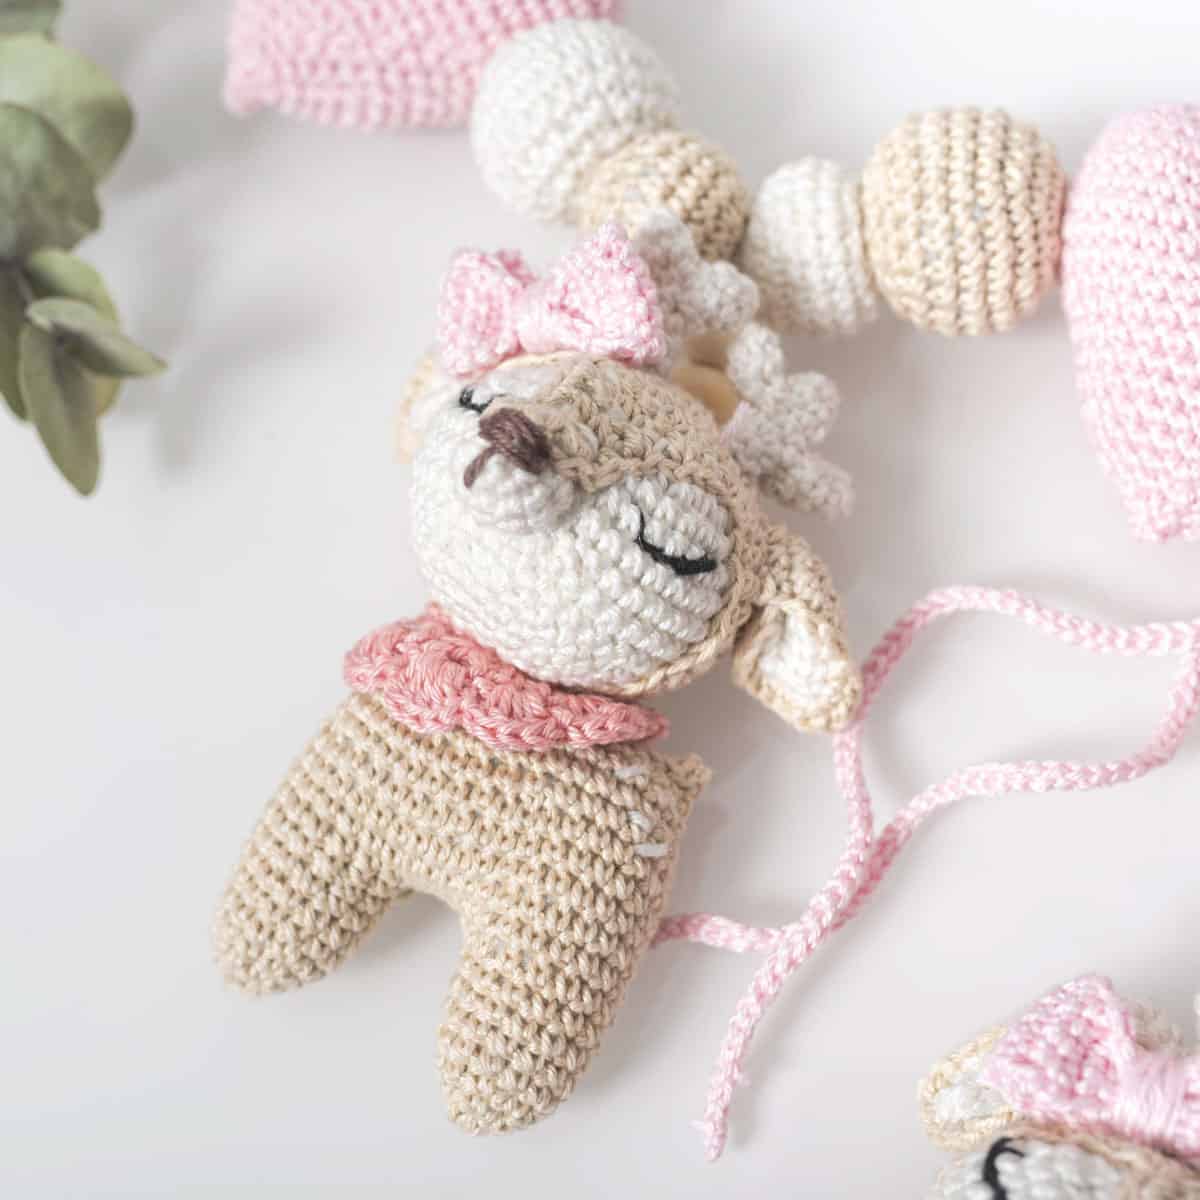
How to Embroider a Face
The kind of face required for your amigurumi depends on the specific pattern you are using. In most cases, embroidery floss, rather than yarn, is best for making detailed facial features like whiskers and eyelashes.
Whether you are doing a more detailed face or a few simple dots, count stitches to make sure you are making the elements symmetrical.
Some patterns will also call for you to add makeup, especially blush, to give your stuffy rosy cheeks. This gives projects an adorable, finished look.
PRO TIP: Use an erasable fabric marker to draw the face on first. This will allow you to see how it looks and will help with stitch placement. Don't be afraid to erase and tweak the markings.
How to Insert Safety Eyes
Some patterns will give you the option to use safety eyes or to sew eyes on. If you're just learning how to crochet amigurumi, it's best to go with safety eyes. Here’s why:
When you choose to embroider a face on amigurumi, it can be difficult to undo and move your stitches. Safety eyes can make the process much easier. They are extremely beginner-friendly as they are easy to secure and easy to adjust if you decide you don't like how they are placed.
I was confused about what a "safety eye" was for the longest time. Safety eyes are essentially two pieces of plastic. The front-facing piece is an eyeball with a stud protruding out the back. This stud is inserted through the outside of your crochet fabric.
Then the second piece is a small plastic washer that fits around the stud. This washer is added on the inside of the crochet piece. While getting the plastic washer attached can be difficult at first, it gets easier with practice.
Follow the video tutorial below to learn how to add safety eyes to amigurumi.
How to Stuff Amigurumi
For the best-looking amigurumi toy, you’ll want to stuff each body part or piece individually. Use a pencil or chopstick to stuff poly-fil firmly into the small areas of your pieces. This helps ensure each section gets enough stuffing to keep it firm.
You can do this with legs too if you want the animal to sit. Stuff the legs completely if you want the plushy to be firm and stand.
Over time poly-fil will compact and deflate, especially with kids' toys. I like to keep stuffing toys until I start to think they might have too much filling. It might feel like overkill at first but doing so helps crochet toys keep their shape over time.
I've found that when in doubt, add more stuffing!
PRO TIP: In general, keep the last third of the arms unstuffed. Leave the shoulder area lightly stuffed or completely unstuffed. This will give the arms a relaxed look rather than sticking straight out like a helicopter.
Weaving in Ends
Because of the magic circle and three dimensional nature of most stuffed animals, weaving in the ends of amigurumi can be a bit of a challenge. At the end of the day, the idea is the same as any other kind of crochet project. You want to secure your yarn tails so they don't unravel.
You should weave in your ends before you begin stuffing your project. This makes it easier to manipulate the project as needed and makes sure you can see where your yarn needle is going.
Even if your ends are inside the plushie it is still best to weave them in securely. This helps make your project sturdier and makes sure it doesn't unravel from the inside. (Although to be completely honest, I don’t always do this if I know my amigurumi will serve as decoration rather than be played with.)
Check out this video on how to weave in ends on amigurumi without leaving a bump in the crocheted fabric.
Easy Amigurumi Patterns for Beginners
Now that you've learned how to crochet amigurumi, some free patterns would be nice, right? There are many free crochet patterns available for amigurumi beginners. Here are a few to get you started:
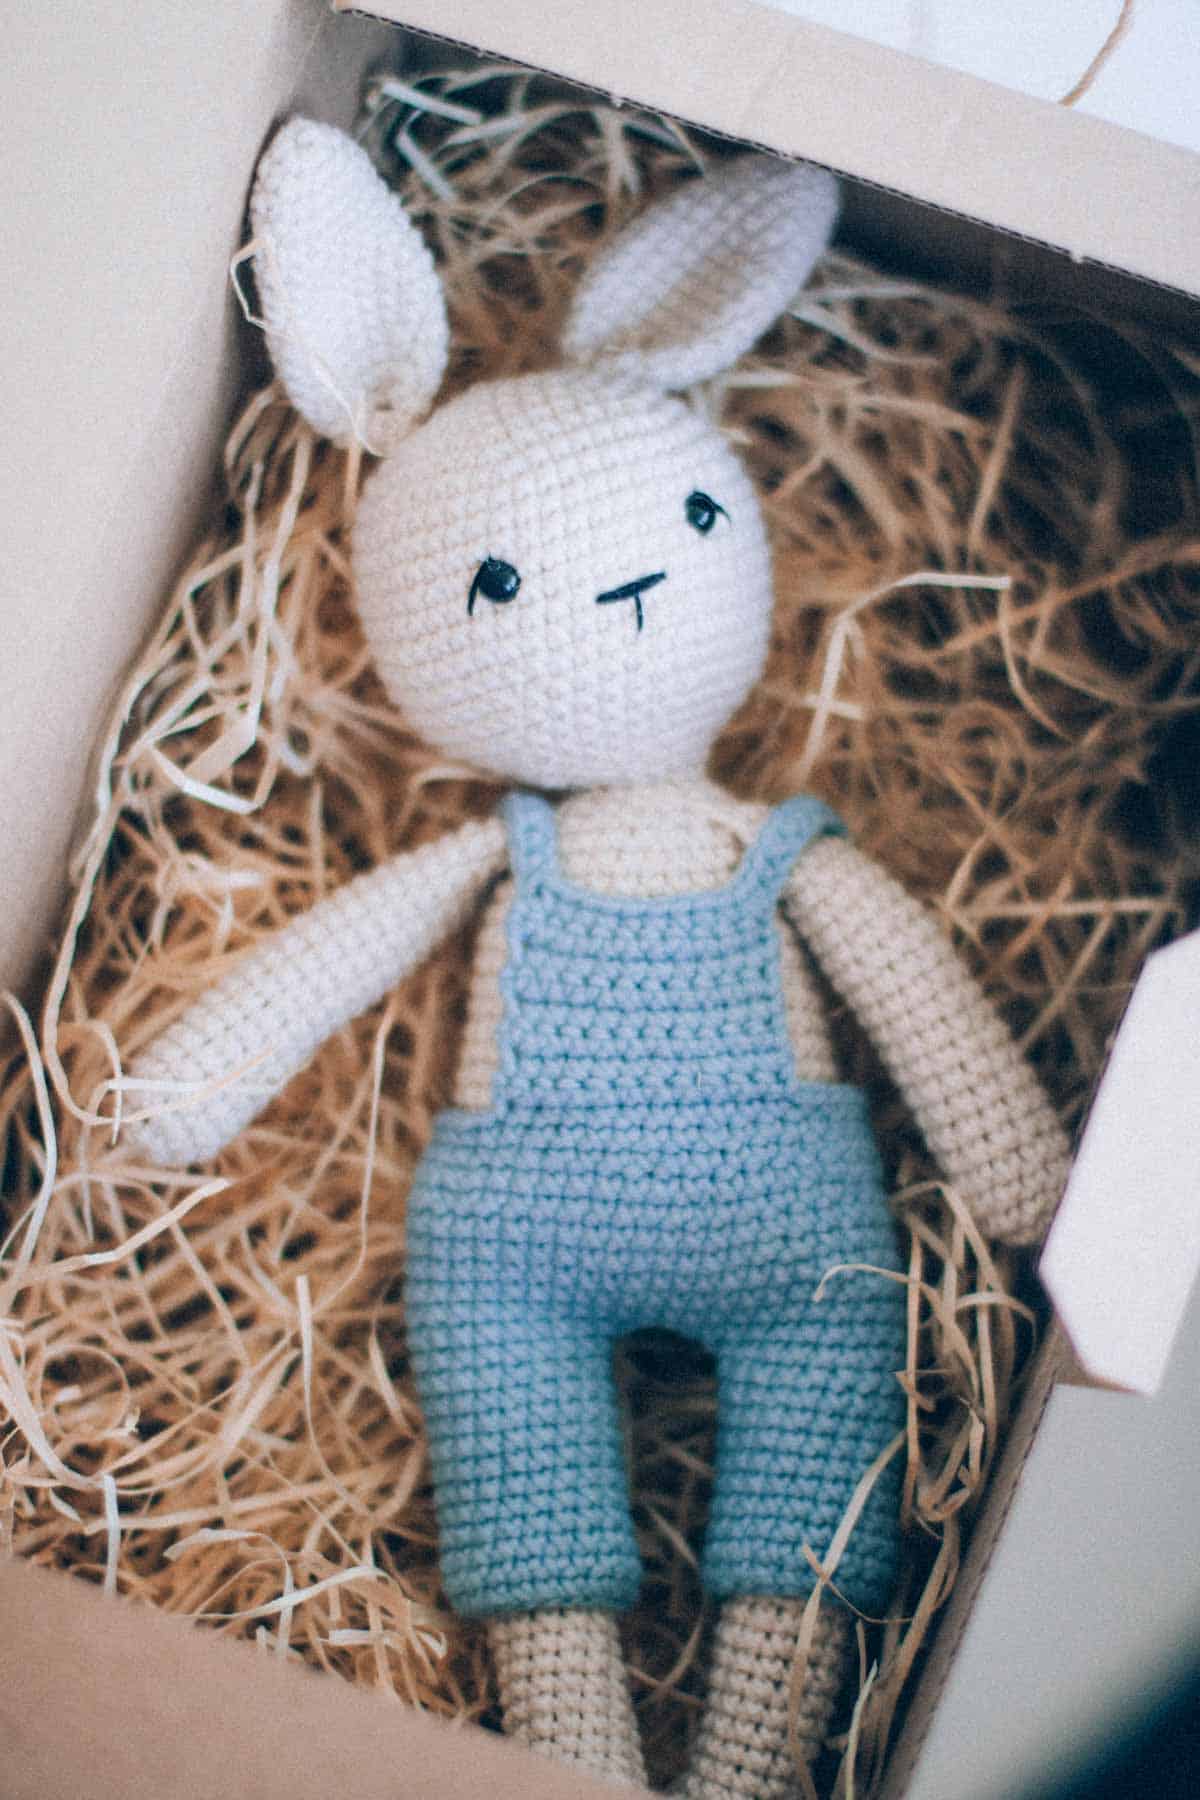
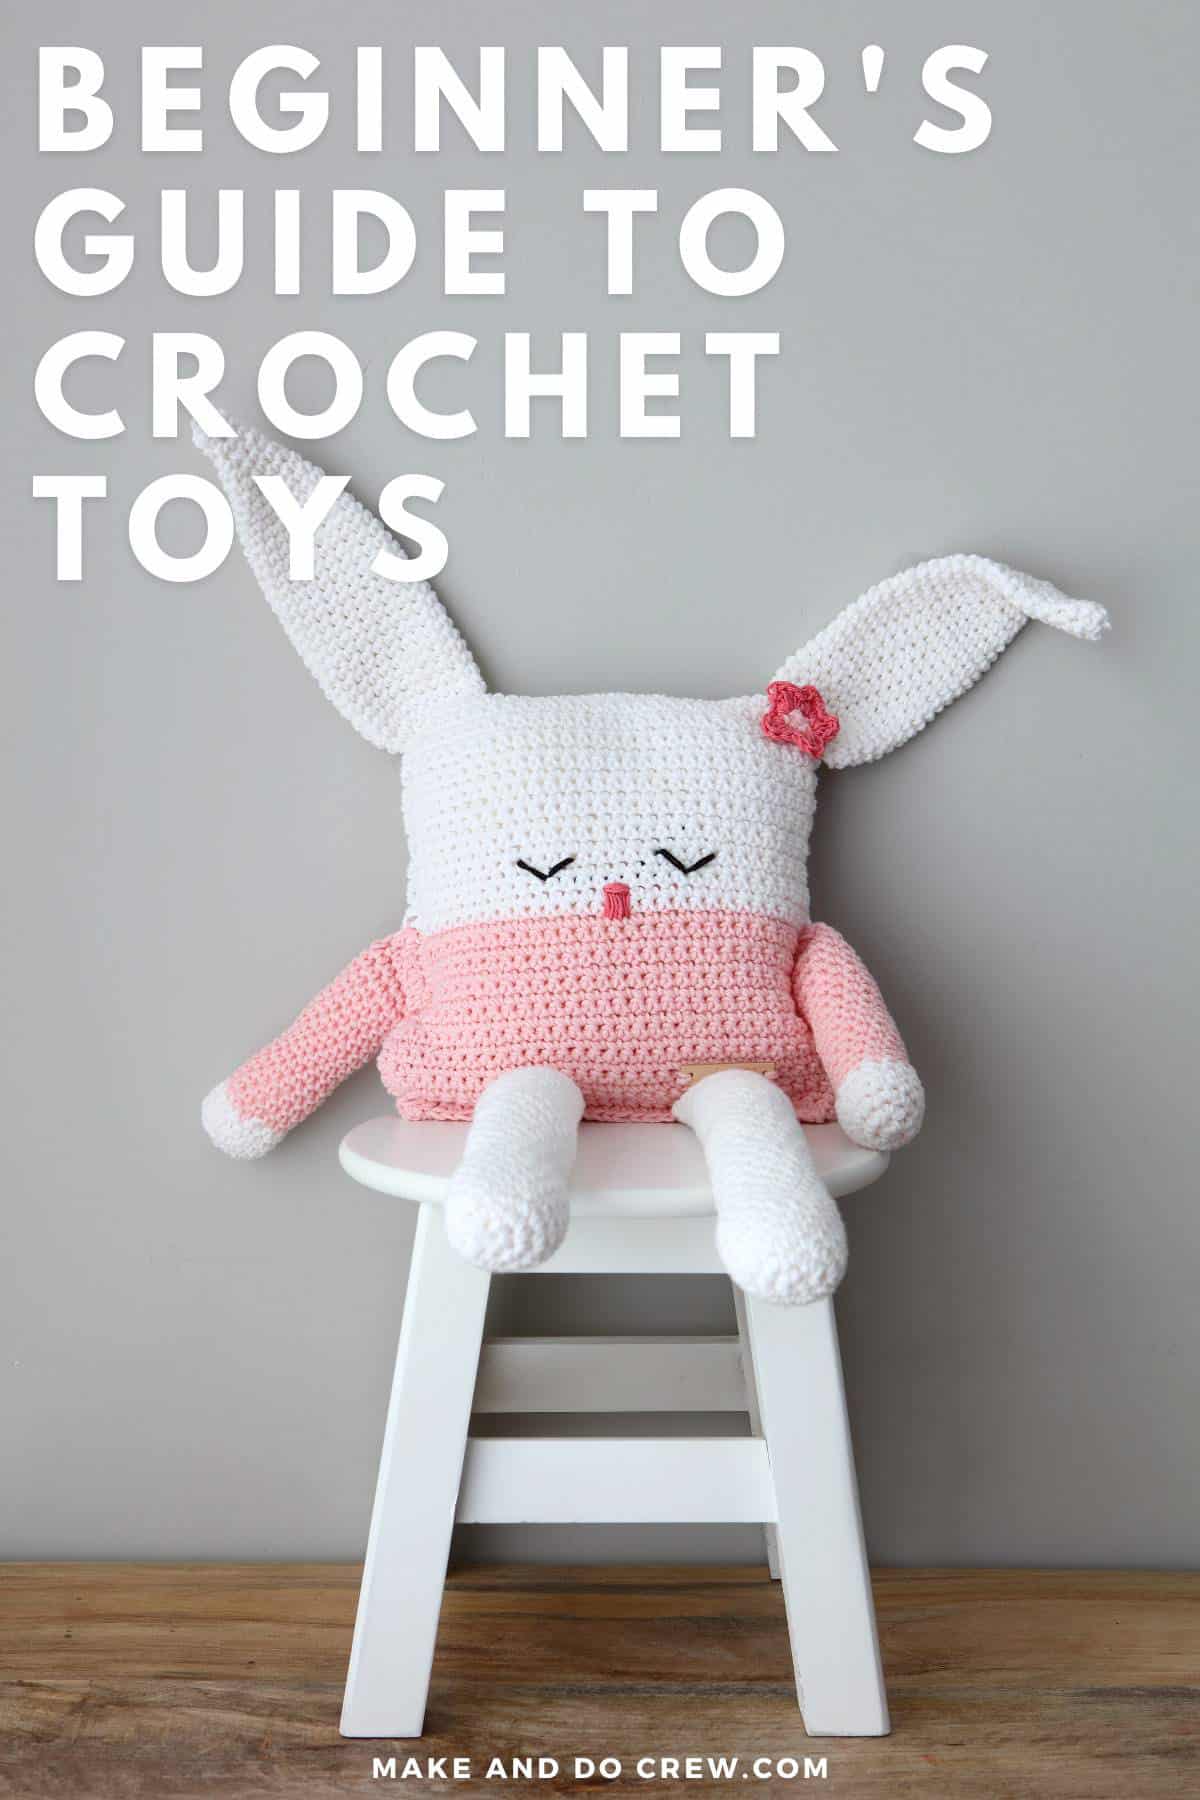
Crochet Bunny By Make & Do Crew - basically the easiest crochet toy pattern you'll find
Crochet baby octopus by All From Jade
Cocca the hen by The Crochettisti
Dumpling Kitty by Sarah Sloyer
Crochet Jellyfish by One Dog Woof

Questions About Learning How to Crochet Amigurumi
Okay, now that we've covered everything it takes to learn how to crochet amigurumi, here are a few other questions people wonder about.
The term amigurumi originates from the Japanese words ami and nuigurumi. Together they roughly translate to "knitted stuffed toy."
Amigurumi started to get popular in the 1980s and has grown increasingly common since then.
The term has slowly grown to include any kind of cute crocheted or knitted plushie. However, it most often refers to crocheted stuffed animals.
When looking for a beginner amigurumi project, look for plushies without many details. Also, pick a small project which will come together quickly. This will quickly boost your crafting confidence.
Our crochet bunny pattern is a great way to get started with amigurumi since it is made of a single rectangle and only requires basic stitches. The simplicity makes this plushy both beginner-friendly and adorable!
Because most projects are small, it doesn't take long to learn how to crochet amigurumi. As long as you start with easy projects, amigurumi can even be a good crochet project for complete beginners
The foundation of most crochet amigurumi patterns is a magic circle. Once your magic circle is complete, you can pull the yarn tail to close the gap. While there are other ways of starting plushies, a magic circle results in tight stitches that stuffing shouldn't escape from.
That was so fun! Now what?
Invitation to our Facebook group
Come discuss learning how to crochet amigurumi and lots of other crochet projects and techniques in our Make & Do Crew Facebook group. Here thousands of helpful crocheters answer each others questions and share their stitches. Come join us here.
Our Most Popular Free Crochet Patterns
Here are a few of our beginner crochet guides makers have loved most. We hope you will too!

Sheila Smith says
Thanks Jess, how generous to share such good information & resources!
Jess Coppom says
I learned so much researching this post too. Glad you found it useful, Sheila!
Jess
Jen Coetzee says
FANTASTIC Thank you very much. I think I will start with the Dumpling Kitties 😊🤗
Jess Coppom says
Ah, how cute! Have fun!
Jess