Crochet Decor
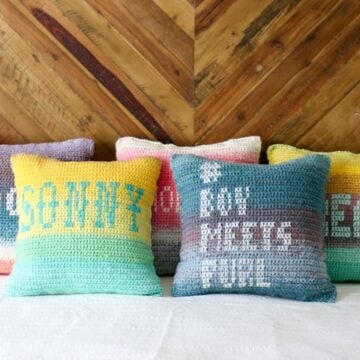
Crochet home decor is all the rage, and lucky for you, you can make your own! Here you'll find plenty of crochet cushion patterns of course, but you might also love crocheting your own pouf ottoman, making a basket from dollar store twine or learning how to add personalized words to a crochet pillow.
Narrow your search:
-
Full-Sized Free Crochet Bean Bag Pattern Part 1
-
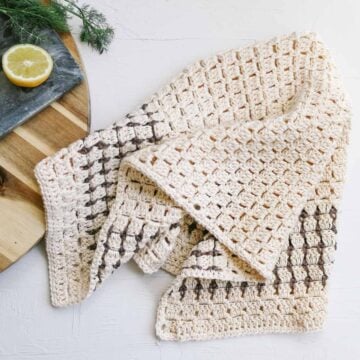
Farmhouse Easy Crochet Kitchen Towel - Free Pattern
-
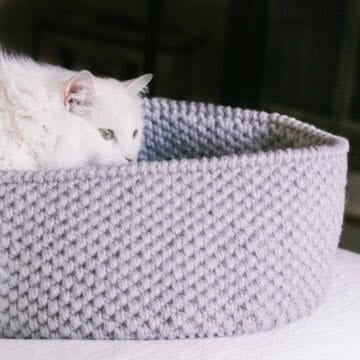
Free Crochet Cat Bed Pattern (for Dogs Too)
-
How to Crochet a Mirror Wall Hanging - by Crafting by Lucy
-
Corner to Corner Crochet Pillow - Free Pattern
-
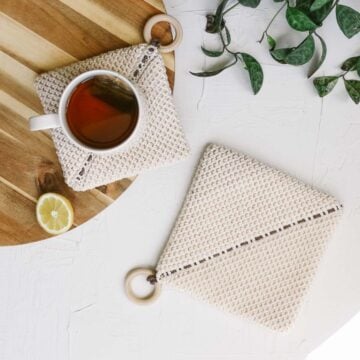
Easy Crochet Potholder - Double-Thick Thermal Pattern
-
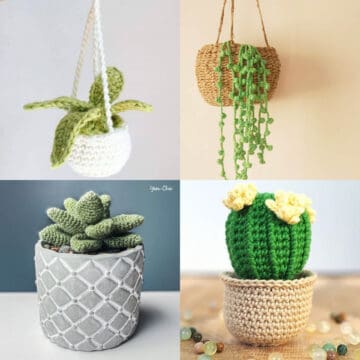
25 Free Crochet Plant, Succulent, and Cactus Patterns
-
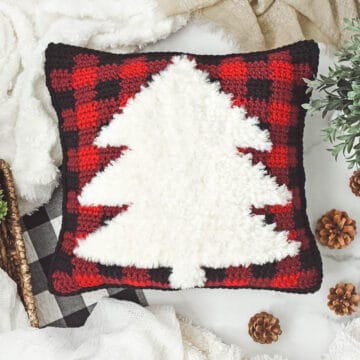
Christmas Crochet Pillow - Free Pattern by The Turtle Trunk
-
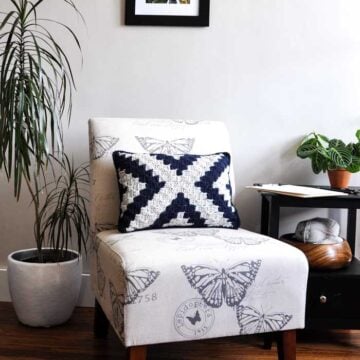
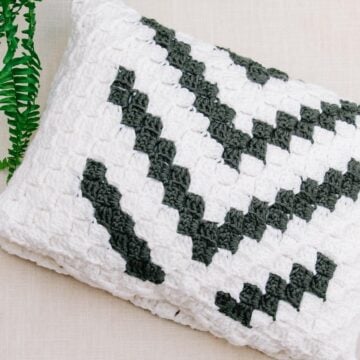
C2C Crochet Pillow Cover - Free Pattern by Fly the Distance Co.
-
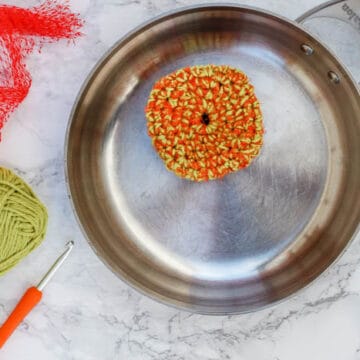
How to Crochet Pot Scrubbers With Produce Bags
-
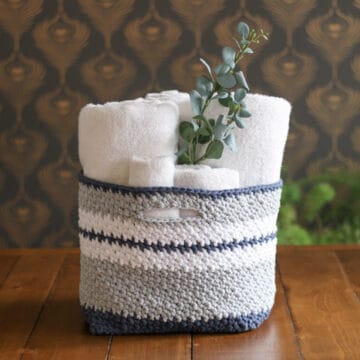
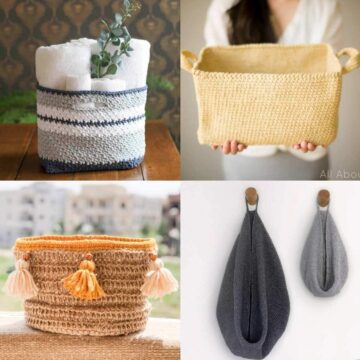
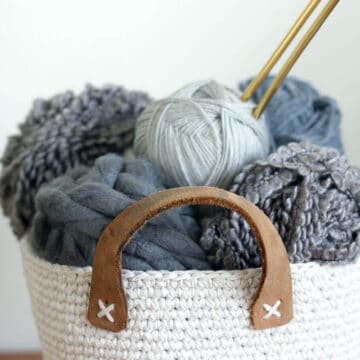
Quick + Easy Crochet Basket Pattern
-
Crochet South America Map Pillow - Free Pattern by PukaPuka
-
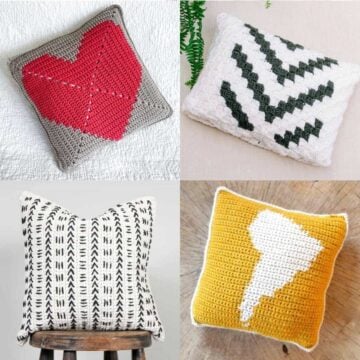
35 Crochet Pillow Patterns For Cozy, Handmade Style
-
Easiest Beginner Corner to Corner Crochet Blanket Pattern
-
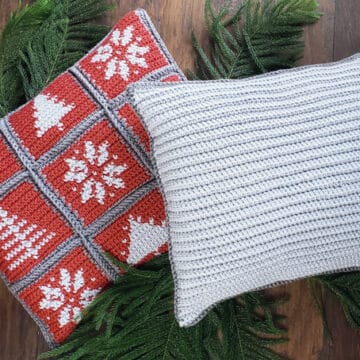
Christmas Tapestry Crochet Pillow - Free Pattern by Stitch And Hound
-
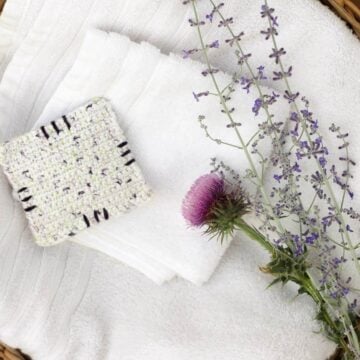
Crochet Dried Lavender Sachets - Free Beginner Pattern
-
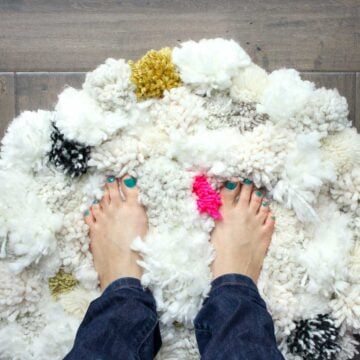
How To Make a DIY Pom Pom Rug
-
30 Free Crochet Basket Patterns To Contain the Clutter
-
Chroma Stripes Multicolor Crochet Blanket - Easy Free Pattern
-
35 Crochet Scrap Yarn Projects - Free Patterns
-
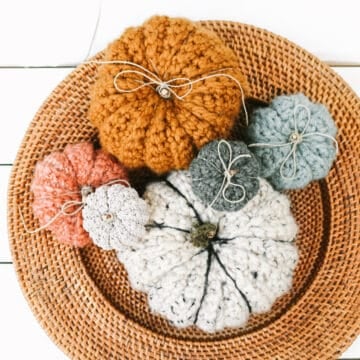
Absolute Easiest Free Crochet Pumpkin Pattern
-
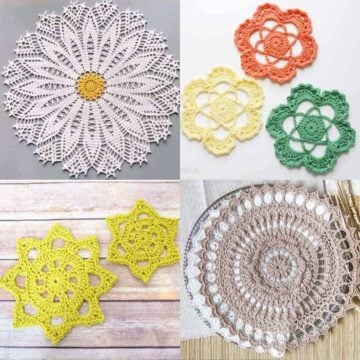
30 Best Free Crochet Doily Patterns - Easy to Advanced
-
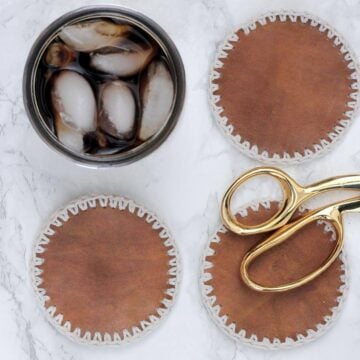
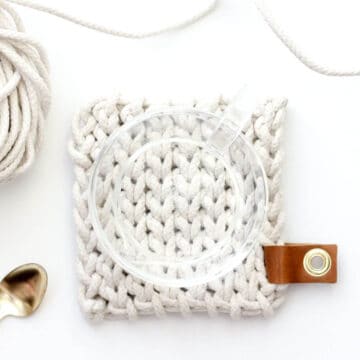
DIY Leather + Crochet Coasters - Free Pattern
-
Clothesline Trivet - Free Crochet Pattern
-
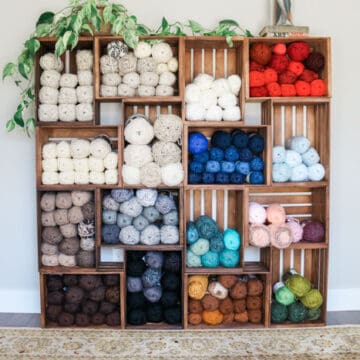
How to Build Shelves Using Wooden Crates
-
Easy Crochet Basket - Free Pattern
-
Mandala Ombre Pillows - Easy Free Crochet Pattern
-
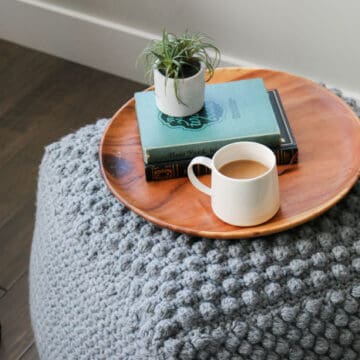
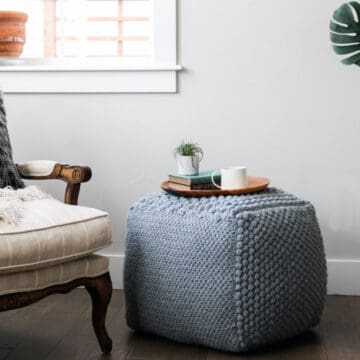
The Sampler Free Crochet Pouf Pattern Part 2
-
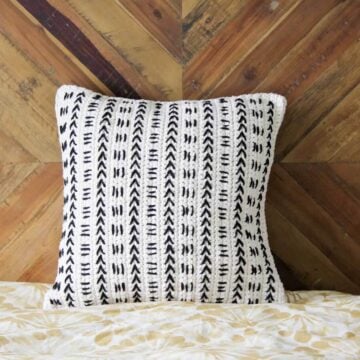
Mud Cloth Crochet Pillow Pattern -- Free Pattern!
-
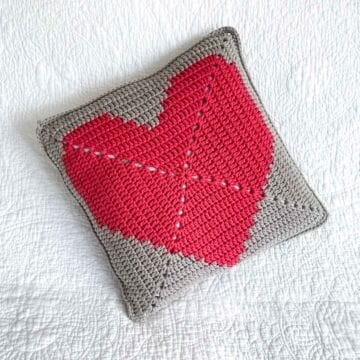
Easy Crochet Heart Pillow - Free Pattern
-
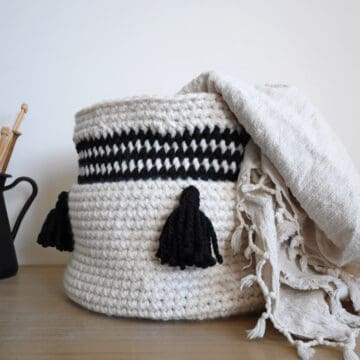
Dollar Store Twine + Thrifted Belt Free Crochet Basket Pattern