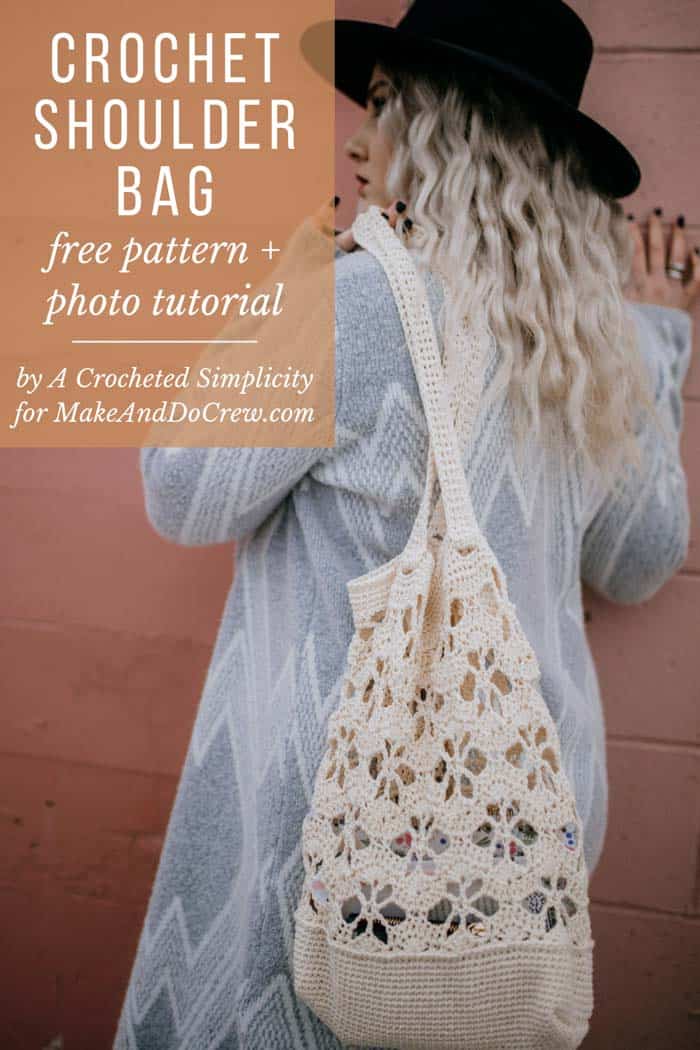
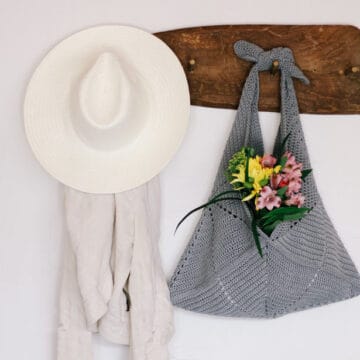
Whether you're heading to the beach, the farmer's market or to work, this versatile crochet shoulder bag is sturdy enough to hold all your goods without weighing you down. Get the full free pattern below.
Thanks to Lion Brand Yarns for providing the yarn for this free crochet shoulder bag pattern. This post contains affiliate links.
Welcome back to the Make & Do Crew guest designer series. While I'm getting to know the newest baby in our family, Jennifer from A Crocheted Simplicity is sharing her free crochet shoulder bag pattern with us today! You can see lots of of Jennifer's crochet patterns her blog, A Crocheted Simplicity and Ravelry. And be sure to check her out on social media too: Instagram, Pinterest, and Facebook. Jennifer, take it away!
The Inspiration for My Crochet Shoulder Bag Pattern
Hi Everyone! I'm Jennifer, the designer behind A Crocheted Simplicity and I'm excited to be sharing my Summer Breeze Tote Bag with all of you! Ever since teaching myself to crochet, I've always had a special place in my heart for crocheted bags (and Milk Duds) so it seemed fitting that I designed a tote bag for my guest post today. A girl can never have too many crochet bags, right? And I guess you could say the same for Milk Duds.

For the Summer Breeze Tote Bag, I really wanted to design a bag that would be versatile enough to function well as several different bag types. I wanted it to have the airiness of a fun summer beach bag and the functionality of a nice solid tote.
To accomplish both, I began with single crochet to create the solid bottom portion of the bag and then transitioned to a fun, openwork design. I chose to finish off my crochet tote with a couple beaded yarn tassels for a pop of color. I've always believed it's the little finishing touches that can help your finished project stand out in a crowd... and they give it personality!
Related: 30+ Best Crochet Crop + Tank Top Patterns
A Beginner Crochet Market Bag with Sturdy Details
Style meets function and versatility in this fun crochet bag. Basic stitches form the bag's solid bottom and also the delicate openwork design. The openwork crochet design will be a fun challenge for advanced beginners and it will keep experienced crocheters from losing interest. Use your bag as a crochet project bag, beach bag, market bag, or everyday tote bag - customize it to suit your taste by playing around with color, or by adding tassels, poms, and more!
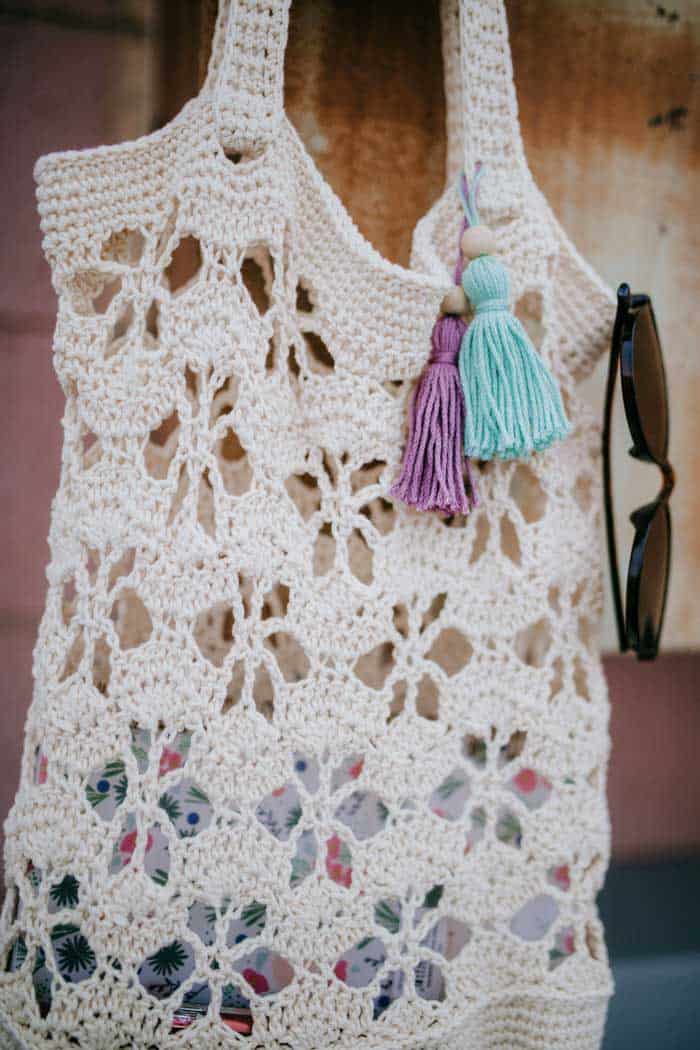
You'll begin by working rounds of single crochet in a spiral and then change things up a bit by working the openwork stitch pattern in joined and turned rounds. I've constructed the bag this way to keep from having visible seams.
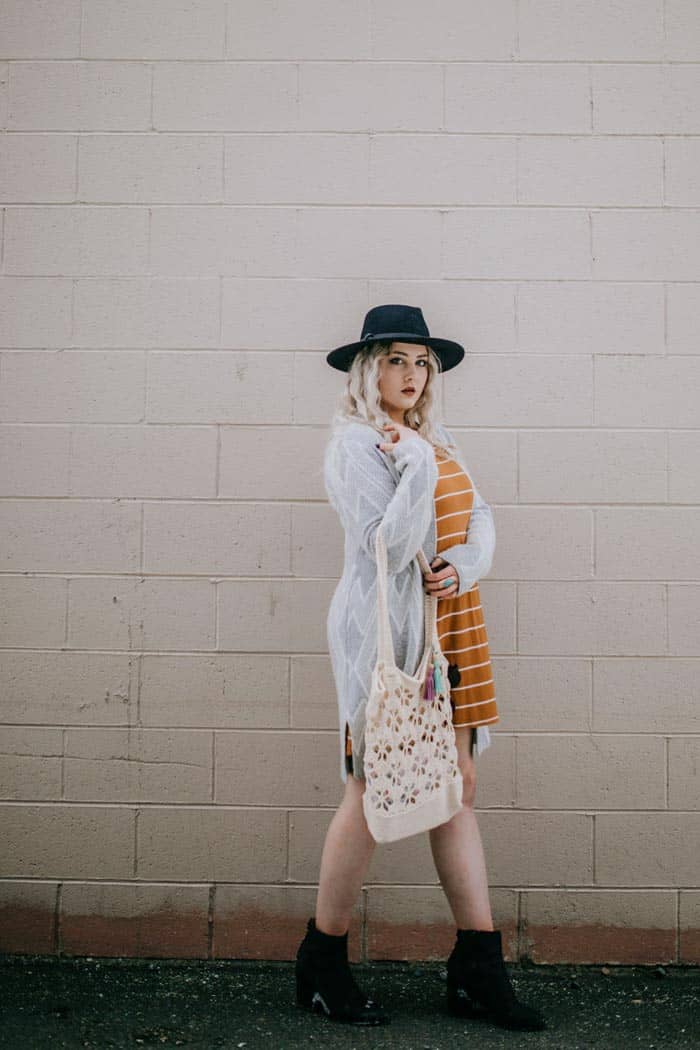
After crocheting the bag, you'll learn a fun, yet simple way to create a nice square bottom for your tote bag. Then finish off your tote bag with straps and a couple fun tassels... if that's something that you fancy. I chose to crochet the straps for my tote bag, but think straps made of leather or yarn ropes would look great as well.
A Durable Yarn Perfect Crochet Purses and Bags
Cotton has always been my go-to fiber for crochet bags and Lion Brand 24/7 was the perfect choice for this project. Available in 24 incredible colors, Lion Brand 24/7 cotton yarn is a worsted-weight, mercerized cotton yarn with a beautiful sheen and fantastic stitch definition. You're sure to find a color combination that fits your taste.
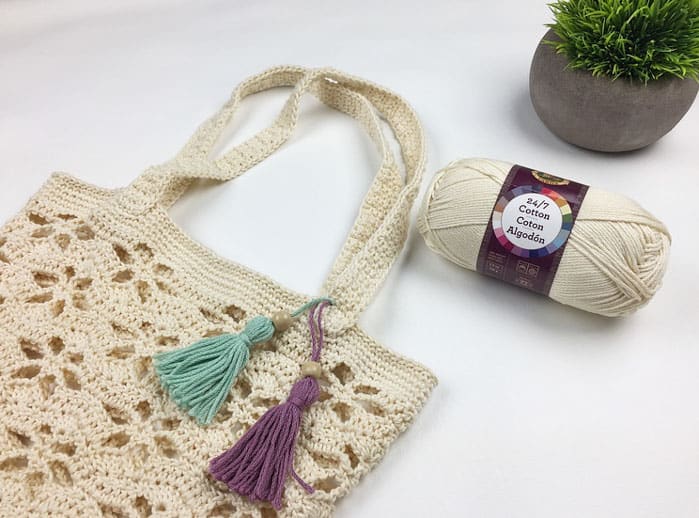
If you choose to use a yarn with a different fiber content, such as an acrylic like Lion Brand Vanna's Choice, you can certainly do so. Just remember that the acrylic will be stretchier so I would suggest making the straps a tad bit shorter to compensate for that!
More Free Crochet Bag + Purse Patterns
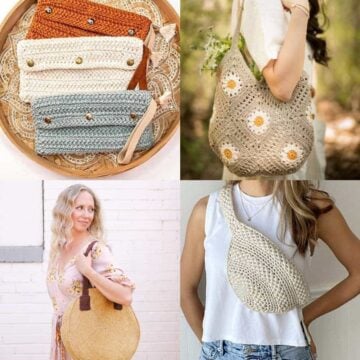
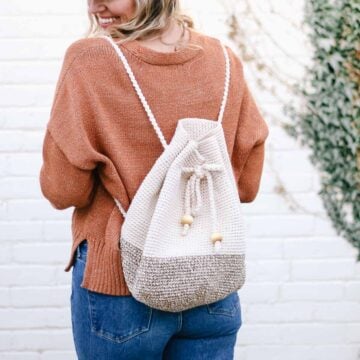
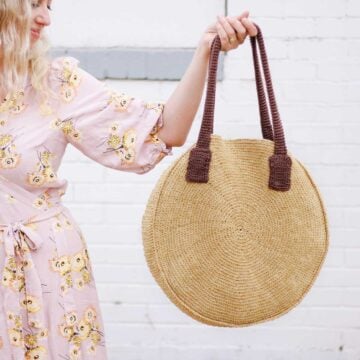
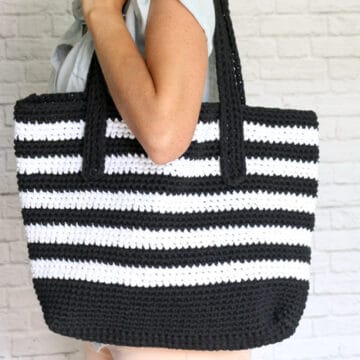
From modern granny square bags to mesh market totes to circle purses, we've got lots more free crochet bag patterns for you to enjoy. With sturdy straps and stylish details, you might just become a crochet bag-a-holic.
See more free crochet bags & purses patterns →
Summer Breeze
Free Crochet Tote Bag Pattern
Save it to your Ravelry or purchase the printable PDF here.
Pin this pattern for later here.
Explanation:
Style meets function and versatility in this fun crochet bag. Basic stitches form the bag's solid bottom and also the delicate openwork design. The openwork crochet design will be a fun challenge for advanced beginners and it will keep experienced crocheters from losing interest. Use your bag as a crochet project bag, beach bag, or everyday tote bag - customize it to suit your taste by playing around with color, or by adding tassels, poms, and more!
Supplies:
• Lion Brand 24/7 Cotton Yarn (weight: 4/worsted - 400 yards, 3.5 oz)
- Ecru (#761-908) - 3 balls
• Size G (4.00 mm) crochet hook
• Tapestry needle
• Stitch markers
• Scraps of yarn for tassels (optional)
Sizes/Measurements:
• One Size: 9" W x 4" D x 10.5" H
Gauge:
• In sc: 14.25 sts + 15 rows = 3"
• Openwork Stitch Pattern: 7.5 rows = 4"
Abbreviations and Glossary (US Terms):
ch(s): chain(s)
sl st: slip stitch
st(s): stitch(es)
sc: single crochet
dc: double crochet
beg: beginning
Rnd(s): round(s)
RS: right side
BLO: back loop only
SM: stitch marker
Overall Pattern Notes:
• I tend to crochet tightly. If you do not, you may need to adjust your hook size to meet gauge and achieve proper sizing.
Bottom Section of Bag
Set-Up: With a 4.00mm crochet hook, ch 128. Being careful not to twist the chain, join w/ a sl st to the 1st ch. (128 sts)
Note: This section is worked in continuous rounds (a spiral). Do not join at the end of each round, instead use a scrap piece of yarn to keep track of the beginning of each round. Move the scrap of yarn up as you complete each round.
Rnd 1 (RS): Ch 1, working in the back hump of the foundation chain, sc in each ch around. (128 sts)
Rnds 2 - 20: Sc in each st around. (128 sts)
Rnd 21: Sl st in each st around. Use Special Join Technique to join (click HERE for tutorial) (128 sts)
Do Not Fasten off. Weave in ends. Continue on to Openwork Section.
Openwork Section
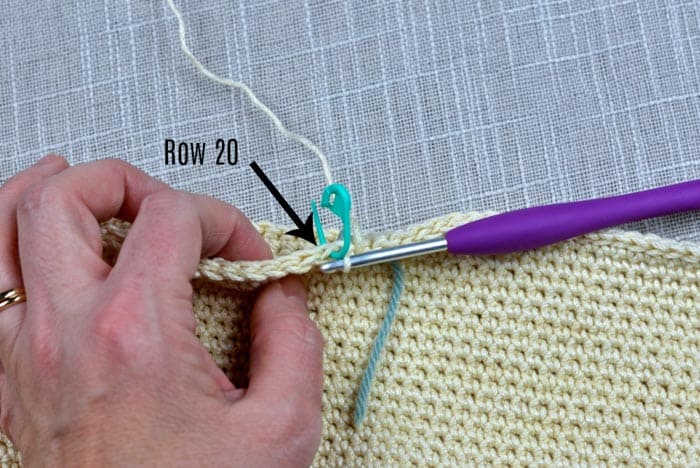
*Round 1 is worked into the stitches from Round 20 of the Bag. Round 21 is just for aesthetics.
Rnd 1 (RS): Ch 3 (counts as 1st dc), 2 dc in the same st as ch-3, (skip each of the next 2 sts, sc in the next st, ch 1, skip the next st, sc in the next st, skip each of the next 2 sts, 5 dc in the next st) rep from ( to ) around to the last 7 sts, then skip each of the next 2 sts, sc in the next st, ch 1, skip the next st, sc in the next st, skip each of the next 2 sts, work 2 more dc into the first st. Join w/ a sl st to the top of the beg ch 3. Turn. (128 sts) *includes chs
Rnd 2: Ch3 (counts as 1st dc), dc in each of the next 4 sts, (ch3, skip each of the next 3 sts, dc in the next st, ch 3, skip each of the next 3 sts, dc in the next 9 sts) rep from ( to ) around to the last 11 sts, then ch 3, skip each of the next 3 sts, dc in the next st, ch 3, skip each of the next 3 sts, dc in each of the next 4 sts. Join w/ a sl st to the top of the beg ch 3. Turn. (128 sts) *includes chs
Wanna save this pattern?
Rnd 3: Ch 1 (does not count as a st), (sc in the next st, ch 5, skip each of the next 5 sts, sc in the next st, ch 1, skip the next st, sc in the next st, ch 5, skip each of the next 5 sts, sc in the next st, ch 1, skip the next st) rep around. Join w/ a sl st to the 1st sc. Turn. (128 sts) *includes chs
✨Unlock this free subscriber-exclusive pattern ✨
Follow these steps to view the full free pattern below
Rnd 7: Sl st in each st around. Remove loop from your hook, insert hook under loops of 1st sl st, put loop back on hook and pull thru to the inside of bag. (128 sts)
Fasten off. Weave in ends. Continue on to Seaming the Bottom of the Bag.
Seaming the Bottom of the Bag
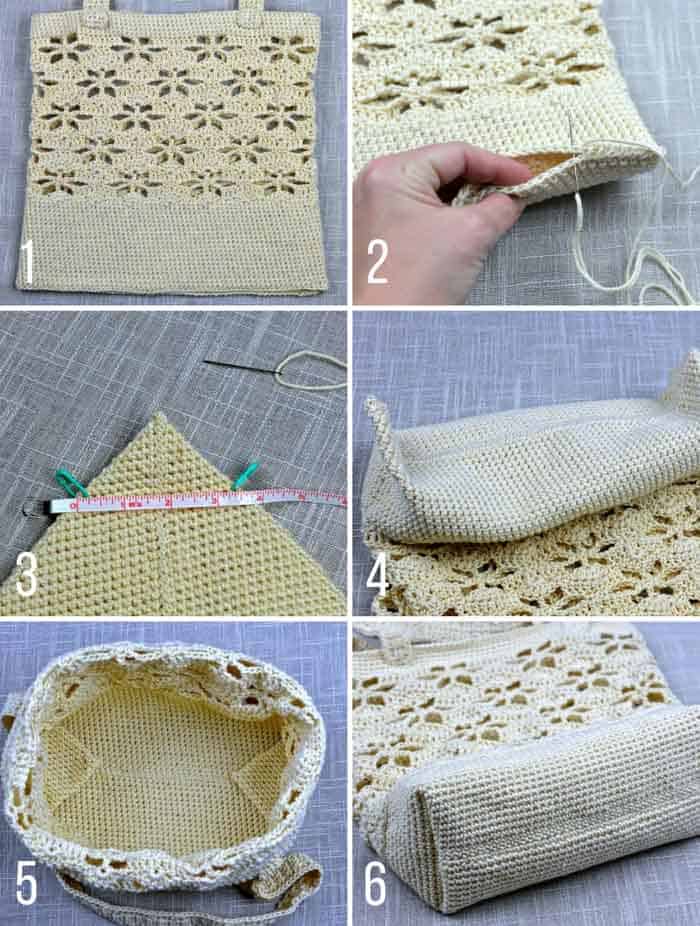
Step 1: Turn the bag inside out, lay it flat in front of you, and line up the handle holes on the front and back (this will help you find the center of the bag). See photo 1 below.
Step 2: Using a yarn needle and length of CC approximately 3 times the width of the bag, whipstitch the bottom of the bag closed making sure to work into every stitch. Weave in ends. See photo 2 below.
Step 3: Keep your bag inside out and position it so that one corner of the seam becomes the tip of the triangle (shown in the photo). Note that the seam is centered vertically in the triangle. See photo 3 below.
Step 4: Use a measuring tape and find the points on the triangle where it measures 3.5" across. Mark both the right and left side with a stitch marker. See photo 3 below.
Step 5: Use a yarn needle and 12" piece of yarn and sew from one stitch marker to the next, working thru both layers of the bag. See photo 4 below.
Step 6: Turn your bag right side out. Photo 5 below shows what the inside of your bag will look like. Photo 6 below shows what the bottom of your bag will look like.
Weave in ends. Continue on to Straps.
Straps (Make 2)
Row 1 (RS): With a 4.00mm crochet hook, leave an 8" tail of yarn, then ch 4, working in the back hump of the foundation chain, sc in the 2nd ch from your hook, sc in each of the next 2 chs. Turn. (3 sts)
Row 2: Ch 1, sc in each st across. Turn. (3 sts)
Rep Row 2 until your strap measures 21" (or longer, if desired, but remember it will stretch 4-5").
Do not fasten off. Continue on to Strap Edging.
Strap Edging
Tip! When working into the sides of the rows along the long edges of the strap, if your strap starts to become wavy, go down a hook size for the edging.
Rnd 1 (RS): Ch 1, rotate strap to work into the sides of the rows along the first long edge, work 1 sc into the side of each row, ch 1, rotate to work into the bottom of Row 1, sc in each st across, ch 1, rotate to work into the sides of the rows along the second long edge, work 1 sc into the side of each row, ch 1. (stitch count isn't crucial)
Fasten off leaving an 8" tail. Make the second strap then continue on to Attaching Straps.
Attaching Straps
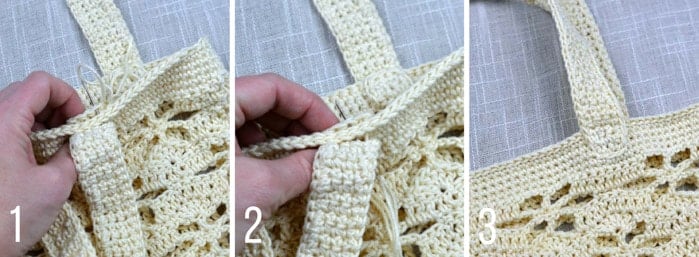
Step 1) With the front of the bag facing you, insert one end of the strap through one of the openings along the top of the bag. Insert from outside to inside. Insert it far enough so that you can fold it up and it lines up with the top edge of the bag. See photos 1 and 2 below.
2) Using a yarn needle and tail of yarn, sew the short edge of the strap to the top edge of the bag and the front of the bag strap. Fasten off. Weave in ends. See photo 3 below.
3) Without twisting the strap, repeat steps 1 & 2 for the opposite edge of the strap.
Weave in ends. Continue on to Tassels, if desired.
Tassels
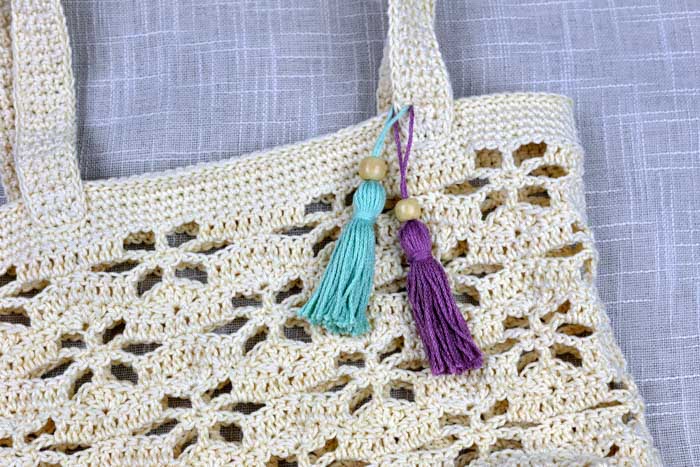
For the tassels shown in the photos, I used my cell phone as a template. You can use a book or a piece of cardboard that is approximately 3.5" - 4" long.
Click HERE for a photo tutorial to make your tassels.
Make 1 - 3 tassels and attach them to the bag as shown in the photo below.
Thanks again to Jennifer of ACrochetedSimplicity.com for sharing this free summer crochet tote bag pattern! Be sure to check out Jennifer's blog for lots more free modern crochet patterns!
That was so fun! Now what?
Invitation to our Facebook group
Come discuss crocheting shoulder bag patterns and lots of other crochet projects and techniques in our Make & Do Crew Facebook group. Here thousands of helpful crocheters answer each others questions and share their stitches. Come join us here.
More Free Crochet Patterns for Bags + Purses
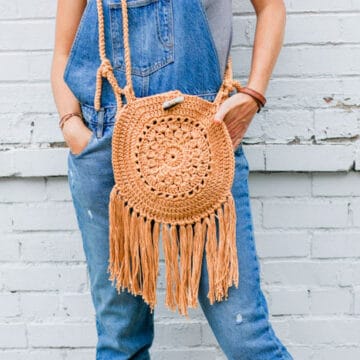
- Fringe Crochet Purse Pattern - bohemian flare!
- Beginner Crochet Tote Bag - fun crochet geometry
- How to Add Leather Handles to Any Crochet Bag - easy upgrade
- Crochet Tote Bag Free Pattern - with leather handles
- Finger Crochet Bag Pattern + Video - no hook, no problem!
- Free Crochet Bag Pattern For Beginners - very simple construction
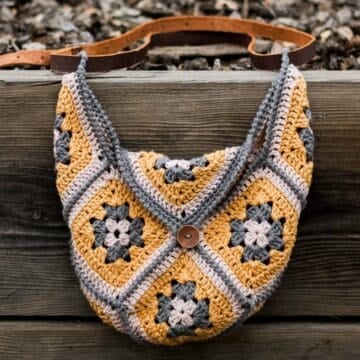
- Granny Square Crochet Bag Pattern - on-trend sling bag
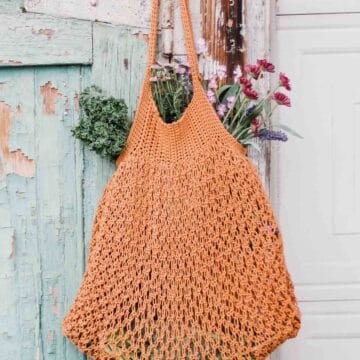
- Mesh Crochet Market Bag Pattern - perfect for the farmer's market
More Free Modern Crochet Patterns for Summer
On a crochet roll and not ready to stop? Here are some more modern crochet patterns for warm weather - and they are all free!
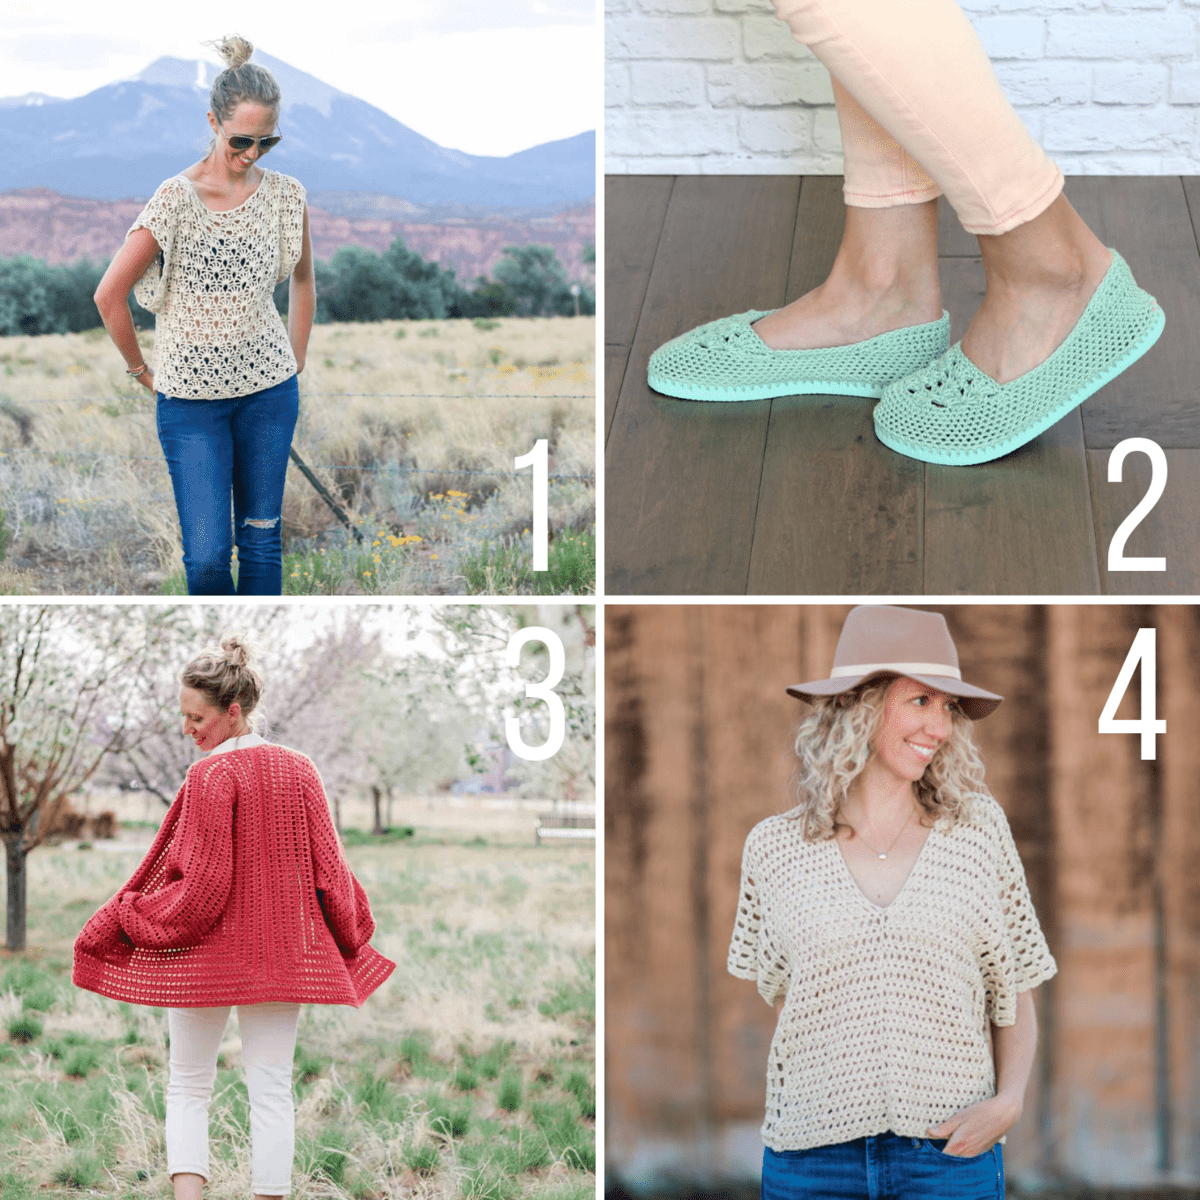
1. Canyonlands Boho Crochet Top - Combine the breezy Canyonlands boho crochet top with a bandeau or cami, a pair of well-worn jeans and a free spirit and you’ll have yourself the perfect bohemian summer look!
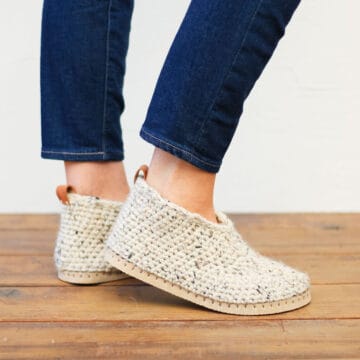
2. Summer Crochet Slippers - Cotton yarn and flip flops combine to make super comfy crochet slippers with soles. These are perfect for warmer weather too!
3. Day Date Crochet Sweater + Video Tutorial - Two simple crochet hexagons transform into a lightweight, on-trend cardigan complete with cozy pockets and roomy bishop sleeves.
4. Saratoga Poncho Top - Made from two simple rectangles, this summer crochet top will take you effortlessly from music festival to BBQ to beach vaca this season.






Leave a Reply