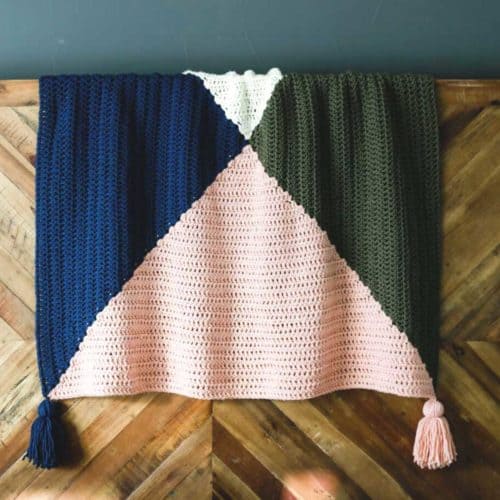
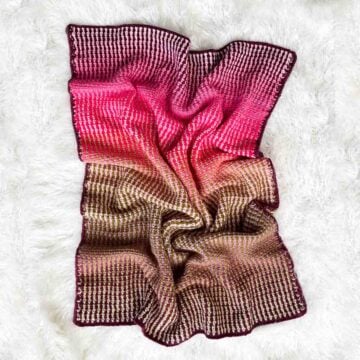
Introducing our free modern patchwork blanket pattern with twisted fringe! If you love the playful look of scrappy crochet projects, but you dread weaving in the ends, this “crazy quilt” patchwork blanket is for you.
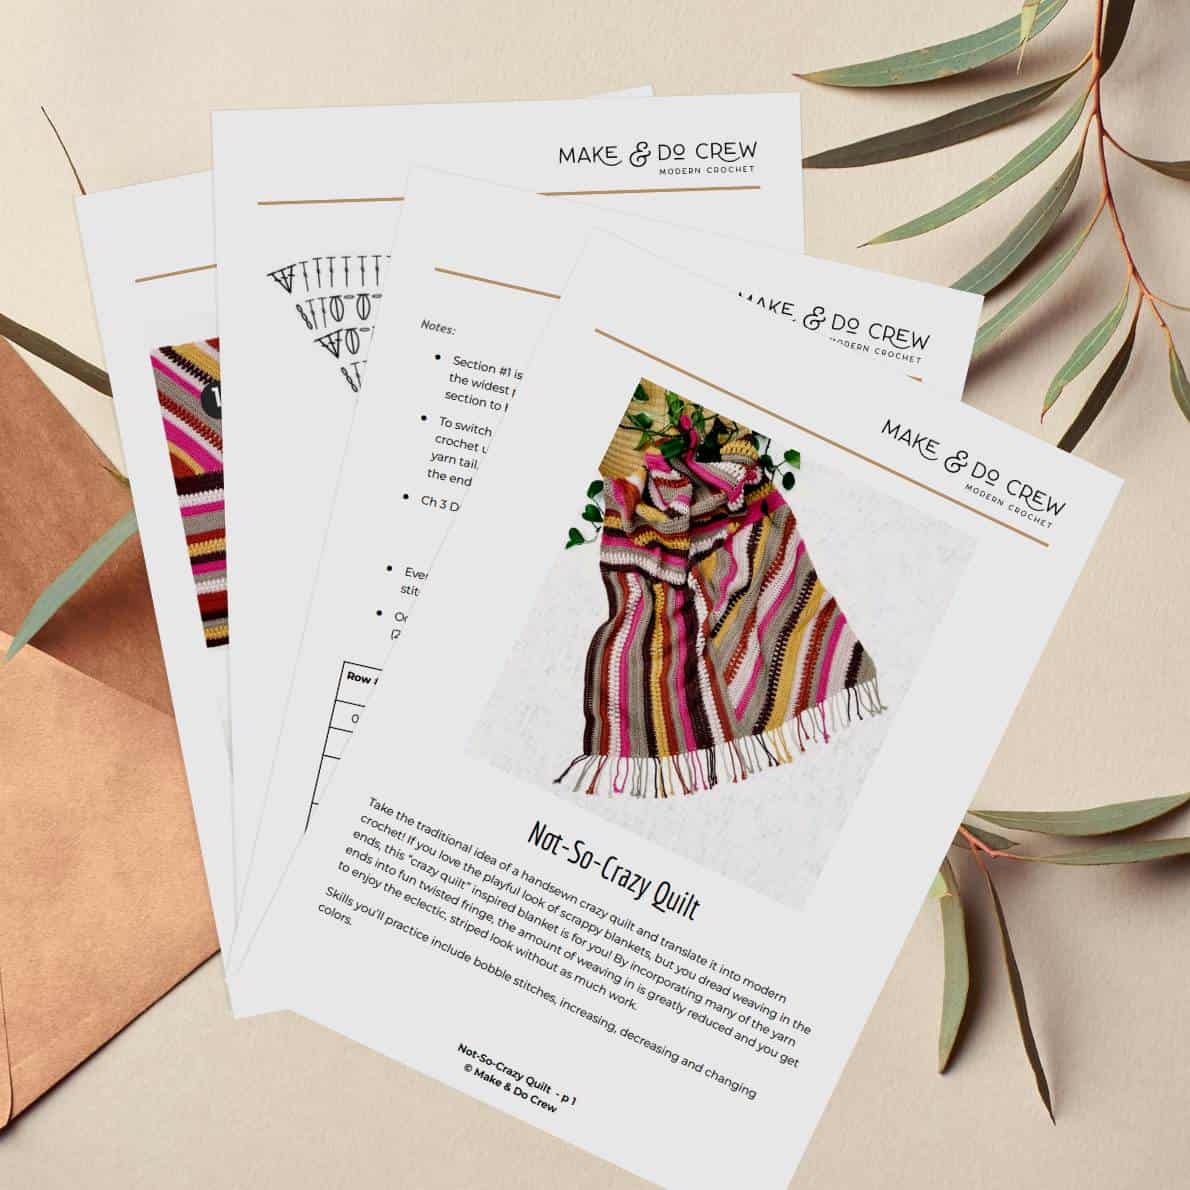
Get free crochet pattern below or purchase the ad-free, printable PDF.
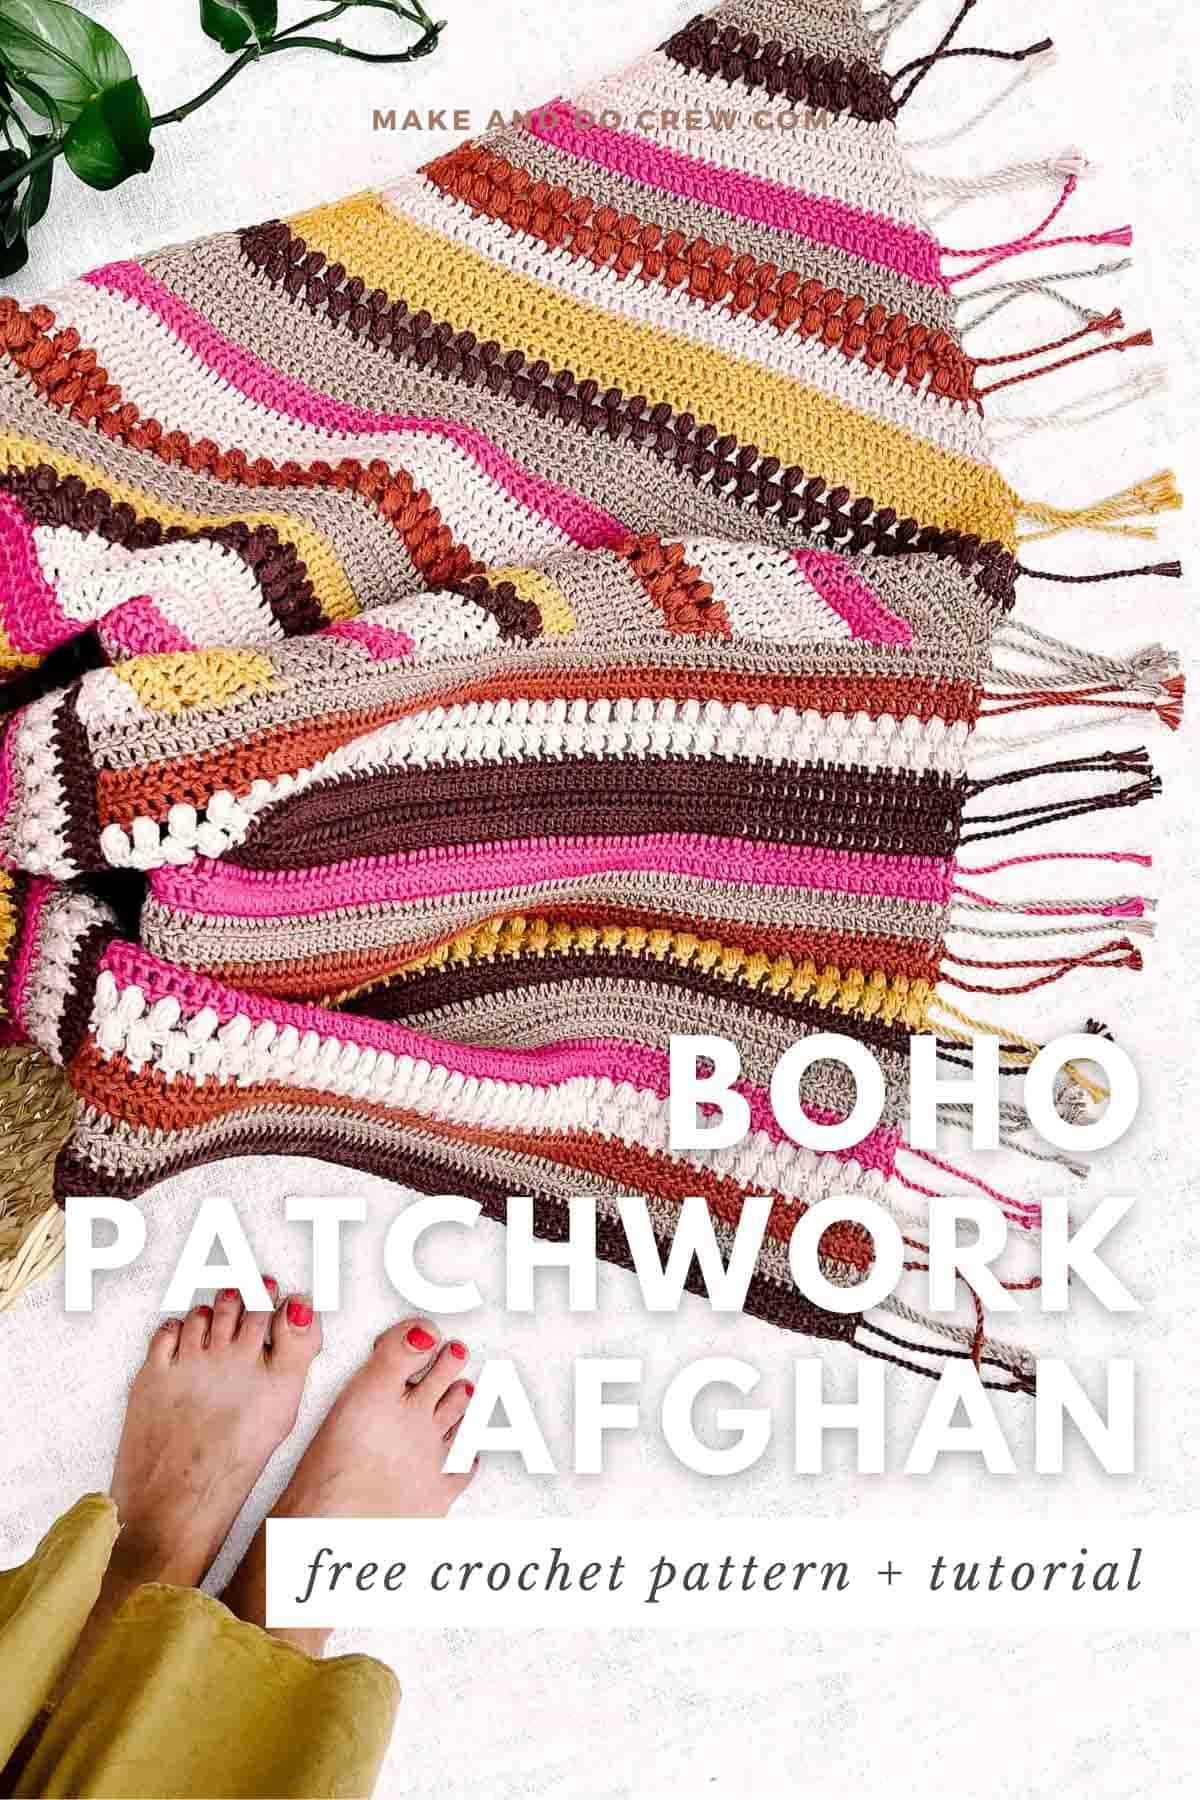
This free patchwork crochet blanket pattern is part of a collaboration with Lion Brand Yarns. This post contains affiliate links.
Jump to:
More Crochet Blanket Resources
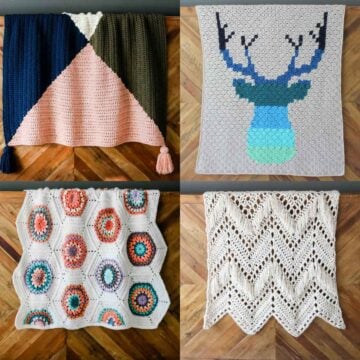
If you love crocheting blankets as much as we do, I think you'll find these resources really helpful.
- 40+ Modern Free Crochet Afghan Patterns
- 35+ Contemporary Baby Blanket Patterns to Crochet
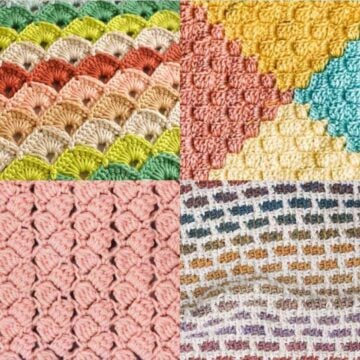
- The 40 Best Crochet Stitches for Afghans
- Unique Crochet Borders and Edgings for Blankets
- Four Ways to Block Crochet Blankets

Supplies + Materials
Skill Level
Overall Patchwork Blanket Pattern Notes
• The stripes and color sequence are intended to look organic and random and can easily be amended to your liking. Try using 20 colors instead of six or even working each section of patchwork stripes in different colors.
• To switch colors at the end of a row, complete the final yarn over of the double crochet using the new color. Fasten off color leaving approximately an 8” yarn tail. Many of these tails will not be woven in, but rather incorporated into the fringe at the end.
• Because this blanket is reversible, the wrong side and right side designation isn’t given for each row. More helpful is to consider the way you’d prefer your diagonal stripes to angle in the finished blanket and be sure to construct your blanket accordingly.
• All written instructions apply to both right and left-handed crocheters.
!! Gauge Check !!
Adjusting Your Gauge
If your crochet gauge isn't measuring correctly, here's what to do:
Want some company while you crochet?
Get support (and camaraderie!) in the Make & Do Crew community. Join for free here.
Section #1
Notes:
Increasing
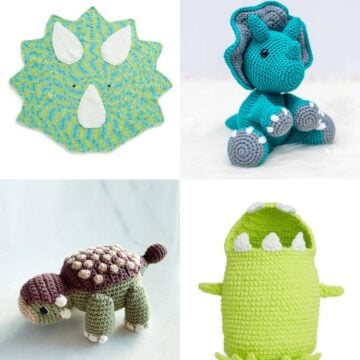
Our Latest Crochet Inspiration:
Here are a few more free crochet patterns and tutorials that are hot off the presses.


Decreasing
✨Unlock this free subscriber-exclusive pattern ✨
Follow these steps to view the full free pattern below
Blocking
Finishing
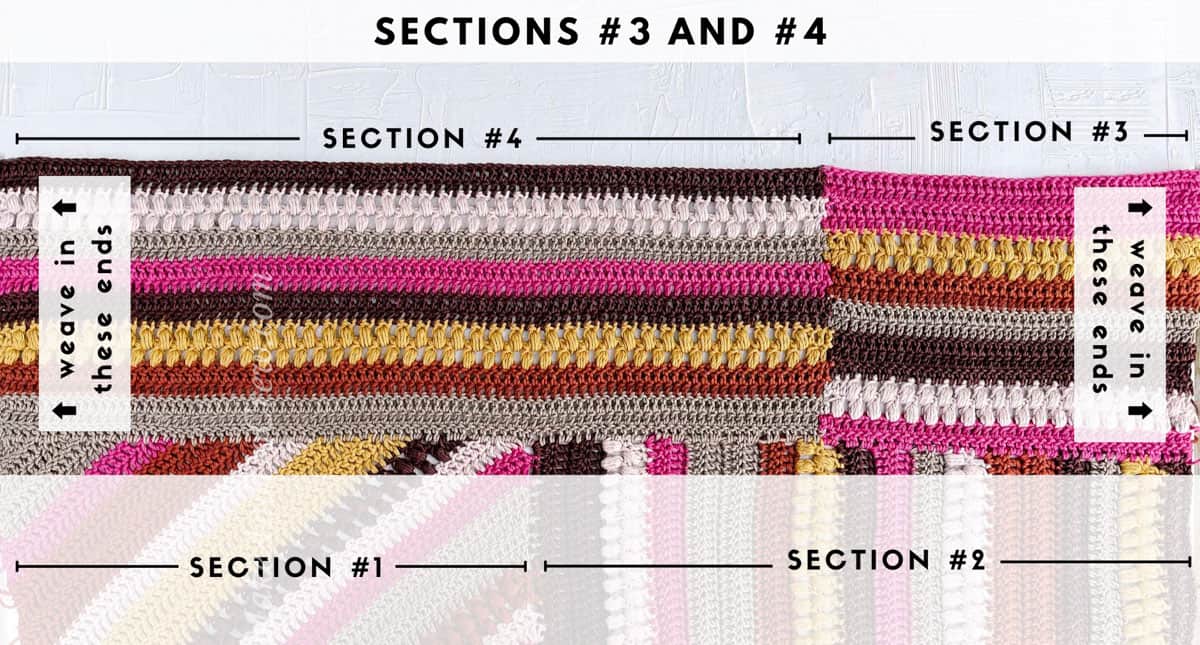
Section #3
Blocking
Finishing
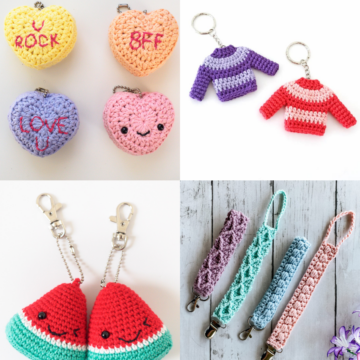
Obsessed with finding the best free crochet patterns?
Check out these collections of handpicked patterns to find your next project.

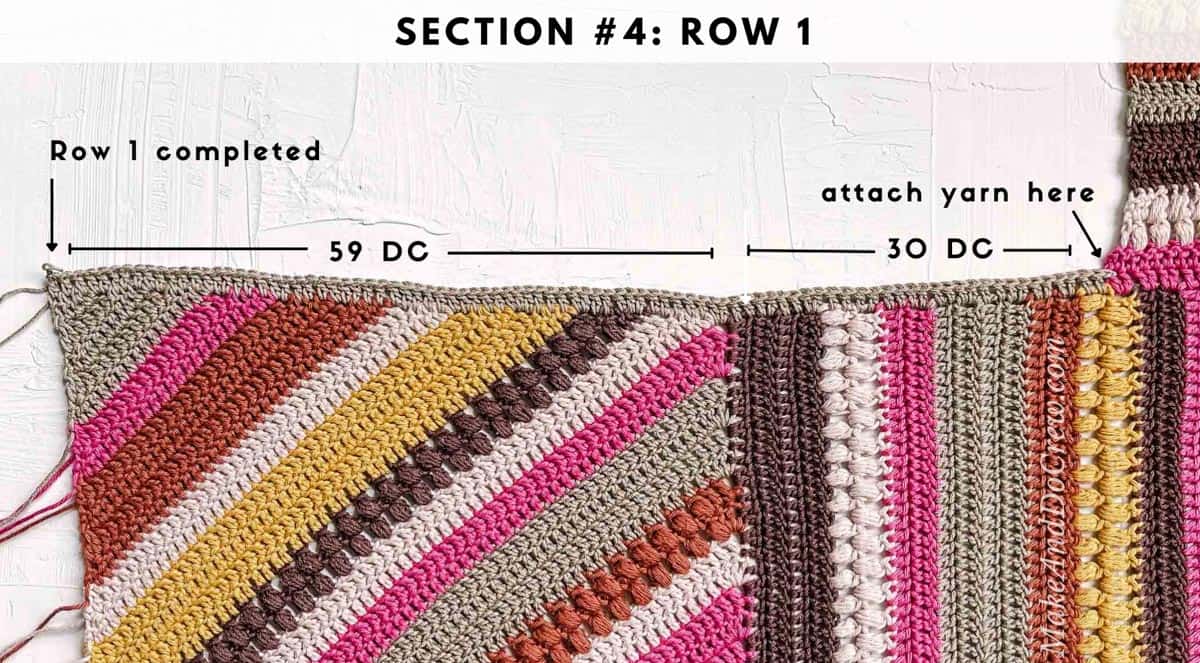
Section #4
Wanna save this pattern?
Blocking
Finishing
Section #5
Increasing
Working Even
Decreasing
Blocking
Section #6
Blocking
Finishing
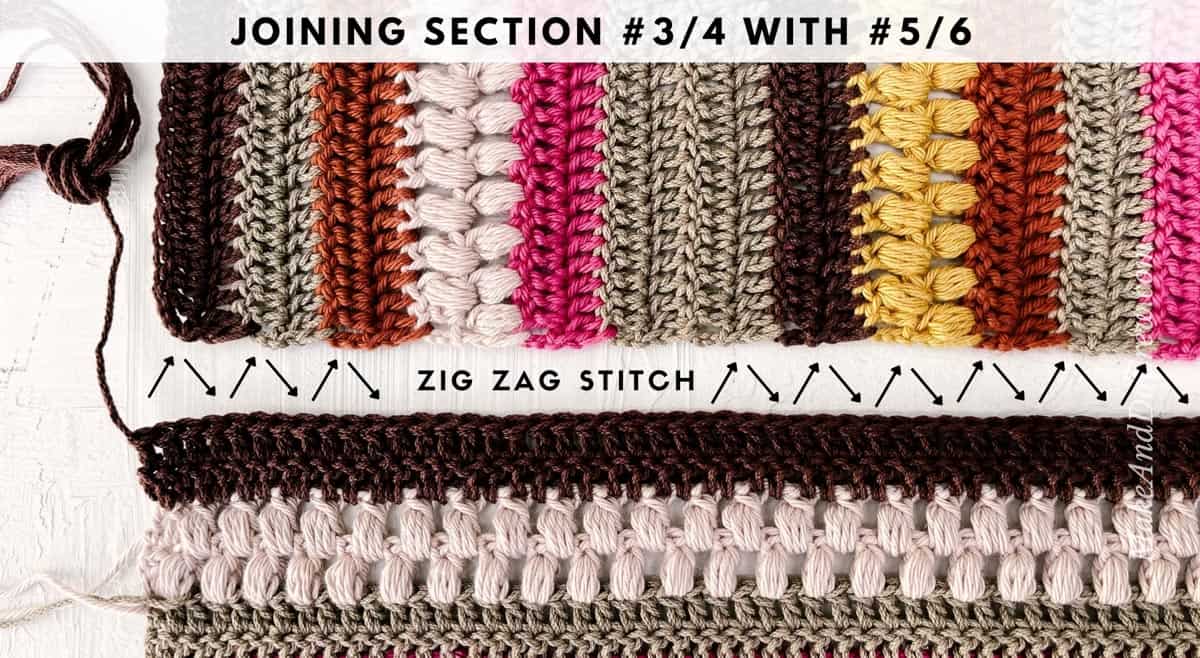
Joining Sections
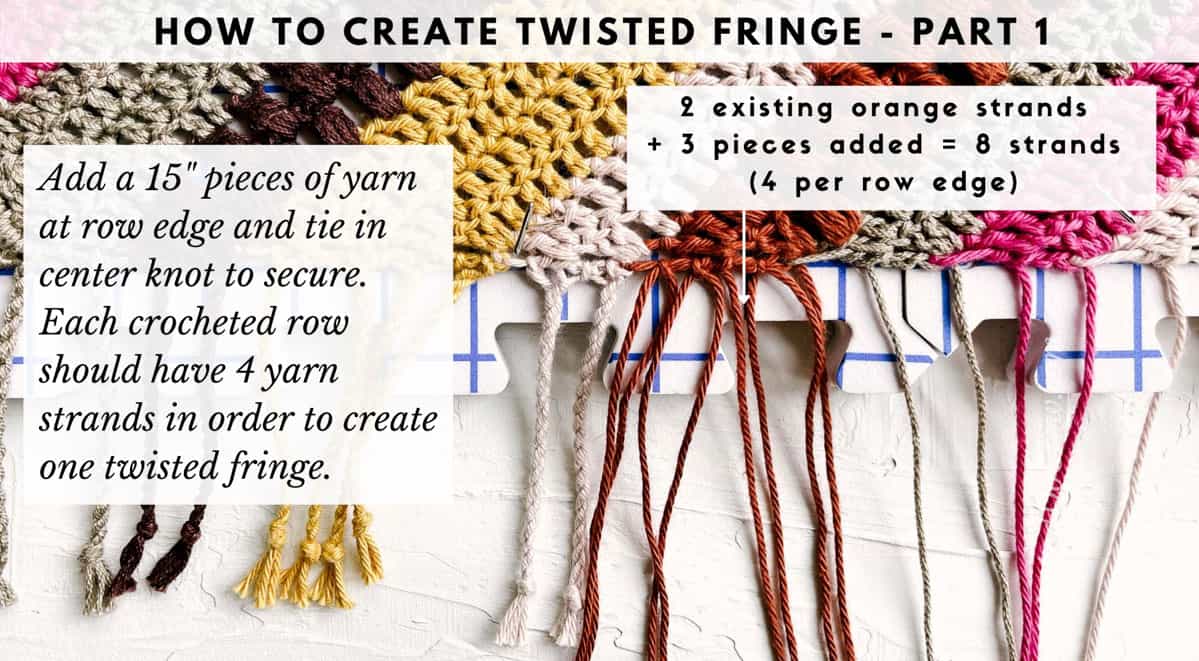
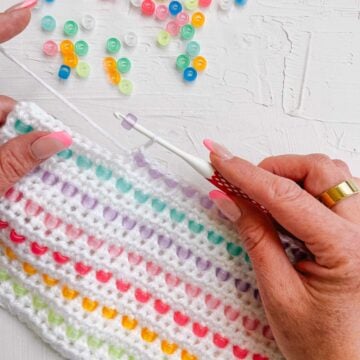
How to Add Twisted Fringe to Blanket Edges
1. Attaching Extra Strands
2. Twisting Strands
3. Joining Twisting Strands
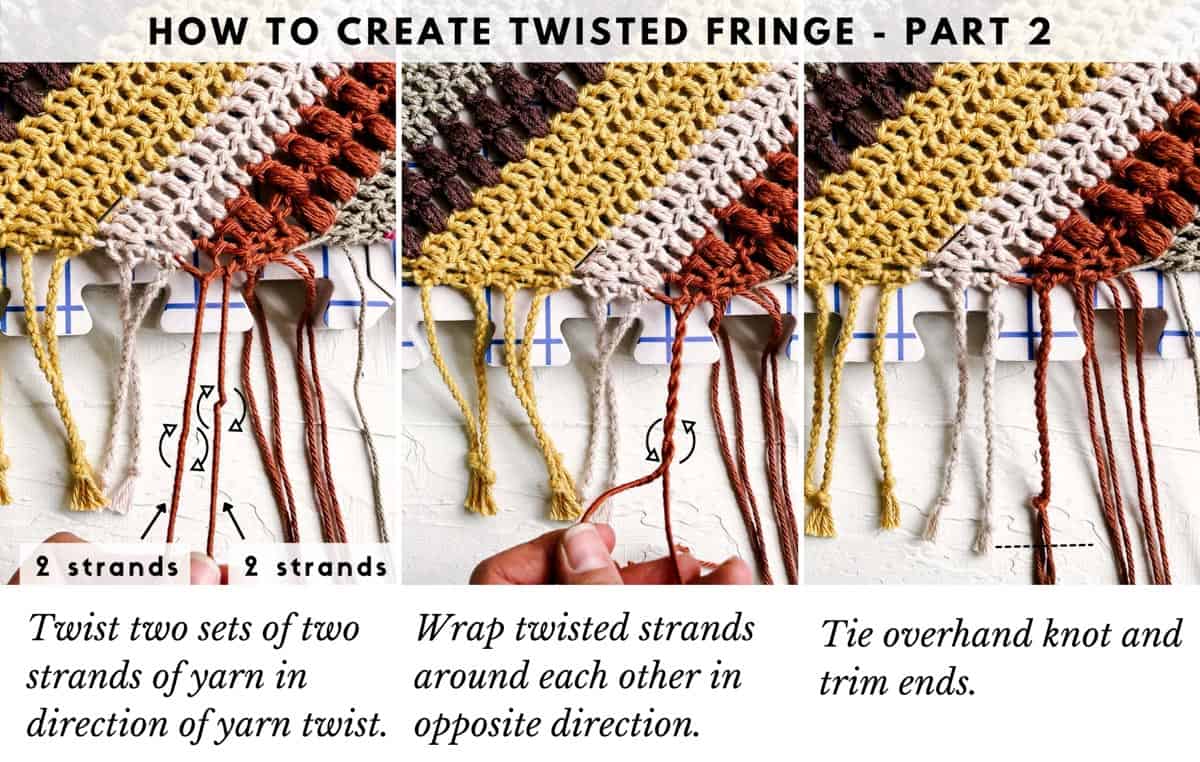
4. Tying Off
5. Repeat
6. Finishing
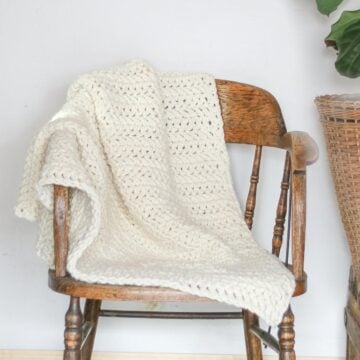
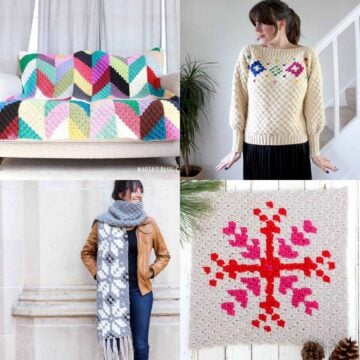
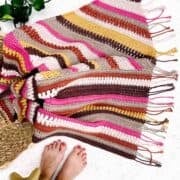
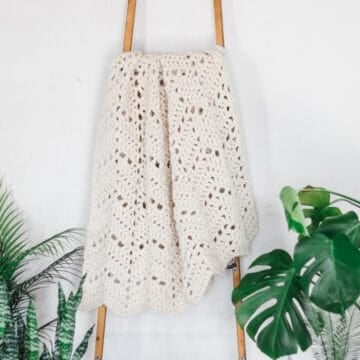
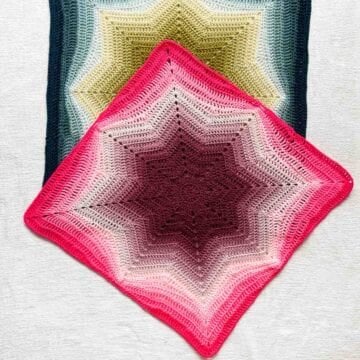
Find Your Next Blanket Pattern
Need a new project on your hook? We've got you covered with more easy crochet blankets and afghans!
Learn a New Skill
When you're ready to master a new skill, check out our detailed guides that include everything you need to know to level up your crochet game.
- How to Corner to Corner (C2C) Crochet for Beginners - with video tutorials to get you started
- How to Crochet a Beginner Hat - make an entire beanie in 1.5 hours!
- How to Crochet Amigurumi for Beginners - the ultimate guide to making your own toys and plushies
- How to Tunisian Crochet - learn with this video and a standard hook
That was so fun! Now what?
How to Crochet a Patchwork Blanket - A Summary
Materials
Yarn
- Color: Lion Brand Pima Cotton Weight: 4/medium - 186 yds, 3.5 oz/100 g
- Mademoiselle 762-184P – 2 skeins
- Mineral Yellow 762-159S – 2 skeins
- Spice [762-135] - 2 skeins
- Cabaret [762-195R] - 2 skeins
- Color: Lion Brand 24/7 Cotton Weight: 4/Medium - 170 yds, 3.5 oz/100 g
- Taupe [761-122D] – 3 skeins
- Coffee Beans [761-125AB] – 2 skeins
Additional Supplies
- Tapestry needle
- Size J 6.00 mm crochet hook or size needed to obtain gauge
- Tapestry needle
- Stitch markers
- T-pins
- Steamer or iron with steam function alternative: use a spray bottle
- Blocking board
Abbreviations + Glossary (US Terms)
- ch – chain
- chsp – chain space
- dc – double crochet
- dc2tog – double crochet two stitches together (decrease of one)
- dc3tog – double crochet three stitches together (decrease of two)
- rep – repeat
- RS – right side
- sc – single crochet
- sk – skip
- slst – slip stitch
- st(s) – stitch(es)
- WS – wrong side
- yo – yarn over
- tch – turning chain
- Bobble (bbls) – [yo, insert hook in st and pull up a loop] 4 times in same st. (9 loops on hook.) Yo and pull through first 8 loops on hook. Yo and pull through last 2 loops.
Abbreviations and Glossary (US Terms):
Want some company while you crochet?
Get support (and camaraderie!) in the Make & Do Crochet Crew Facebook Group. Search “Make and Do Crochet Crew” on Facebook.com.
Permissions + Copyright
Please do not publish or share this pattern as your own. You may make items to sell with this pattern. In exchange, please link back to this page. Do NOT use my photos as your own sales photos.
Overall Pattern Notes
Instructions
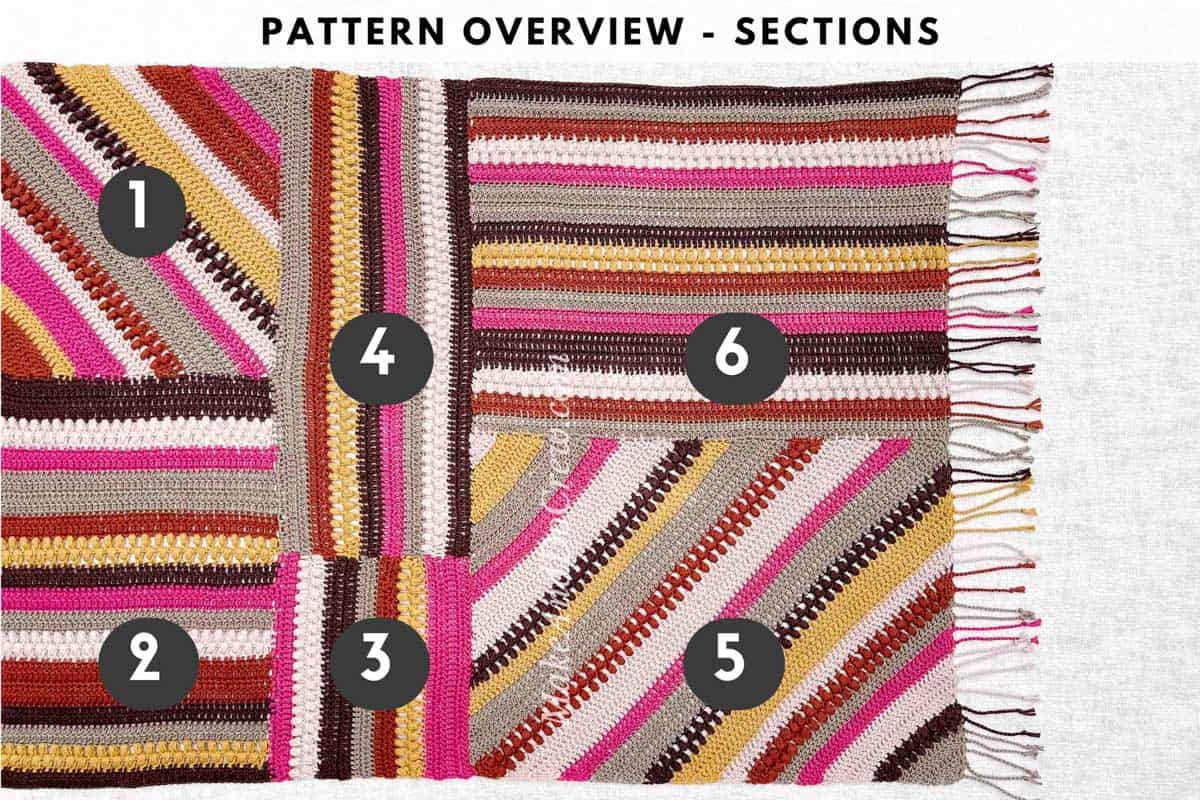
Easy Crochet Quilt Pattern - Overview
- 1. To ensure you have enough yarn to finish and that the measure of your blanket are as expected, check your gauge.
Sections 1-6
- 2. Follow the instructions to crochet sections 1-6. Use the yarn colors as outlined or you can create your own random-feeling stripes.
Blocking
- 3. Block each section to a blocking board to create right angles on each piece.
Finishing
- 4. Join the six pieces together as outlined in the diagram.
- 5. Add a twisted fringe on both shorter sides of your blanket.
- 6. Block one last time, focusing on the seams between the six pieces.
- 7. Wrap up in your new patchwork crochet blanket knowing it's cozy to be CRAZY!
Overall Pattern Notes
- The stripes and color sequence are intended to look organic and random and therefore can easily be amended to your liking. Try using 20 colors instead of six or even working each section in a different set of colors.
- To switch colors at the end of a row, complete the final yarn over of the double crochet using the new color. Fasten off color leaving approximately an 8” yarn tail. These tails will not be woven in, but rather incorporated into fringe at the end.
- Scroll up for the detailed free modern patchwork blanket crochet pattern and tutorial.
jan says
can't wait to make this. I have all the yarn in my stash.(acrylic). Love the color combination.
Trish says
Thank you for this pattern, it looks like a fun challenge. I won't have trouble finding yarn of various amounts and colours. I made a temperature blanket (knitted) in 2022 and kept all the yarn left-overs in one big tote so now I can just grab that and start playing...no sorting of yarn types required, it's all the same weight of acrylic yarn.
I do especially wish to express my gratitude to you for the excellent and detailed instructions that you provide for your patterns. That is a very time consuming activity in itself for you but so helpful to us 'yarners'. You are so creative and generous.