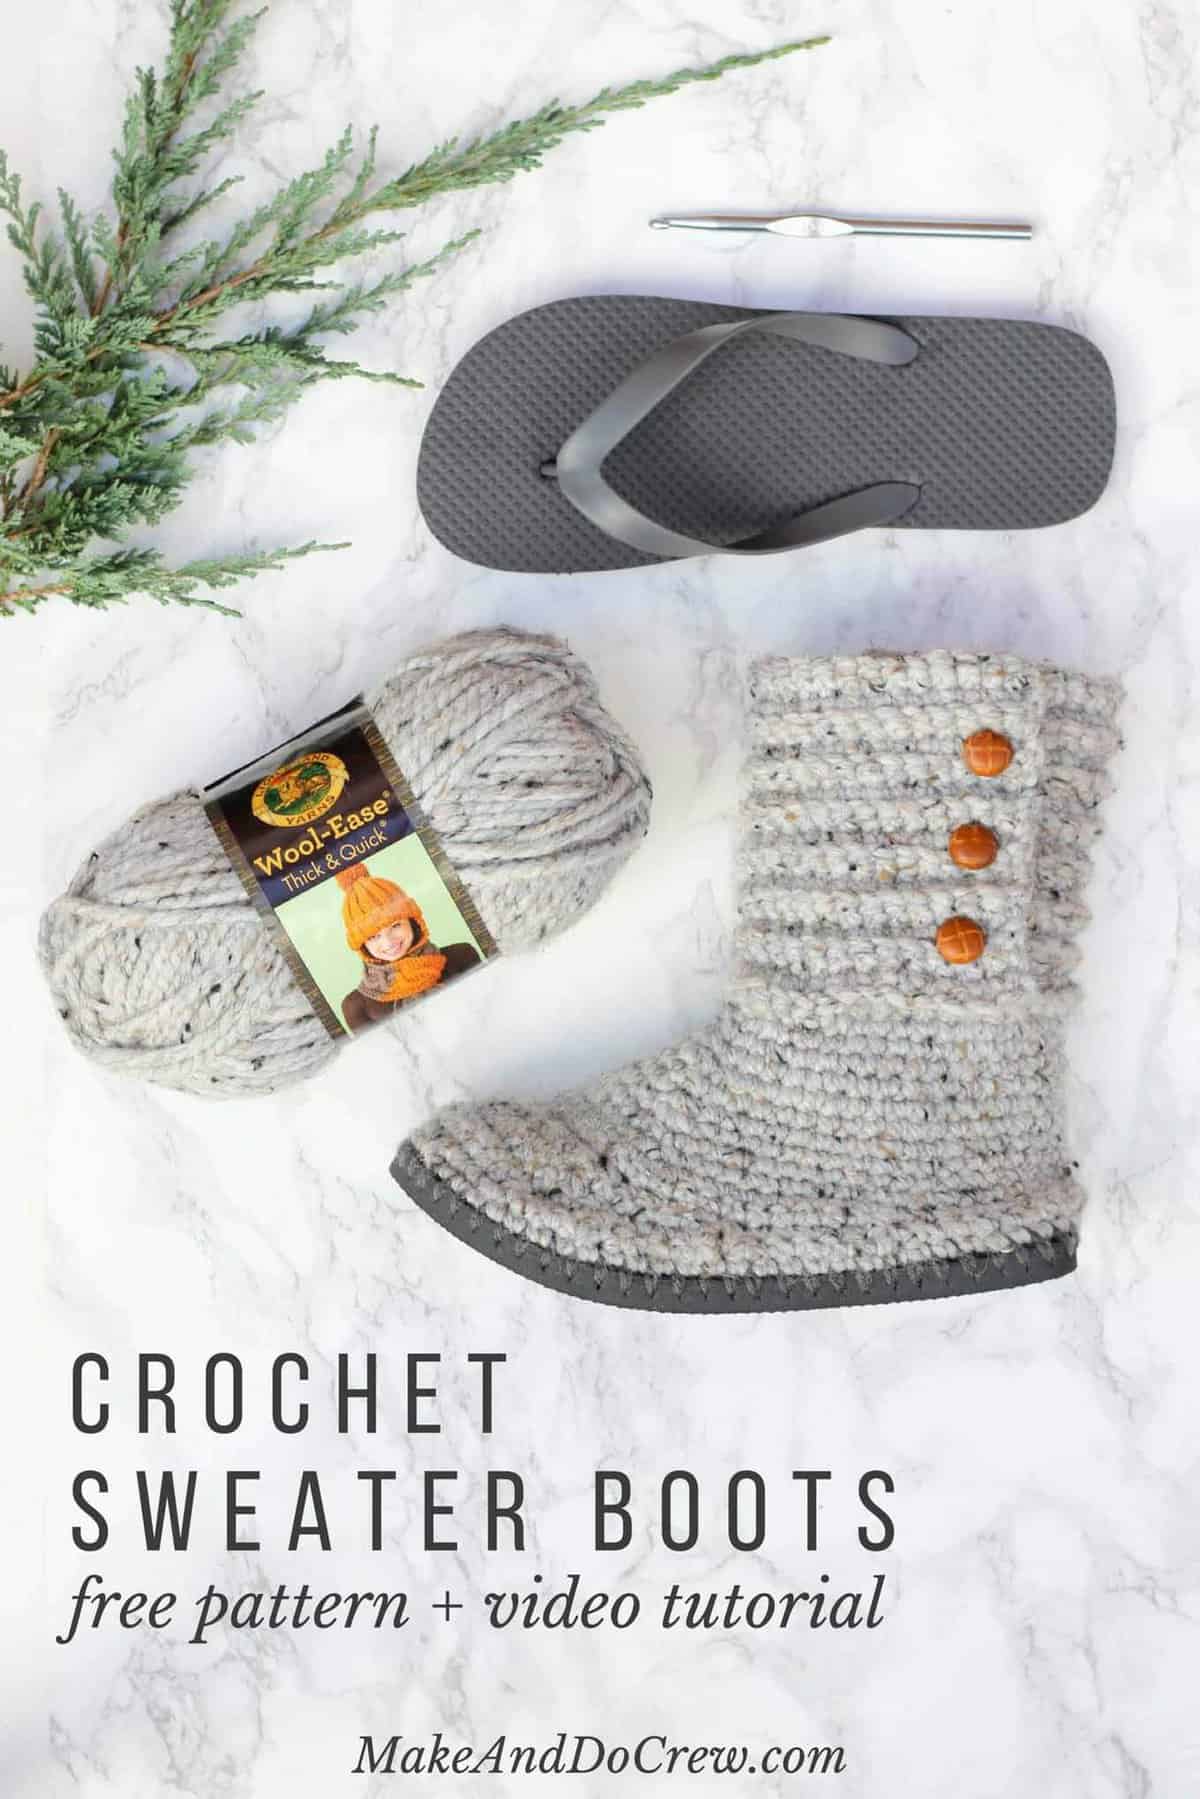
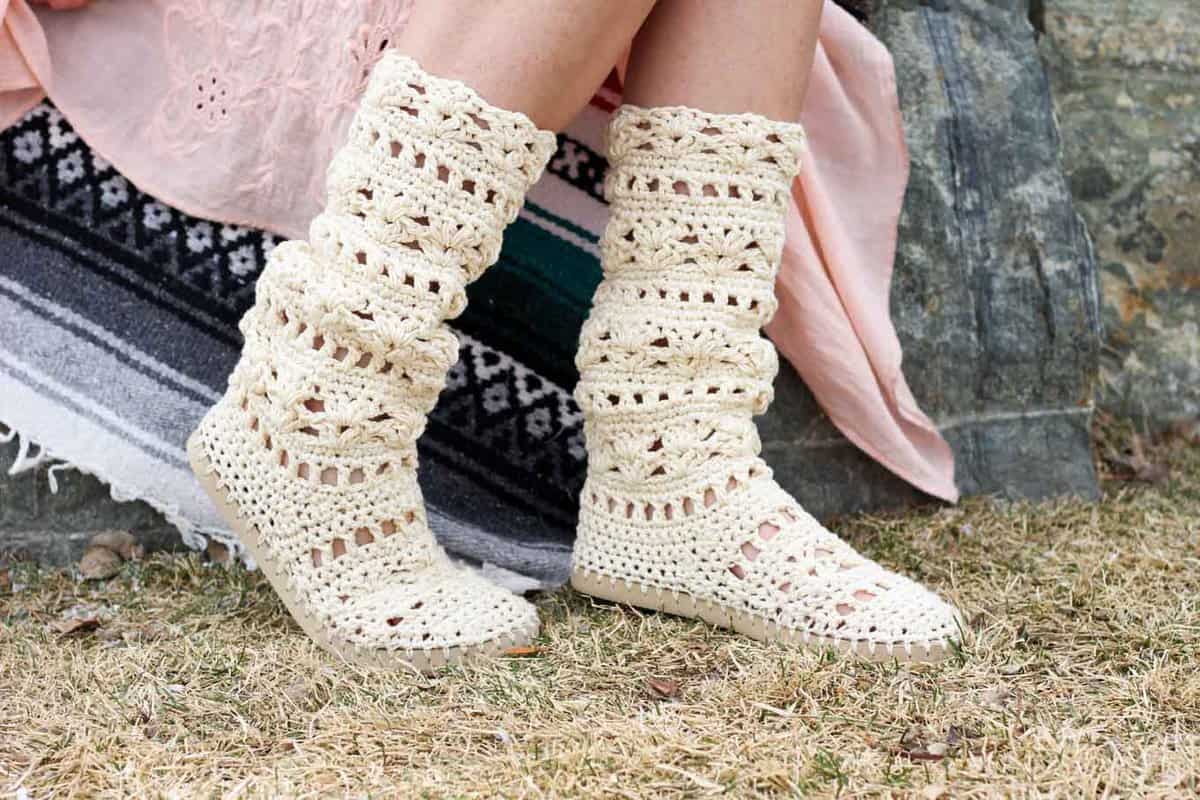
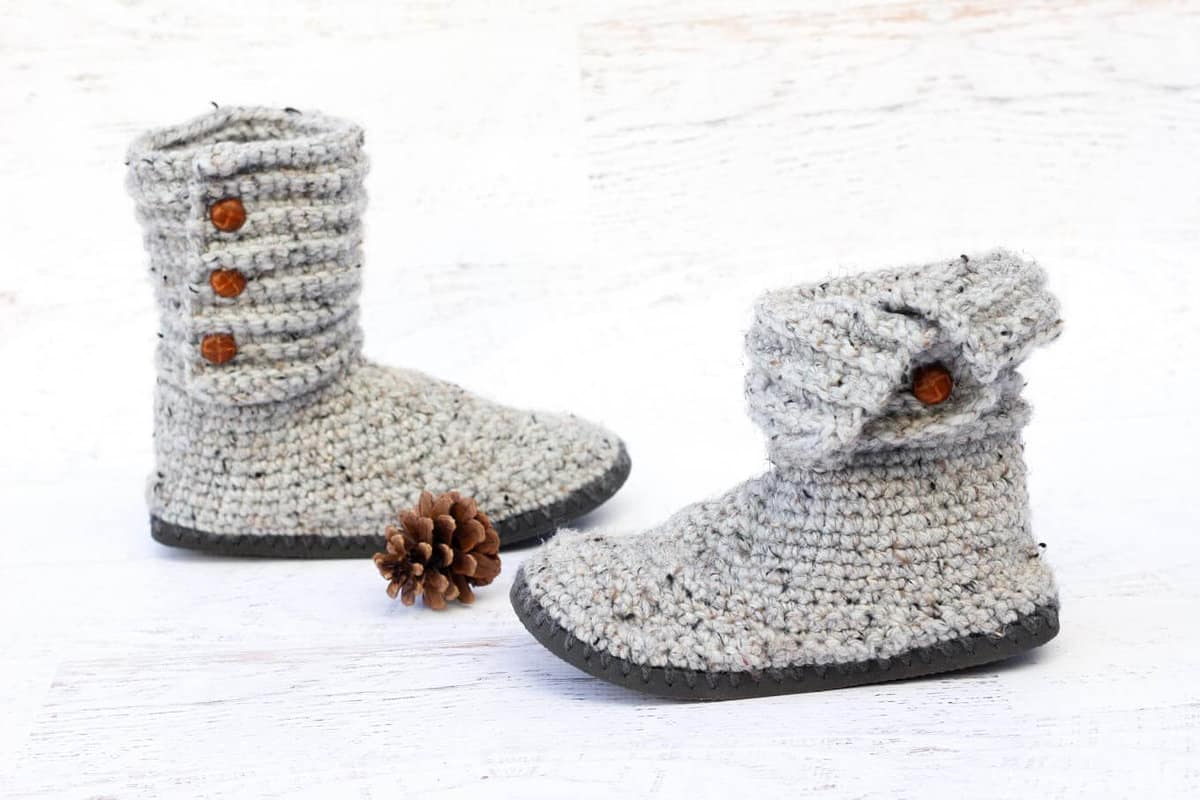
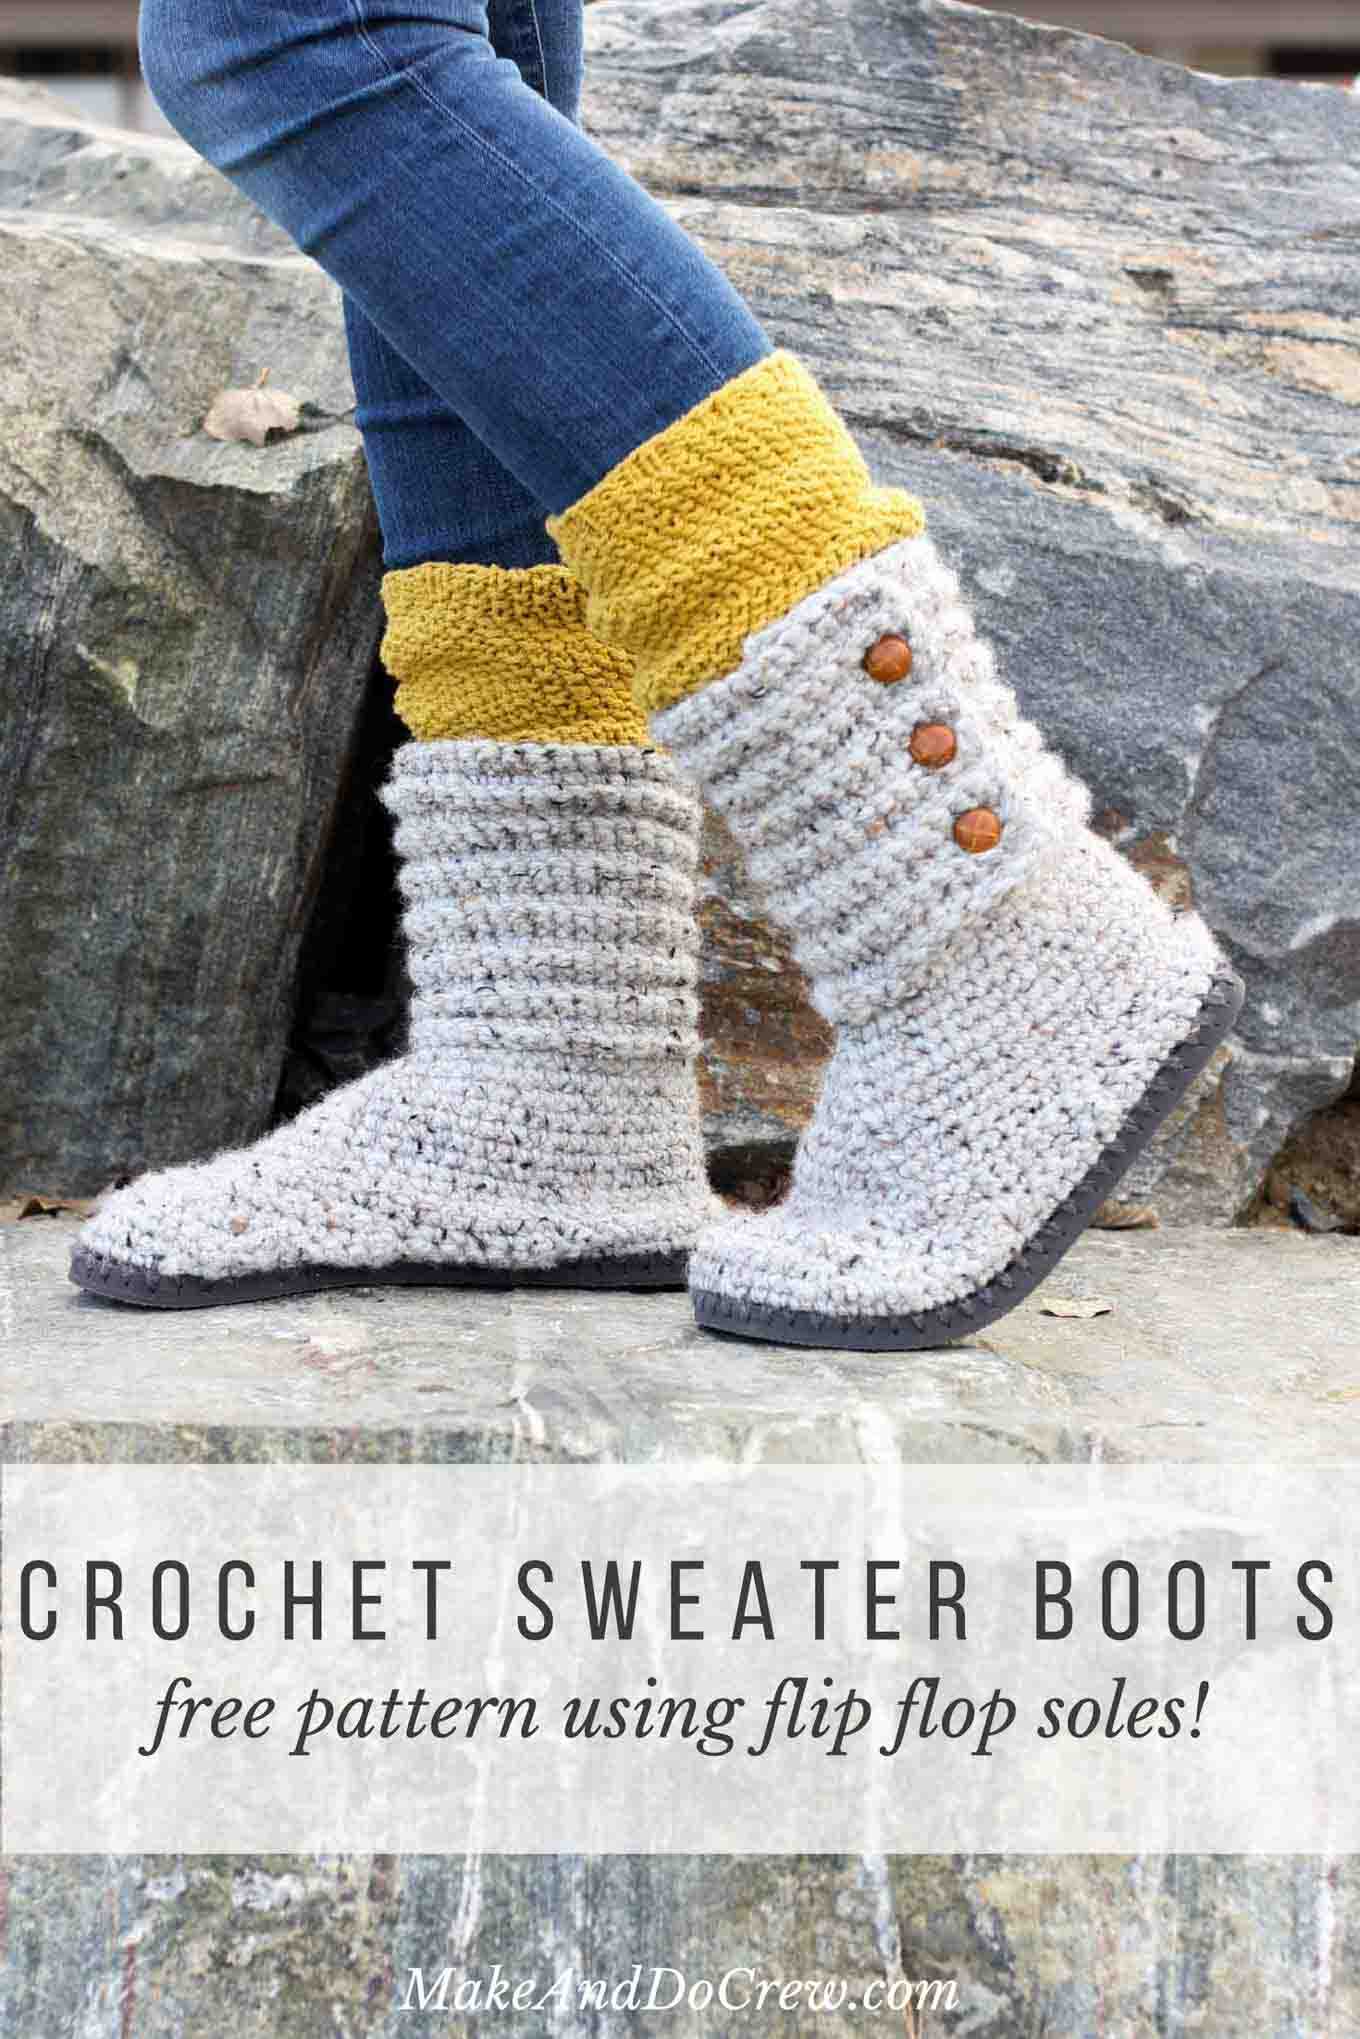
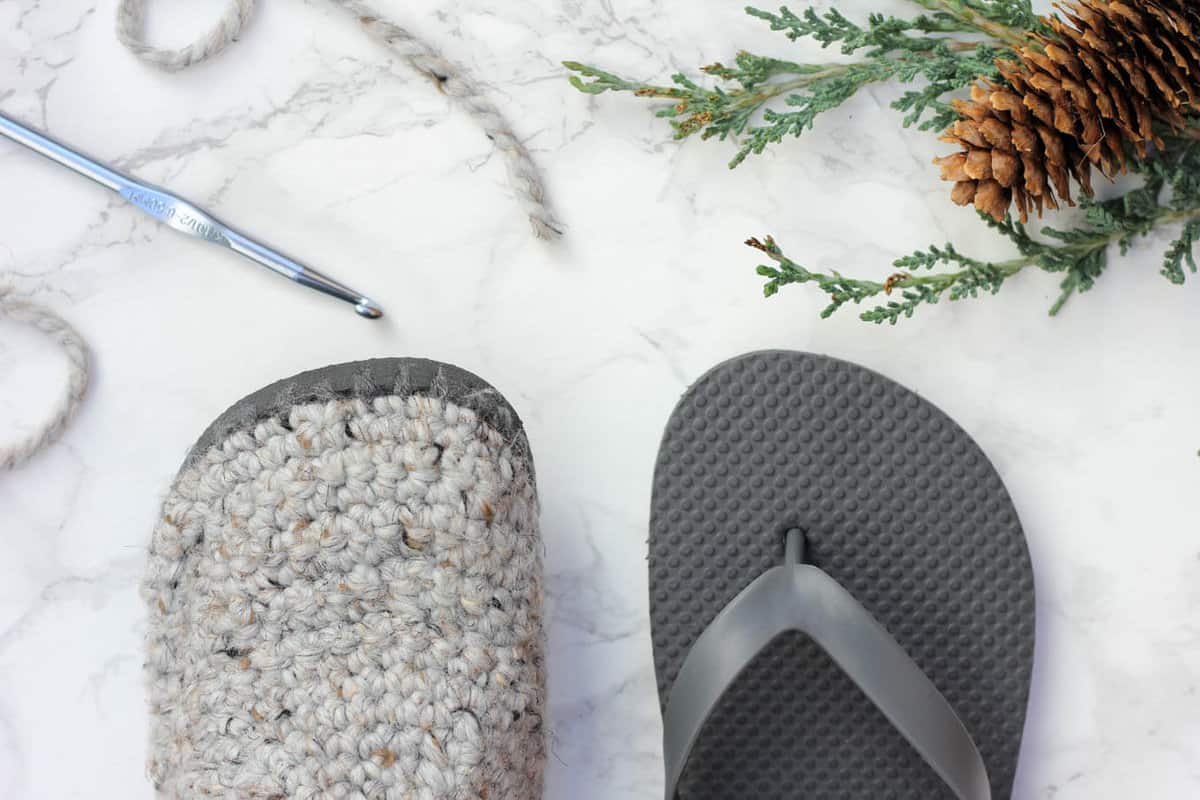
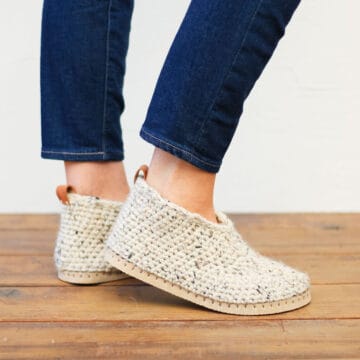
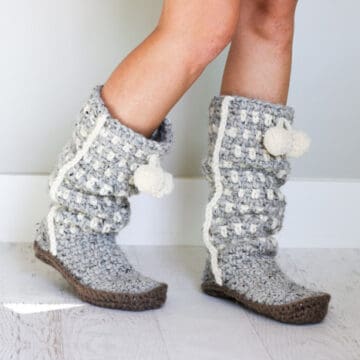
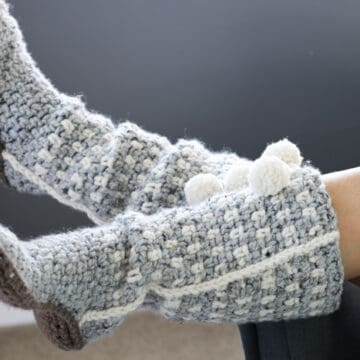
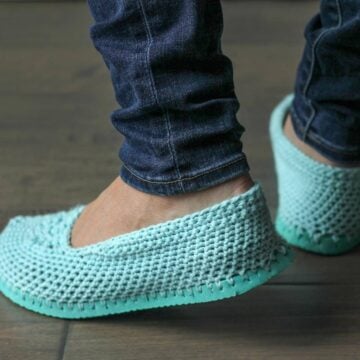
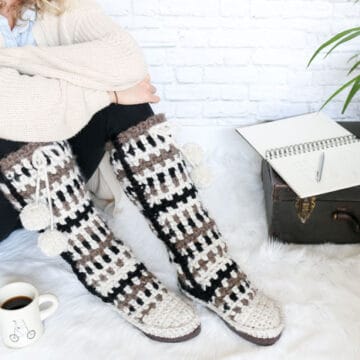
You'll be a DIY goddess of cozy with these crochet boots with flip flops for soles! They make excellent slippers or UGG-like sweater boots to wear around town. As always, you'll find the free crochet pattern and video tutorial below or you can purchase a convenient ad-free, printable PDF.
This crochet sweater boot pattern is a collaboration with my friends at Lion Brand Yarn. This post contains affiliate links.
I went to college at the University of Colorado in Boulder. It's pretty much everything you might imagine. Incredible views. Hippie kids. Yuppie kids. And kids (a lot of them) who literally wore flip flops all year round. Yes, in the snow. Yes, when it was three degrees. Blame it on the snowboard culture, or the need to rebel, or sheer stupidity.
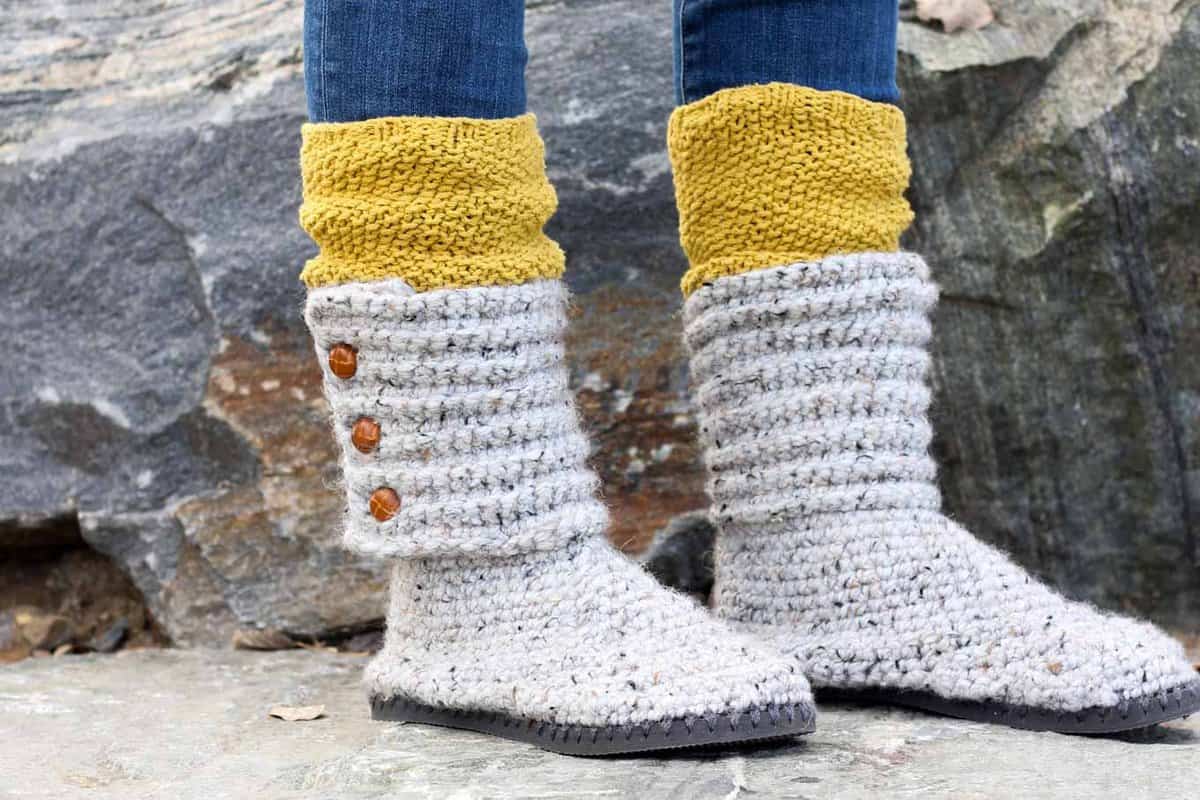
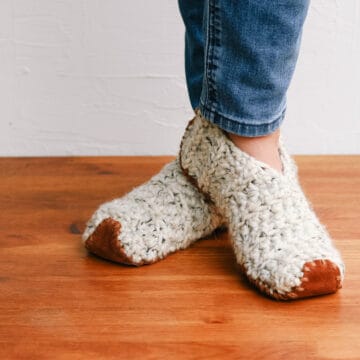
Well, today I offer a little more practical alternative to the students of CU Boulder and everyone else who loves to wear flip flops. Crochet boots with flip flops as soles! I knew the cozy factor would be high on these when I started designing them, but honestly, wearing them is like a yarn dream come true. They combine the freedom of flip flops with the snuggle of chunky yarn. Winning!
If you've been following along here for a while, first of all, thank you, and secondly, you know I have been having so much fun designing crochet patterns that use flip flops. If you love the idea of crocheting your own shoes as much as I do, you're definitely going to want to check out these other free crochet flip flop patterns:
Find Your Next Crochet Pattern on Flip Flop Soles
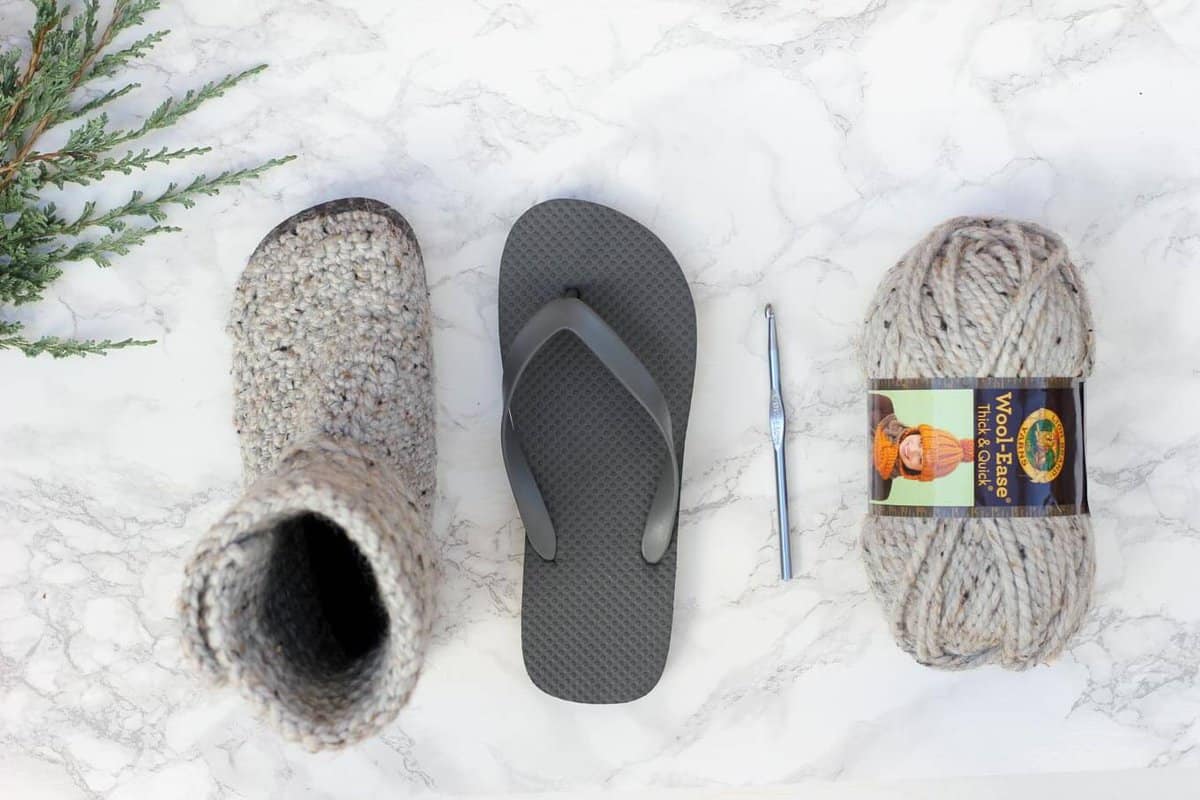
Crocheting on flip flops can fast track your feet straight to comfort-ville. Flip flops offer functional, non-slip soles for your crochet slippers. They also allow you to crochet shoes customized for your particular feet.
See more free crochet flip flops patterns →
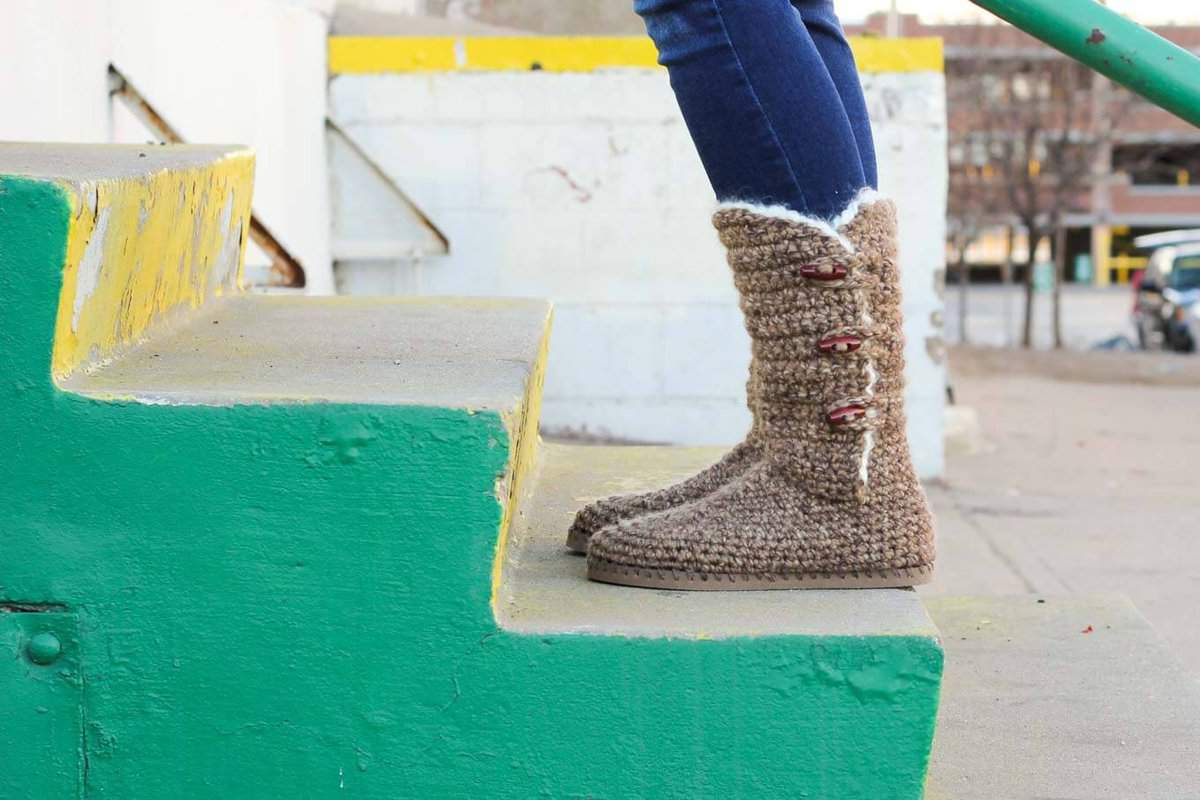
I'm thrilled to be adding these crochet boots with flip flops to the mix because not only do they look like crochet UGG boots you'd buy in a store, they also will work as legit shoes for the winter. (And if you like the look of UGGs, be sure to check out my free Breckenridge Boot flip flop patten as well.) Some creative readers came up with the idea to glue the round "plug" from the flip flop straps back into the sole, which ensures that your flip flop sole will function pretty much like any other knit boot sole would.
Whether you wear them outside as boots or inside as slippers, you're going to have some incredibly warm, stylish and happy toes.
UPDATE: Many readers have asked how these crochet boots with flip flop soles hold up over time. I've answered that question (with photos!) and many more in my FAQs about crocheting on flip flops.
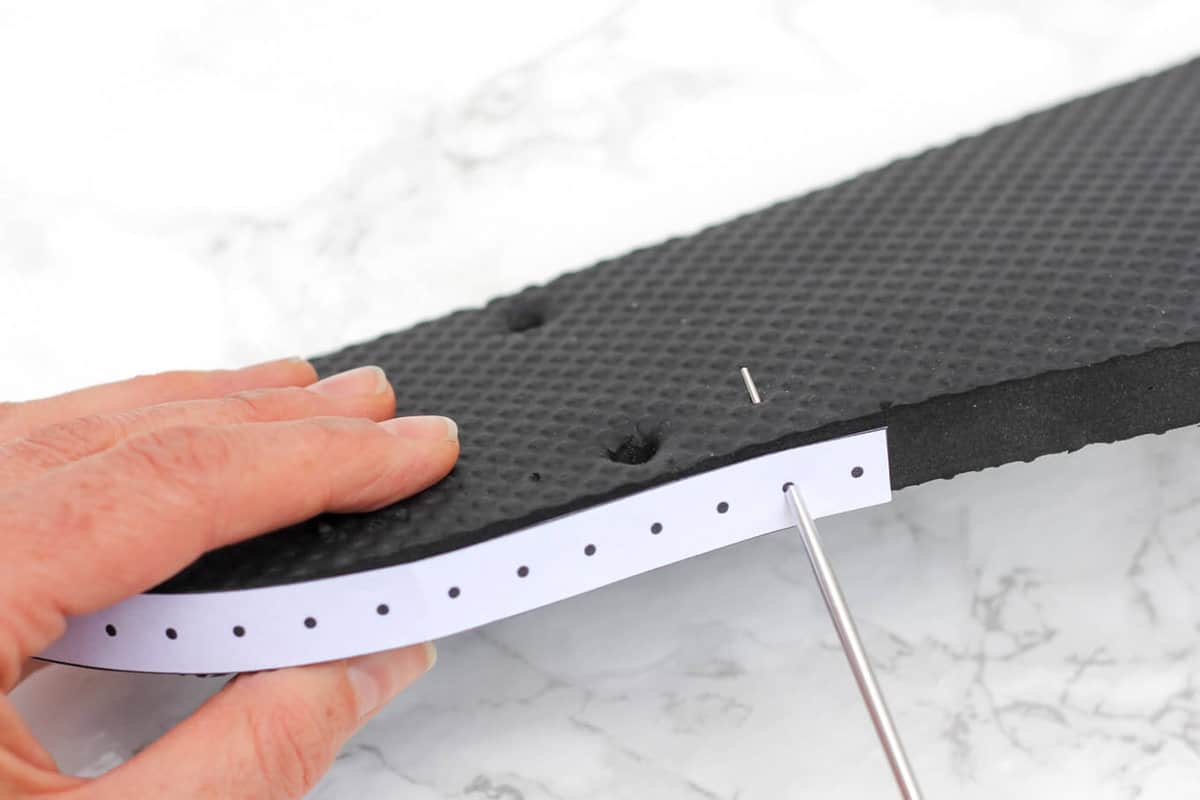
NEW! So if you've made any of my past flip flop crochet patterns, you know that the distance between the holes you poke in the sole has a big impact on how the gauge of your shoe turns out. That is why I'm really excited to share that the inexpensive, printable PDF of this pattern now contains a "ruler" to guide your hole poking. The ruler helps ensure you have the perfect number of holes to achieve the gauge regardless of what size flip flop you use.
Please find the video tutorial and free written pattern below. Even if you prefer to learn by video, you'll want to have the written pattern handy because the right and left ankle sections vary slightly. If you prefer crocheting on the go (or on the couch!), you can purchase the ad-free, printable PDF of the pattern. It's great for mobile and tablet viewing too.
"Cabin Boots" - Free Crochet Pattern using Flip Flops
Sizes: Adult women’s 7 and up
Supplies:
So you can spend more time making boots and less time shopping, this pattern contains affiliate links at no extra cost to you.
• Lion Brand Wool Ease Thick and Quick – 2 skeins (220 yards total) – color: Grey Marble (MC)
• Approx. 10 yards of Lion Brand Vanna's Choice Yarn or other worsted weight yarn in color to match flip flops (SC)
• Tapestry needle
• Size B [2.25 mm] crochet hook or size needed to fit through flip flop holes
• Size K [6.5 mm] crochet hook (I really like this affordable set!)
• Size L [8 mm] crochet hook
• 1 pair of flip flops (One size smaller than you wear normally. See pattern notes.)
• Sharp tool to poke holes in flip flops (skewer, thin drill bit or tapestry needle)
• ¾ inch (19mm) buttons (6)
• Sewing needle and thread
• Stitch markers
• Sharp scissors
• Strong glue like E6000 (optional)
• Measuring tape or "ruler" from printable pattern
Gauge:
• 6 holes per 2 inches on flip flop sole
• Boot Base: 6 sc = 2 inches, 6 rows = 2 inches
Gauge will vary a bit based on distance between poked holes on flip flop sole. Use the "ruler" in printable pattern if you want to ensure gauge.
Abbreviations and Glossary:
sc – single crochet
sk – skip
sl st – slip stich
hdc – half double crochet
scblo – single crochet back loop only
MC – main color
SC – sole color
dc – double crochet
ch – chain
RS – right side
WS – wrong side
Sc2tog (single crochet 2 together)– [Insert hook into next st and pull up a loop] two times, yarn over and pull through all 3 loops on hook.
Overall Pattern Notes:
- Transforming flip flops into slippers isn’t an exact science! Unlike other crochet patterns, these slippers have some variables, most significant of which is the size of flip flops used and the number of holes poked. Use the "ruler" that's available in the printable pattern if you're struggling with hole spacing.
- The flip flops pictured are a women’s size 7-8 and they have 64 holes poked on each sole. To make shoes with bigger or smaller flip flops, just adjust the number of holes, poking them slightly further apart than every ⅓ inch.
- Find inexpensive flip flops on Amazon or at Walmart. Dollar Tree’s $1 flip flops tend to be a bit too flimsy, but can work if you are careful.
- Pattern explains locations on the flip flop as if it’s a clock where the top of the toe is midnight and the heel is 6:00.
Boot Base (Right and Left Foot)
Notes;
• The base of the boot pattern is crocheted tightly, similar to amigurumi. Make a deliberate effort to keep your stitches tighter than you might usually. Check your gauge if you’re unsure.
• If at any point your boots are feeling too roomy, watch part 3 of the video tutorial for suggestions on how to make them better fit your foot.

To begin:
Trim straps off flip flops. Save the rubber plugs that connect the straps to the flip flop soles. Print “ruler” on page 8 of the printable pattern and trim, tape pieces together and tape ruler around flip flop sole. With your sharp instrument, poke holes in each dot on the ruler. OR using your measuring tape, poke holes slightly less than 1 cm apart. You want the hole to go at an angle from about the middle of the way down the sole to about ¼ inch into the top of the sole. (Reference Part 1 of the video tutorial for help or see photo toward the bottom of this boat shoes pattern.)
Using smallest hook (B), attach SC yarn at the back of the heel by inserting your hook from the top of the flip flop toward the bottom of the sole, grabbing the yarn and pulling through to the top. Ch 1 through the loop you’ve created to attach the yarn to the flip flop. (See video Part 1 or photos in this boat shoe pattern for help.)
SC Round: Using Size B hook and SC, sc in each hole around sole, join with a sl st to first sc. Fasten off.
Using size medium-sized (K) hook and MC, join to previous round with a slip stitch at position 11:00 if you’re right handed and position1:00 if you’re left handed.
Foundation Round: Ch 1, sc in each sc around, join with a sl st to first sc. Do not turn.
Row 1 (RS): Ch 1, sc in next 10 sc, turn. (10 sts)
Wanna save this pattern?
Row 2 (WS): Ch 1, sc in next 10 sc; on Foundation Round sts sc2tog, sc in next 2 sc, turn. (13 sts)
✨Unlock this free subscriber-exclusive pattern ✨
Follow these steps to view the full free pattern below
Round 10 (RS): Ch 1, sc in each sc around, sl st to join.

Sizes 10 and larger:
Repeat Round 10.
Place markers at positions 10:00 and 2:00, with 8 stitches between them. The following rounds are worked without turning.
Rounds 11 - 17 (RS): Ch 1, [sc in each sc to marked st, sc2tog (place marker in created st)] twice, sc in each sc to end of round, sl st to join. (2 sts decreased each round)
Sizes 8 and larger:
Round 18 (RS): Ch 1, sc in each sc around, sl st to join.
Left Boot Ankle
Place marker at position 8:00. Use largest hook (L).
Row 19 (RS): Ch 1, sc in each sc to marked st, turn. (This row is intentionally very short.)
Row 20 (WS): Ch 1, scblo in each sc to marked st, (remove marker), ch 8, turn.
Row 21 (RS): Sc in second ch from hook and in next 6 ch, scblo in each sc across, turn.
Row 22 (WS): Ch 1, scblo in each sc across, turn.
Row 23 (RS, Buttonhole Row): Ch 1, scblo in next 2 sc, ch 1, sk next sc, scblo in each sc across, turn.
Row 24 (WS): Ch 1, scblo in each st across, turn.
Rows 25-26: Ch 1, scblo in each sc across, turn.
Rows 27-34: Repeat Rows 23-26 two times. (3 total buttonholes created)
Fasten off and weave in ends.
Right Boot Ankle
Place marker at position 4:00. Use largest hook (L).
Row 19 (RS): Sc in each sc to marked st, ch 8, turn.
Row 20 (WS): Sc in second ch from hook and in next 6 ch, scblo in each sc across, turn.
Row 21(RS): Ch 1, scblo in each sc across, turn.
Row 22 (WS): Repeat Row 21.
Row 23 (RS, Buttonhole Row): Ch 1, scblo in each sc to last 3 sts, ch 1, sk 1 st, scblo in next 2 sc, turn.
Row 24 (WS): Ch 1, scblo in each st across, turn.
Rows 25-26: Ch 1, scblo in each sc across, turn.
Row 27-34: Repeat Rows 23-26 two times.
Fasten off and weave in ends.
Finishing
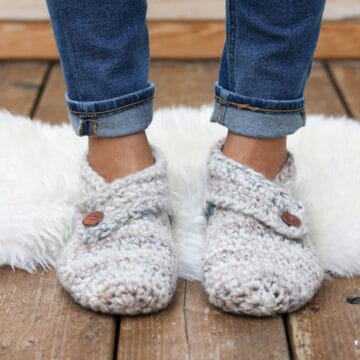
Attaching Buttons: Sew on buttons, ensuring ridges in ankle section appear lined up when boots are buttoned.
Plugging Flip Flop Holes: If you’d plan to wear your boots outside, consider gluing the small rubber circles that connected your flip flop straps to the sole back into their original holes.
Fancy Feet: Tap those cozy toes together because you just crocheted your own sweater boots!
That was so fun! Now what?
Invitation to our Facebook group
Come discuss crocheting boots patterns and lots of other crochet projects and techniques in our Make & Do Crew Facebook group. Here thousands of helpful crocheters answer each others questions and share their stitches. Come join us here.
More Free Crochet Patterns Using Flip Flop Soles
- FAQS: How to Crochet on Flip Flops - and will they fall apart?
- Lightweight Crochet Slippers with Flip Flop Soles
- Free Crochet Ugg Boot Pattern
- Crochet Espadrilles Pattern
- Crochet Slip On Shoes Pattern
- Crochet Mukluk Slipper Pattern
- Crochet Slipper Boots Pattern
- Crochet Summer Slippers with Flip Flop Soles
If you're on a roll with cozy crocheting, you might like these free patterns!
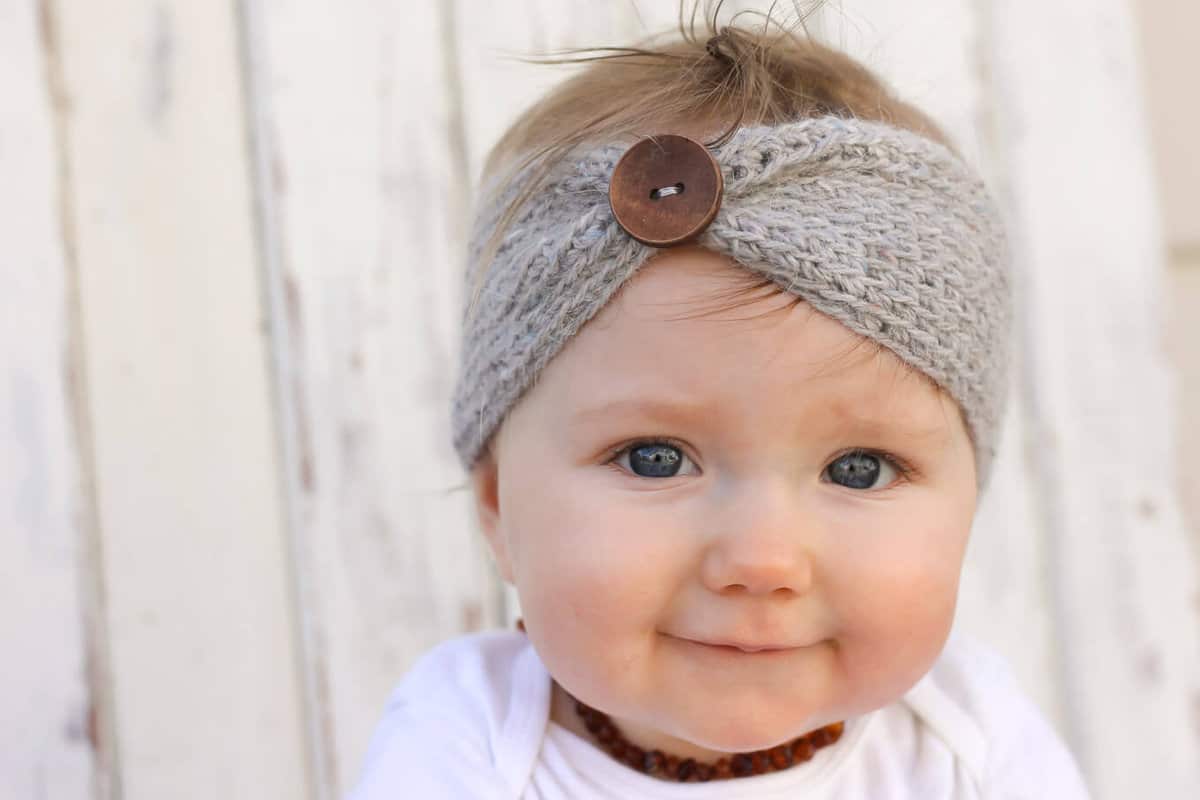
"Aspen Socialite" Headband (sizes baby - adult)
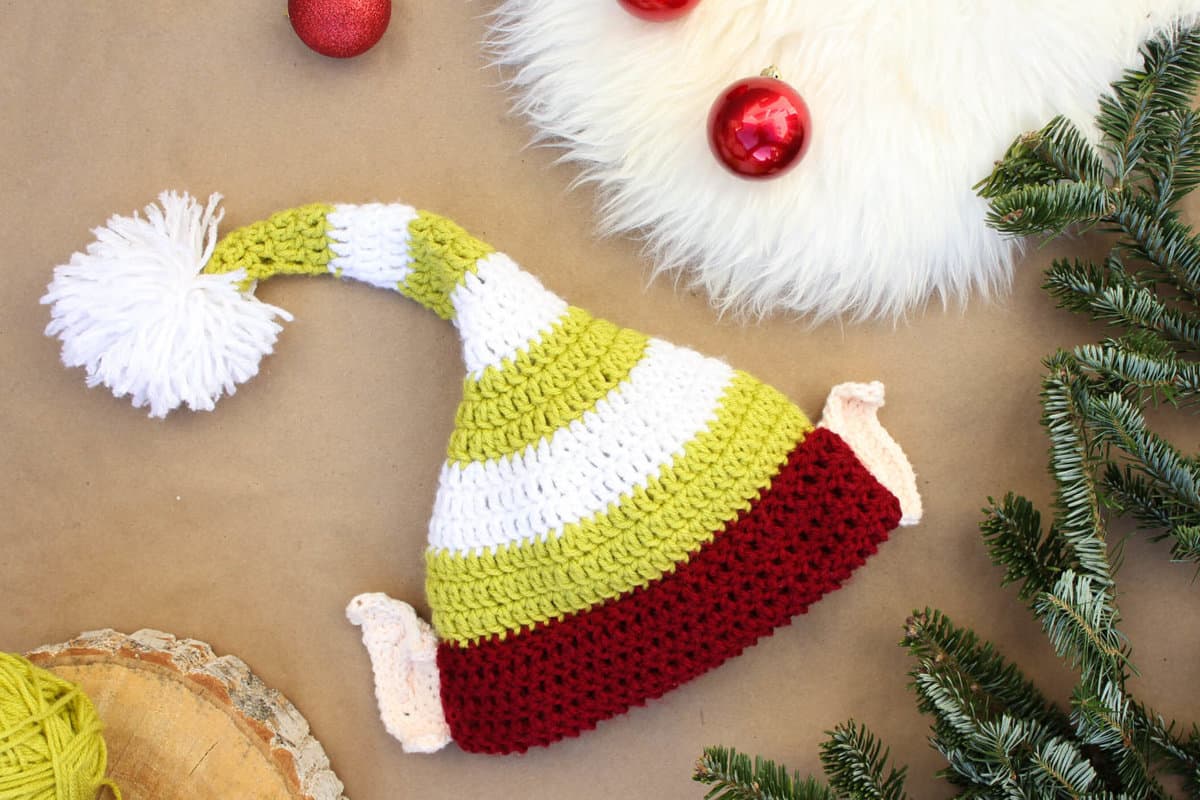
Santa's Helper Elf Hat with Ears (sizes newborn - adult)
[convertkit form=4869877]

Tricia says
G'day Jess, love the boots, just can't crochet. Love the tune on your video, could you please advise me the name and artist.
Thank you
Tricia
xx
Tricia Delforce says
G'day Jess, just love these boots but unfortunately can't knit or crochet. If ever you get a kit together I would be interested to purchase. I love that music you use in your ad as well. Could you please tell me the artist & track name.
Thank you
Tricia
xx
Eva says
I am thinking about trying this with wedge heel flip flops, any suggestions for things to watch out for?
Debi Hamilton says
I have frogged these three times, went down a hook size, and crocheted as tightly as possible (even added in a few extra decreases) but they are still so lumpy and huge! Do you think the pattern would work well with a worsted weight yarn instead of the bulky?
Carlena says
Do you do something to the sole to protect the yarn from being worn through when wearing them? I would think within a short time you'd wear through the yarn ruining the boots.
Jess @ Make and Do Crew says
Hey Carlena,
Actually, the yarn doesn't touch the floor/ground the way I make them, so it doesn't get worn through easily. I've worn these boots as slippers every day for about 6 months and they're holding up really well.
Hope that is helpful!
Jess
cynde williams says
Can you give me a real measurement for the holes 1/3 inch is not a measurement. Do you mean 3/8ths?
Jess @ Make and Do Crew says
I mean .33 inches, which yes, is around 3/8ths. The ruler in the printable pattern is very helpful because it allows you to poke the holes exactly an equal distance apart. If you're not using the ruler though, do you best to make the holes about 3/8th of an inch apart.
Jessica says
Hi Jess! Is the hole gauge the same for your other patterns using flip flops? I want to be able to print and keep the gauge if it is.
I'm about to make these for a friend. I'm a little nervous that I'll be able to do it but it's always worth a shot. When I'm done with hers I want to make some for me. lol Thanks!
Jess @ Make and Do Crew says
Hey Jessica,
These boots require holes that are spaced out further because the yarn we use is thicker. I am releasing a free boot pattern in a few weeks though with the same gauge so you could def reuse the guide for that.
Happy crocheting!
Jess
Jessica says
THANK you so much for the reaponse!! I'll be starting these soon. But first!! Maybe I'll wait to see what you're New pattern is like. 🙂
Carol says
I have a hard time with the left boot. It is not coming out right. Very frustrating. Can you also do the left boot. Help!!!!!!!!!!!!!!!!!!!!!!!!!!!!!!!!
Debbie says
I made a pair of these for my granddaugher who is 16 and tagged me in a post on FB. I bought the pattern for the holes as I thought $2.50 was "cheap" and I felt I needed it. However after starting it and using the pattern without watching the videos, I struggled and decided to resort to the videos - anyway once I figured it out, it took little time to do the pair of them.
My question is I now want to do a pair for my granddaughters that are 5 & 7 so I have found some flip flops (very hard to find in the great north in the winter anywhere except online) - do I need to adjust anything to do this in a smaller size - I know there will be less stitches - my grandchildren live in Florida, so I can't just put it to their foot to see how it is fitting. Any suggestions?
Jess @ Make and Do Crew says
Hey Debbie,
I'm glad you found the videos helpful. I worked really hard on them because I do think this is the type of pattern that benefits from some more detailed explanation.
I'm actually releasing a boot pattern in the next few weeks that might be a really good option for "downsizing." If you don't want to wait for that though, I would just experiment with using the same technique, but ending the toe section and beginning to build up the back of the heel a lot sooner. I think that since you've made a larger pair, you will be able to test out the same concepts just with fewer stitches.
I'd love to see a pic of what you make if you'd like to share one. 🙂
Jess
Hayley says
Great to read that you are releasing another boot pattern. I'm wanting to make some for my daughters who are 10 and 8 but I wouldn't know where to begin to 'tweak' your adult pattern so that they will fit my girls. I'm guessing just using a smaller hook won't work? The yarn I have to use is 8 ply.
Will look forward to seeing your new boot pattern and keep my fingers crossed that you have kids sizes in it.
Jess @ Make and Do Crew says
Hey Hayley,
I think the boot pattern I'm sharing later this week could be a good one to adjust for kids. Once you check it out, I'd be happy to brainstorm with you on how you could re-size it for your girls. 🙂
B Gillespie says
I love the fact that FREE is NOT FREE. Just to get a copy of the pattern you MUST PAY; that is WHAT the advertisements are for, to pay for it. Just to get this pattern I ran out of paper because 81 pages HAD to print.
FREE MEANS FREE.
Jane says
Jess, would you give us some suggestions for yarn to use for the flip flop slippers and boots? I knit a pair of slippers with Lion Brand Wool-Ease and discovered that it pills horribly. I'm thinking maybe a washable wool and nylon blend. What do you think?
Kathy says
Well I finally got my nerve up to try these as I got the flip flops at Michaels in the spring. Very disappointed. I was almost all the way around and as I put my crochet hook into the last few holes it split the thong all the way through. Now I have to go out and see if I can find any somewhere. Has anyone else has this problem and if so how can I avoid doing it with the next pair? Thanks for your patterns Jess, I have made and gifted many of them!?
Samantha Skubal says
Hey, so I love this pattern. These boots are super adorable and I am currently trying to make a pair. I seem to be having trouble though with the decreases. I end up getting these really large holes when I move from a row to do the sc2tog into the foundation round. I do amigurumi and I have had the same problem with decreases in that as well and I usually end up sewing in extra yarn at the end to fill in the holes. I naturally crochet tight, so I don't think loose stitches are the problem. I keep trying to rework those stitches but seem end up with the same result. Are there any techniques I should try that might fix this problem? Any suggestions would be great. Thanks again for coming up with such an awesome design!
Jess @ Make and Do Crew says
Hey Samantha,
I know exactly what you're talking about because those decreases can be kind of finicky. Have you watched the videos by any chance? I show what I do to minimize the appearance of the decreases. In short though, I try to make each progressive loop on my hook during a decrease a little tighter. So the first loop on my hook is the loosest and the second one is a little shorter and the third and final loop than ends up on my hook is quite short. By doing so, the first loop can sort of overlap the second two and smoosh them together a bit. I hope that is helpful!
Jess