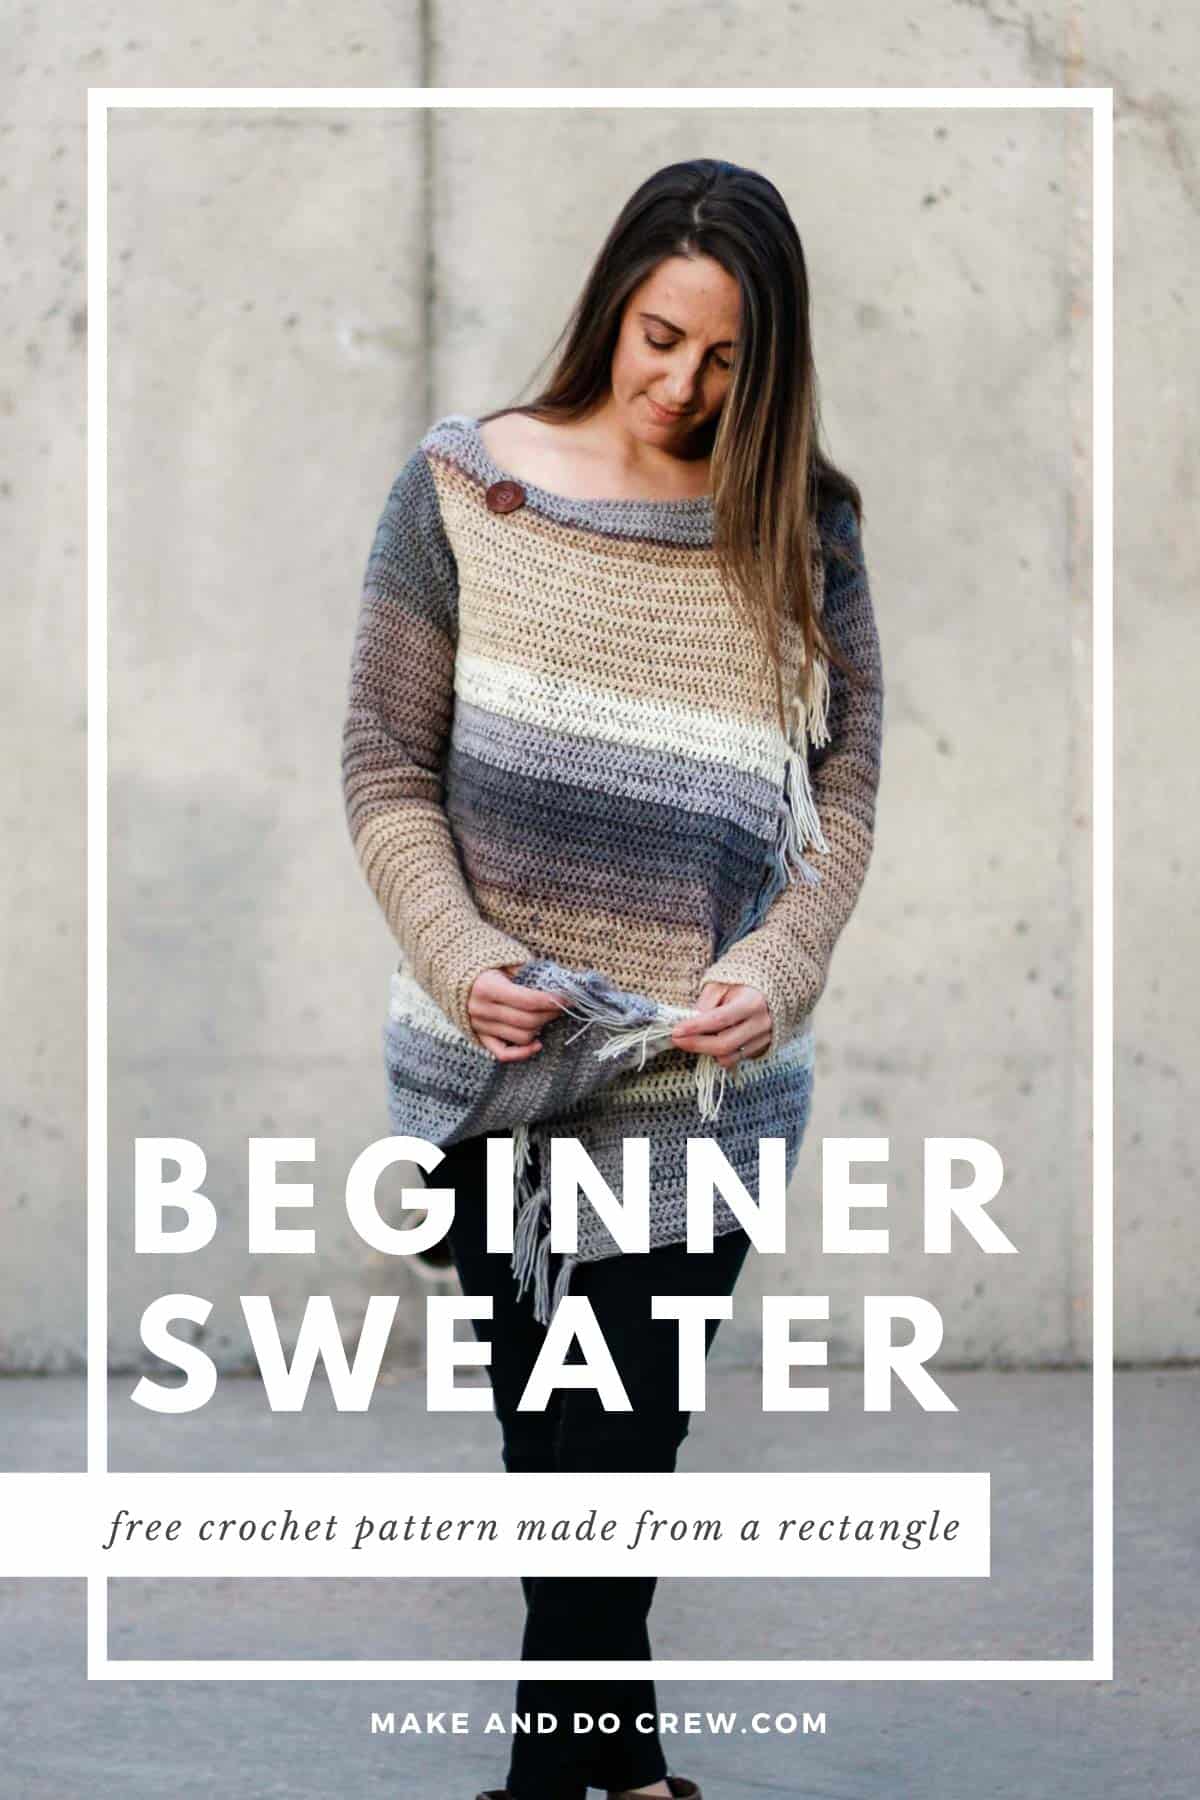
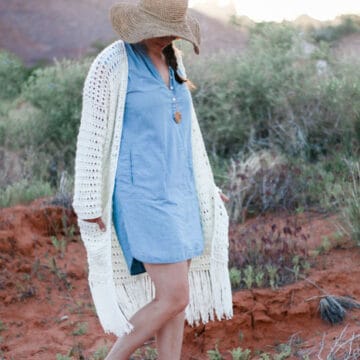
In Part 2 of the Strata Sweater, we'll crochet the sleeves and add finishing touches like fringe and optional buttons. Scroll down for the second part of the free pattern. Read about the pattern details and get Part 1 the free pattern here or purchase the complete ad-free, printable PDF here.
The Strata crochet sweater pattern is part of a collaboration with Lion Brand Yarns. This post contains affiliate links.
More Free Crochet Sweater Patterns
Crochet sweater patterns don't need to be difficult. In fact, most of ours are made with very simple shapes. Dive into the wonderful world of crochet garments with cardigans, pullovers, ponchos, shrugs and more!


See more free crochet sweater patterns →
Part 2: Strata Sweater
Free Crochet Sweater Pattern With Hood
Purchase the ad-free, printable PDF with schematic here.
Add this pattern to your Ravelry here.
Pin it for later here.
Get Part 1 the free pattern here.
Supplies:
• Lion Brand Cupcake (Weight: 3/light - 590 yds, 5.3 oz)
5 (5, 6, 6, 7, 7) skeins [(approx. 590 (670, 750, 795, 900, 945) g)]
Pictured:
• Coffee Break (#935-220)
• Tapestry needle
• Size I (5.5 mm) crochet hook
• Stitch markers or safety pins
• 2 wooden buttons (1.25” pictured) - optional
Yarn Substitution Options:
Lion Brand Mandala and Mandala Baby have an identical weight and fiber content to Cupcake yarn so they can be substituted very easily if you find a colorway you prefer.
Sizes:
S, M, L, 1X, 2X, 3X
Fits Bust:
S: 32-36”
M: 36-40”
L: 40-44”
1X: 44-48”
2X: 48-52”
3X: 52-56”
See schematic at end of pattern PDF for additional measurements. When choosing size, consider armhole size as determining factor as main body of sweater is quite forgiving in its sizing. Sample is a size small shown on a 5’8” model with a 36” bust.
Gauge:
15 dc = 4”
9 rows = 4”
Abbreviations and Glossary (US Terms):
ch – chain
dc – double crochet
fdc – foundation double crochet
inc – increase(s)
rep – repeat
PM – place marker
RS – right side
sk – skip
sl st – slip stitch
sp(s) – space(s)
st(s) – stitch(es)
tch – turning chain
WS – wrong side
yo – yarn over
Overall Pattern + Sizing Notes:
• Main sweater body and hood is worked in one piece. Sleeves are worked in the round separately and joined to body at end.
• Ch 3 at beginning of each row/round always counts as a dc.
• See an alternate version of this pattern made with deconstructed Lion Brand Mandala yarn cakes that form a color gradient here.

Sleeves
Notes:
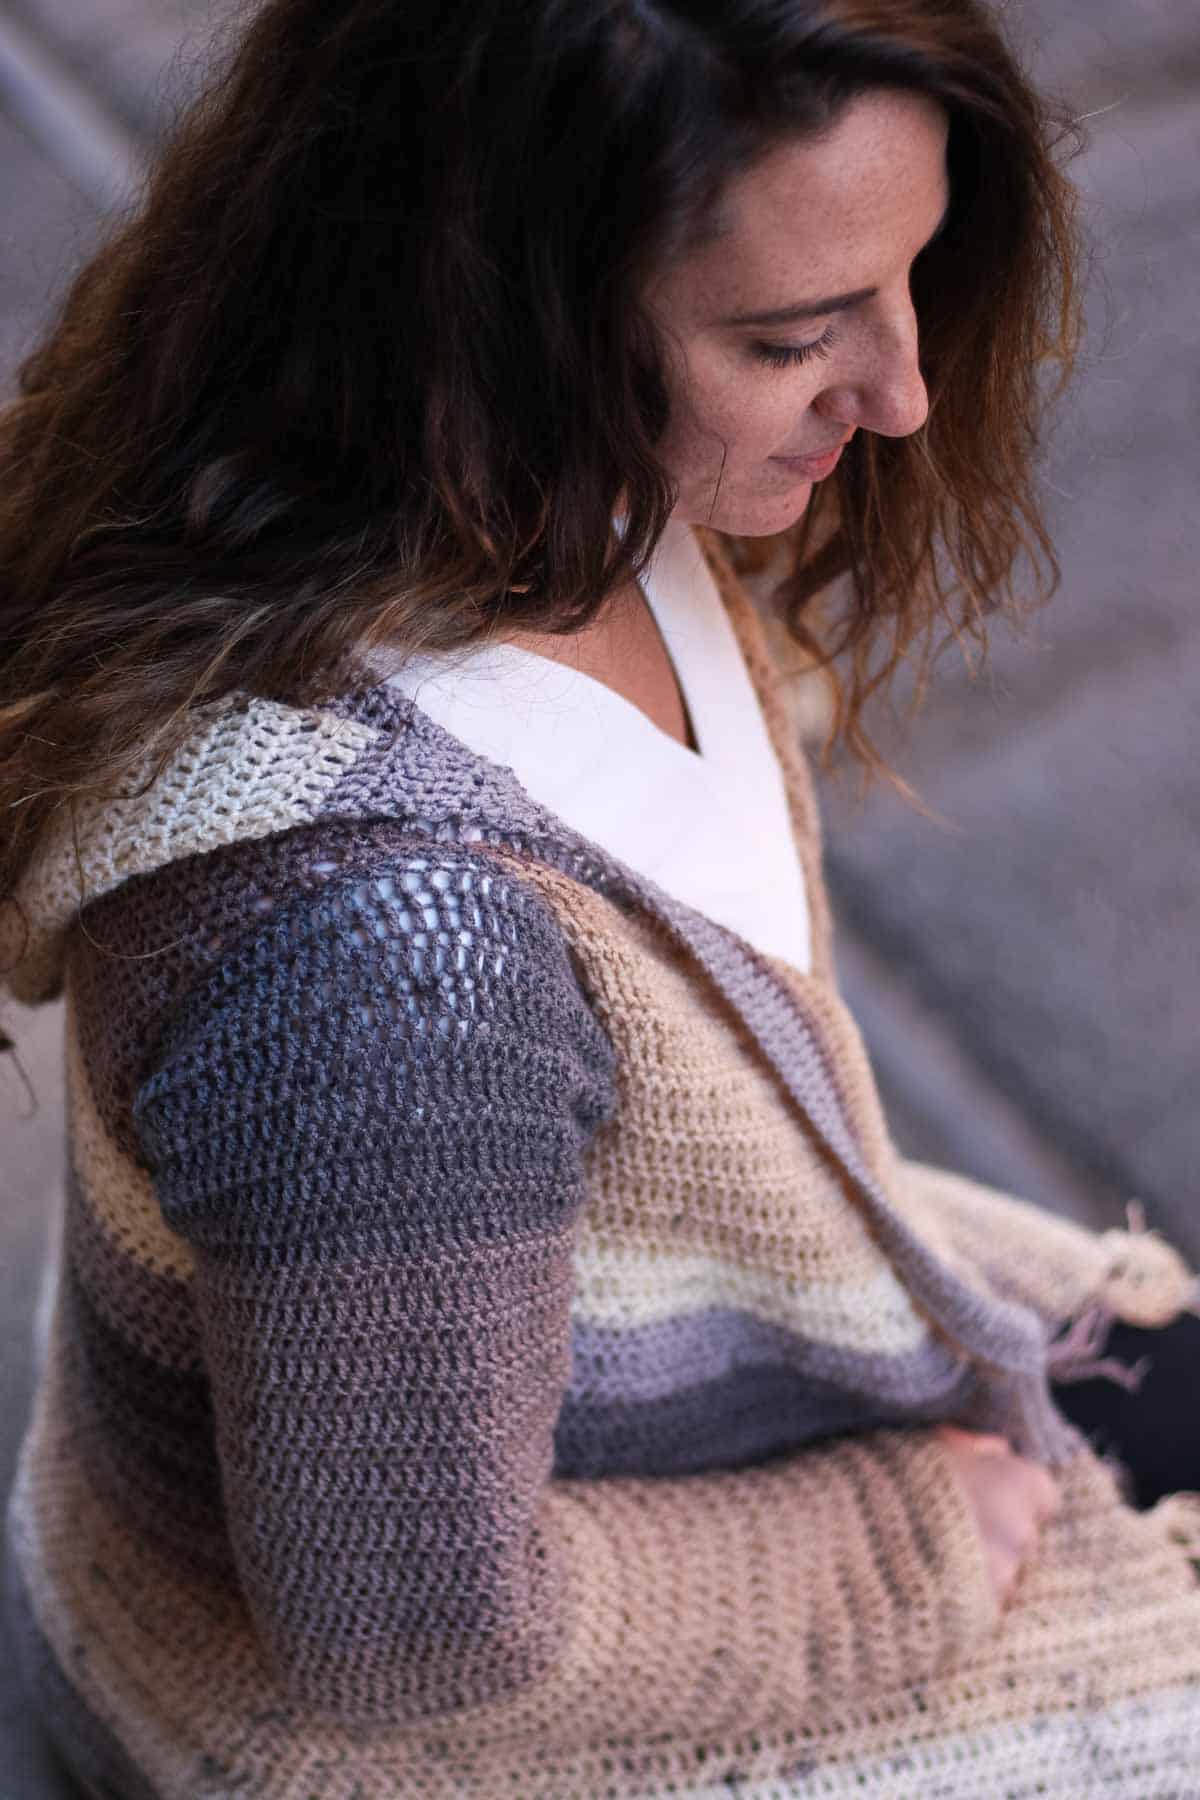
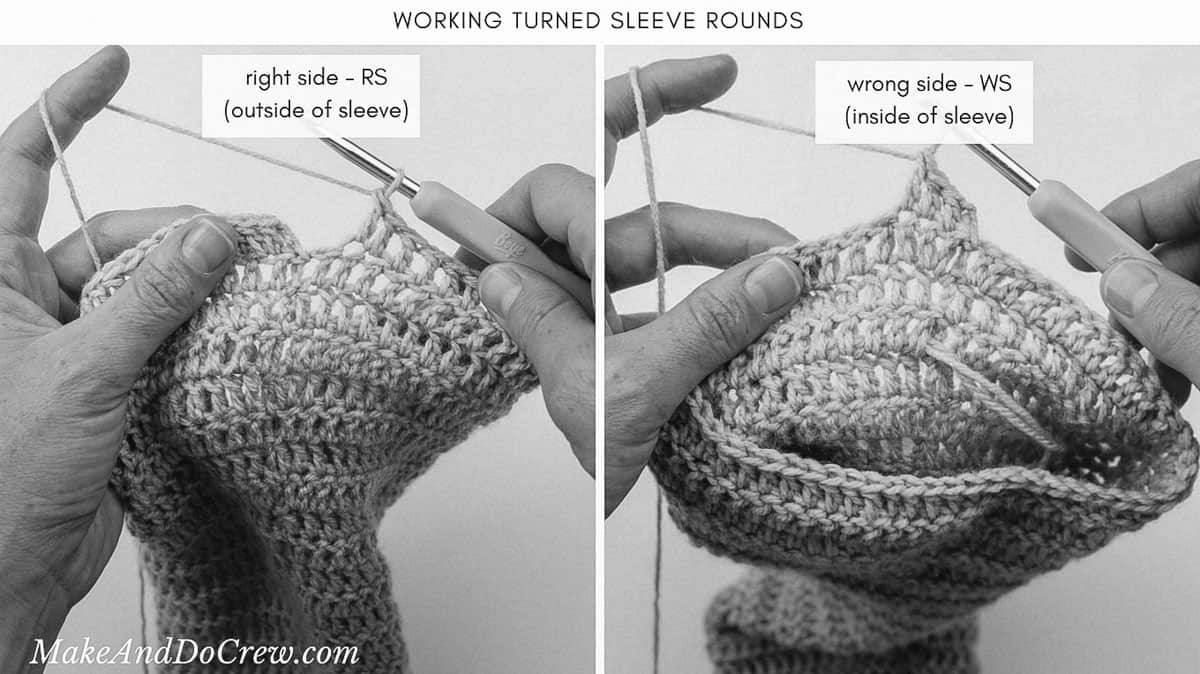
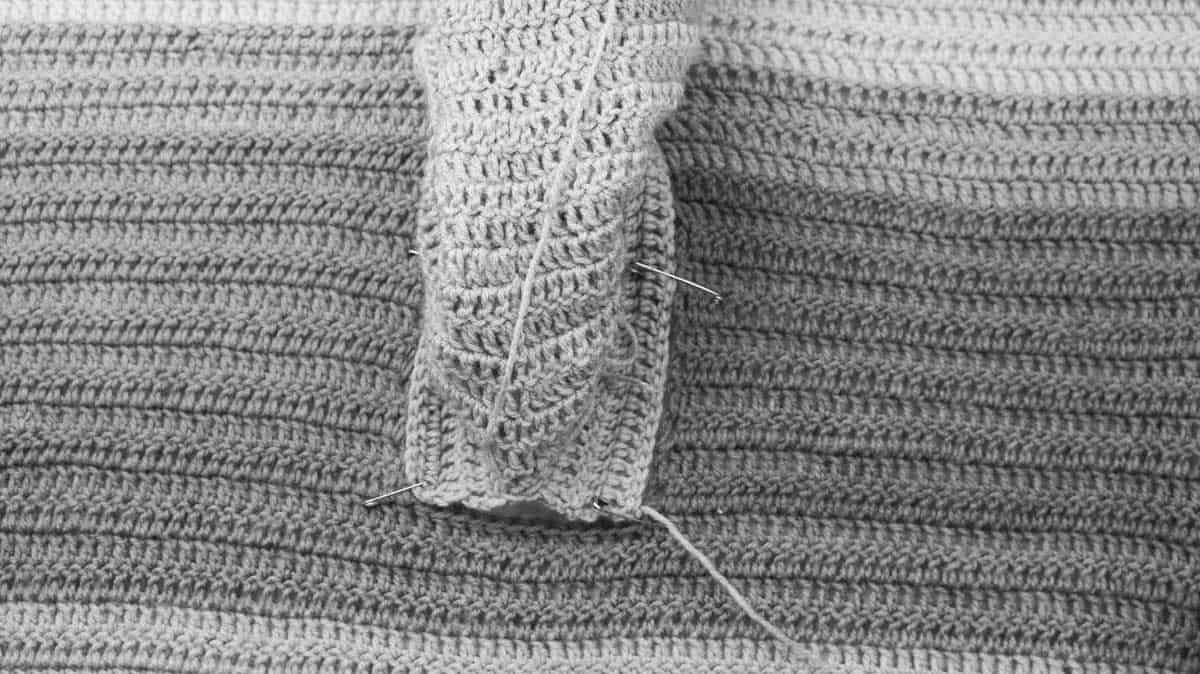
• Sleeves are worked from the wrist up in turned rounds, meaning that you’ll work in the round, but turn the work after each round to mimic the appearance of the main sweater stitches. The last rows are worked in turned rows without joining. (See photo below.)
• Sleeves are intentionally extra long. If you desire shorter or longer sleeves, make adjustments in the first section of the sleeve before increases [Rounds 1-11 (11, 11, 10, 9, 8)] by eliminating or adding rows.
• Since sleeves are reversible, RS and WS designation is not important. For this purpose though, consider RS meaning working around sleeve with the outside facing you and WS meaning working around it with the inside facing you, although this doesn’t mean you actually have to turn the sleeve inside out to crochet it. (See photos below.)
• For extra pattern-reading help, see chart on p. 12 of PDF for a simple guide of when to increase for each size.

Make 2.
Foundation Round: Ch 35 (35, 37, 39, 39, 41), sl st to first ch to join, taking care not to twist ch. [35 (35, 37, 39, 39, 41) ch]
Round 1 (RS): Ch 3, dc in first ch, dc in each ch to end, sl st to tch to join; turn. [36 (36, 38, 40, 40, 42) dc]
Round 2 (WS): Ch 3, dc in each dc to end, sl st to tch to join; turn.
Rounds 3-11 (11, 11, 10, 9, 8): Ch 3, dc in each dc to end, sl st to tch to join; turn.
Next Round (inc): Ch 3, 2 dc in first dc, dc in each dc around until 1 remains, 2 dc in last dc, sl st to tch to join; turn. [38 (38, 40, 42, 42, 44) dc]
First set of increases:
Small: Rep an inc round every 5th round 3 more times for a total of 4 inc rounds. There should be total of 27 rounds at this point.
Medium: Rep an inc round every 4th round 8 more times for a total of 9 inc rounds. There should be total of 44 rounds at this point.
Large: Rep an inc round every 4th round 5 more times for a total of 6 inc rounds. There should be total of 32 rounds at this point.
Wanna save this pattern?
1X: Rep an inc round every 3rd round 15 more times for a total of 16 inc rounds. There should be total of 56 rounds at this point.
2X: Rep an inc round every 3rd round 7 more times for a total of 8 inc rounds. There should be total of 31 rounds at this point.
3X: Rep an inc round every 2nd round 22 more times for a total of 23 inc rounds. There should be total of 53 rounds at this point.
Second set of increases:
Small: Rep an inc round every 4th round 7 more times for a cumulative total of 11 inc rounds. There should be total of 55 rounds at this point.
Medium: Rep an inc round every 3rd round 4 more times for a cumulative total of 13 inc rounds. There should be total of 56 rounds at this point.
Large: Rep an inc round every 3rd round 8 more times for a cumulative total of 14 inc rounds. There should be total of 56 rounds at this point.
1X: No more increases necessary.
2X: Rep an inc round every 2nd round 12 more times for a cumulative total of 20 inc rounds. There should be total of 55 rounds at this point.
3X: No more increases necessary.
All Sizes:
The following rows are worked without joining.
Row 56 (57, 57, 57, 56, 54): Ch 3, sk first dc, dc in each dc to end of row, do not join; turn. [58 (62, 66, 72, 80, 88) dc]
Rep Last Row 2(2, 3, 3, 5, 7) more times. Fasten off leaving a 24 (24, 30, 30, 36, 36)” tail.
There should be a total of 58 (59, 60, 60, 61, 61) rounds + rows at this point. Fasten off leaving a 24-30” tail.

Finishing
Seaming Hood
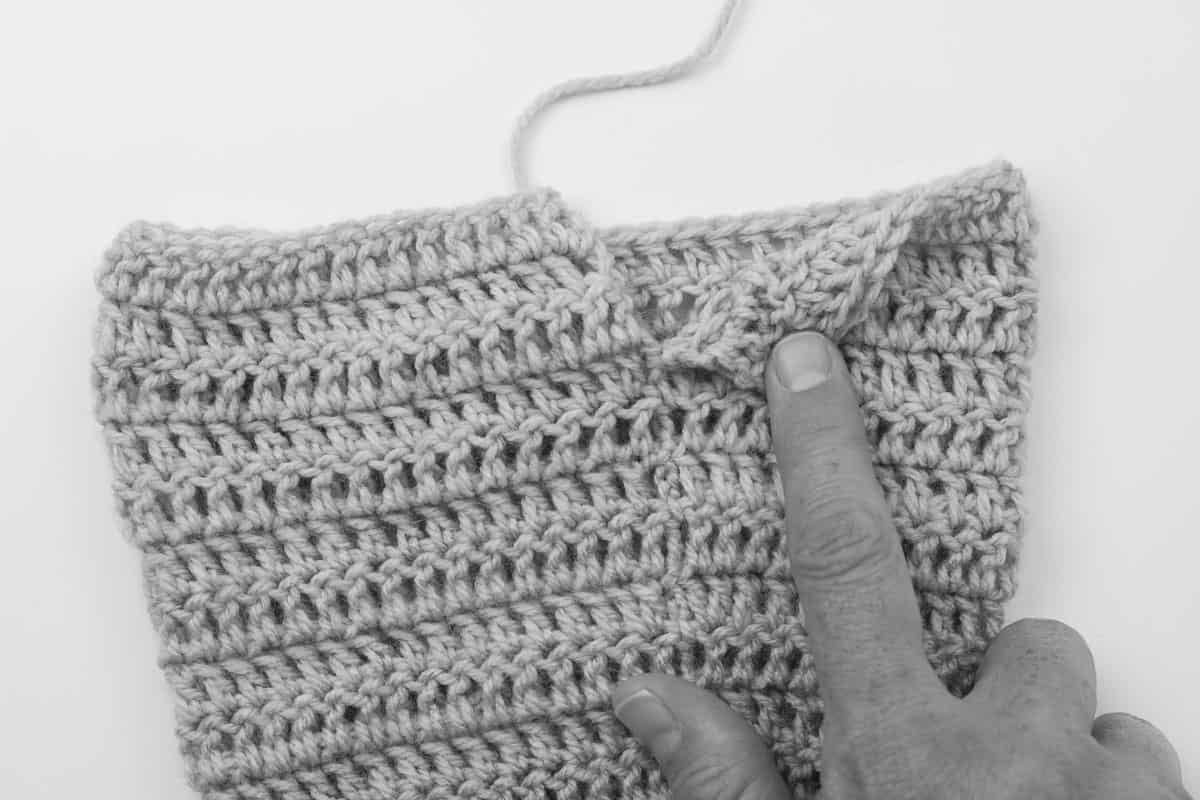
Fold hood rectangle vertically so RS are together. (See photo H.) Using a tapestry needle and tail from fastening off, seam final hood row beginning at front (forehead) and working toward back (crown). See photo I for prefered seaming technique.
Joining Sleeves
With RS of sweater and RS of sleeve facing, pin sleeve to sweater as shown in photo below. Slit at top of sleeve should be split and pinned to the bottom flat edge of armhole. Repeat with second armhole and sleeve. Seam using sleeve tail and same technique as with hood.
Turn sweater RS out.
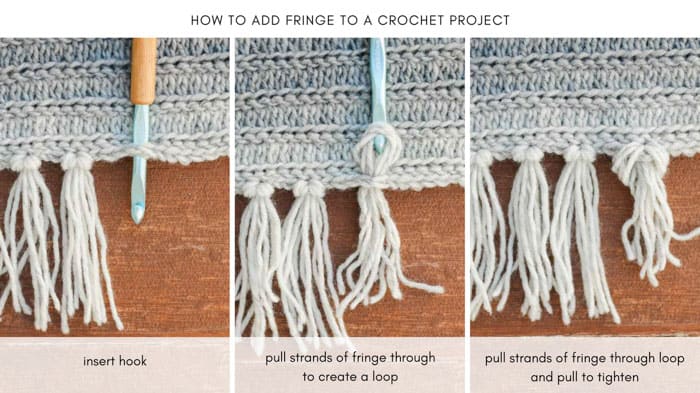
Adding Fringe
Cut dozens of 9” strands of fringe from each color in your cake.
Tip: Wrap yarn around a 4.5” piece of cardboard or book to easily cut fringe strands to appropriate length.
Beginning at top of sweater, place groups of 6 strands of fringe in every fourth row of dc along both fronts of sweater. Ensure that the smooth side of the knot is facing the RS for each group on both fronts as in photo directly below.
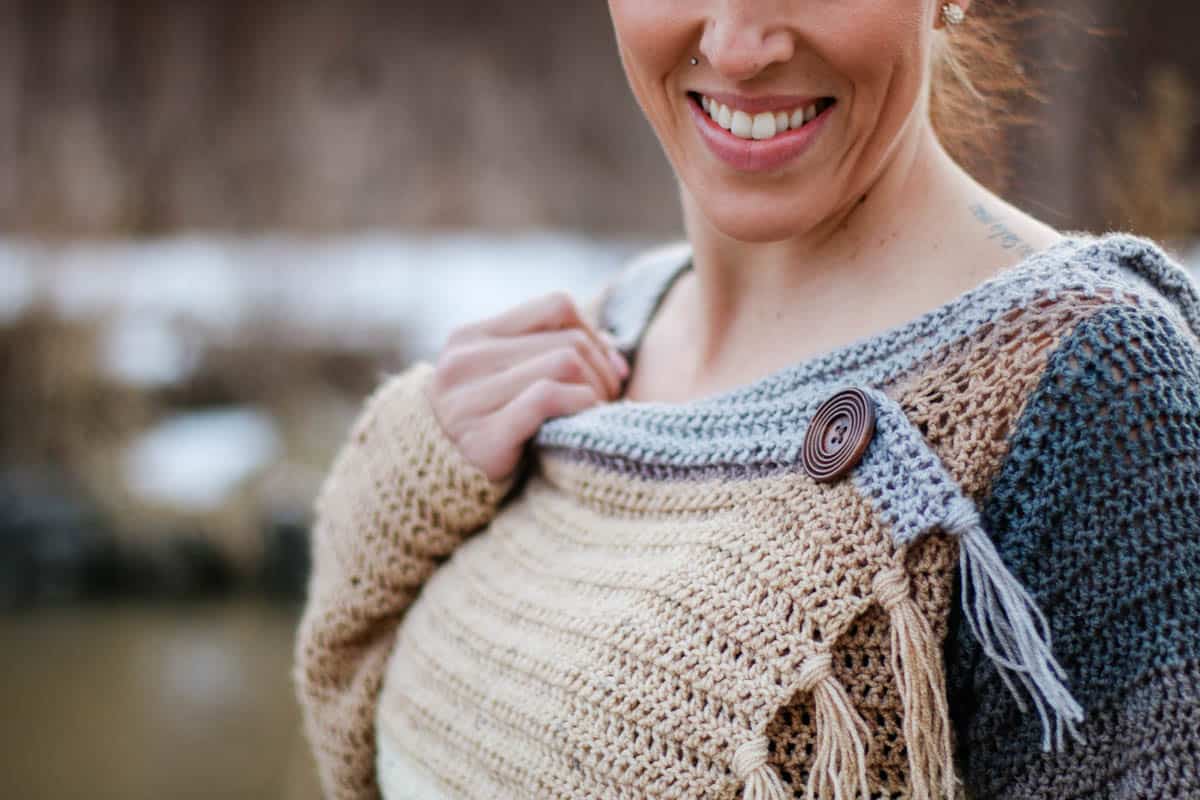
Attaching Buttons
Using a tapestry needle and appropriately colored yarn, sew buttons to the sweater front that doesn’t contain button holes (left front, as worn). It can be very helpful to try on your sweater before choosing button placement to ensure desired fit.
The Last Hurrah
Weave in any remaining ends and venture out into the unknown like the bohemian goddess you are.
I love to see your finished projects! Use #MakeAndDoCrew and tag me Instagram (@MakeAndDoCrew) to show off your stitches and have a chance to be featured.
That was so fun! Now what?
Invitation to our Facebook group
Come discuss crocheting hooded cardigan patterns and lots of other crochet projects and techniques in our Make & Do Crew Facebook group. Here thousands of helpful crocheters answer each others questions and share their stitches. Come join us here.
Find Your Next Sweater Project
- Summer Crochet Cardigan Pattern - short sleeved topper
- Lightweight Cardigan - made from hexagons
- Color Block Cardi Pattern - drapey and soft
- Easy Tunisian Crochet Cardigan - clever reversible cardi
- Casual Pullover Sweater - with exposed seams
- Simple Everyday Cardigan - using the easy V-stitch
- Lightweight Jacket Pattern - seamless + beginner-friendly
- V-Neck Sweater -simple, easy striped design
More Free Patterns + Tutorials
Can't get enough free crochet patterns!? Me either. You'll definitely want to breeze through these collections to find your next project.
- 55+ Free Crochet Sweater and Cardigan Patterns - our most popular garments
- 40+ Free Crochet Blanket Patterns - baby blankets, throws + c2c graphgans
- 36+ Granny Square Patterns + tips for the perfect square
- 30+ Crochet Animal Patterns - adorable amigurumi stuffed animals
- Crochet Gift Ideas - easy patterns to make for others
- Fast Crochet Projects - start to finish in less than a day
Learn a New Skill
And when you're ready to master a new skill, check out our detailed guides that include everything you need to know to level up your crochet game.
- How to Corner to Corner (C2C) Crochet for Beginners - with video tutorials to get you started
- How to Crochet a Beginner Hat - make an entire beanie in 1.5 hours!
- How to Crochet Amigurumi for Beginners - the ultimate guide to making your own toys and plushies
- How to Tunisian Crochet - learn with this video and a standard hook
More Easy Free Crochet Garment Patterns
Ready for more? These free crochet patterns for handmade clothing are a few of the most loved by M&DC crocheters.
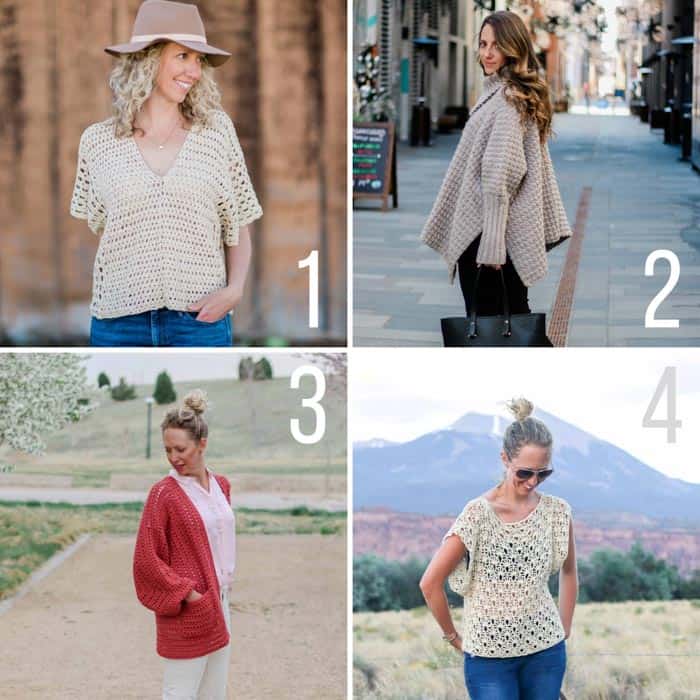
1. Saratoga Poncho Top - This popular pattern is made from two simple rectangles to create a boho style that's flattering on a variety of bodies. Sizes S-3X.
2. Alpine Crochet Poncho - This stylish crochet poncho with sleeves is very easy because it’s made from five simple rectangles.
3. Day Date Crochet Hexagon Cardigan - Two simple crochet hexagons transform into a lightweight, on-trend cardigan complete with cozy pockets and roomy bishop sleeves. Includes video tutorial.
4. Canyonlands Crochet Top - Combine this breezy boho crochet top with a bandeau or cami, a pair of well-worn jeans and a free spirit and you’ll have yourself the perfect bohemian look!


Carol says
LOVE LOVE LOVE IT!!
Thanks so much for the pattern..