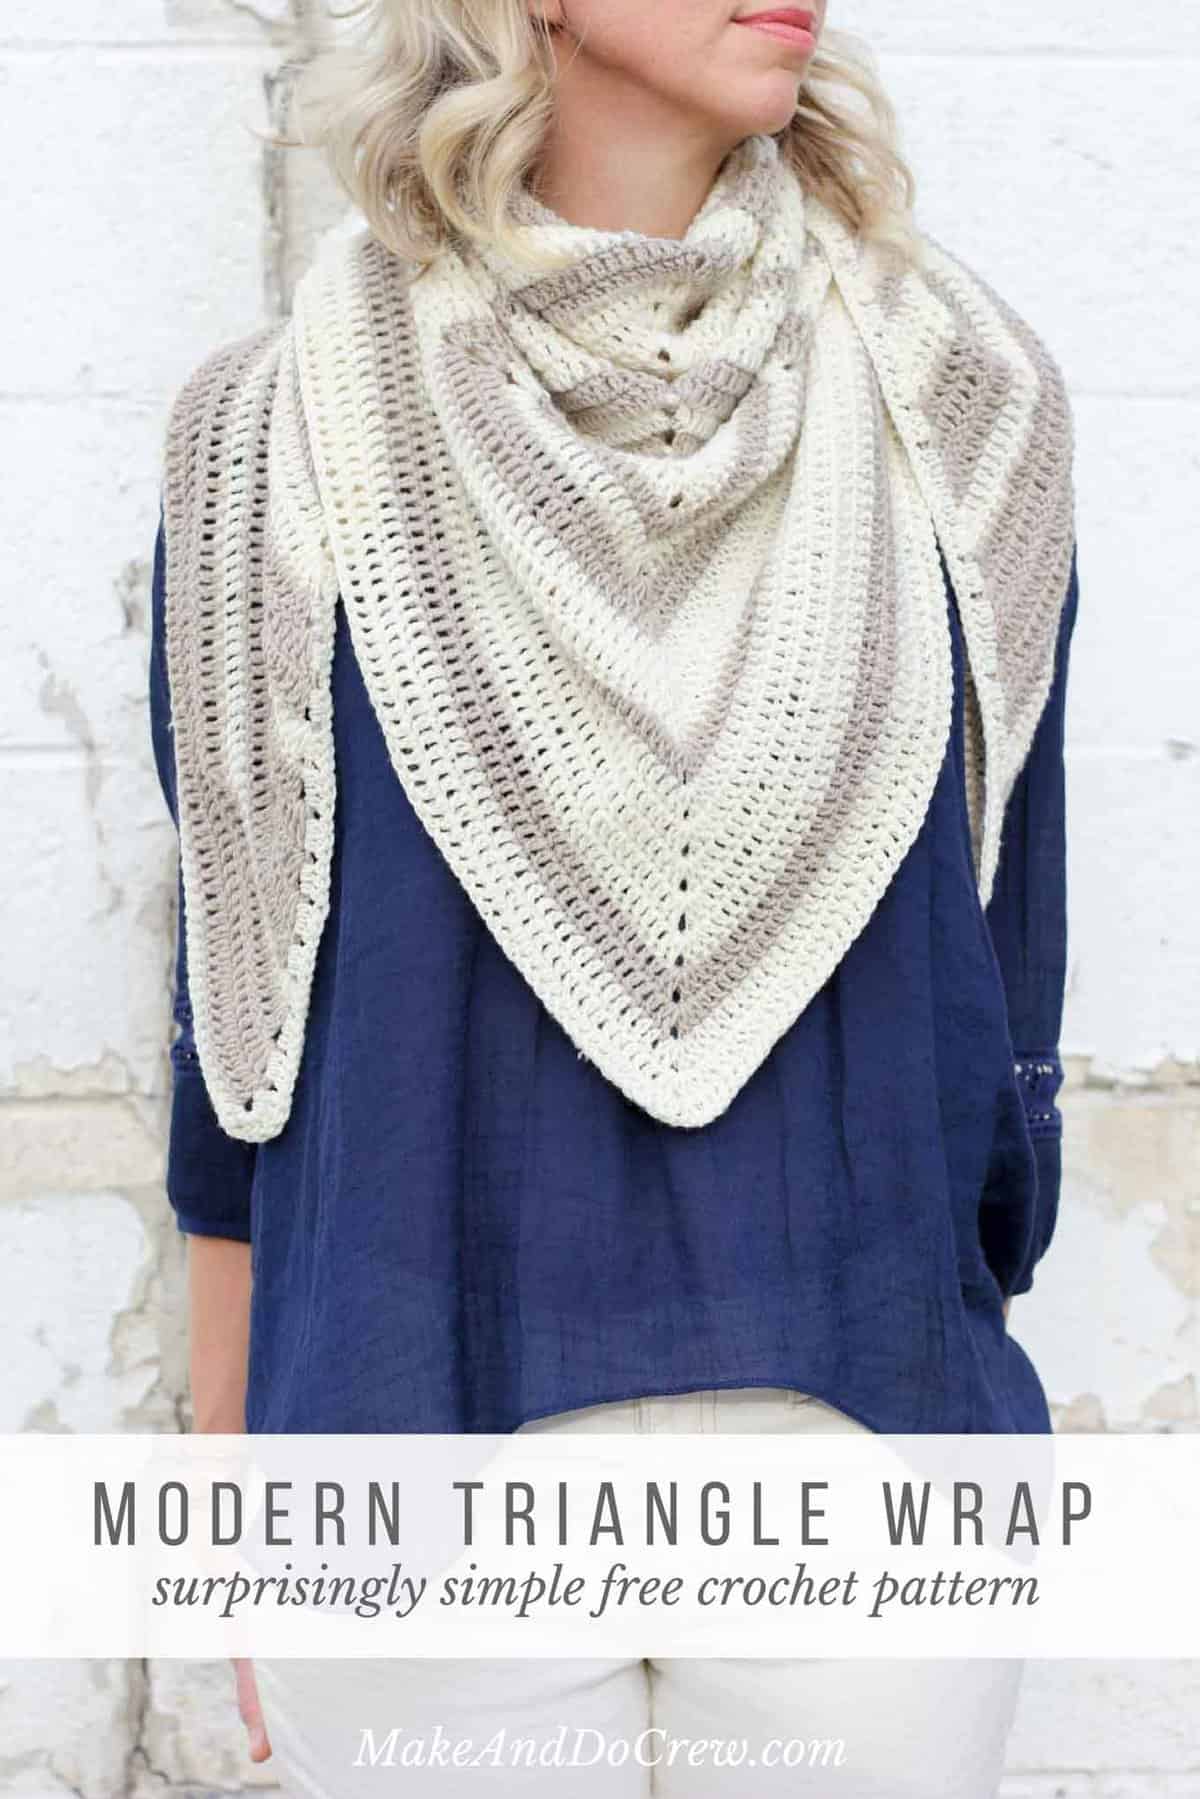
This free modern scarf crochet pattern is surprisingly simple to make! Its lightweight weave makes it a perfect wrap to throw on for chilly summer nights. The free pattern is below or you can purchase the ad-free, printable PDF here.
This modern triangle wrap post is a collaboration with my friends at Lion Brand Yarn. This post contains affiliate links.
I know what you're thinking. "Jess, seriously, that thing must have like 8,000 ends to weave in."
BUT, before you head off to make a crochet another one skein project, let me tell you that this free modern scarf crochet pattern is WAY more crocheting and WAY less weaving. I think I had about four ends to weave in when this was all said and done because I crocheted over each tail as I attached a new stripe color. (Why it took me about 25 years of crocheting to totally figure this out though I do not know.)
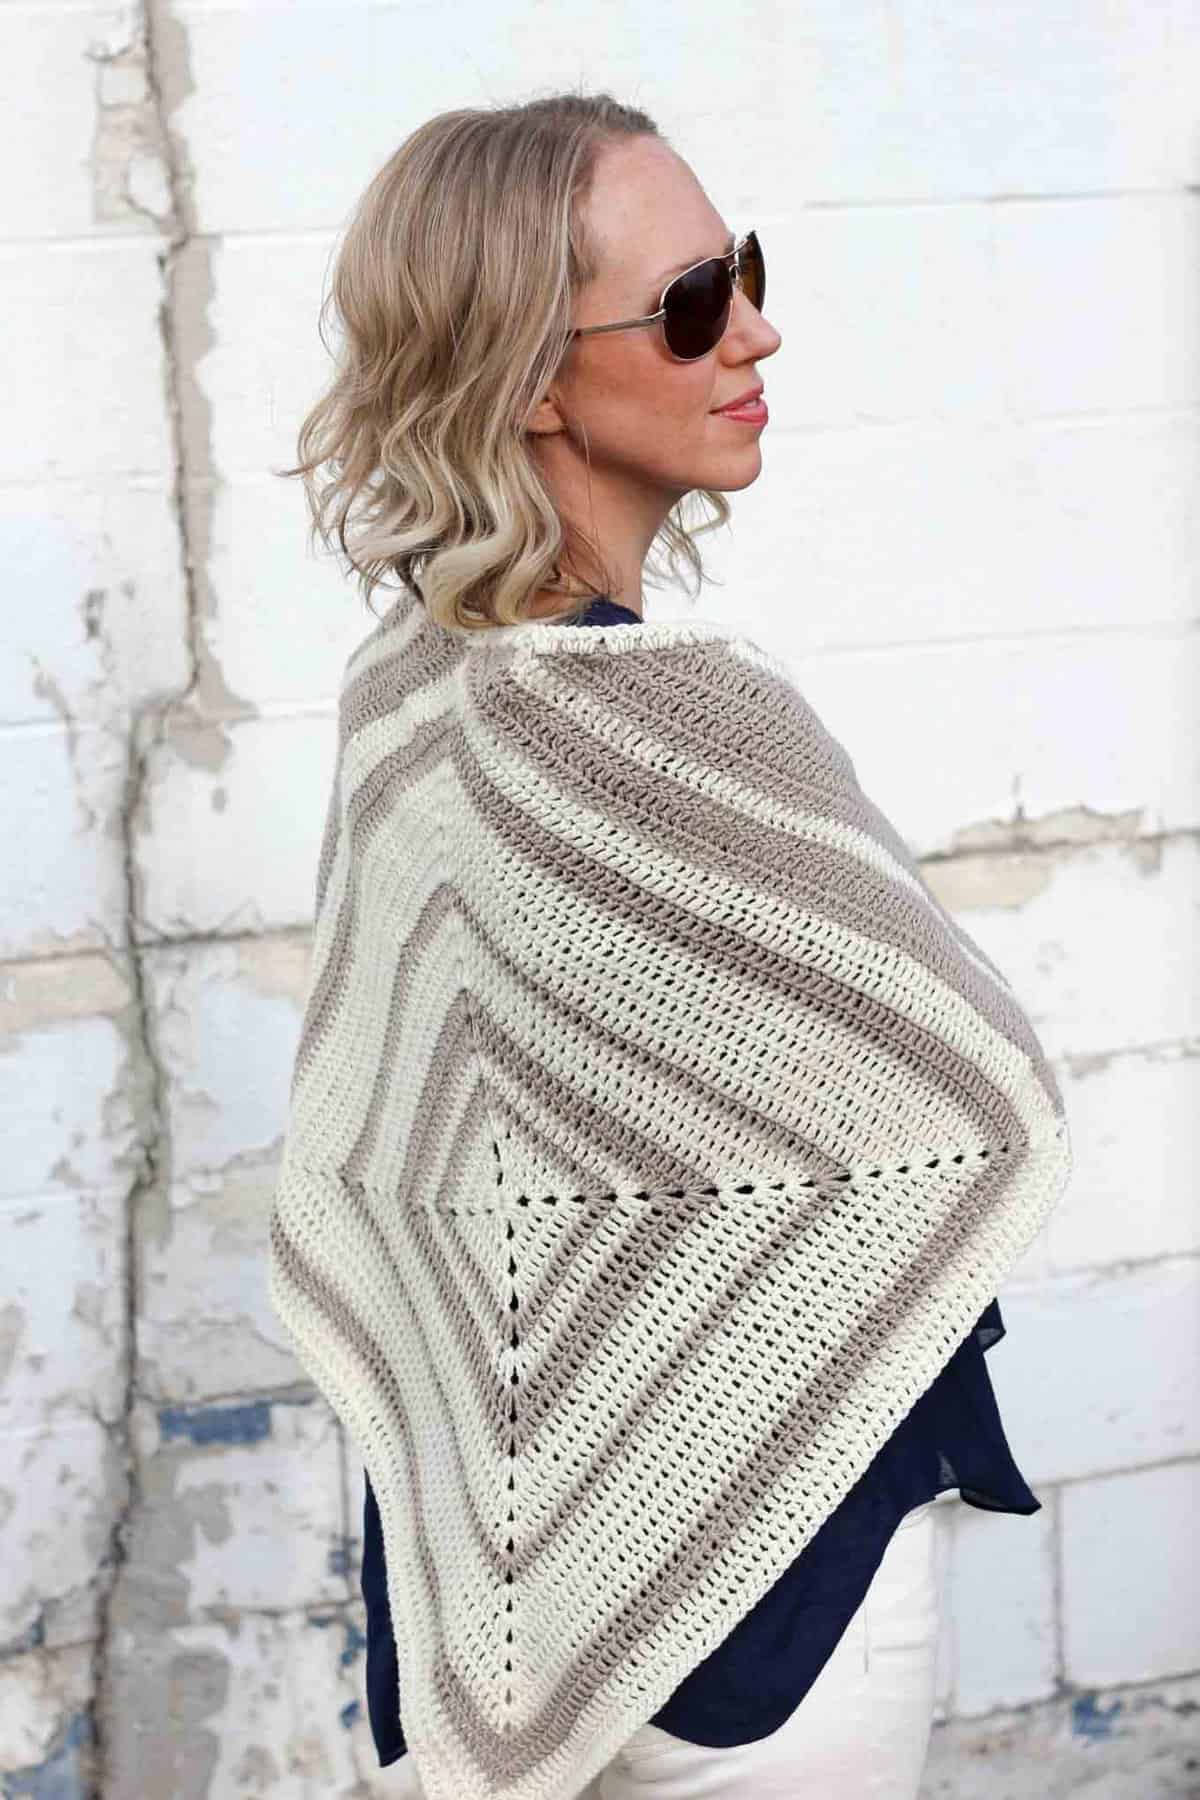
To make this free modern scarf crochet pattern, all you need is one basic square and two triangles. Can you spot them?
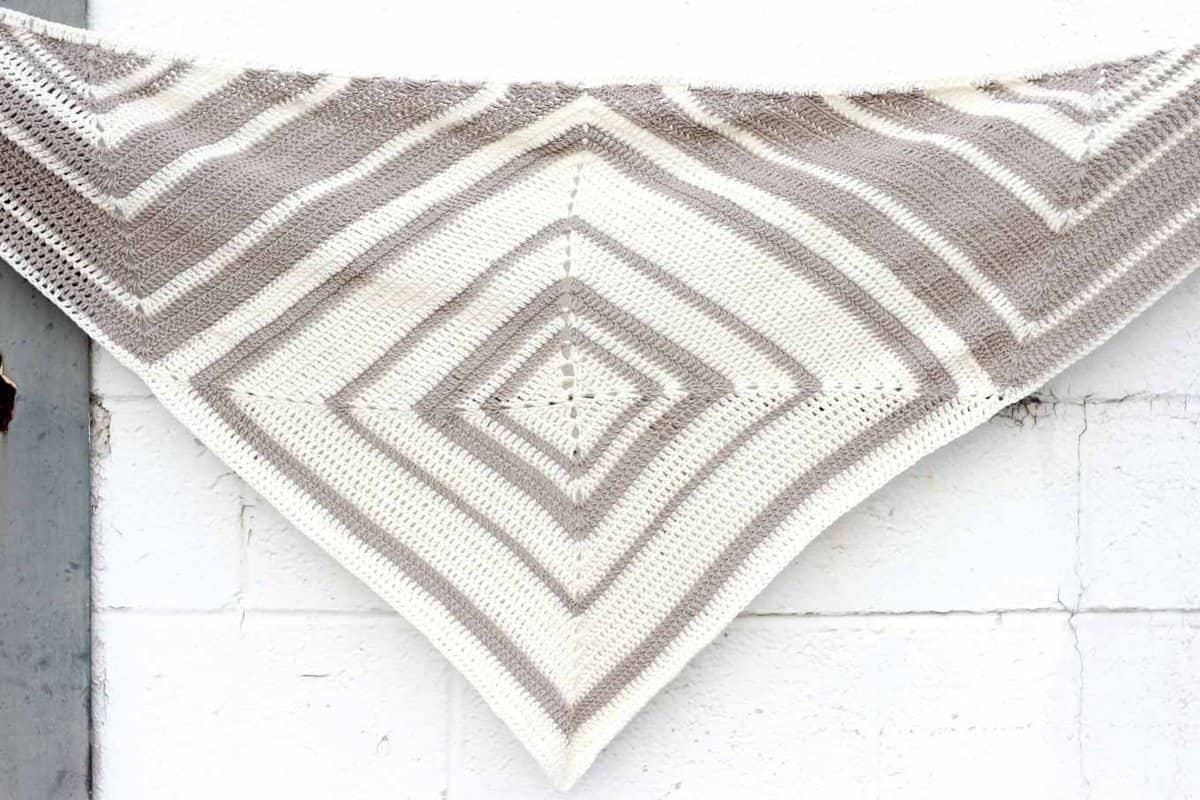
But all you hipster baristas out there, don't let the name deter you from using this free crochet pattern to make your own barista bib. 😉
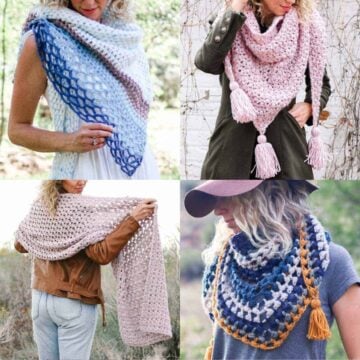
More Free Crochet Scarves + Shawls Patterns
Whether you adore c2c crochet scarves, Tunisian crochet shawls or gorgeous lace scarves, we've got you covered. Many of these patterns make quick gifts to crochet and great gift ideas for Mother's Day.
See more free crochet scarves + shawls patterns →
Please do not publish or share this pattern as your own. You may make items to sell with this pattern. In exchange, please link back to this post. Do NOT use my photos as your own sales photos. You can read my policies here. Now let’s make something awesome!
Logan House Wrap -
a Free Modern Scarf Crochet Pattern
Purchase the ad-free, printable PDF here.
Add this to your Ravelry favorites here.
Pin this for later here.
Measurements:
70” wide x 30” tall
Supplies:
• 850 yds Lion Brand Superwash Merino (DK/yarn symbol “3” - 306 yds, 3.5 oz)
-Color A: Ivory (2 balls or 425 yds)
-Color B: Hemp (2 balls or 425 yds)
• Tapestry needle
• Size I [5.5 mm] crochet hook
• Stitch markers or safety pins
Gauge:
• 13 st = 4”, 7 rows = 4” worked in double crochet
Gauge isn’t critical, but it is important to make sure you crochet each of the three shapes with similar tension so they are the same size when completed.
Abbreviations and Glossary:
dc – double crochet
sk – skip
sl st – slip stitch
ch – chain
yo – yarn over
RS – right side
WS – wrong side
Overall Pattern Notes:
• Pattern is worked in one square and two triangles that are joined at the end. A border is added to finish the piece.
• Pattern can be worked in a chunkier yarn with a larger hook to make a winter-weight wrap.
• Reference chart below for visual explanation.
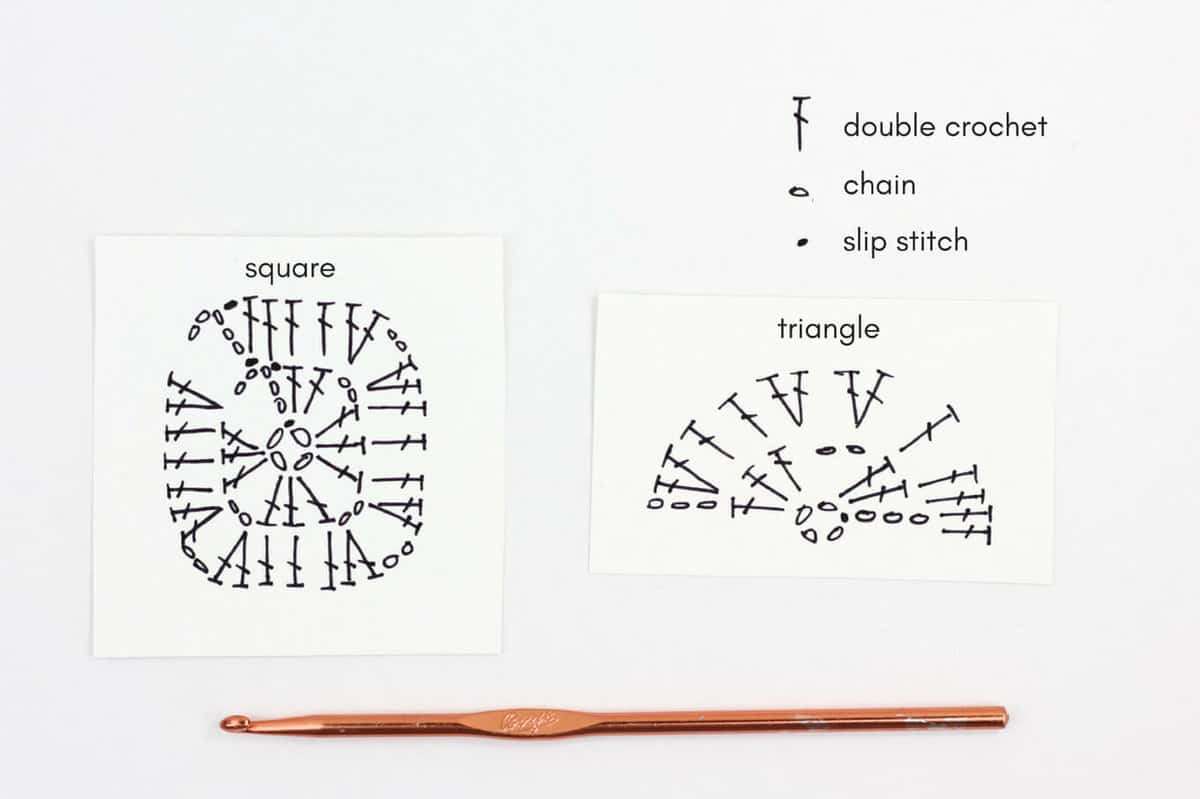
Square
Notes:
• To switch colors, simply finish one row in the first color. Begin the following row with the new color.
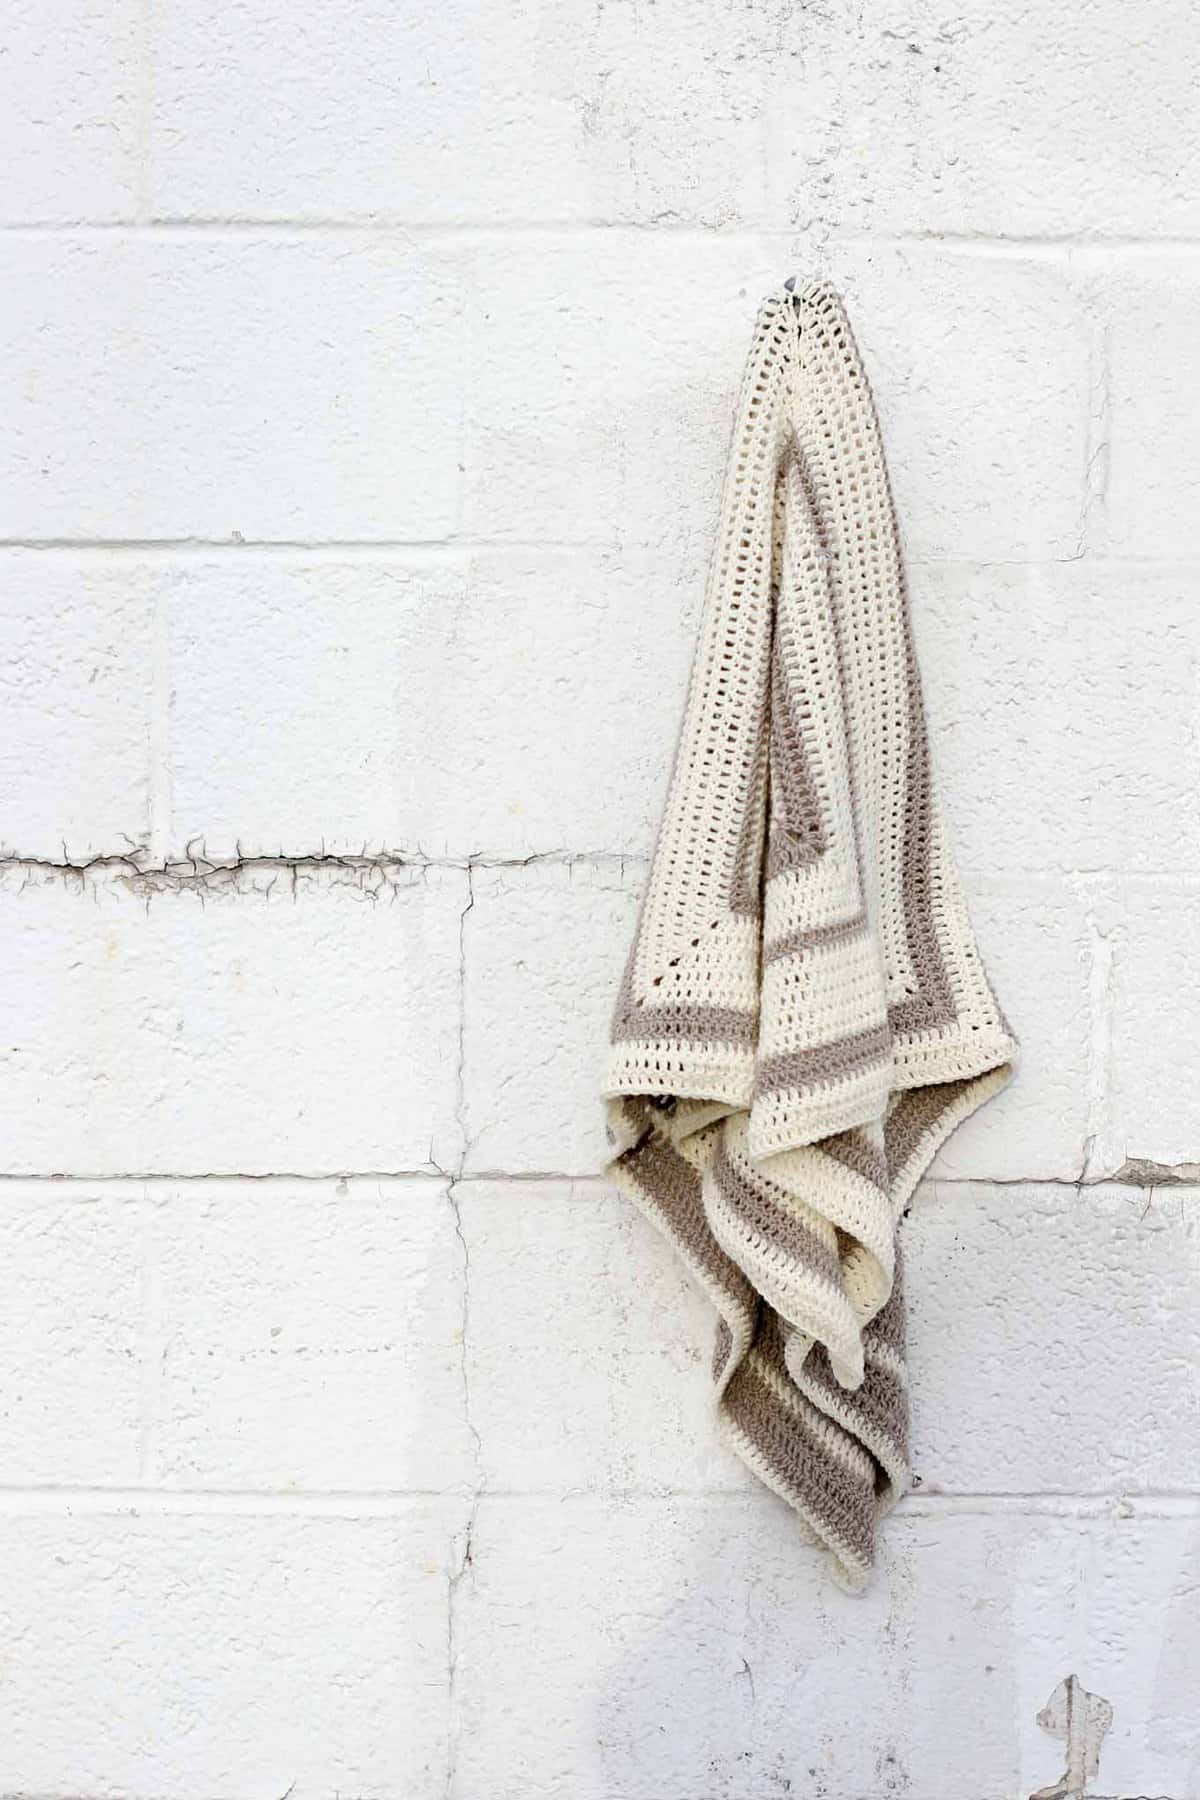
• Crochet over yarn tails as you switch colors and you will end up with very few, if any, ends to weave in at the end! (See photo below.)
• The square is worked in the round. Do not turn work at the end of each row.
• Regarding the end of Round 2 – because the first 3 ch at the beginning of Round 1 counts as 1 dc, be sure to count that ch-3 as a dc and work into it as a normal st when you’re completing Round 2. This will ensure that you have the same number of stitches per side all around your square.
Make 1.
Foundation Round: With Color A,ch 4, sl st to first ch to form a circle.
Round 1: Ch 5 (counts as 1 dc and 2-ch sp), (3 dc in ring, ch 2) 3 times, 2 dc in ring, sl st to 3rd of 5-ch from beginning of round to join. (3 per side)
Round 2: 1 sl st into 1st sp, ch 5 (counts as 1 sc and 2-ch sp), 2 dc in same sp, *1 dc in each dc to next sp, work (2 dc, ch 2, 2 dc) all in next sp; repeat from * twice more, 1 dc in each dc to next sp, 1 dc in same sp as ch-5, sl st to 3rd of 5-ch from beginning of round to join. (7 per side)
Round 3: Repeat Round 2. (11 per side)
✨Unlock this free subscriber-exclusive pattern ✨
Follow these steps to view the full free pattern below
Row 2: Ch 3 (counts as 1 dc), 2 dc in first st, dc in each dc until corner; work (2 dc, ch 2, 2 dc) all in corner sp, dc in each dc until 1 dc remains, 3 dc in last dc, turn. (7 per side)
Wanna save this pattern?
Row 3: Repeat row 2. (Switch to Color A in final dc as described above.) (11 per side)
Row 4: Using color A, repeat row 2. (15 per side)
Row 5: Using color B, repeat row 2. (19 per side)
Rows 6-7: Using color A, repeat row 2. (23, 27 per side)
Rows 8-10: Using color B, repeat row 2. (31, 35, 39 per side)
Row 11: Using color A, repeat row 2. (43 per side)
Row 12-16: Using color B, repeat row 2. (47, 51, 55, 59, 63 per side)
Row 17: Using color A, repeat row 2. (67 per side)
Row 18-20: Using color B, repeat row 2. (71, 75, 79 per side)
Joining Pieces
Block pieces so that the shorter triangle sides are the same length as the sides of the square. If using Lion Brand Superwash Merino as in the sample, you can pin your pieces down, lightly spritz them with water and let them dry overnight.
Using stitch markers or safety pins, pin pieces together with one shorter side of each triangle touching consecutive sides of the square.
Sew the triangle sides to the square using the mattress stitch. (Moogly has a great mattress stitch tutorial.)
Final Border
Notes:
• See photo below for a visual explanation of border.
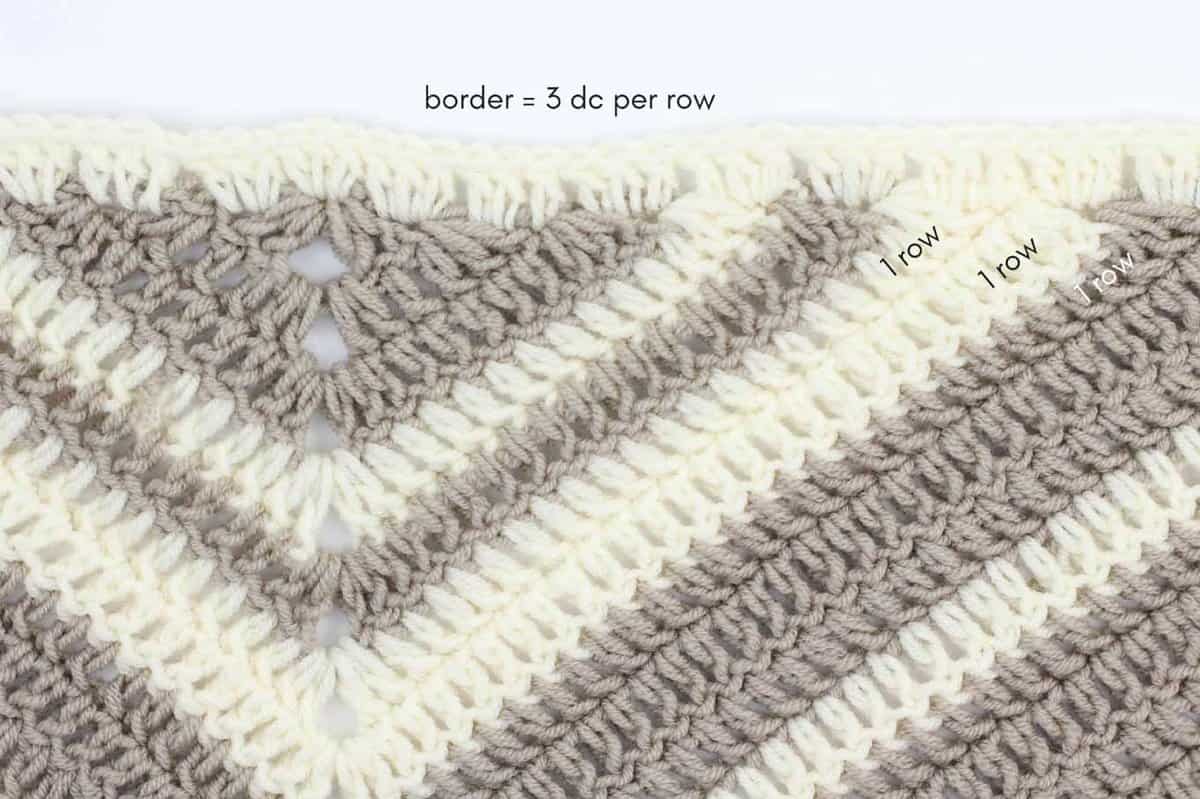
Round 1:
Slanted triangle side: Ch 3 (counts as 1 dc), dc in same sp, dc in each dc working 2 dc into the ch-spaces at the corners of the triangle pieces.
Continue dc in each dc until the upper corner of the wrap, (2 dc, ch 2, 4 dc) in the corner space.
Top edge: 3 dc in each row along the top edge of the scarf. (See photo E.) (4 dc, ch 2, 2 dc) in the second corner space.
Slanted triangle side: dc in each dc working 2 dc into the ch-spaces at the corners of the triangle pieces, 2 dc in ch-2 sp at bottom corner of the square, ch 2, sl st to 3rd ch from beginning of round to join.
* The final border is worked with the WS facing to help avoid any curling of the wrap. If this isn’t a concern, feel free to work with RS facing.
Weave in any remaining ends.
Toss on your latte-colored wrap and head out to treat yourself to a latte-colored latte!
That was so fun! Now what?
Invitation to our Facebook group
Come discuss crocheting coffee shop wrap patterns and lots of other crochet projects and techniques in our Make & Do Crew Facebook group. Here thousands of helpful crocheters answer each others questions and share their stitches. Come join us here.
More Free Scarves + Shawls Crochet Patterns
- Bixby Endless Crochet Cowl Pattern
- Chunky Yarn Cowl Crochet Pattern
- Caron Cakes Crochet Cowl Pattern
- Granny Square Shawl Pattern
- Bobble Scarf Crochet Pattern
- Brick Stitch Tunisian Crochet Cowl Pattern
- Tunisian Crochet Neck Warmer Pattern
- Chunky Crochet Shawl Pattern
And here are more free crochet patterns you might enjoy!


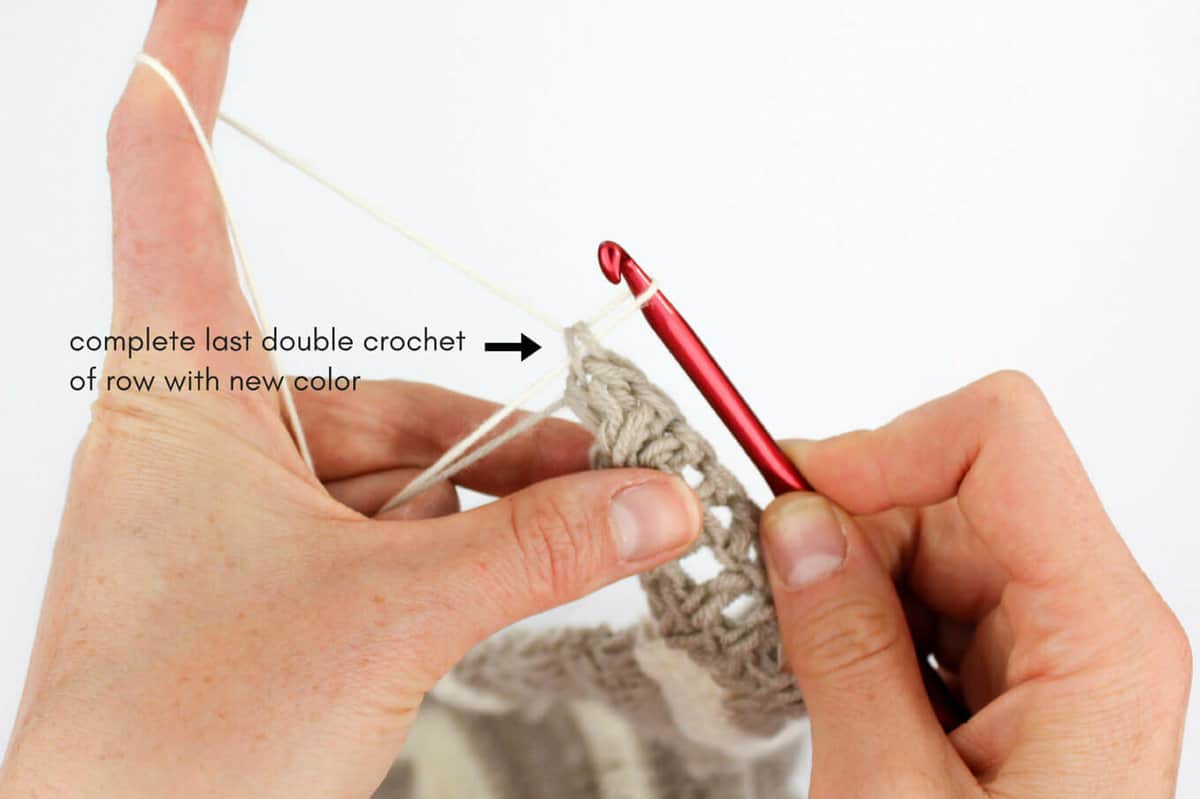 • Crochet over yarn tails as you switch colors and you will end up with very few, if any, ends to weave in at the end! (See photo in "Square" section.)


Heather Lucas says
What are your favorite hooks? Any cute case for them? 🙂 I may try making this for my mother in law soon!
Helen says
Very, very nice Thanks for sharing SMILE
Jess @ Make and Do Crew says
I'm so glad you enjoyed it, Helen. I really had fun making it!
Jess