In part 2 of this easy crochet sweater pattern, we'll learn how to extend the bottom of the cardigan for good tush coverage and then we'll add the collar and fur trim. Scroll down for the second stage of the free pattern or purchase the complete ad-free, printable PDF here.
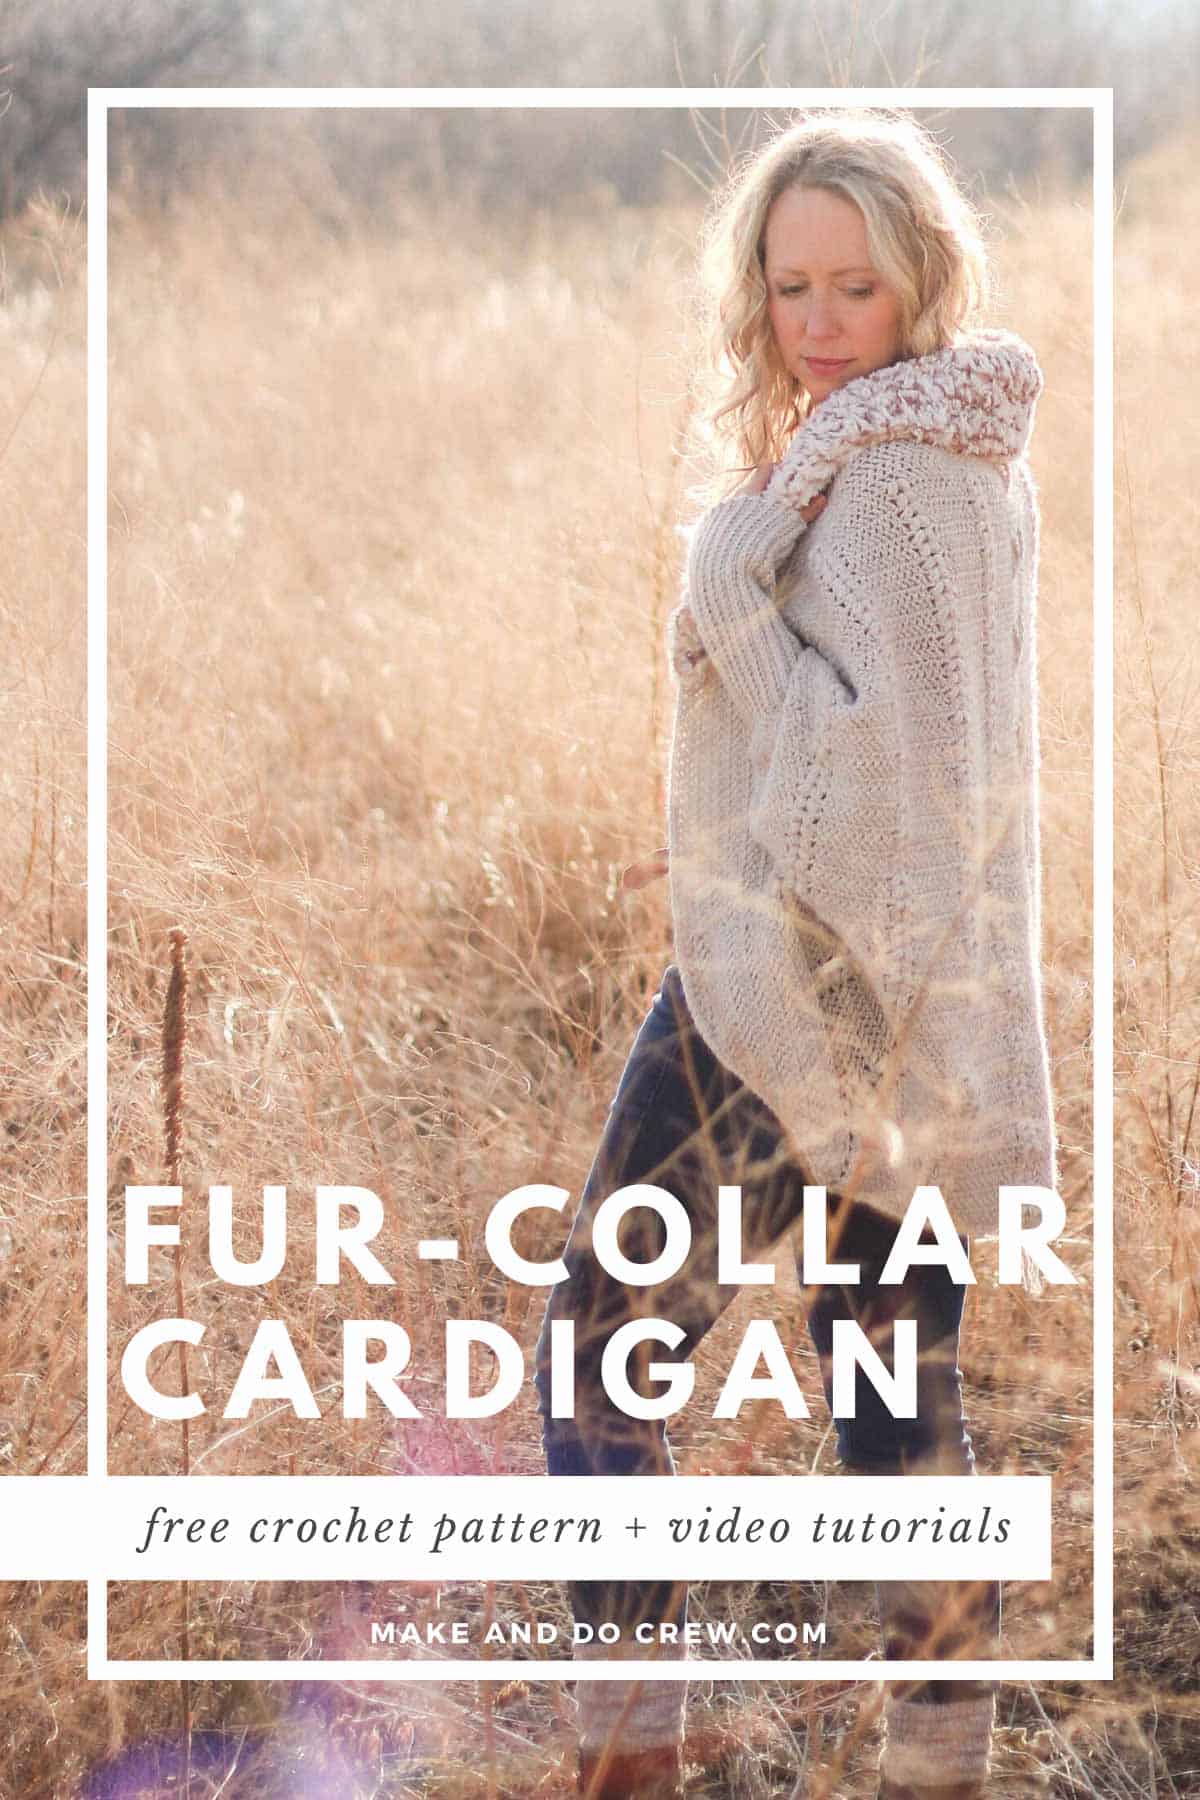
This free crochet cardigan pattern is part of a collaboration with Lion Brand Yarns. This post contains affiliate links.
Welcome back to the Backcountry Cardigan pattern!
If you're just joining us, head to Part 1 of the pattern here to learn all about the construction, yarn and inspiration for this sweater.
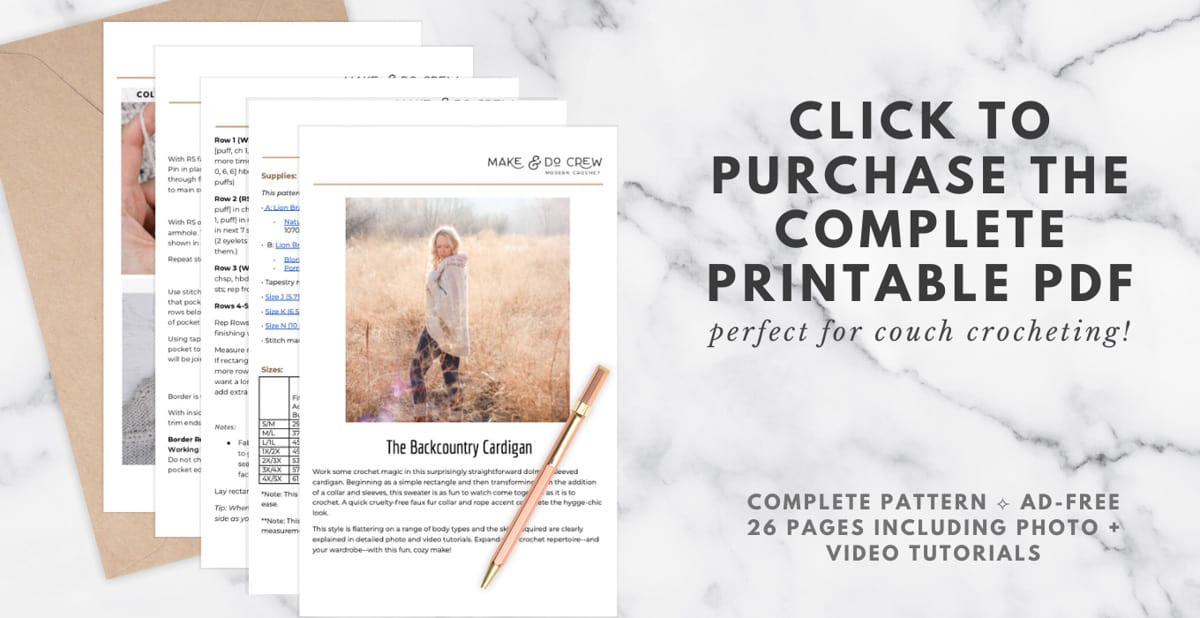
If you prefer to have all your pattern pieces, tutorial photos and information in one easily printable document, the PDF is definitely your best bet. With 26 nicely formatted pages, you'll be able to easily complete this sweater from the comfort of your couch, car or bed. You can download the PDF here.
(You can totally make the sweater entirely from the free pattern too! I just offer the PDFs because some people prefer to print.)
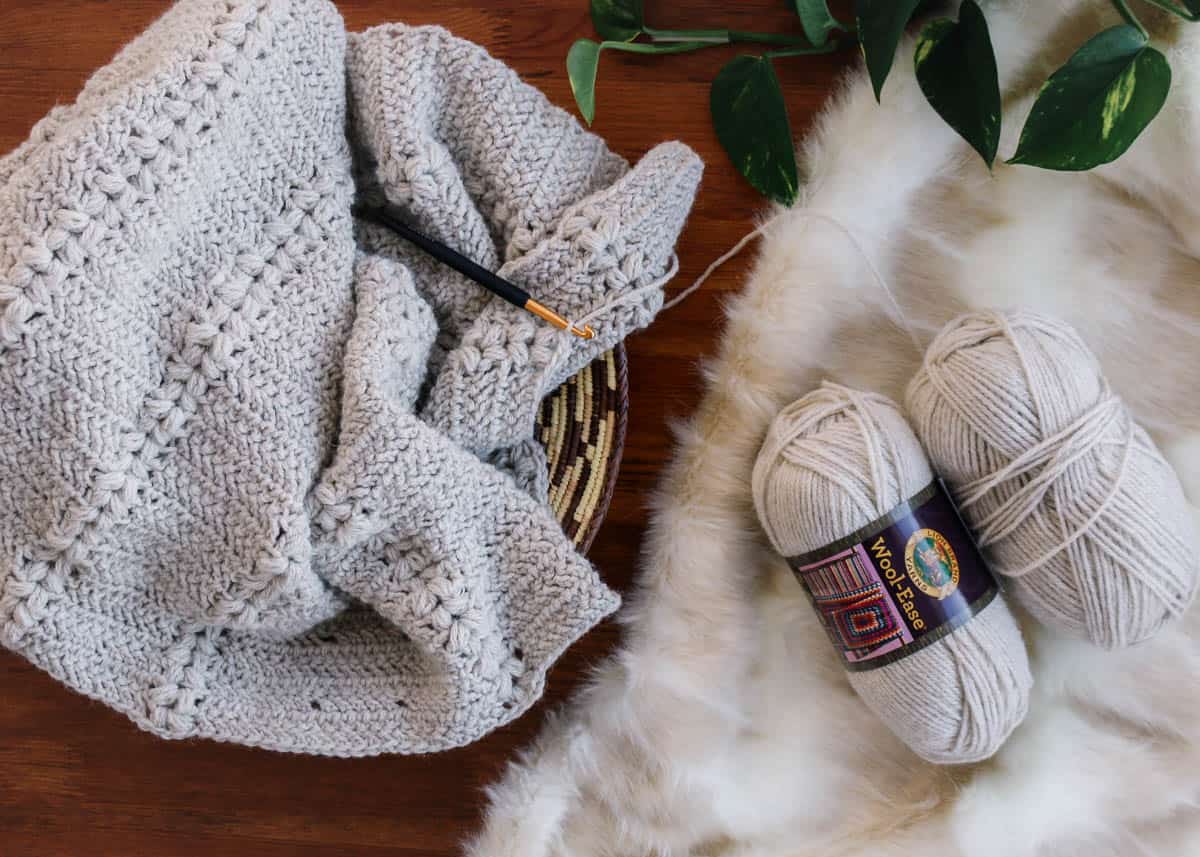
Here are some resources you might need as you tackle Part 2:
• Backcountry Cardigan free pattern - Part 1
• Backcountry Cardigan free pattern - Part 3
• Backcountry Cardigan - complete printable pattern PDF
• Herringbone double crochet video tutorial
• Lion Brand Wool-Ease
• Lion Brand Go For Faux
• Make & Do Crew Facebook Group - an awesome place to ask questions and show off your stitches!
:60 Video Overview of the Entire Pattern
In case you missed it in Part 1, here's the brief video I put together that shows the sweater from start to finish in 60 seconds. I always find it so inspiring to see what I'm working toward when I'm in the middle of a project. Watch this video if you need a little mid-project motivation.
More Free Crochet Sweater Patterns
Crochet sweater patterns don't need to be difficult. In fact, most of ours are made with very simple shapes. Dive into the wonderful world of crochet garments with cardigans, pullovers, ponchos, shrugs and more!
See more free crochet sweater patterns →
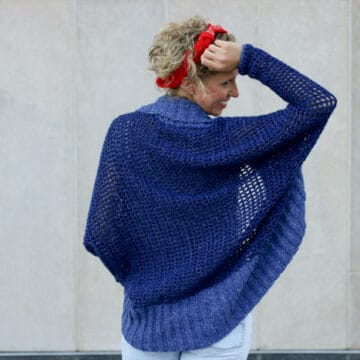
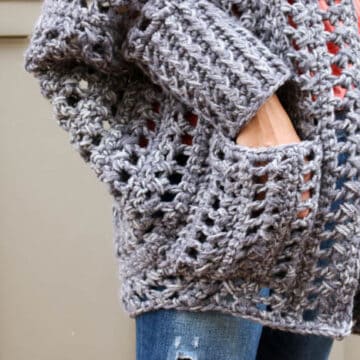
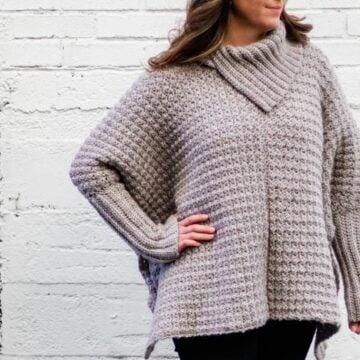
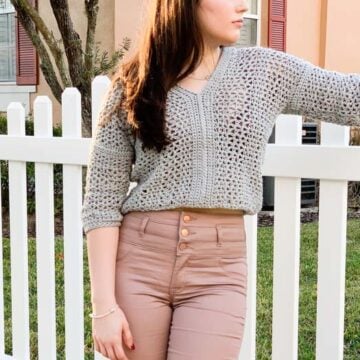
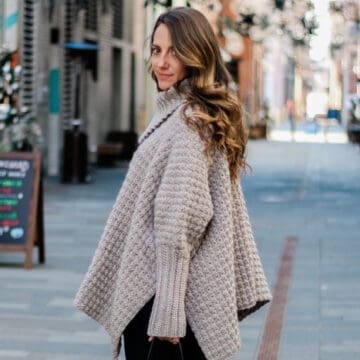
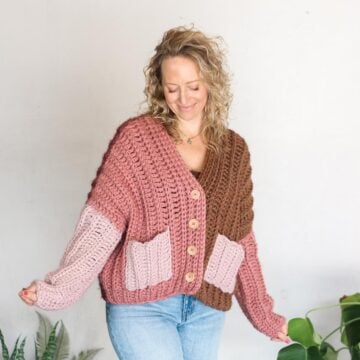
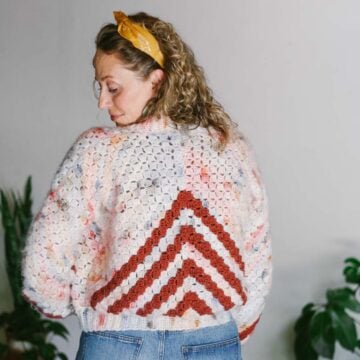
1. Campfire Cardigan / 2. Sherpa Sweater / 3. Up North Cardigan / 4. Brunch Cardigan
The Backcountry Cardigan
Free Pattern - Part 2
Find the other stages of the free pattern here: Part 1, Part 3.
Tush Extension
Notes:
• Extension is worked along only a portion of the last row of rectangle. This extends the sweater length. For a longer sweater, work additional repeats of Rows 2-5. End with a RS row.
• The pattern of creating eyelets every fourth row is maintained throughout extension.

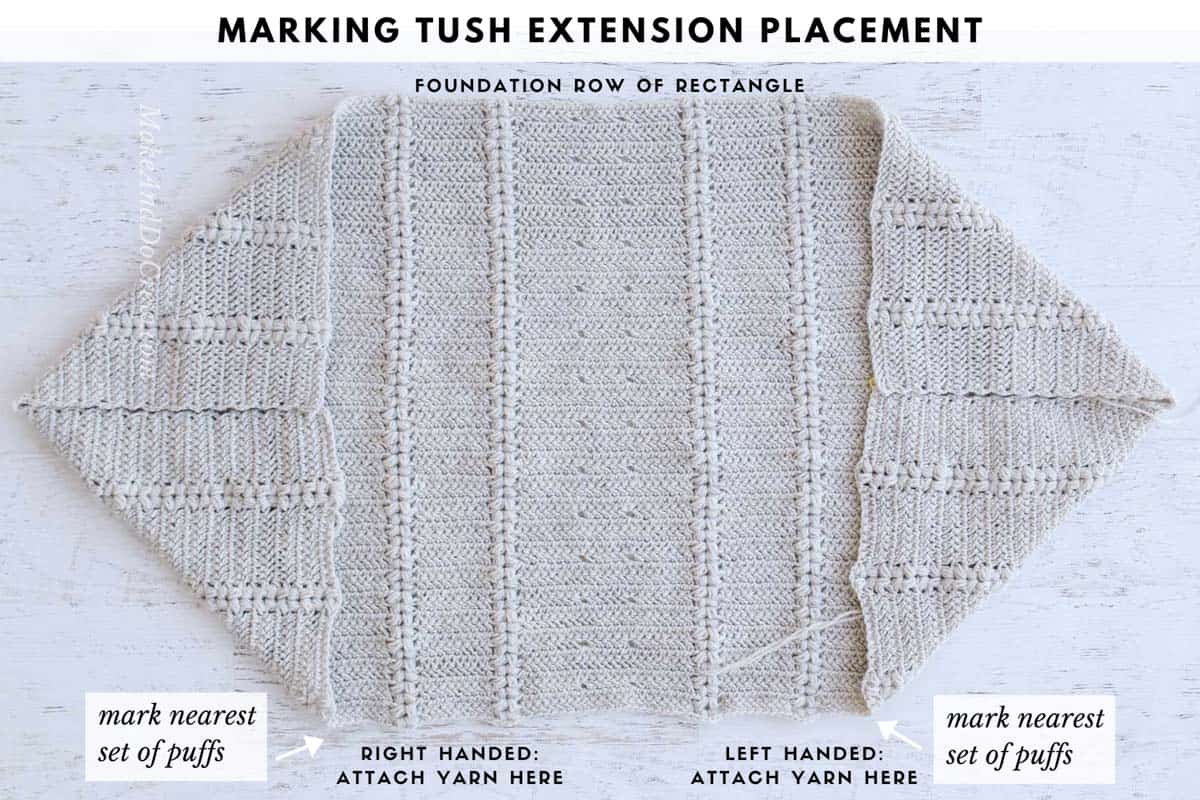
Lay your new shrug-lette flat as pictured in photo above. The last row of the rectangle should be at the bottom and the foundation chain at the top. RS should be facing the ground.
Place a stitch marker in the set of puffs that falls closest to the intersection of the bottom of the shrug and the perpendicular collar edge. Repeat on second side.
With inside (WS) of sweater facing you, attach yarn A in hbdc that is to the right of first set of marked puff stitches on right side. (Left-handed: Attach yarn in hbdc that is to the left of the first set of marked puff stitches on left side.) (See photo above.)
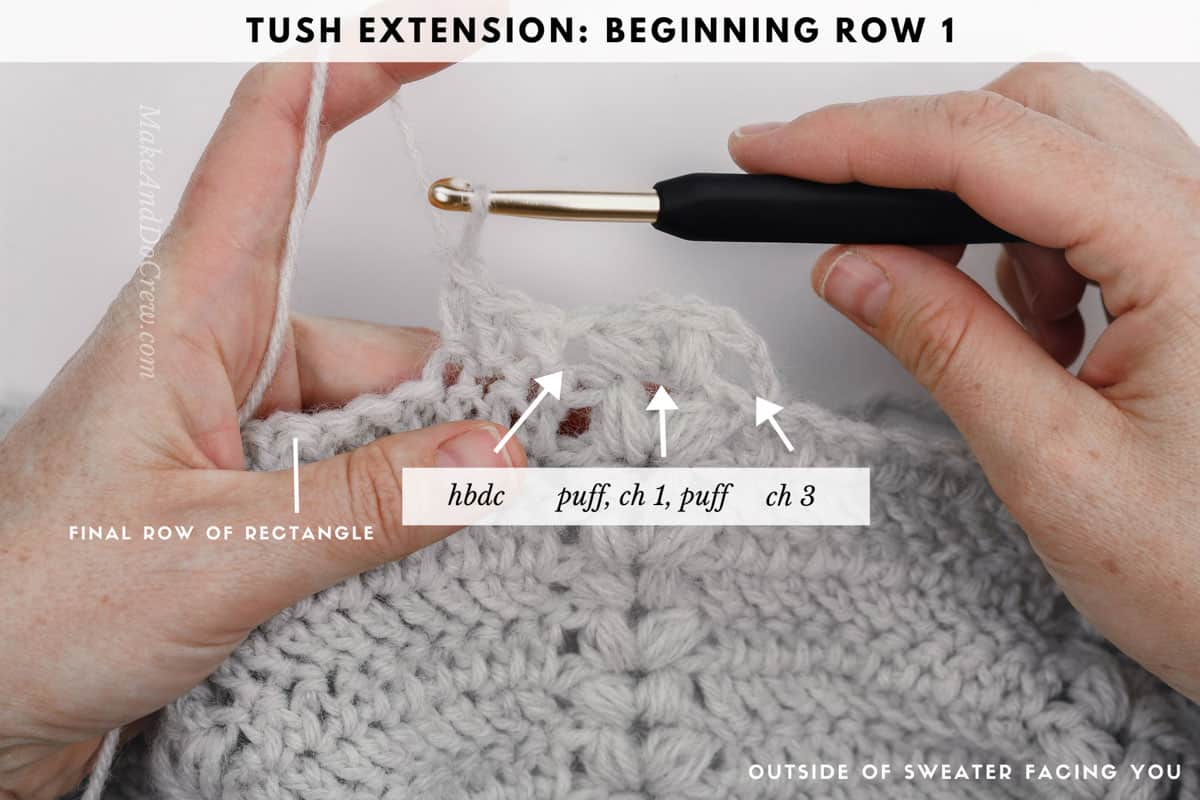
Row 1 (WS): Ch 3, *[puff, ch 1, puff] in chsp; hbdc in next 9 sts**; rep from * to ** until working in center panel, hbdc in next 12 sts, rep from * to ** to second set of marked puffs; [puff, ch 1, puff] in second set of marked puffs, hbdc in next st; turn.
Row 2 (RS - eyelet): Ch 3, sk first dc, *[puff, ch 1, puff] in chsp, hbdc in next 9 sts**; rep from * to ** until chsp before center panel, [puff, ch 1, puff] in next chsp, hbdc in next 7 sts, ch 1, sk 1 st, hbdc in next 5 sts, ch 1, sk 1 st, hbdc in next 7 sts; rep from * to ** to last chsp of extension; [puff, ch 1, puff] in last chsp, hbdc in last st; turn. (2 eyelets created)
Row 3 (WS): Ch 3, *[puff, ch 1, puff] in chsp; hbdc in next 9 sts**; rep from * to ** until working in center panel, hbdc in next 12 sts, rep from * to ** to last chsp of extension; [puff, ch 1, puff] in last chsp, hbdc in last st; turn.
Rows 4-5: Rep Row 3.
Sizes S/M Only
Rep Rows 2-5 once, then Row 3 once more.
Sizes M/L, L/1X, 1X/2X Only
Rep Rows 2-4 once.
Sizes 2X/3X, 3X/4X, 4X/5X Only
Rep Row 3 once.
All Sizes
Do not turn after last row. Counting from neck to bottom of tush extension, there should be 62 [64, 64, 72, 74, 78, 86] rows and you should be ending with a RS row. Keep yarn attached and move on to Collar.
Collar
Notes:
• Each Collar row begins with two decreases and ends with two decreases to create an upward slope.
Wanna save this pattern?
• Row 1 of Collar is worked along front edge of sweater. Stitch count is not important, so if you need to adjust the frequency of stitches while working into the raw edges of the Tush Extension, go for it.
• To help make bottom edges of Collar more recognizable while working, a marker is placed in the first stitch of each row, which is a decrease. Move marker up to each subsequent row as you work.
• Pattern of creating eyelets every four rows continues along top of Collar. Instead of counting stitches though, place stitch markers in Foundation Row of rectangle to align with placement of eyelets from previous rows. Markers should have five stitches between them. (See photo below.) Move markers up as each row is worked.
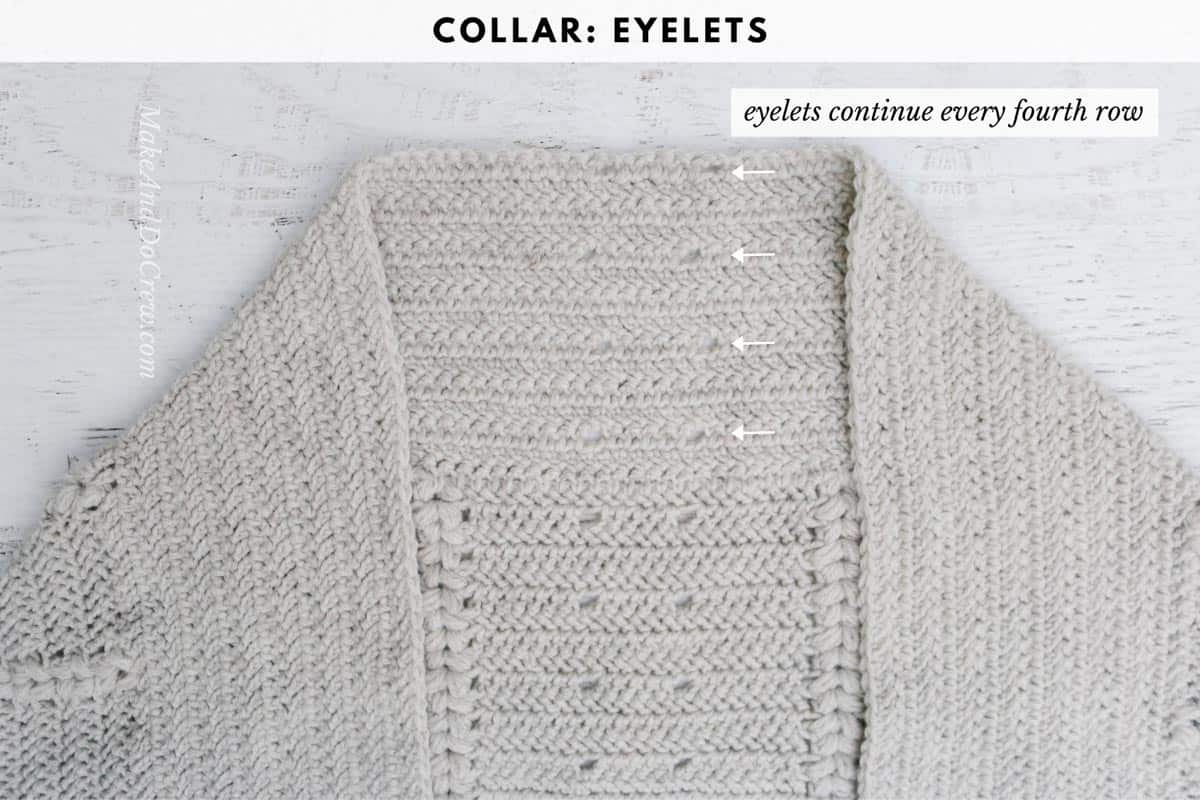
With smallest hook and color A still attached from Extension, keep RS facing you.
Row 1 (RS):
Working into edge of extension on first side: Ch 2, hbdc in next row edge, hbdc2tog over edges of next two rows, hbdc in same row (with 2nd leg of hbdc2tog), continue working evenly into edges of rows at a frequency of 1 hbdc in one row, 2 hbdc in the next row…
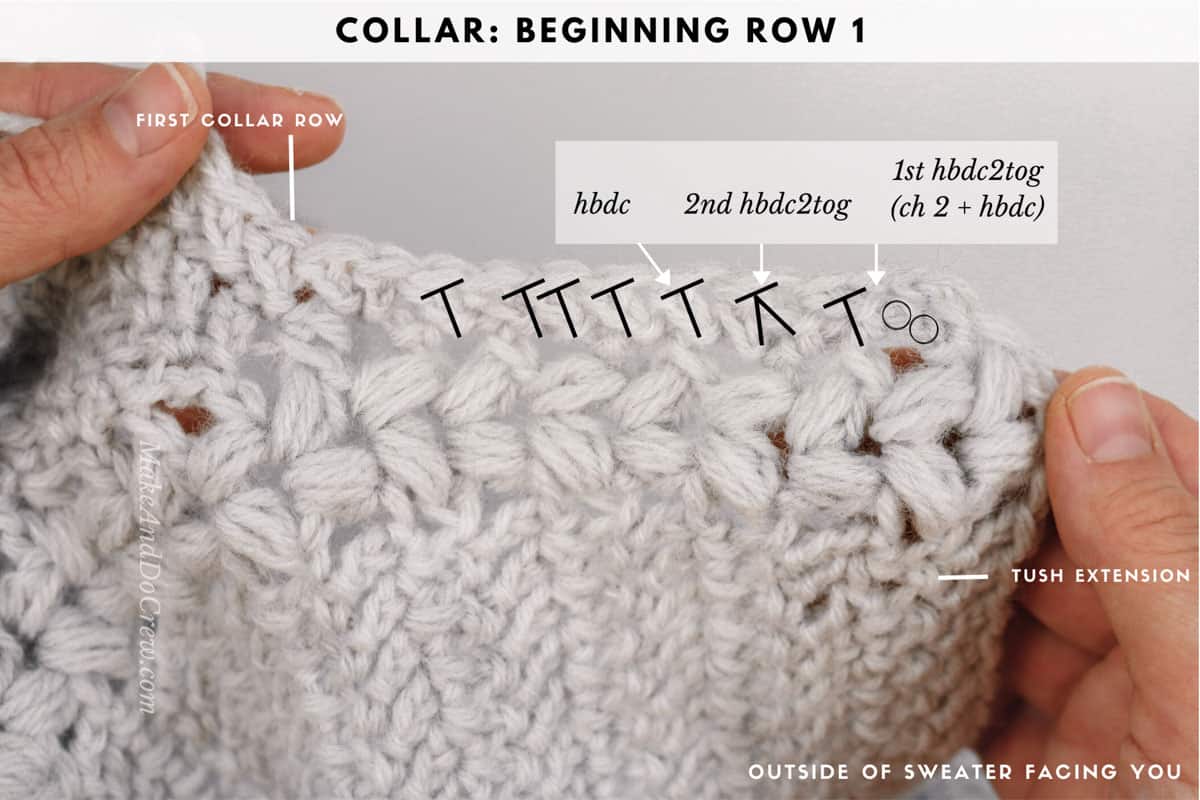
Working into final row of main rectangle:
...Hbdc in each hbdc until Foundation Row of main rectangle is reached. While working, sk each puff and place 2 hbdc in each chsp…
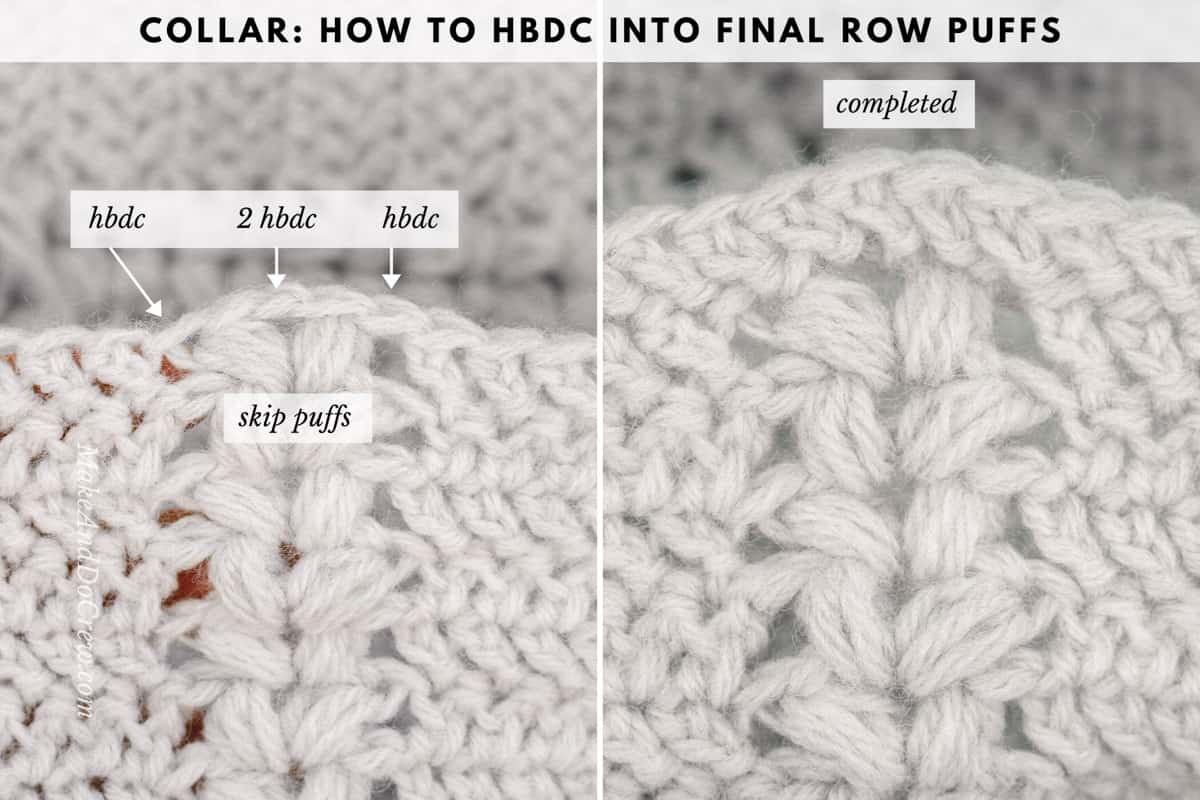
Working into foundation row of main rectangle:
...Hbdc in each hbdc. While working around, place 1 hbdc in the chsp on either side of the puff set and 1 hbdc in the middle of each puff set…
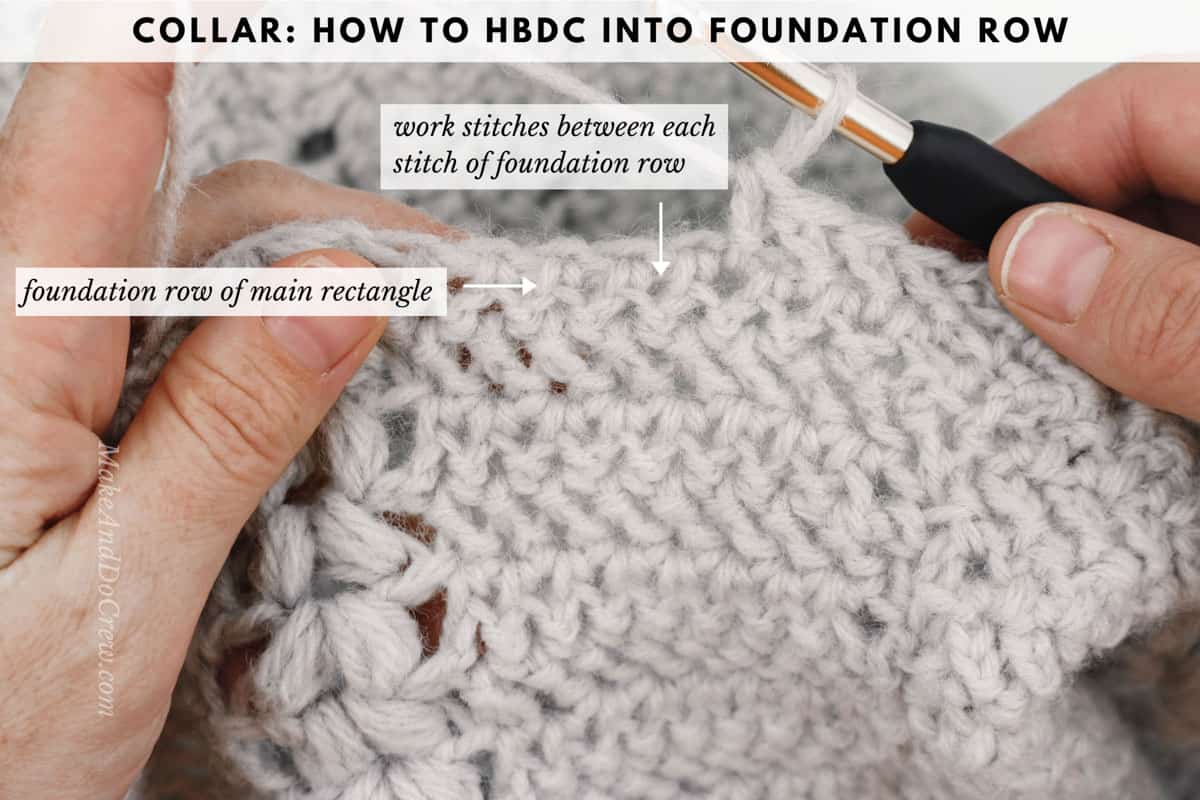
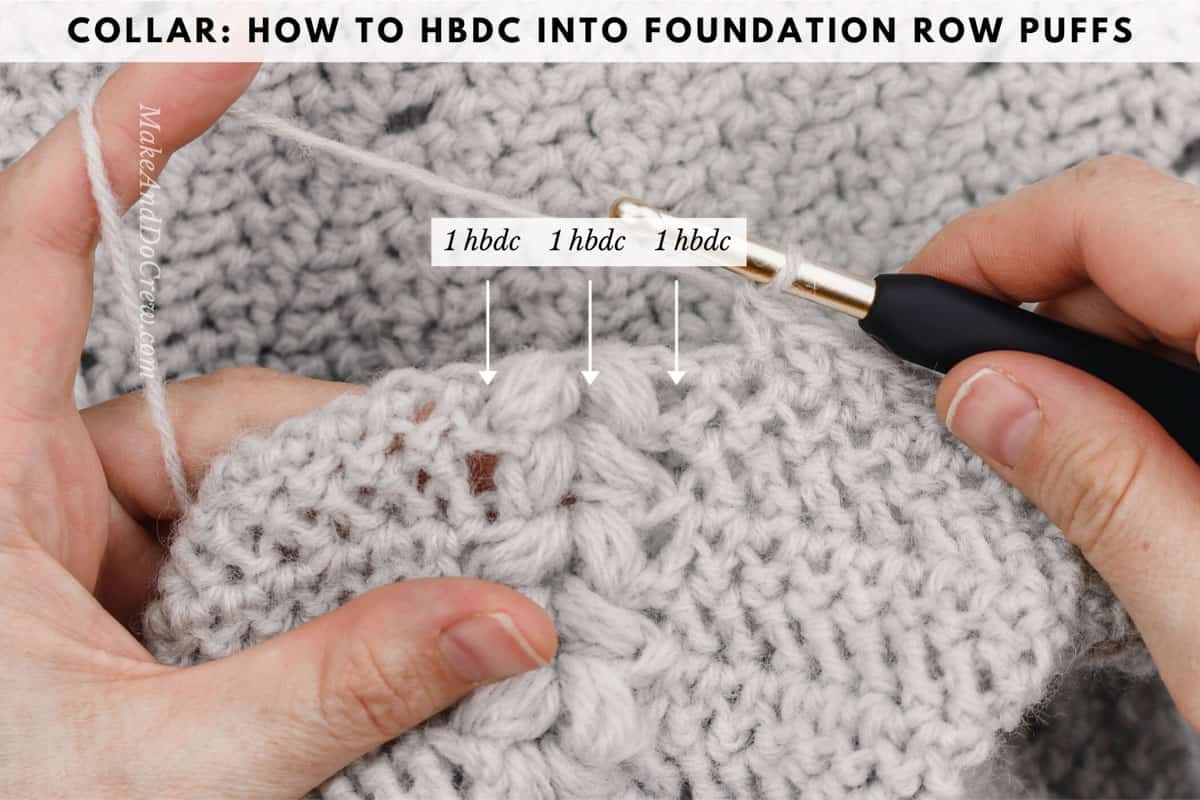
Working into final row of main rectangle:
...Hbdc in each hbdc until second side of extension is reached. While working, sk each puff and place 2 hbdc in each chsp…
Working into edge of extension on second side:
...Continue working evenly into edges of rows at a frequency of 1 hbdc in one row, 2 hbdc in the next row until 3 rows remain; hbdc2tog over same and next row, hbdc2tog over last 2 rows; turn.
Row 2 (WS): Ch 2, sk 1 st, hbdc, PM, (decrease created), hbdc2tog, hbdc in each st until 4 sts remain; hbdc2tog twice; turn.
Row 3 (RS - eyelet): Ch 2, sk 1 st, hbdc, PM, (decrease created), hbdc2tog, hbdc in each st until first eyelet marker at top of Collar, ch 1, sk marked st, hbdc in next 5 sts, ch 1, sk next marked st, hbdc in each st until 4 sts remain; hbdc2tog twice; turn. (PM in chsps and continue to move up as each row is worked.)
Rows 4-6: Rep Row 2.
Rep Rows 3-6 zero [one, three, three, three, four, five] more time(s).
Sizes S/M, M/L, L/1X, 1X/2X, 2X/3X, 3X/4X Only
Rep Rows 3-4 once more.
Size 4X/5X Only
Rep Row 2 two more times.
All Sizes
Collar should end with a WS row and contain 6 [12, 20, 20, 20, 24, 28] rows. Fasten off. Remove only the two eyelet stitch markers.
Fur Trim
Notes:
• Fur trim is worked with two strands of color B held together throughout. Two strands of same color can be used or one strand each of two different colors can be used (as shown in sample pictured).
• Similar to Collar, stitch markers are used at the beginning and end of rows to keep track of hard-to-see stitches.
• If additional length was added in Tush Extension, your Collar will also be longer. Therefore, instead of counting stitches to place markers as described below, simply place markers where you’d like Fur Trim to begin and end.
Counting from bottom stitch markers, place additional markers in the 57th [37th, 37th, 26th, 26th, 26th, 26th] stitch on both sides of Collar. Fur trim is worked between these two additional stitch markers. Do not remove bottom stitch markers.
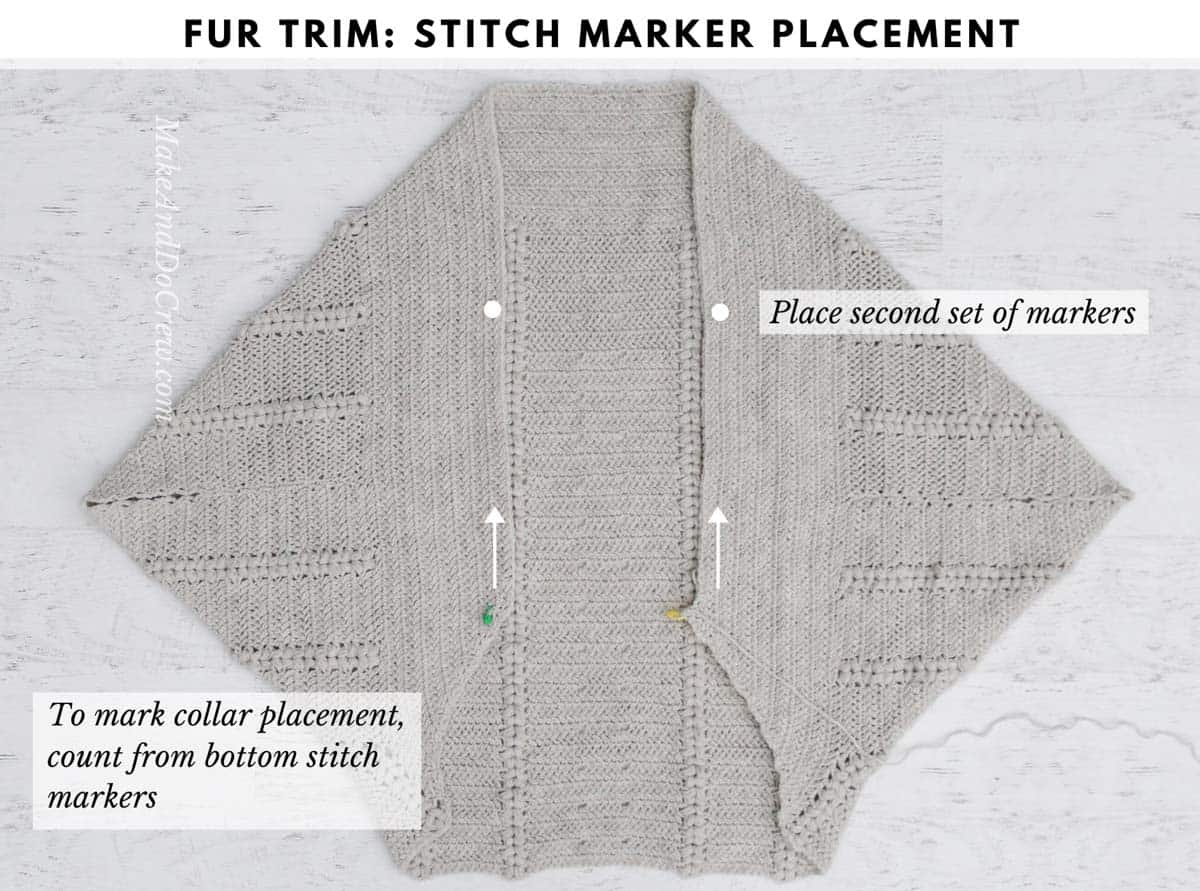
With outside (RS) of sweater facing you, use largest hook and two strands of color B. Attach yarn in first marked stitch.
Row 1 (RS): Do not ch 1, *sc in next st, sk 1 st; rep from * to marker, sc in marked st; turn. (It’s okay if two sc need to be worked consecutively to end row in second marker.)
Row 2 (WS): Do not ch 1, sl st in first 2 sts, sc in next st, PM in sc just made, sc in each st until 2 sts remain, sl st in last 2 sts; turn.
Row 3 (RS): Do not ch 1, sl st in first 3 sts, sc in next st, PM in sc just made, sc in each st until next marker, sl st in marked st, sl st in last 2 sts; turn.
Row 4 (WS): Do not ch 1, sl st in first 4 sts, sc in next st, PM in sc just made, sc in each st until next marker, sl st in marked st, sl st in last 3 sts; turn.
Row 5 (RS): Do not ch 1, sl st in first 5 sts, sc in next st, PM in sc just made, sc in each st until next marker, sl st in marked st, sl st in last 4 sts; turn.
Row 6 (WS): Do not ch 1, sl st in first 6 sts, sc in next st, PM in sc just made, sc in each st until next marker, sl st in marked st, sl st in last 5 sts; turn.
Row 7 (RS): Do not ch 1, sl st in first 7 sts, sc in next st, PM in sc just made, sc in each st until next marker, sl st in marked st, sl st in last 6 sts; turn.
Fasten off and remove Fur Trim markers.
The Backcountry Cardigan Part 3
You've made it so far! You're ready to move onto the third and final stage of the Backcountry Cardigan here. If you'd like the entire pattern and all the tutorial support in one place, you can grab the handy printable PDF.

What's Next?
If you like starting new projects as much as we do, you'll definitely want to bookmark our free pattern archives for more crochet inspiration!
That was so fun! Now what?
Invitation to our Facebook group
Come discuss crocheting backcountry cardigan patterns and lots of other crochet projects and techniques in our Make & Do Crew Facebook group. Here thousands of helpful crocheters answer each others questions and share their stitches. Come join us here.
Find Your Next Sweater Project
- Lightweight Jacket Pattern - seamless + beginner-friendly
- V-Neck Sweater -simple, easy striped design
- Crochet Wrap Sweater Pattern - unique take on a raglan
- Beginner Raglan Sweater Pattern - ideal first top down pattern
- Lightweight Mesh Top - doubles as a beach coverup
- Hexagon Layering Cardigan - with bishop sleeves
- Granny Square Cardigan - modern take on a classic motif
- Seamless Crochet Poncho - a great first garment for beginners
More Free Patterns + Tutorials
Can't get enough free crochet patterns!? Me either. You'll definitely want to breeze through these collections to find your next project.
- 55+ Free Crochet Sweater and Cardigan Patterns - our most popular garments
- 40+ Free Crochet Blanket Patterns - baby blankets, throws + c2c graphgans
- 36+ Granny Square Patterns + tips for the perfect square
- 30+ Crochet Animal Patterns - adorable amigurumi stuffed animals
- Crochet Gift Ideas - easy patterns to make for others
- Fast Crochet Projects - start to finish in less than a day
Learn a New Skill
And when you're ready to master a new skill, check out our detailed guides that include everything you need to know to level up your crochet game.
- How to Corner to Corner (C2C) Crochet for Beginners - with video tutorials to get you started
- How to Crochet a Beginner Hat - make an entire beanie in 1.5 hours!
- How to Crochet Amigurumi for Beginners - the ultimate guide to making your own toys and plushies
- How to Tunisian Crochet - learn with this video and a standard hook





Em says
Hi! I think your pdf pattern is missing the instructions for the collar. It jumps right from tush extension to fur trim.
(PS...also emailed you about this because I couldn't get this comment to post yesterday when I discovered it 🙂 )