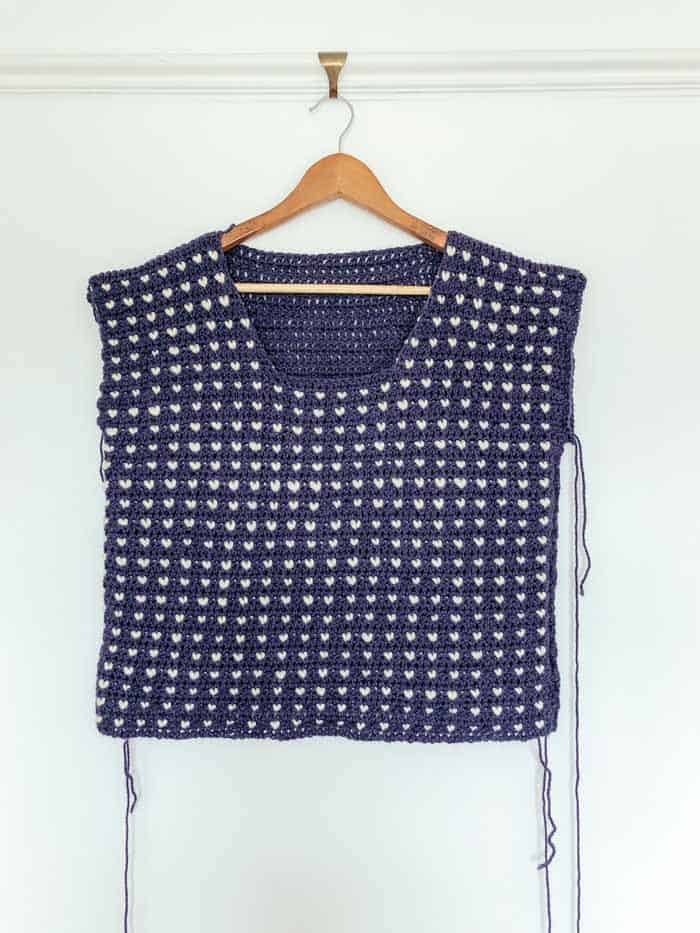
This tapestry crochet sweater pattern creates a modern take on the timeless fisherman's sweater. And it's easier than it looks! Get the full free pattern and tutorial with video below.

Thanks to Lion Brand Yarns for providing the yarn for this free beginner tapestry crochet sweater pattern. This post contains affiliate links.
Welcome back to the Make & Do Crew guest designer series. While I'm getting to know the newest baby in our family, Zoë Curtis is sharing her free beginner tapestry crochet sweater pattern with us today! You can see lots of of Zoe's crochet patterns her blog, Zoë Curtis Crochet. And be sure to check her out on Instagram too. Zoe, take it away!
The Inspiration for My Crochet Fisherman's Sweater
The clothing and work wear of small fishing villages are ingrained on my memory just like the smells and tastes of childhood. The blues and yellows, ever present, in the color palette of my father’s wardrobe mirrored the surrounding landscape and have lingered on into my adult psyche.
These early memories of sea salt, weathered wood and outboard motors mark the origins of this sweater design: nostalgia made modern. I loved my father’s Norwegian style knitted sweater, which he still wears now despite it being completely worn out, navy or black with little flecks of white and made with 100% wool to stave off the coldest of winds out at sea.
More Free Crochet Sweater Patterns
Crochet sweater patterns don't need to be difficult. In fact, most of ours are made with very simple shapes. Dive into the wonderful world of crochet garments with cardigans, pullovers, ponchos, shrugs and more!
See more free crochet sweater patterns →
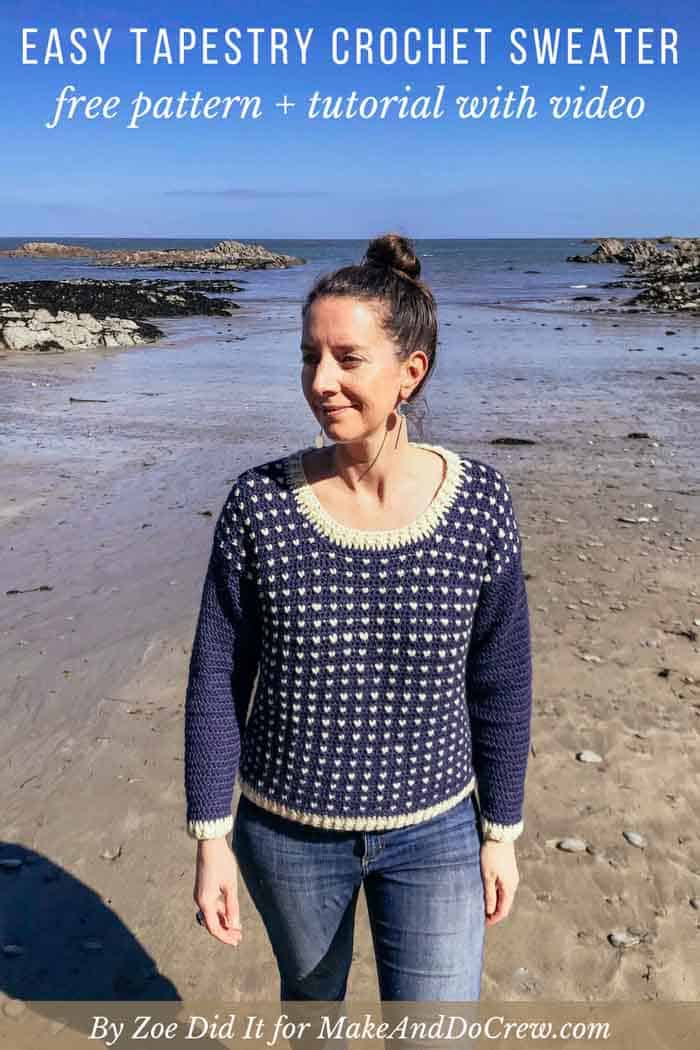
Skills You'll Learn While Making Your Tapestry Sweater
This intermediate pattern is most suitable for the more experienced crocheter. However, simple stitches are used throughout and there are instructions for the color work on the front section in the pattern, which is the trickiest part.
You will work the front and back first, seam them together and then add sleeves working in the round. Lastly, you will add ribbing at the neck, bottom and wrists using the front and back post double crochet technique.
New to making garments? Don't miss our beginner's guide to crocheting your first sweater.
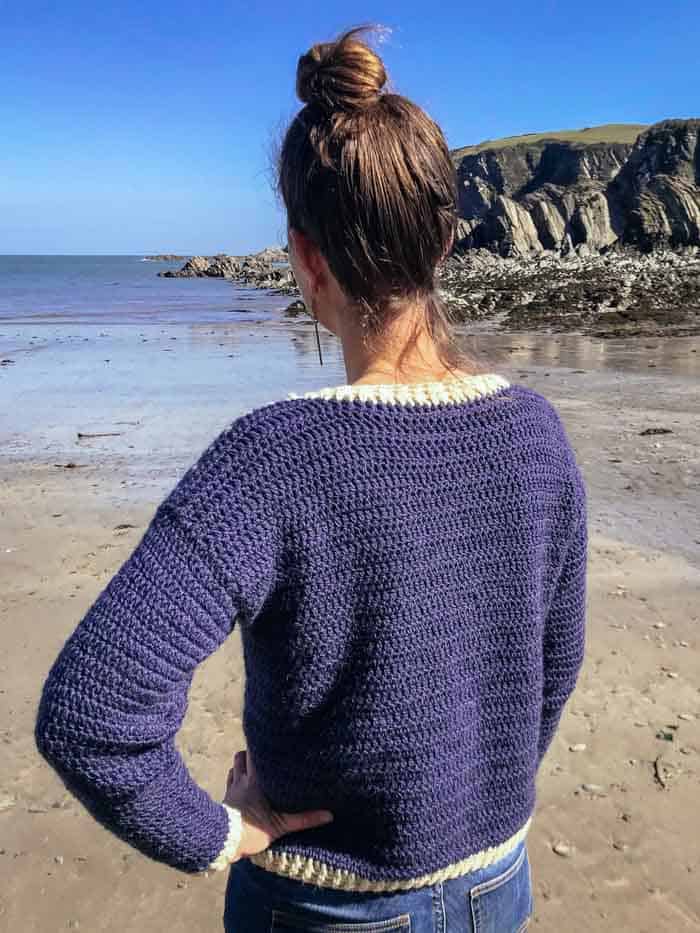
What's a Crochet Fisherman's Sweater Without Wool?
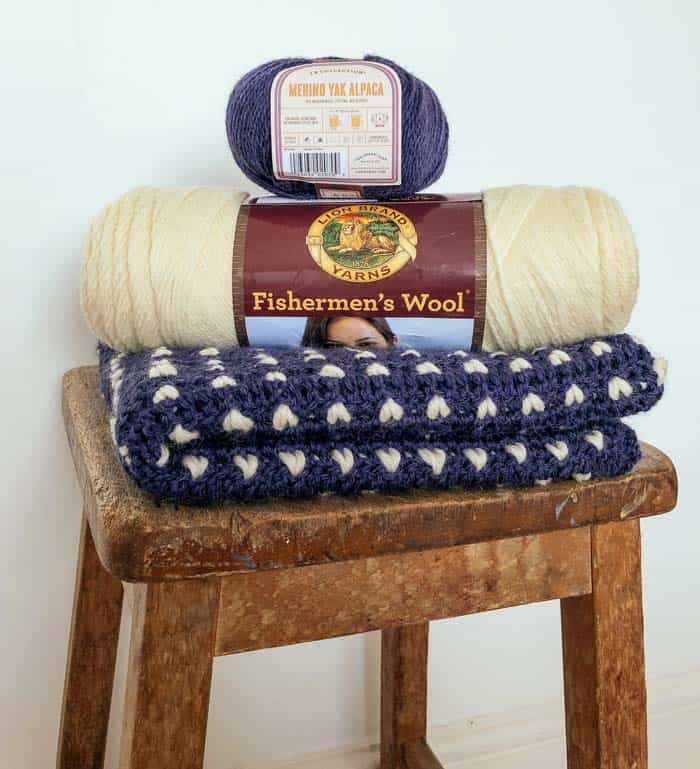
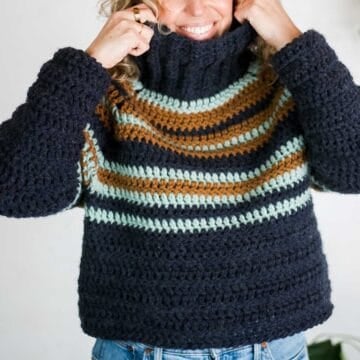
Here is my version of a seafarer's sweater, recreated in a modern style in crochet using beautiful Navy Lion Brand Merino Yak Alpaca and, of course, Lion Brand Fishermen’s wool.
The finished garment is beautifully soft and amazingly light, so can be worn on it's own or layered just as easily. Having never worked with this yarn brand before, I am seriously impressed with the comfort and warmth of the finished sweater.

Seafarer Free Tapestry Crochet
Sweater Pattern
Pin this pattern for later here.
Explanation:
Seaside nostalgia made modern! The Seafarer Sweater takes inspiration from a childhood spent in Cornwall, England. Beautiful, soft and warm with an element of challenge, this sweater is a satisfying make and will bring the charm of the coast to any wardrobe. Skills required involve single and double crochet and elements of tapestry crochet (tutorial included).
Supplies:
• Lion Brand LB Collection Merino Yak Alpaca (Weight: 4/medium – 126 yds, 1.75oz)
– Navy (#498-110) – 7 (7/8/9/9/11/12/13) balls
• Lion Brand Fishermen’s Wool (Weight: 4/Medium – 465yds, 8oz)
– Natural (#150-098) – 1 ball
• Size H (5.0 mm) crochet hook
• Tapestry needle
• Stitch markers
Sizes/Measurements:
• XS: Length: 19", Bust: 34", Upper arm: 12"
• S: Length: 20", Bust: 36", Upper arm: 13"
• M: Length: 21", Bust: 38", Upper arm: 14"
• L: Length: 22", Bust, 42", Upper arm: 15"
• XL: Length: 22", Bust: 46", Upper arm: 16"
• 2XL: Length: 23", Bust: 50", Upper arm: 17"
• 3XL: Length: 24", Bust: 54", Upper arm: 18"
• 4XL: Length: 25", Bust: 58", Upper arm: 19"
Gauge:
• 4” = 14.5 stitches (measure on a dc row) 4” = 10.5 rows
• NB: you should have 5.5 rows of dc and 5 rows of sc with the color work to make 4” = 10.5 rows
Abbreviations and Glossary (US Terms):
Ch – chain
Sc – single crochet
Dc – double crochet
Rs – right side
Ws – wrong side
Fpdc – front post double crochet
Bpdc – back post double crochet

Don't spend hours for a "meh" result!
Tired of crocheting garments that don't fit? Learn our C.R.A.F.T. Framework to make sweaters that fit and feel amazing!
Overall Pattern Notes:
• The Seafarer is designed as a shorter length sweater; remember to check the gauge and your measurements before you begin.
Front of Sweater
The color work will always be done right side facing. You will need to keep your tension fairly loose to make the color work effective, refer to the videos for help with this.
Divide 1 skein of Fisherman wool into 3 equally sized balls (approx. 75g each)
Loosely ch 61 (64, 70, 79, 88, 94, 100, 109)
Row 1: First dc into 3rd chain from hook and then dc into every ch st. This will give you a total of:
59 (62, 68, 77, 86, 92, 98, 107) dc for this row, ch 1, turn.
It is a good idea to check at this point that your work measures approximately:
XS: 17-18" /S: 18-19"/M: 19-20”/L: 21-22”/XL: 23-24”/2XL: 25-26”/3XL: 27-28”/4XL: 29-30”
Row 2: Begin color work. Take the ends of each of the 3 balls of Fishermen’s wool you have made and hold together to make one strand. Holding this at the back of your work, insert hook into the first stitch and make 1sc over the 3 strands of Fishermen’s wool. It is important to hold the yarn you are carrying at the back of your work and to keep your work reasonably loose.
See Video 1 here for a visual demonstration.
Repeat x1
Now, for the 3rd stitch of this row you will make an arrow/heart shaped sc stitch using the 3 strands of Fishermen’s wool and the tapestry crochet technique. So, insert your hook into the stitch, pull the 3 strands through, yarn over in navy and pull through all 4 strands of wool on your hook (3x Natural , 1 x Navy)
See Video 2 here for a visual demonstration.
See Video 3 here for a visual demonstration.
You will repeat this pattern of sc2 in navy followed by 1 arrow/heart sc in natural until the end of the row, you should finish the row with sc2 in navy, ch 1, turn.
Row 3: Dc 59 (62, 68, 77, 86, 92, 98, 107) in navy, ch1, turn.
✨Unlock this free subscriber-exclusive pattern ✨
Follow these steps to view the full free pattern below
Row 6: 1 dc decrease, dc 17 (19, 22, 26, 31, 34, 37, 41) ch1, turn
Row 7: Color work row, sc 18 (20, 23, 27, 32, 35, 38, 42) ch1, turn
Row 8: 1 dc decrease, dc 16 (18, 21, 25, 30, 33, 36, 40) ch1, turn
Row 9: Color work row, sc 17 (19, 22, 26, 31, 34, 37, 41) ch1, turn
Row 10: dc 17 (19, 22, 26, 31, 34, 37, 41) ch1, turn
Row 11: Color work row, sc 17 (19, 22, 26, 31, 34, 37, 41) ch1, turn
Row 12: dc 17 (19, 22, 26, 31, 34, 37, 41) ch1, turn
Right neckline:
Row 1: Color work row, so start rs facing. Counting in from the edge of your work (arm hole side), join yarn to the 21st (23rd, 26th, 30th, 35th, 38th, 41st, 45th) st in, this should leave you with 16 sts in the middle for the neck for sizes s/m/xl/2xl/3xl and 17 sts for xs/l/4xl. Begin a color work row as usual with 2sc in navy followed by 1 in natural, sc 21 (23, 26, 30, 35, 38, 41, 45) in total, ch 1, turn
Row 2: dc 19 (21, 24, 28, 33, 36, 39, 43), 1dc decrease, ch1, turn
Row 3: Color work row, this time you will need to start with 1sc in navy followed by 1sc in natural before continuing the usual 2sc navy and 1sc natural pattern. Sc 20 (22, 25, 29, 34, 37, 40, 44) in total, ch1, turn
Row 4: dc 18 (20, 23, 27, 32, 35, 38, 42), 1dc decrease, ch1, turn
Row 5: Color work row, 1 sc in natural, 2sc in navy, and continue the usual pattern, sc19 (21, 24, 28, 33, 36, 39, 43) in total, ch1, turn
Row 6: dc 17 (19, 22, 26, 31, 34, 37, 41) 1 dc decrease, ch1, turn
Row 7: Color work row, 2 sc in navy to start, sc 18 (20, 23, 27, 32, 35, 38, 42) in total ch1, turn
Row 8: dc 16 (18, 21, 25, 30, 33, 36, 40) 1 dc decrease, ch1, turn
Row 9: Color work row,1 sc in navy to start, sc 17 (19, 22, 26, 31, 34, 37, 41) in total ch1, turn
Row 10: dc 17 (19, 22, 26, 31, 34, 37, 41) ch1, turn
Row 11: Color work row, 1 sc in navy to start sc 17 (19, 22, 26, 31, 34, 37, 41) in total ch1, turn
Row 12: dc 17 (19, 22, 26, 31, 34, 37, 41) ch1, turn
Wanna save this pattern?
You can of course, sew in all those ends of Fishermen’s wool at this point, but if you are feeling brave you could try a crochet hack if sewing in ends is not your thing. If you sew along the edge with your sewing machine, you can cut the ends very short and do exactly zero sewing in here. I recommend doing it twice using zig-zag stitch on your machine.
Back of sweater:
Gauge swatch 4” x 4” = Back of sweater
4” = 14.5 st
4” = 8 rows
Loosely ch 61 (64, 70, 79, 88, 94, 100, 109)
Row 1: First dc into 3rd chain from hook and then dc into every ch st. This will give you a total of:
59 (62, 68, 77, 86, 92, 98, 107) dc for this row, ch 1, turn.
Repeat Row 1 35(37/39/41/43/45/47/49) more times (36/38/40/42/44/46/48/50 rows total)
Begin construction
Right sides facing sc the shoulder seams together.
Now, looking at the front of your garment, WS facing, sc the sides together leaving a gap of 15 (17, 18, 19, 21, 22, 23,25) rows for the armhole. Count the rows on the front of your sweater.
Sleeves
Turn the body right side out again and attach yarn to center of underarm sleeve opening (you should make your first dc into this space.)
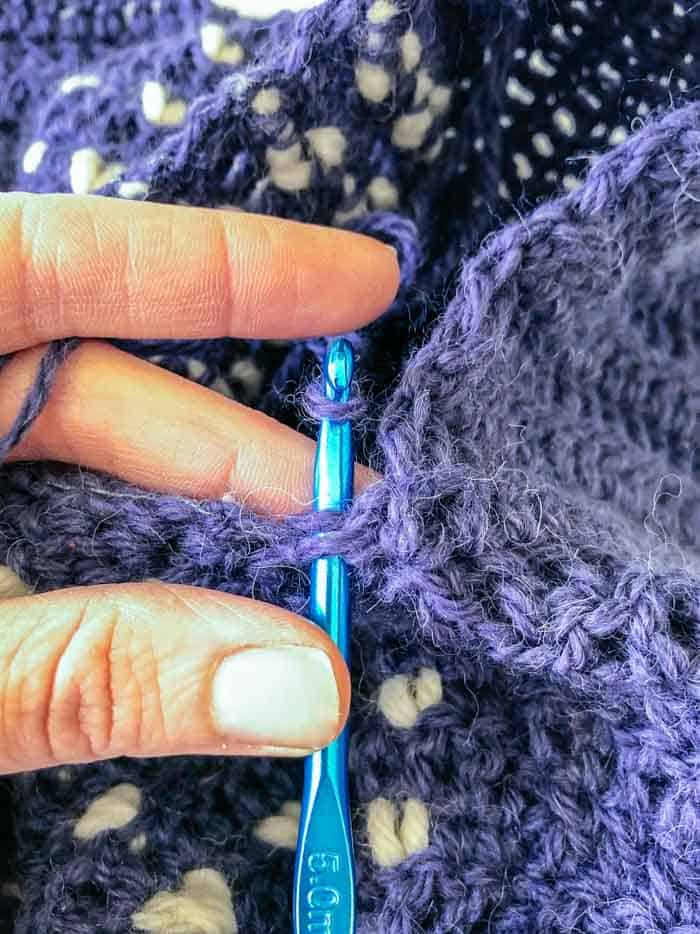
Round 1: (RS) You need to evenly space 46 (48/52/56/60/64/68/72) dc stitches around the armhole. Sl st to join.
Note: To avoid holes when joining your arm, you can actually pick up part of the previous stitch on the dc rows of the front and back of your sweater. See photos below.
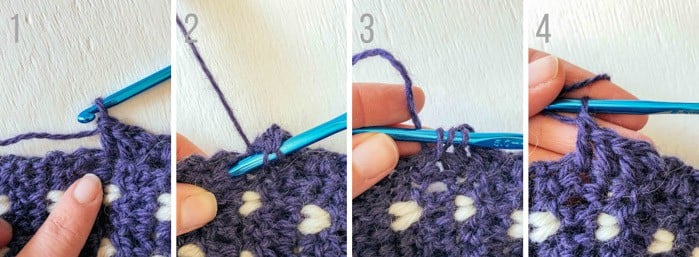
Round 2: dc into each dc all the way round. Sl st to join.
Repeat Round 2, 7 more times for all sizes.
Round 3: dc2tog and dc into each dc all the way round. Sl st to join.
Repeat Round 3 for approximately 25 more rounds or until the sleeve reaches the wrist.
Neck ribbing:
Round 1: (RS facing) Working in Fishermen’s wool, start at the back and work dc25 along the back neckline. Next, evenly space dc along the front. You should have approx. 78 dc stitches when you reach the end of the first round, join.
Round 2 + 3: frpdc, bpdc until the end of the round, sl st to join.
Bottom of the sweater ribbing:
Round 1: (RS facing) dc all the way around, join. You should have approx. 117 (123, 135, 153, 171, 183, 195, 213) dc stitches.
Round 2 + 3: frpdc, bpdc all the way around, join.
Sleeve ribbing:
Round 1: (RS facing) dc all the way around, join. The final stitch count for each size will vary depending on how long you have made your sleeves.
Round 2 + 3: frpdc, bpdc all the way around, join.
Sew in the ends and enjoy your beautiful sweater!
Thanks again to Zoe of Zoe Curtis Crochet for sharing this free fisherman's crochet sweater pattern! Be sure to check out Zoe's blog for lots more free modern crochet patterns!
That was so fun! Now what?
Invitation to our Facebook group
Come discuss crocheting tapestry sweater patterns and lots of other crochet projects and techniques in our Make & Do Crew Facebook group. Here thousands of helpful crocheters answer each others questions and share their stitches. Come join us here.
Find Your Next Sweater Project
- Color Block Cardi Pattern - drapey and soft
- Easy Tunisian Crochet Cardigan - clever reversible cardi
- Casual Pullover Sweater - with exposed seams
- Simple Everyday Cardigan - using the easy V-stitch
- Lightweight Jacket Pattern - seamless + beginner-friendly
- V-Neck Sweater -simple, easy striped design
- Crochet Wrap Sweater Pattern - unique take on a raglan
- Beginner Raglan Sweater Pattern - ideal first top down pattern
More Free Patterns + Tutorials
Can't get enough free crochet patterns!? Me either. You'll definitely want to breeze through these collections to find your next project.
- 55+ Free Crochet Sweater and Cardigan Patterns - our most popular garments
- 40+ Free Crochet Blanket Patterns - baby blankets, throws + c2c graphgans
- 36+ Granny Square Patterns + tips for the perfect square
- 30+ Crochet Animal Patterns - adorable amigurumi stuffed animals
- Crochet Gift Ideas - easy patterns to make for others
- Fast Crochet Projects - start to finish in less than a day
Learn a New Skill
And when you're ready to master a new skill, check out our detailed guides that include everything you need to know to level up your crochet game.
- How to Corner to Corner (C2C) Crochet for Beginners - with video tutorials to get you started
- How to Crochet a Beginner Hat - make an entire beanie in 1.5 hours!
- How to Crochet Amigurumi for Beginners - the ultimate guide to making your own toys and plushies
- How to Tunisian Crochet - learn with this video and a standard hook
More Free Modern Crochet Sweater Patterns
If you loved this beginner tapestry crochet sweater and can't wait to make another cozy garment, make sure to check out these free crochet sweater patterns from M&DC. Many of our patterns include video tutorials as well!
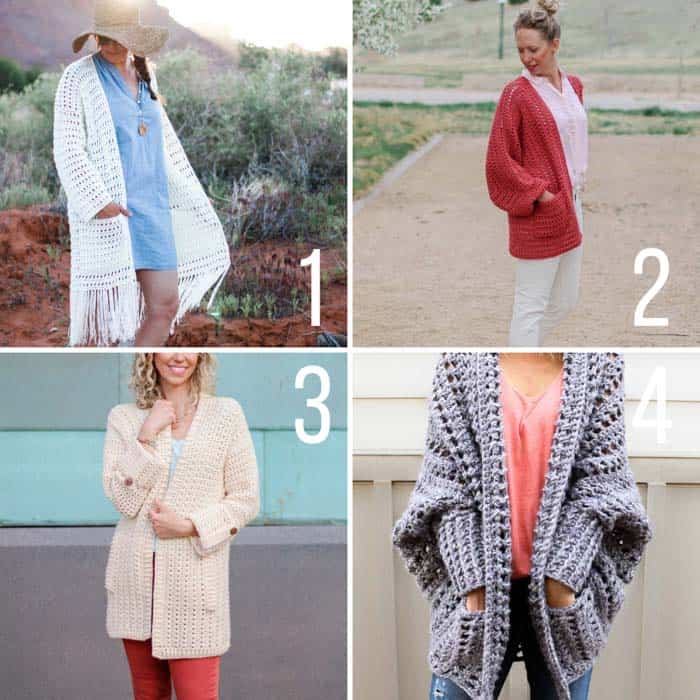
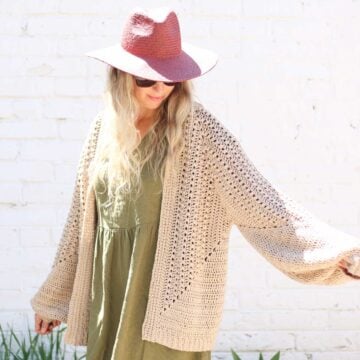
1. Solstice Cardigan - Minimal counting and two short seams come together in an easy, crochet long cardigan that’s perfect for layering. Includes video preview.
2. Day Date Cardigan - Two simple crochet hexagons transform into a lightweight, on-trend cardigan complete with cozy pockets and roomy bishop sleeves. Video tutorial included!
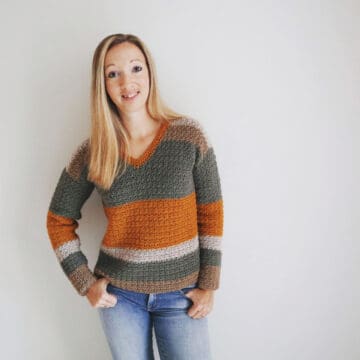
3. Alchemy Cardigan - This lightweight sweater is perfect to toss on for some summer stargazing or layer with a long-sleeve shirt in the colder months. Follow along with the detailed step-by-step video tutorial.
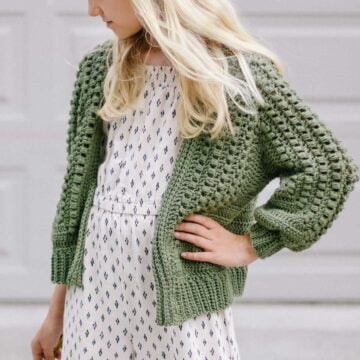
4. Dwell Cardigan - Creatively constructed from a simple rectangle, this flattering chunky crochet sweater comes together easily with zero shaping, increasing or decreasing. Includes video tutorial!




Alison Hall says
Love this!!! TFS!
Alison x