In Part 2 of this free crochet sweater pattern, we'll learn how to lengthen the bottom of your "Campfire Cardigan" and add sleeves. You can also check out Part 1 and Part 3 of the free pattern or purchase the complete ad-free, printable PDF of the pattern here.
Are you feeling good about how your hexagons came together in Part 1 of the Campfire Cardigan pattern? Even just as a little shrug, I bet your sweater is already looking pretty cute!
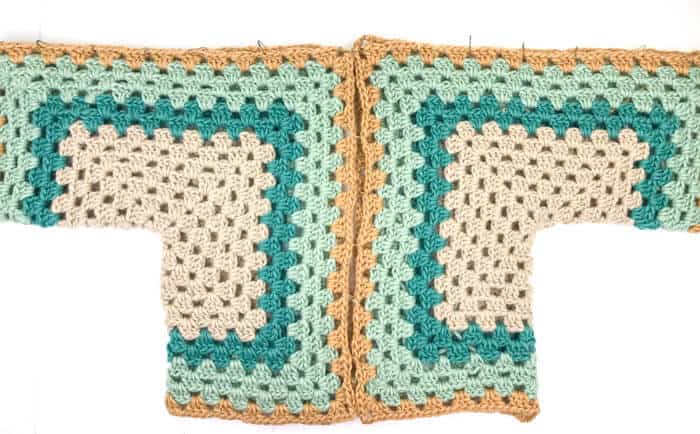
(I was tempted to just stop with my design at this point, but I forged ahead because I was really committed to having a free crochet sweater pattern that would keep your arms warm on summer evenings. I'm thinking a hexagon shrug would be a great future design though. If you think so too, feel free to let me know in the comments!)

Okay, so in Part 2 of this free crochet sweater pattern, you'll really have a chance to start customizing your cardigan to fit your body. I know that could sound scary, but in this case it's really very doable! First, we'll add rows of granny stitch to the bottom of the cardigan to make it the length you like.
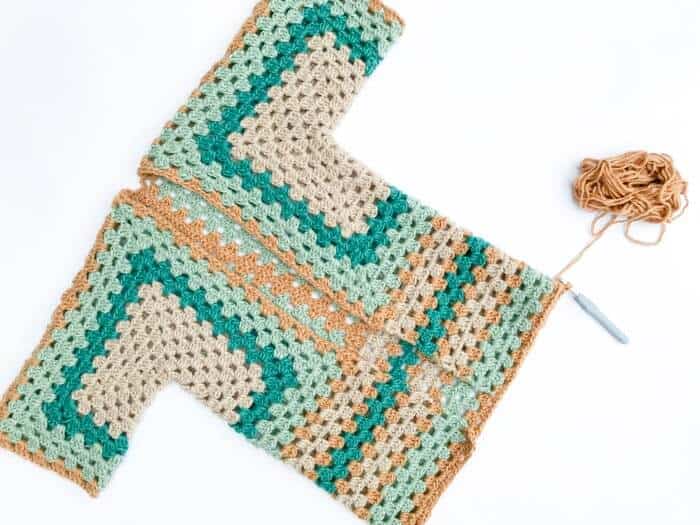
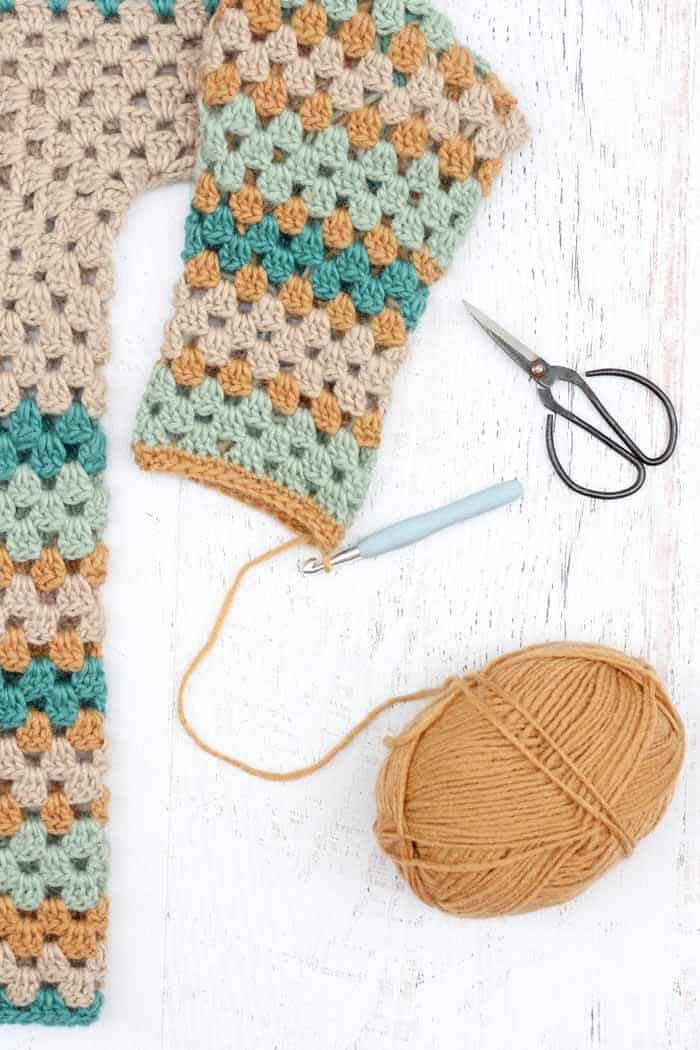
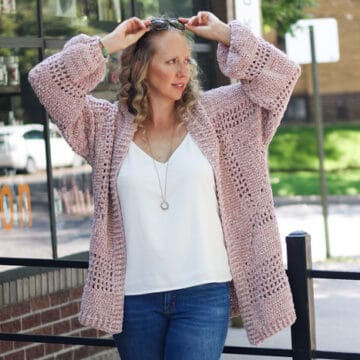
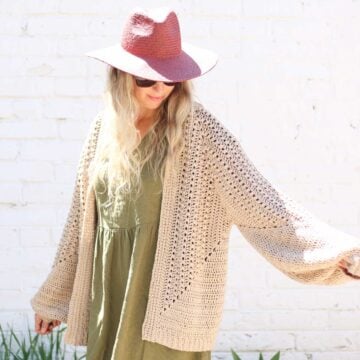
Next, you'll have two choices of types of sleeves to create. The sleeve pictured in the sample includes some decreases, which give it a modern taper. With decreasing in granny stitch though, I found that there was a little puckering that made the sleeve just slightly bumpy looking. As you can see in the photo below, it's really minimal, especially when you're wearing it. If you'd prefer a super smooth sleeve though, you can work the non-tapered sleeve option which will result in a wider, more boho style sleeve.
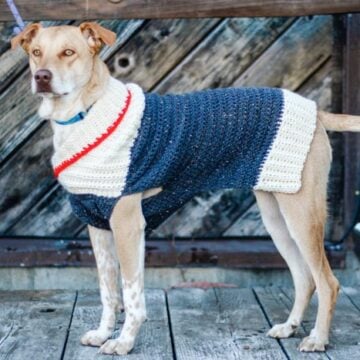
RELATED: Don't leave out your furry friends - easy crochet dog sweater pattern for large dogs (and small dogs too!)
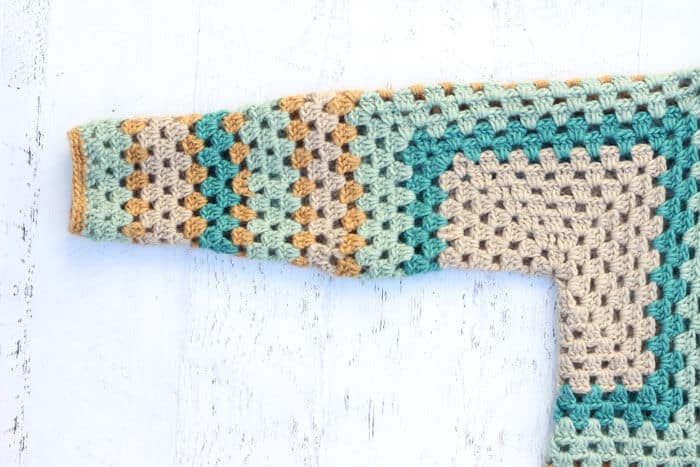
Later this week in Part 3 of the Campfire Cardigan, we'll add the hood and a border to finish things off.
Thanks to Lion Brand Yarn for sponsoring this free crochet hexagon sweater pattern and enabling more free patterns on Make and Do Crew! Purchase a kit that includes all the yarn necessary to make your own Campfire Cardigan, plus a printed copy of the pattern here.
Please do not publish or share this pattern as your own. You may make items to sell with this pattern. In exchange, please link back to this post. Do NOT use my photos as your own sales photos. You can read my policies here. Now let’s make something awesome!
More Free Crochet Sweater Patterns
Crochet sweater patterns don't need to be difficult. In fact, most of ours are made with very simple shapes. Dive into the wonderful world of crochet garments with cardigans, pullovers, ponchos, shrugs and more!
See more free crochet sweater patterns →
"The Campfire Cardigan"
Free Crochet Sweater Pattern
Part 2
View Part 1 of the pattern here.
Sizes: (Measurements when laying flat)
S/M: Length: 28.5”, Chest Width: 17.5”, Arm Length: 21”, but easily customized
M/L: Length: 30”, Chest Width: 20.5”, Arm Length: 22”, but easily customized
L/XL: Length: 30”, Chest Width: 23.5”, Arm Length: 22”, but easily customized
Sample pictured is a size S/M.
Supplies:
Purchase a kit with all the yarn necessary plus a printed copy of the pattern here!
• Lion Brand New Basic 175 (Weight: 4/medium - 175 yds, 3.5 oz)
- Color A: Café Au Lait – 3 (4, 4) balls
- Color B: Juniper – 1 (2, 2) balls
- Color C: Thyme – 2 (3, 3) balls
- Color D: Camel – 2 (3, 3) balls
• Tapestry needle
• Size L (8 mm) crochet hook
• Stitch markers or safety pins
Gauge:
• 3 granny clusters + 3 spaces = 4”, slightly less than 6 rows = 4” worked in double crochet granny pattern
Abbreviations and Glossary (US terms):
ch – chain
dc – double crochet
tch – turning chain
yo – yarn over
RS – right side
WS – wrong side
cluster – 3 dc stitches in same sp
rep – repeat
sp – space
ch1sp – the space created by chaining 1 in the previous row/round
ch3sp – the space created by chaining 3 in the previous row/round
View Part 1 of the pattern to make the hexagon base and seam the arm holes.
Cardigan Bottom

Notes:
• When working Row 1, back seam where hexagons meet counts as 1 granny cluster. (So work 3 dc into the ch1sp on either side of the seam, chaining 1 in between.)
• To switch colors at the end of a row, use the color of the upcoming row to complete the final yo of the row you’re finishing. Fasten off previous color. Proceed with new color in the next row. See photo below from the Logan House Wrap pattern for a visual explanation.
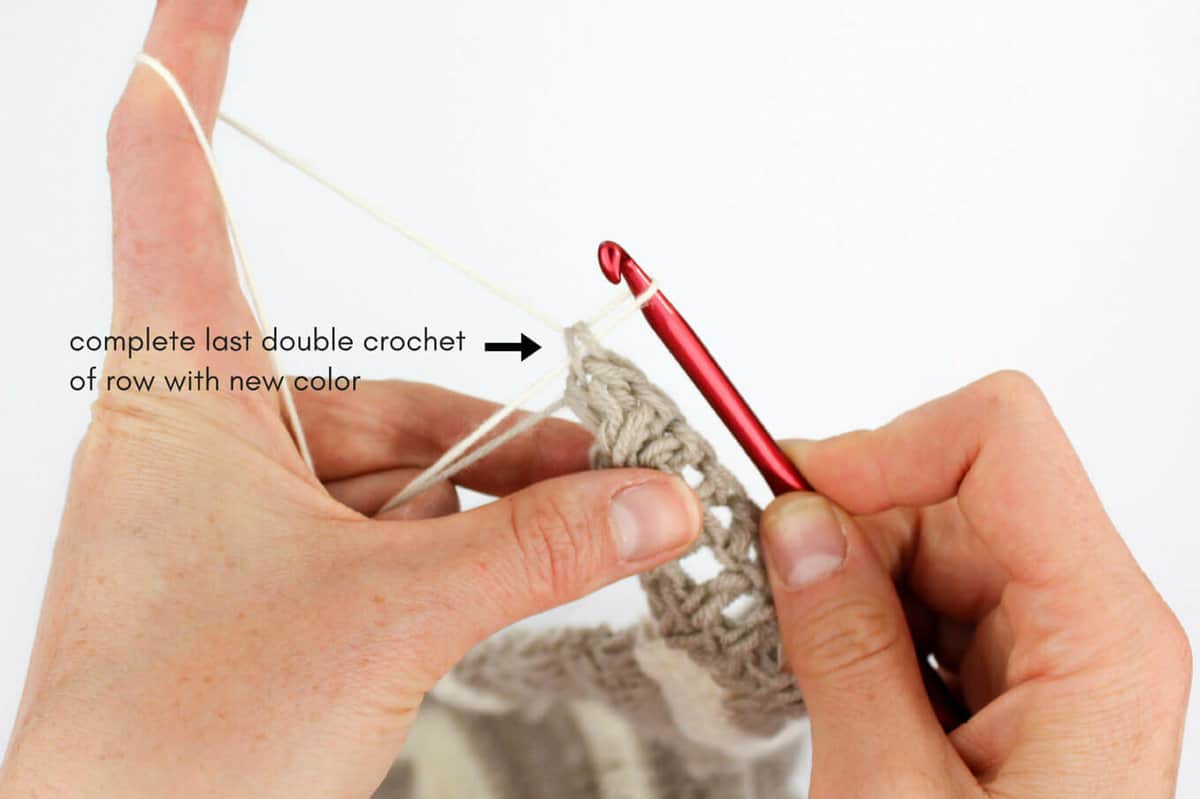
With RS of sweater facing, attach Color A at what will be the bottom, front left corner. Left-handed crocheters: Attach Color at bottom, front right corner.
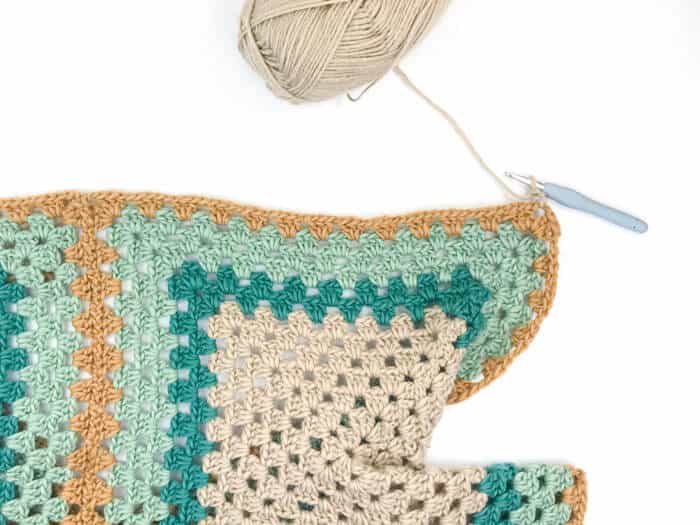
All sizes:
Row 1: Ch 3, 2 dc in first sp, (3 dc, ch 1) in each sp until end of row; turn. (28, 32, 36 clusters)
Row 2: Ch 4, (3 dc, ch 1) in each sp until no spaces remain, end with 1 dc in tch; turn. (Switch to Color D in final dc as described above.) (27, 31, 35 clusters)
Row 3: Using Color D, rep Row 1. (Switch to Color B in final dc as described above.)
Row 4: Using Color B, rep Row 2.
Row 5: Using Color B, rep Row 1. (Switch to Color D in final dc as described above.)
Row 6: Using Color D, rep Row 2. (Switch to Color A in final dc as described above.)
Row 7: Using Color A, rep Row 1.
Row 8: Using Color A, rep Row 2. (Switch to Color D in final dc as described above.)
Row 9: Using Color D, rep Row 1. (Switch to Color C in final dc as described above.)
Row 10: Using Color C, rep Row 2.
Row 11: Using Color C, rep Row 1.
Row 12: Using Color C, rep Row 2. (Switch to Color D in final dc as described above.)
Row 13: Using Color D, rep Row 1.
Row 14: Using Color D, rep Row 2. (Switch to Color A in final dc as described above.)
Row 15: Using Color A, rep Row 1.
Row 16: Using Color A, rep Row 2. (Switch to Color B in final dc as described above.)
Row 17: Using Color B, rep Row 1. (Size M/L, L/XL: switch to Color A in final dc as described above.)

Size S/M: Try on cardigan to evaluate if you like the length. Fasten off or work Rows 18-19 if desired.
Sizes M/L and L/XL: Continue with next two rows.
Row 18: Using Color A, rep Row 2.
Row 19: Using Color B, rep Row 1.
All sizes: Fasten off.
Sleeves
Notes:
• Again, this section is easily customizable to fit your arms. Work fewer rows for shorter sleeves or more rows for longer sleeves.
• When working Round 1, top of sleeve seam where hexagons meet counts as 1 granny cluster. (So work 3 dc into each ch1sp on either side of the seam, chaining 1 in between.)
• Two sleeve options are included:
-The non-tapered sleeve option does not include decreases. Therefore, the wrist opening will be as wide as the current arm opening on your sweater. This creates a more “70’s” style sleeve.
-Alternatively, you can create a more traditional sleeve shape by working the tapered sleeve option (pictured in the sample and in the photo below). Because of the nature of decreasing in granny stitch, this sleeve might have small bunches where the decreases take place, although they are not very visible once the sweater is being worn.

Tapered Sleeve Option
Notes:
• On decrease rounds, the first 3 ch and dc, plus the last dc of the round equal one total cluster. Because the cluster is a bit spaced out, it can be easily mistaken as ch1sps. Be sure not to accidentally work a 3 dc cluster into these gaps. See photo below for a more detailed explanation of working a granny stitch decrease on the sleeves.
• Decreases are spread evenly between the top, sides and bottom of the sleeve to minimize any bunching.
Wanna save this pattern?
Lay sweater flat so seam is at top of sleeve. Attach Color A in the middle dc of a cluster that’s at the bottom side of the sleeve, directly opposite the sleeve seam.
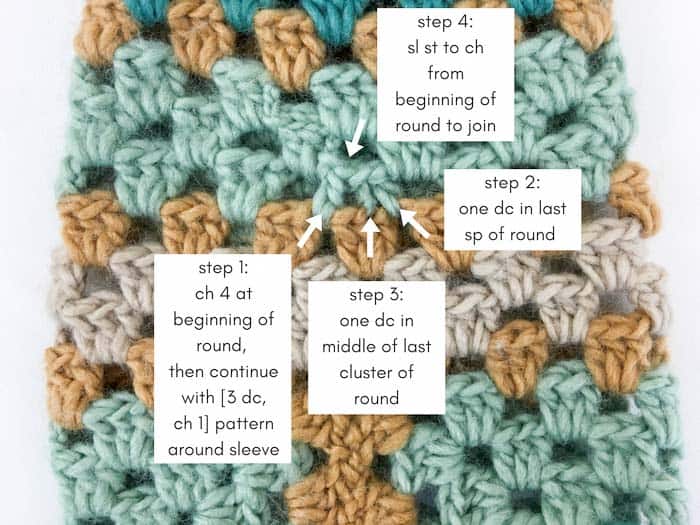
All sizes:
Round 1 (decrease): Using Color A, ch 3, 1 dc in next sp, ch 1, (3 dc, ch 1) in each sp until 1 sp remains in round, 1 dc in last sp, sl st to third ch from beginning of round to join, 2 sl st to end of cluster. (1 sp decreased)
Round 2: Using Color A, ch 3, 2 dc in same sp, ch 1, (3 dc, ch 1) in each sp until end of round, sl st to join, 1 sl st into next dc.
Fasten off.
Attach Color D in any sp along underside of sleeve.
Round 3: Using Color D, rep Round 2.
Fasten off.
Attach Color C in the middle dc of a cluster at the top of the sleeve.
Round 4: Using Color C, rep Round 1. (1 sp decreased)
Round 5: Using Color C, rep Round 2.
Round 6: Using Color C, rep Round 2.
Fasten off.
Attach Color D in the middle dc of a cluster at the back side of sleeve.
Round 7: Using Color D, rep Round 1. (1 sp decreased)
Fasten off.
Attach Color B in any sp along underside of sleeve.
Round 8: Using Color B, rep Round 2.
Round 9: Using Color B, rep Round 2.
Fasten off.
Attach Color D in the middle dc of a cluster at the front side of sleeve.
Round 10: Using Color D, rep Round 1. (1 sp decreased)
Fasten off.
Attach Color A in any sp along underside of sleeve.
Rounds 11-12: Using Color A, rep Round 2.
Work Round 13 according to the size you’re making.
(S/M) Round 13: Using Color A, rep Round 2.
(M/L and L/XL) Round 13: Using Color A, rep Round 1. (1 sp decreased)
All sizes continue with sleeve as follows:
Fasten off Color A.
Attach Color D in any sp along underside of sleeve.
Round 14: Using Color D, rep Round 2.
Fasten off.
Attach Color C in any sp along underside of sleeve.
Rounds 15-17: Using Color C, rep Round 2.
Sizes M/L and L/XL: Work additional repeats of Round 2 to lengthen sleeves if desired.
Fasten off.
All sizes: Attach Color D in any dc along underside of sleeve.
Round 18: Ch 1, sc in each dc, sl st to first sc to join. (Do not work ch1sps.)
Round 19: Ch 1, sc in each sc, sl st to first sc to join.
Fasten off.
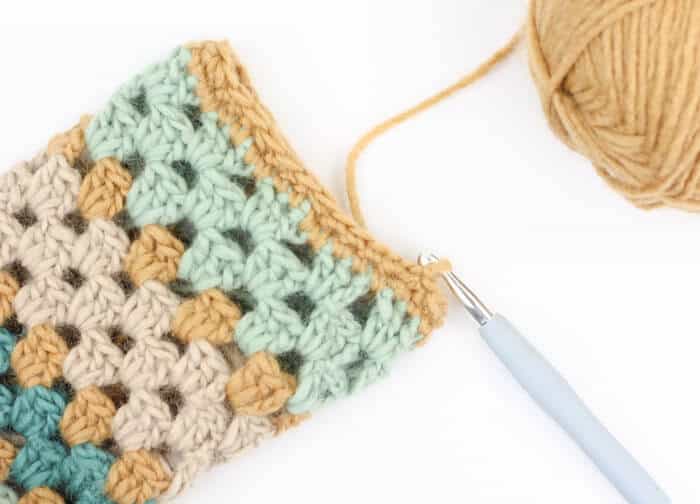
Non-tapered Sleeve Option
Lay sweater flat so seam is at top of sleeve. Attach Color A in any space that’s at the bottom side of the sleeve, directly opposite the sleeve seam.
Work Rounds 1-19 using the colors specified for each round in the “tapered sleeve” section.
All sizes:
Rounds 1-17: Ch 3, 2 dc in same sp, ch 1, (3 dc, ch 1) in each sp until end of round, sl st to join, 1 sl st into next sp.
Sizes M/L and L/XL: Work additional repeats of Round 2 to lengthen sleeves if desired.
Round 18: Ch 1, sc in each dc, sl st to first sc to join. (Do not work ch1sps.)
Round 19: Ch 1, sc in each sc, sl st to first sc to join.
Congrats! You're ready to move onto Part 3 of "The Campfire Cardigan!"
That was so fun! Now what?
Invitation to our Facebook group
Come discuss crocheting cardigans and lots of other projects and techniques in our Make & Do Crew Facebook group. Here thousands of helpful crocheters answer each others questions and share their stitches. Come join us here.
Find Your Next Sweater Project
- Lightweight Mesh Top - doubles as a beach coverup
- Hexagon Layering Cardigan - with bishop sleeves
- Granny Square Cardigan - modern take on a classic motif
- Seamless Crochet Poncho - a great first garment for beginners
- Basic V-Neck Pattern - classic styling
- High Low Jumper Pattern - finish in one weekend
- Rectangle Crochet Poncho - made from two simple pieces
- Oversized Cardi - with fur collar
More Free Patterns + Tutorials
Can't get enough free crochet patterns!? Me either. You'll definitely want to breeze through these collections to find your next project.
- 55+ Free Crochet Sweater and Cardigan Patterns - our most popular garments
- 40+ Free Crochet Blanket Patterns - baby blankets, throws + c2c graphgans
- 36+ Granny Square Patterns + tips for the perfect square
- 30+ Crochet Animal Patterns - adorable amigurumi stuffed animals
- Crochet Gift Ideas - easy patterns to make for others
- Fast Crochet Projects - start to finish in less than a day
Learn a New Skill
And when you're ready to master a new skill, check out our detailed guides that include everything you need to know to level up your crochet game.
- How to Corner to Corner (C2C) Crochet for Beginners - with video tutorials to get you started
- How to Crochet a Beginner Hat - make an entire beanie in 1.5 hours!
- How to Crochet Amigurumi for Beginners - the ultimate guide to making your own toys and plushies
- How to Tunisian Crochet - learn with this video and a standard hook
You might also enjoy these free crochet patterns from Make & Do Crew!
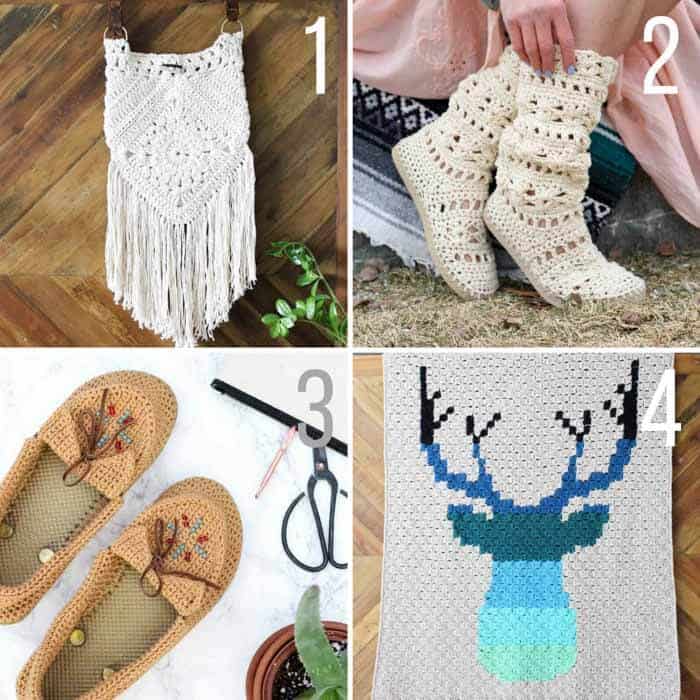
1. Urban Gypsy Boho Bag free crochet pattern
2. Coachella Boots with Flip Flop Soles free crochet pattern



Lindsay says
Hi making this for my mom and she has longer arms. So I want to increase the length of the sleeves. I'm wondering where u measured the sleeves from to get 22"? As if I measure the whole sleeve I've made with just the hexagons from the neck to the end it's 24" already. I haven't started the sleeve yet! Thanks.
Traci Anderson says
I made 2 of these and I recommend lion brand mandala because there is no need to change color. I also recommend after having 11 clusters per side (I am a large) to continue around 3 sides to get width and length without making arms so big you give up! I stopped width at 10 and just did the length to finish off a cake. Each side takes 1 cake except for sleeves. You will need an extra cake for sleeves and for sewing. Happy hooking!
Kala says
Thanks for the great pattern! I'm currently working on the length of my first one! I'm thinking once I'm completely finished about sewing up the front to make it into a pull over!
Jess @ Make and Do Crew says
I love that idea! I've been pondering something similar actually. Will you please send me a pic if you decide to do it that way? I'd love to see!
Elizabeth says
I am working on the cardigan bottom and I am confused about row 2. Where is the turning chain supposed to be? I tried to go on with the next row but it doesn't look right to me.