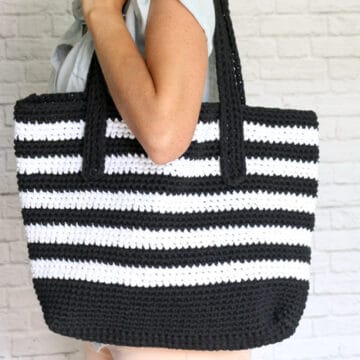
Requiring only single and double crochet and a very simple construction, this free crochet bag pattern is perfect for beginners. Neutral colors and a beautiful texture combine to form the perfect modern tote.
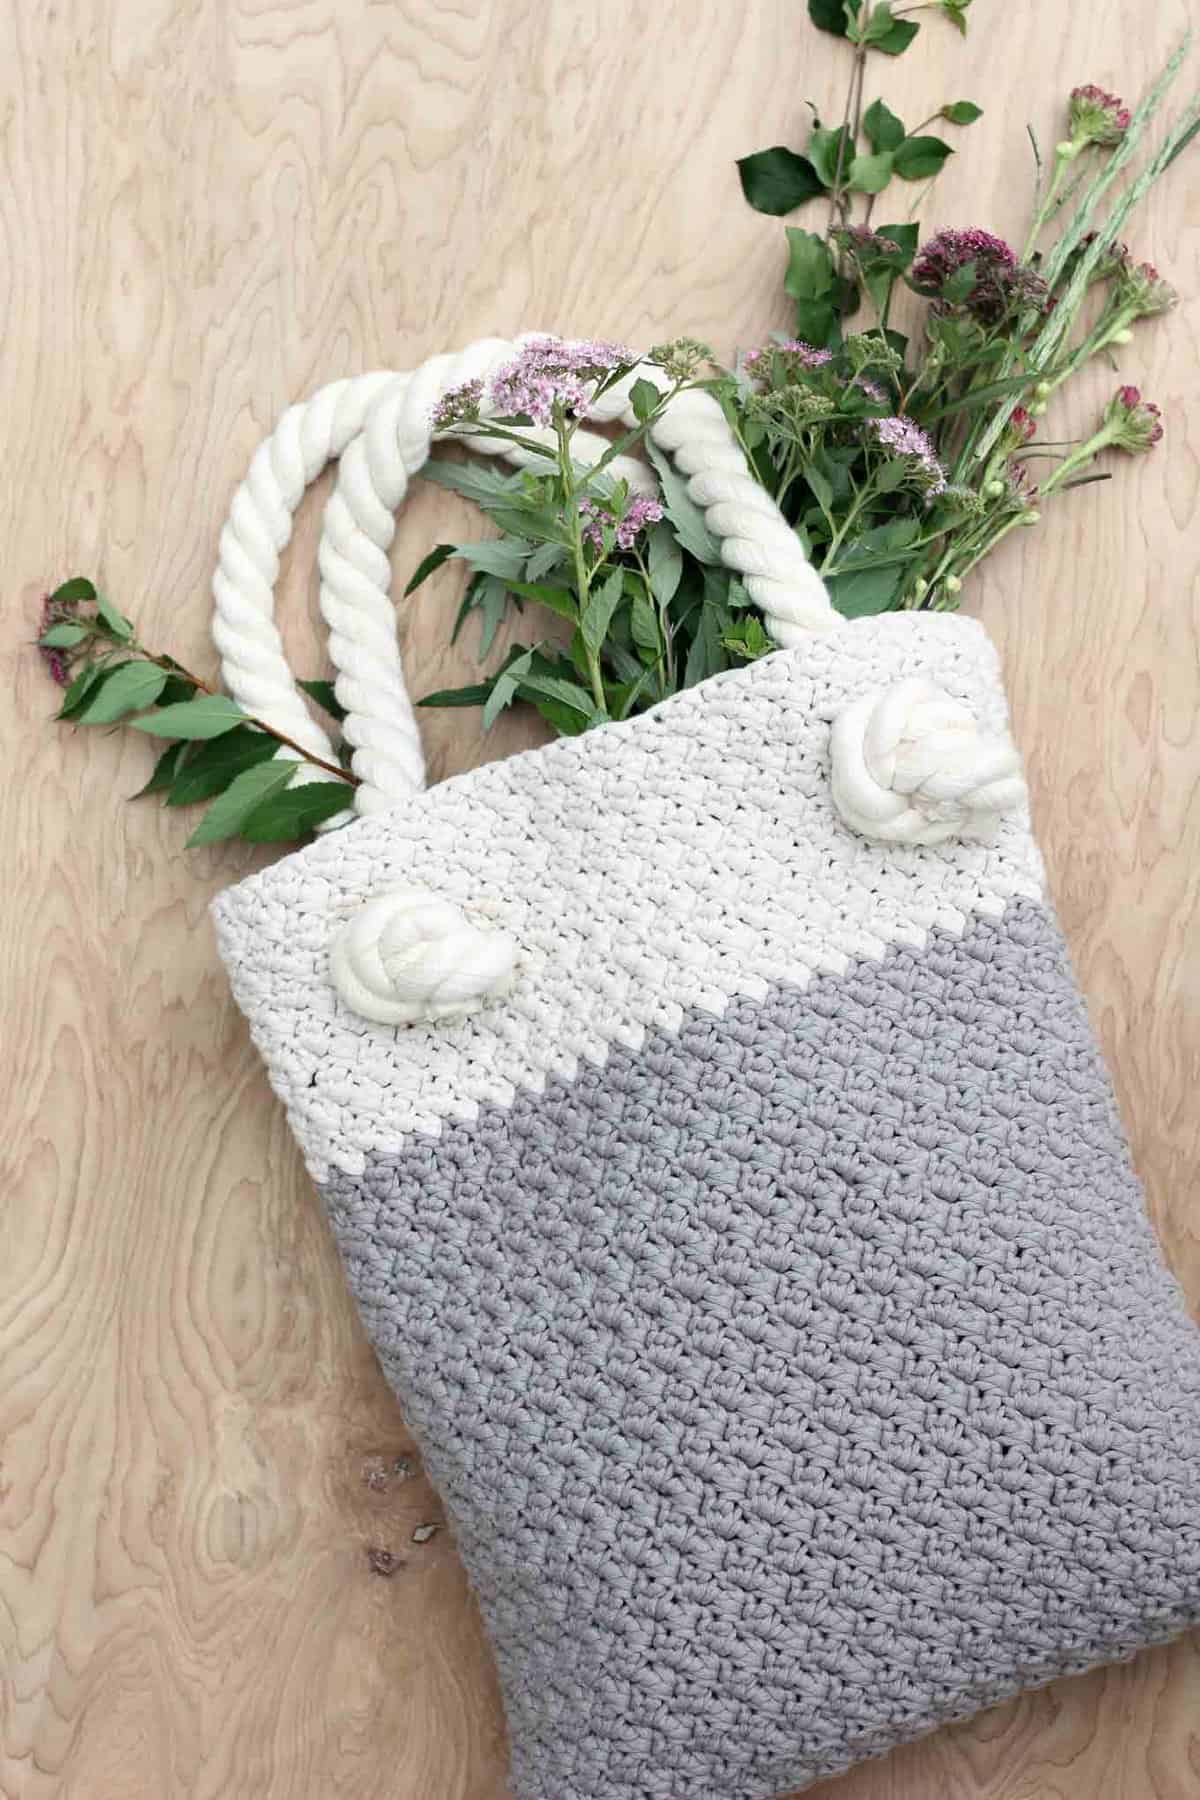 Calling all beginning crocheters! (Or more intermediate crocheters who like to zone out and watch Netflix while you’re hands mindlessly make something beautiful!) This tutorial is for you!
This free crochet tote bag pattern is worked in the Suzette stitch, which I first came across on Potter & Bloom. (UPDATE: I created a simple video tutorial that shows you how do this stitch!)
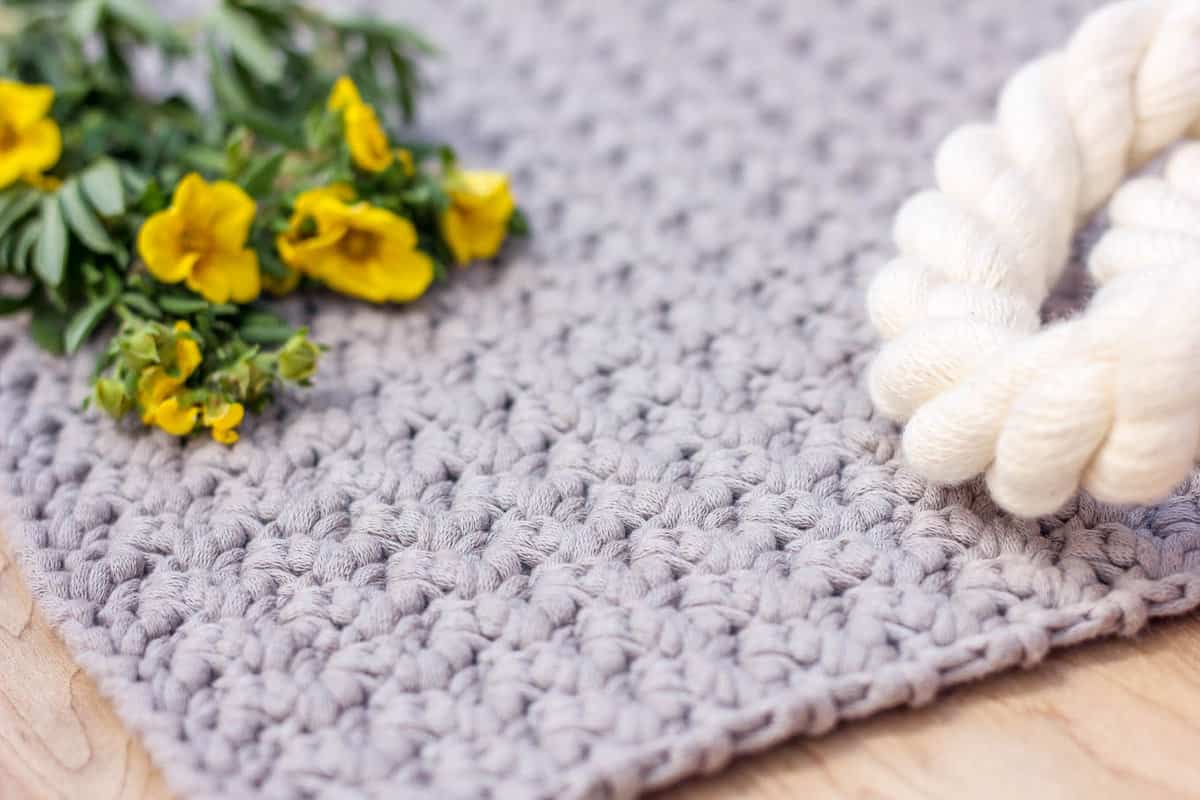 Even though the resulting texture of this stitch is gorgeous, the only skills you need to know to crochet this bag is how to single and double crochet and how to crochet a rectangle. Let’s be honest, this tote bag is not a whole lot different from a really lovely giant crocheted washcloth sewn in half.
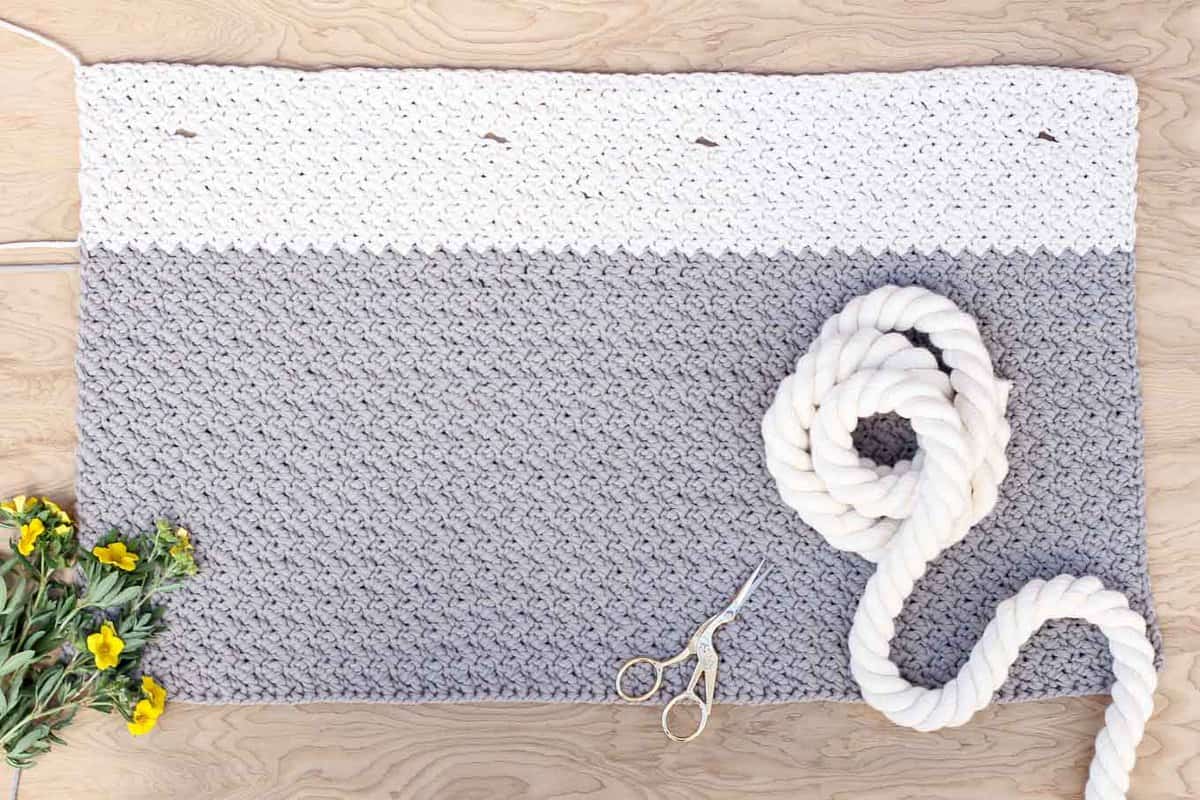 Which is awesome because speaking of sewing in half, the construction of this bag is super simple. Like, you don’t have to have any crochet bag experience, crochet joining experience or really any other sort of experience to put it together. Just fold it and sew it.
Related: 30+ Best Crochet Crop + Tank Top Patterns
More Free Crochet Bag + Purse Patterns
From modern granny square bags to mesh market totes to circle purses, we’ve got lots more free crochet bag patterns for you to enjoy. With sturdy straps and stylish details, you might just become a crochet bag-a-holic.
See more free crochet bags & purses patterns →
 Have you queued up a movie yet? Because you have some wonderfully mindless, yet satisfying crocheting ahead of you.
 “Suzette” Free Crochet Bag Pattern For Beginners
Crochet Bag Supplies
So you can spend more time crocheting and less time shopping, this post contains affiliate links at no extra cost to you.
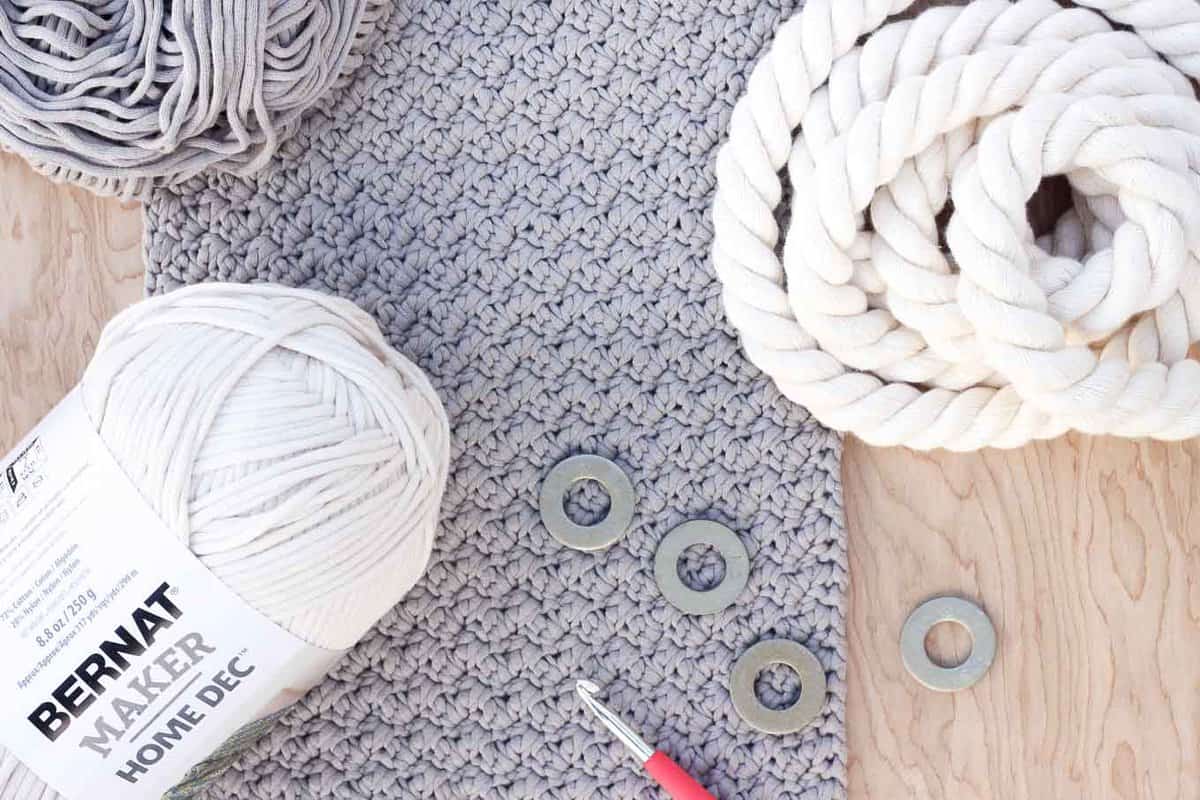
• Bernat Maker Home Dec – 1 skein cream and 1 skein clay (Use your 40% off coupon!)
• size J/10 hook (I love this inexpensive set.)
• stitch markers
• 2.5 yds thick home decor rope (I found it in the curtain supplies section of JoAnn’s. My Hobby Lobby and Michael’s don’t carry it.)
• tape (clear or masking)
• sharp scissors (I got these for xmas and they’re fantastic.)
• measuring tape
• (4) ⅝” washers from a hardware store (Or curtain grommets from a craft store. These aren’t essential, but they’ll be helpful if you plan to carry heavy loads in your bag.)
white thread or Fray Check
Abbreviations – US Terms
fsc – foundation single crochet
ch – chain
sc – single crochet
dc – double crochet
sk – skip
st – stitch
Gauge
7 (sc, dc) groupings = 4”
12 rows = 4”
To work a gauge swatch in Suzette stitch, make a multiple of 2 ch for the foundation chain. 18 ch will be sufficient. Work rows 1 and 2 of the pattern, then repeat row 2 until the swatch measures approximately 5” high. If you’d like, save this swatch and sew it inside your bag as a convenient pocket.
To Make the Crochet Bag
Watch the Suzette stitch video tutorial if you prefer video learning!
Wanna save this pattern?
Using “Clay” color, Fsc 81. (If you are overwhelmed by the idea of foundation single crochet, just ch 81 and progress with the pattern as written. The difference will be negligible.)
Begin the Suzette stitch pattern as follows:
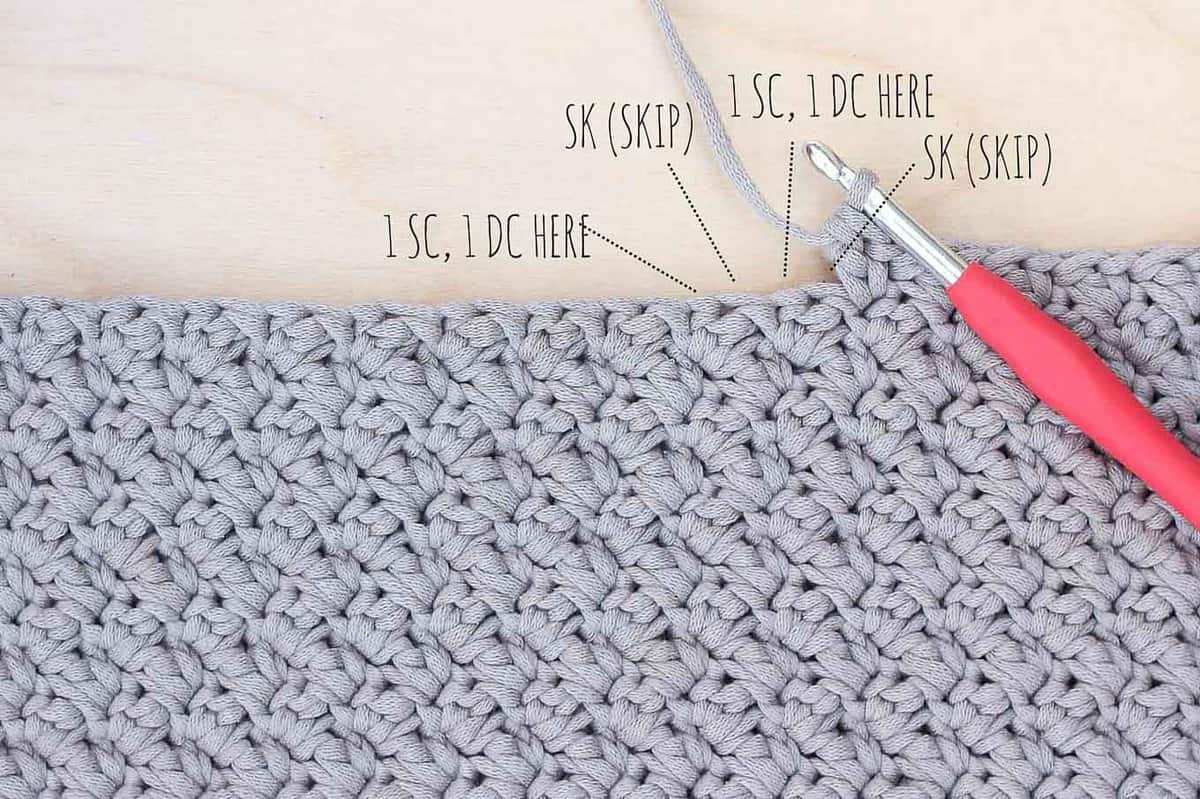 Row 1: (1 sc, 1 dc) into second st from hook, *skip next st, (1 sc, 1 dc) into next st; repeat from * to last st, 1 sc in last st; turn.
Row 2: ch 1, (1 sc, 1 dc) into first sc, sk next dc, *(1 sc, 1 dc) into next sc, sk next dc; repeat from * to end finishing with 1 sc in turning ch; turn.
Repeat Row 2 to form the stitch pattern and continue until work measures 11.5” (about 29 rows). Switch to “Cream” color and continue for 7 more rows.
✨Unlock this free subscriber-exclusive pattern ✨
Follow these steps to view the full free pattern below
To Add Rope Handles
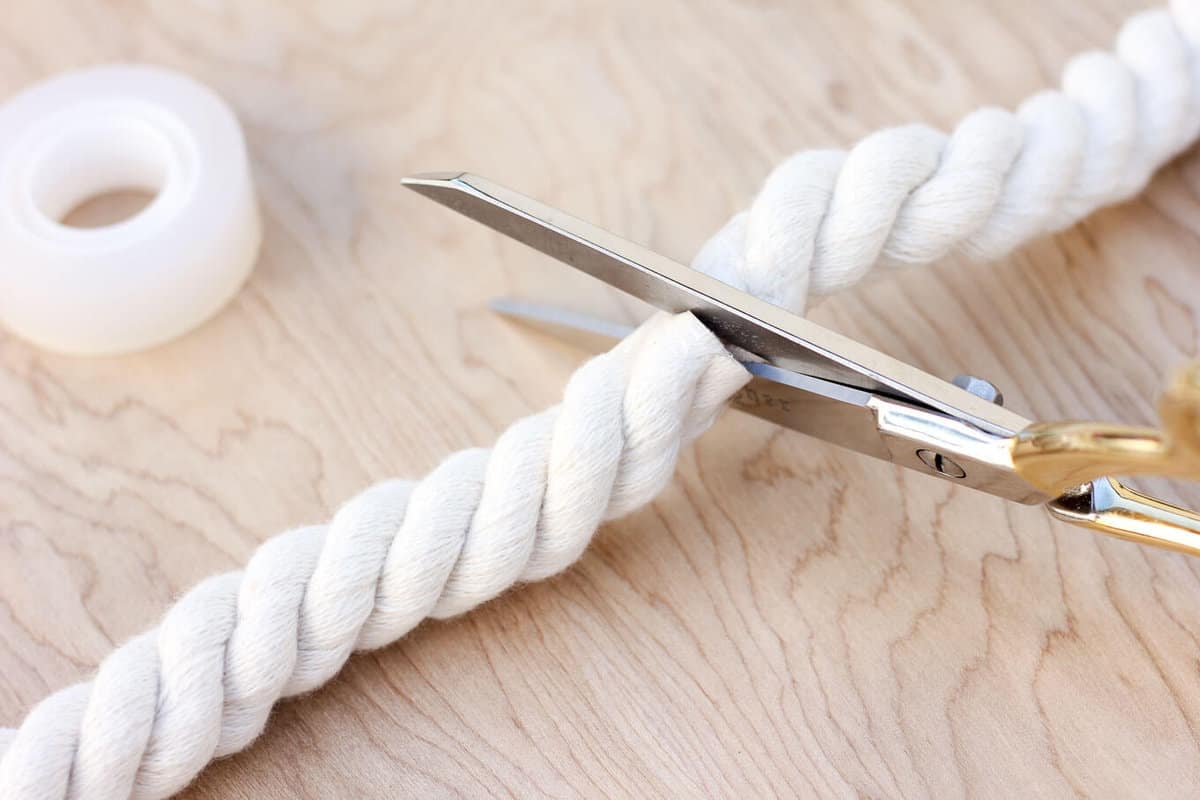
1. Measure 36” of rope. Wrap a piece of tape tightly around the rope where you plan to cut it. Then cut down the middle of the tape, leaving both freshly cut ends of rope wrapped in tape. Repeat to create a second 34” handle. Don’t remove the tape because your rope will immediately begin to unravel.
 2. From the inside of the bag out, thread rope through handle holes and place a washer on each end of the rope.
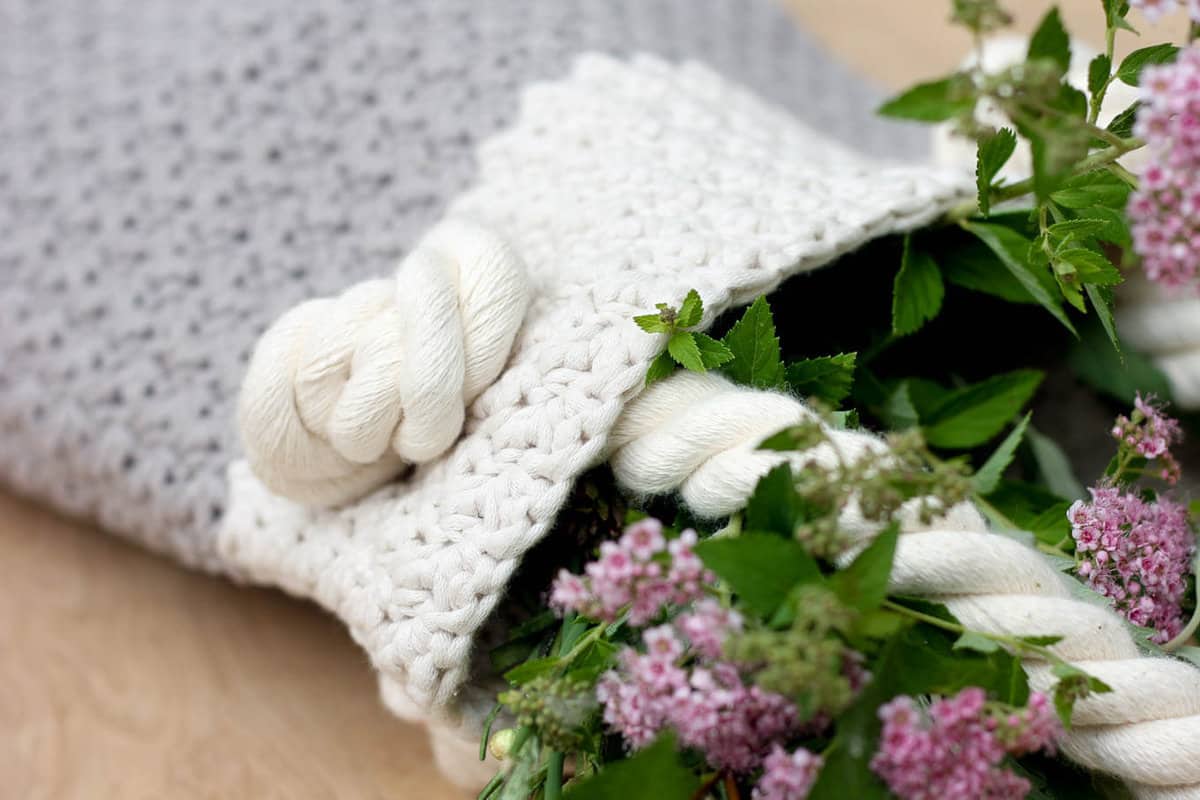
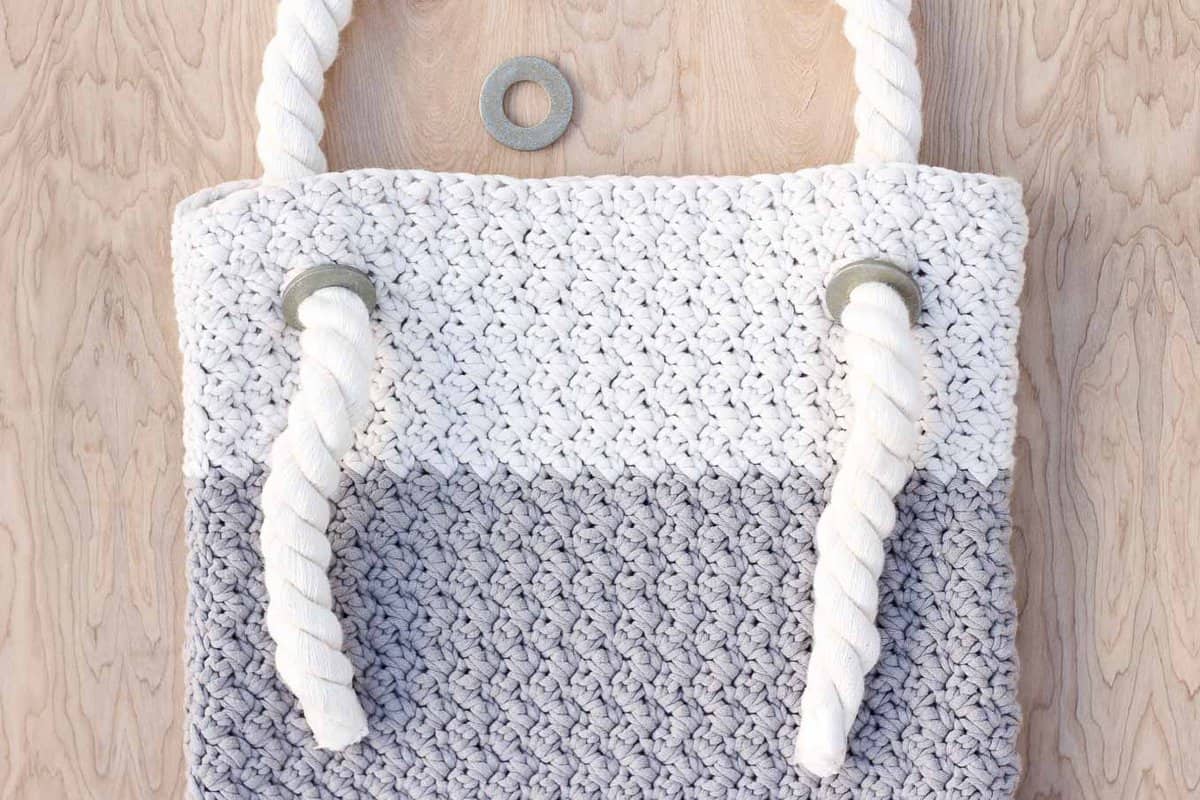 3. Tie a tight knot in the rope at the very end of each handle. Repeat for the second side.
4. Apply Fray Check to the end of each rope before removing tape. Alternatively, gently remove tape and tie a piece of thread tightly around each rope end to prevent fraying.
Hit the beach, the farmer’s market or your lunch hour feeling awesome because you made something useful and beautiful with your own two hands!
That was so fun! Now what?
Invitation to our Facebook group
Come discuss crocheting easy purse patterns and lots of other projects and techniques in our Make & Do Crew Facebook group. Here thousands of helpful crocheters answer each others questions and share their stitches. Come join us here.
More Free Crochet Patterns for Bags + Purses
- Urban Nomad Boho Bag – creative construction + style
- Crochet Lunch Bag Pattern – also fun gift for kids
- Lacy Crochet Shoulder Bag Pattern – summery tote bag
- Fringe Crochet Purse Pattern – bohemian flare!
- Beginner Crochet Tote Bag – fun crochet geometry
- How to Add Leather Handles to Any Crochet Bag – easy upgrade
- Crochet Tote Bag Free Pattern – with leather handles
- Finger Crochet Bag Pattern + Video – no hook, no problem!
And here are a few more free beginner crochet patterns to keep your hands busy:
 “Aspen Socialite” Headband (baby – adult sizes)
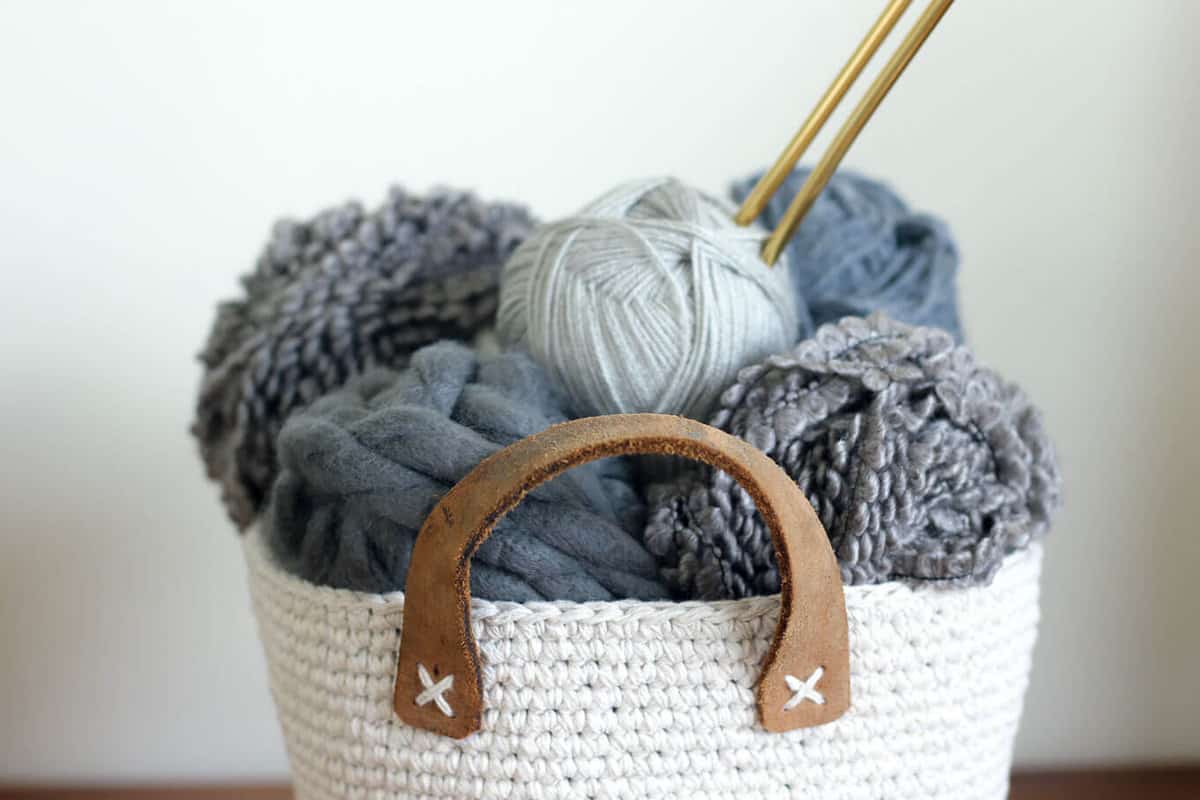
Dollar Store Twine + Thrifted Belt Basket (pictured above)
Basic Crochet Hexagon Pattern (Hip, modern and great for afghans!)

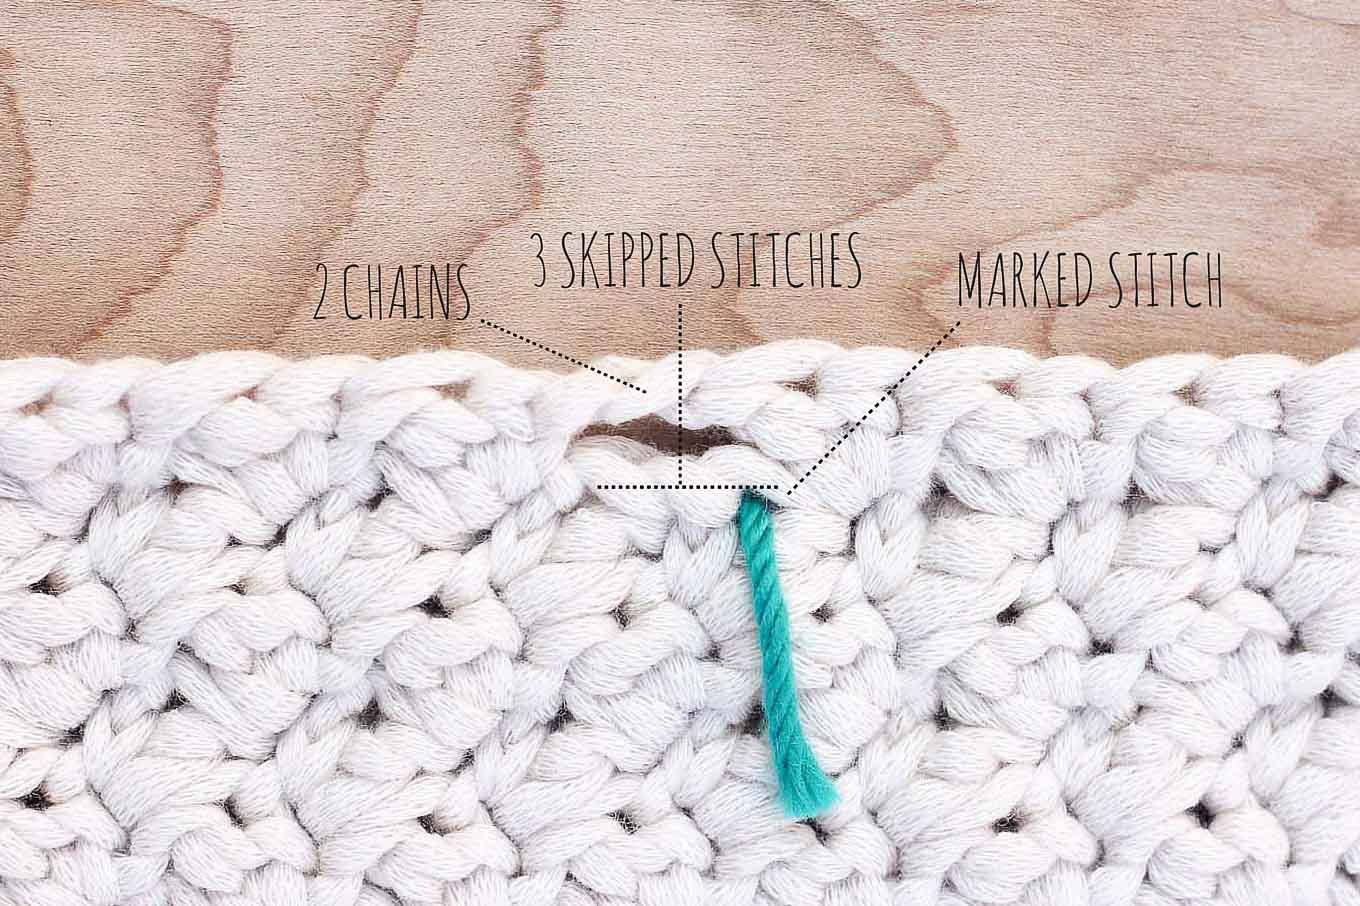 Cont in pattern for 4 more rows; fasten off, leaving a 12-15” tail.

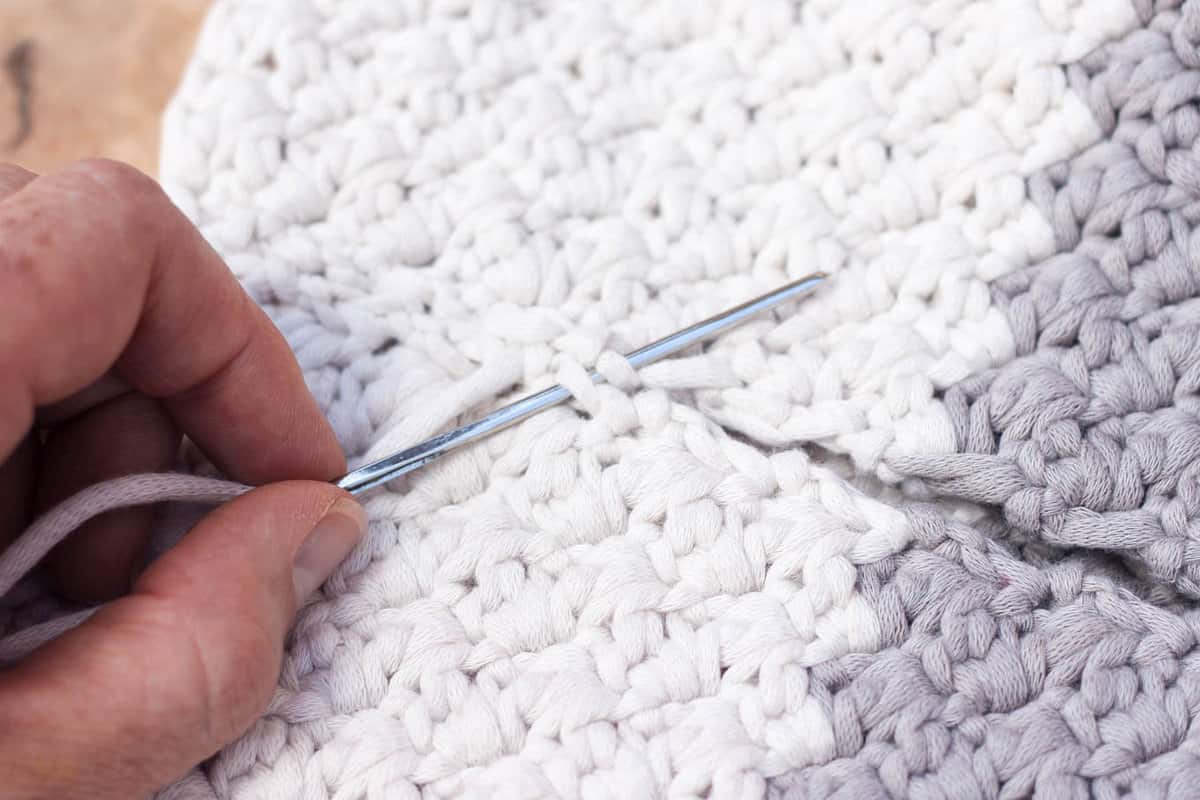 When you reach the clay-colored section, weave in the cream yarn and seam the rest of the bag side and bottom with clay yarn; fasten off and weave in ends. Turn bag right side out.


Gillian says
Love this bag! I’m going to attempt to make it while I’m on bedrest and waiting for baby to arrive.
Because I can’t leave the house, I’m ordering everything online.
Could you measure the diameter of the rope handles, so I know which rope to buy? it’s hard to tell on the screen how thick they are.
Thanks!
Jess @ Make and Do Crew says
Hey Gillian,
I’m sorry for the delay in getting back to you. The rope is about .75″ wide. Best of luck waiting for that sweet babe!
Jess
Janet says
Is it possible to crochet this Suzette bag in the round?
I really dislike sewing things together – the rows don’t seem to match up for me
Sarah says
Hi there! Love this pattern! I had a question though I made my bag with a chain of 101 to start and I’m having a hard time trying to figure out where to place the stitch markers for where the straps would go through? Any help would be appreciated!
And thank you for all your wonderful patterns!
Salwa says
Hi I hope to make this tote l am always looking for a patern tks for sharing your patern god bless you
Krystal Claremont says
Hi Jess,
Love the pattern, was going to give it a try but have a question for you.
We recently got stationed in lovely small town that doesn’t have a Jo-Anns (it’s horrible I know)
Would you happen to know what size the rope is and what it’s made of or anything? I was guessing cotton and around an 1″ thick? I think I’m going to have to order this item online and since I won’t get to see it first I was hoping you could help me make sure I order something similar in size! Or did it come in packaging?
Any help would be much appreciated.
Thanks!
Krystal
Krystal says
Thanks! I actually meant the rope you used for the handles. Home decor rope didn’t come up with much when searching. And didn’t have much luck at home improvement shops. I found something on Etsy I’m going to try out.
Jess @ Make and Do Crew says
Oh I see! Ha, I’m sorry about the confusion. I got the rope at Joann’s in the drapery section. There’s different items there to make curtains and stuff and I guess that’s what this rope is meant for. I bet if you showed a photo on your phone to an employee there, they might be able to help. 🙂
Adriana says
If my piece does not lay flat should I block it? Also how would I sew a lining to the inside?
Jess @ Make and Do Crew says
Hi Adriana,
Yes, I think blocking it could be a good idea. Did you use the Bernat Home Maker Dec yarn? It’s part cotton, so blocking could have a good effect. For a lining, I think you could potentially just sew a rectangle pouch that is slightly smaller than the rectangle of your bag. I’d probably just iron the top edge of the fabric pouch back to create a clean hem and then insert the fabric pouch into the crocheted bag with the nice side of the sewn seam facing toward the inside of the bag. Then I’d hand sew (probably using a whip stitch) the fabric pouch to the crocheted part of the bag.
Does that make any sense at all? 🙂 Feel free to ask more questions if not!
Jess
beverly says
Hi Lovely bag! Had no problems doing it, until I got to handles. I used washers but they keep slipping down the handle! Is there a way to secure them from the back? Grommets won’t work for me as I cannot get them in a large enough size to fit the rope. Also do you put the washers on the front and back of the rope? Thanks
Jess @ Make and Do Crew says
Hey Beverly,
The washers should be on the outside of the bag, sandwiched between the knot and the bag. If they’re in this position, they shouldn’t be able to slide around, but they will give support so that the knot doesn’t pull through your crocheted holes. Does that make sense?
Maxine Jepsen says
I’m having some problem when I’m starting to mark the stitches required for the handles as stated in the pattern. I understand how to make the spaces for the handles but when I measure the 6th, 32nd, 48th & 72nd stitch it isn’t the same amount of stitches from the sides . One marker is 6 stitches in from the side but the other side is 8 stitches in. Is this right ?
In crocheting the rows are there 81 stitches in each row ? I hope my question makes sense & I’m sorry to have to send another email but appreciate your replies. Thank you so much. Maxine
Jess @ Make and Do Crew says
Hey Maxine,
You’re right that there’s 81 stitches across. Ideally, the number would be even, but since stitch requires an odd number of stitches, I had to use 81. I think the extra stitch on one side is negligible though. Now, for the handles, each handle hole should take up 3 stitches and the handle on the right side of your rectangle should begin 6 stitches in and then the handle on the left side of the rectangle should end with 6 stitches left to do in that row. (begin hole at stitch 72 + 3 stitches across = 75 stitches in, then 81-75=6) Hope that makes sense! Please let me know if not!
Jess
Maxine Jepsen says
Thank you so much. Yes it’s working for me & your answer made sense ! I can’t thank you enough for your replies.
Maxine
Maxine Jepsen says
I’m sorry for emailing another question but maybe my first one never went through but I’m wondering if a size J-10 us is 6mm ? Thank you.
Maxine Jepsen says
Thank you so much for your quick replies. I appreciate it. The yarn is very nice to work with.
Maxine Jepsen says
I love this pattern stitch &:will be making it soon. I bought yarn today and the colors you used were Clay and Cream. When I found the yarn in those colors it is a brownish beige color for Clay and a beige color for the Cream not gray and white as shown in your photos. I was wondering if the yarn comes in a gray color and a white color but have different names than Clay and Cream ? Thank you. Looking forward to making this bag .
Jess @ Make and Do Crew says
Hey Maxine,
Great question. I think it might just be a matter of how the photos look on your individual screen vs real life. I did indeed use cream and clay for the bag. I’m pretty sure Bernat doesn’t make a bright white in this line of yarn yet. Either way, I find this yarn wonderful to work with–I really hope you do too!
Share a pic when you finish your bag if you’d like. I’d love to see it!
Jess
Mary Baribeau says
Thank you for the wonderful creations. I am an .intermediate crocheter almost expert level but I love any type of pattern.
Jess @ Make and Do Crew says
I bet I could learn a thing or two from you, Mary! I wouldn’t call myself expert level by any means, but I really do have fun sharing beginner/intermediate tutorials with people who enjoy crochet.
Happy making!
Jess
Alexis says
This is just gorgeous, Jess! I LOVE the rope handles!