This oversized crochet cardigan pattern begins as a simple rectangle and transforms with the addition of easy sleeves, a faux fur collar and a delicate rope accent. Get Part 1 of the free pattern below or purchase the complete ad-free, printable PDF here.
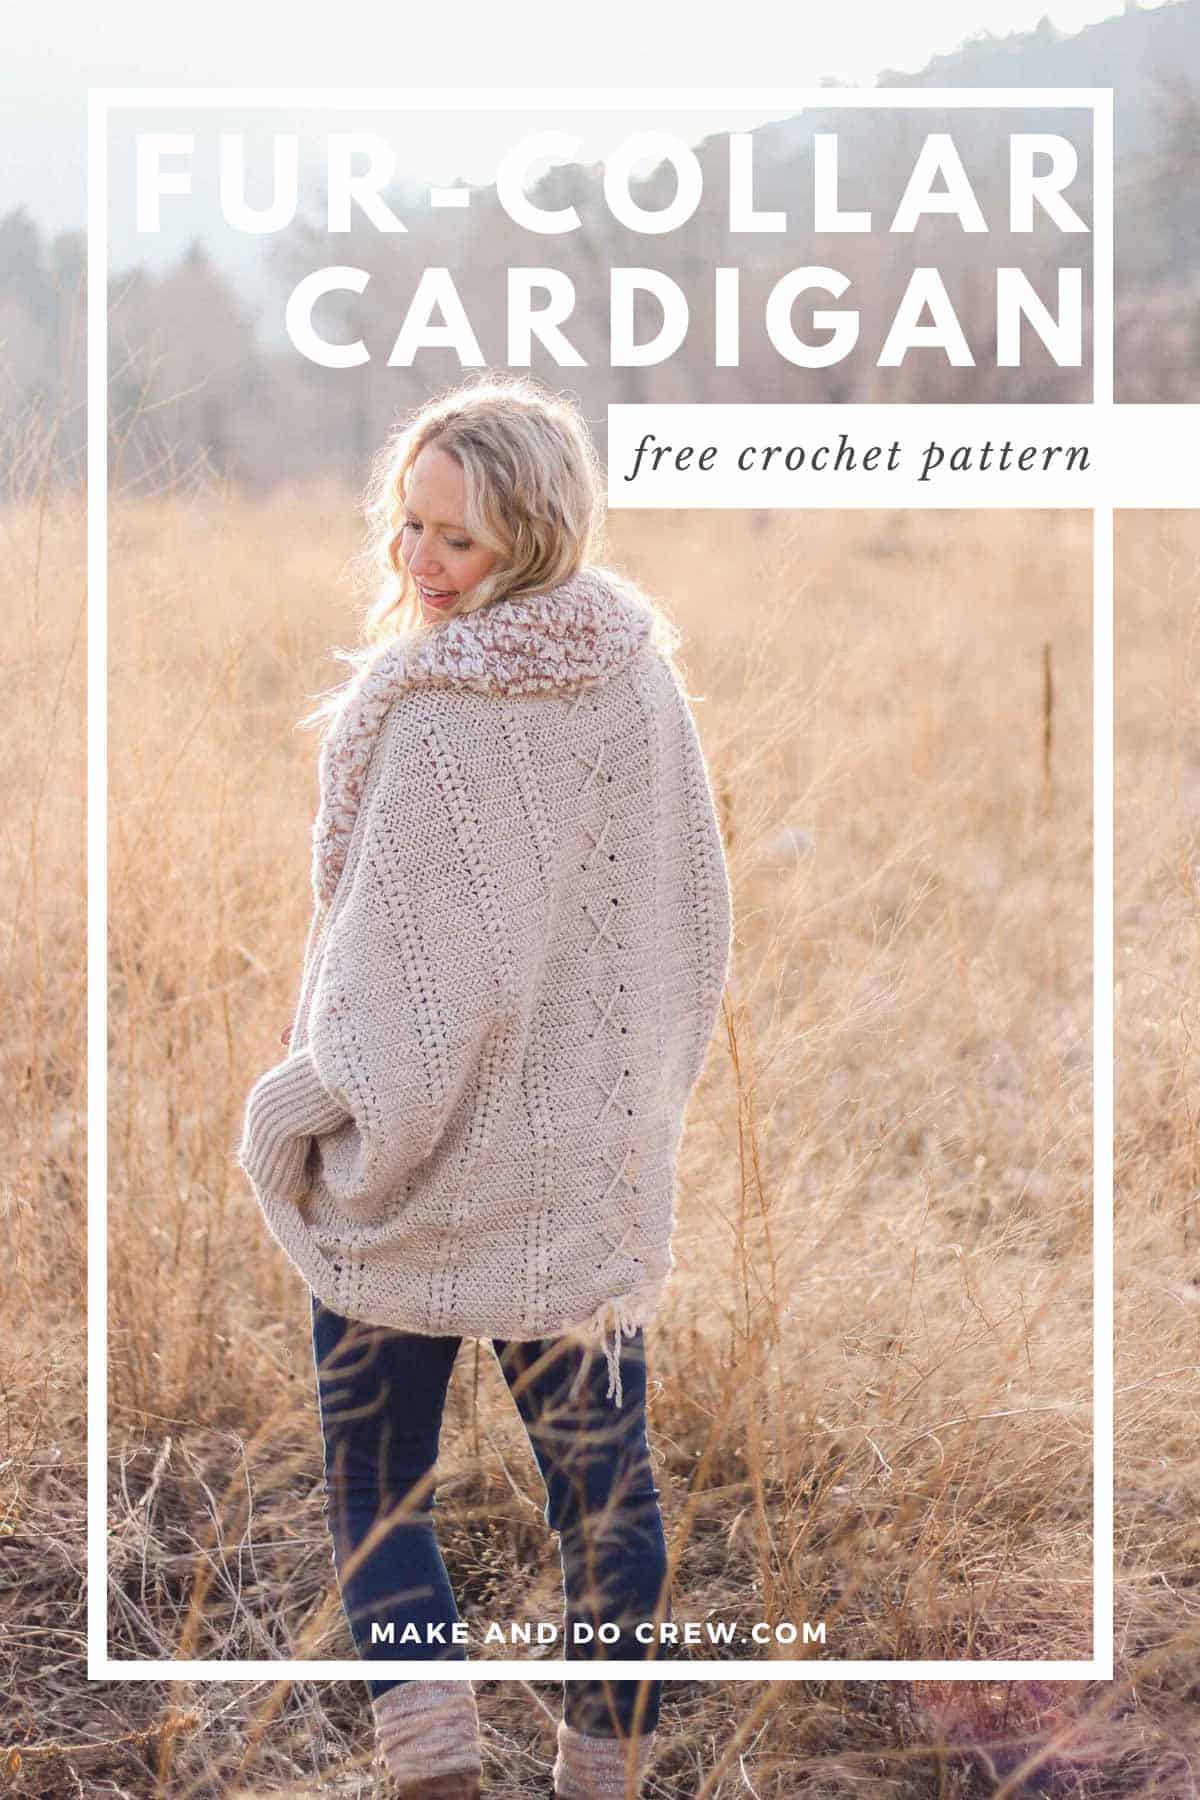
This free oversized crochet cardigan pattern is part of a collaboration with Lion Brand Yarns. This post contains affiliate links.
The style of this dolman-sleeved cardigan is flattering on a range of body types and the skills required are clearly explained in included the photo and upcoming video tutorial. Expand your crochet repertoire--and your wardrobe--with this fun, cozy and easy make!
Get the scoop on the yarn, sweater construction and pattern inspiration below, or scroll down a bit further for the free pattern and tutorial.
This Is Not Your Typical Oversized Crochet Cardigan
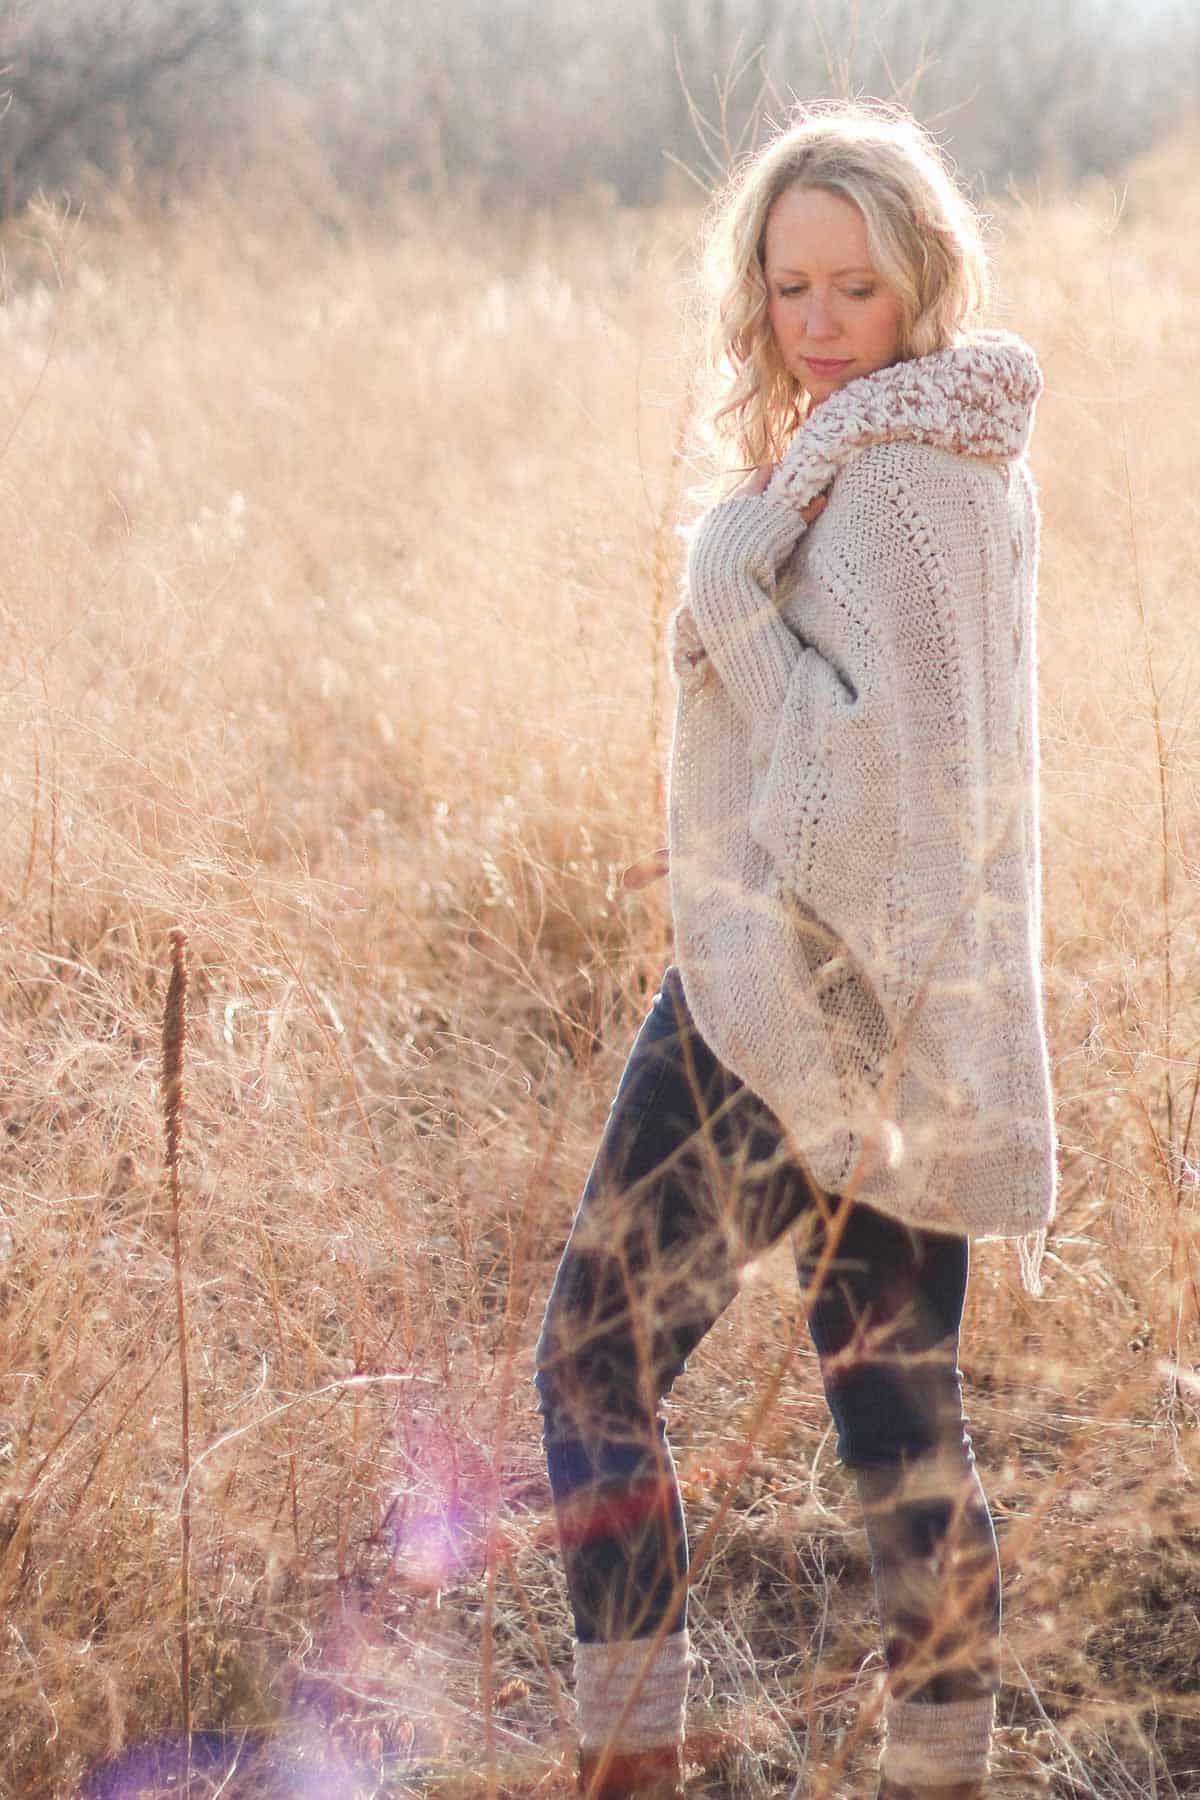
Looking at these photos, it might be hard to see that this entire sweater construction is based a basic rectangle--but that's also what I love about it! It's a mystery cocoon of texture, puff stitches and some incredibly soft fur. What's not to love about that? (You can find lots more easy crochet garment patterns made from rectangles here.)
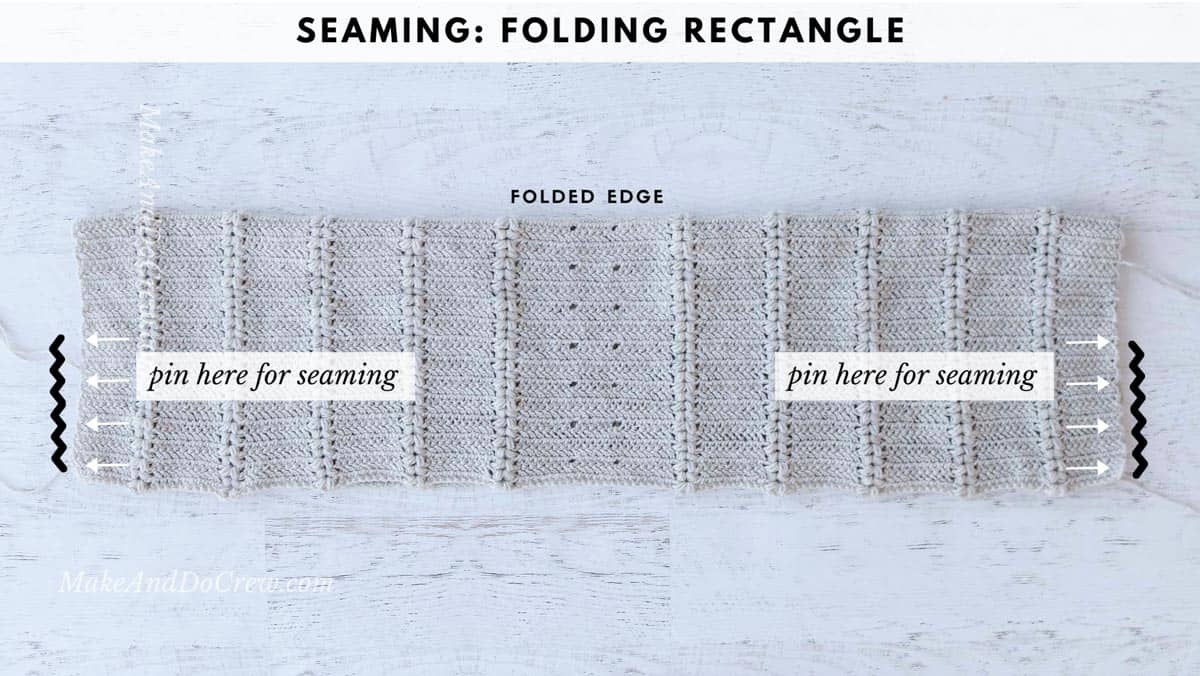
Really though, let's talk through how this thing is constructed because it's super fun to make. First you'll crochet a large rectangle with stripes of puff stitches running throughout it. Then you'll fold your rectangle in half and complete two little seams which will transform your rectangle in to a shrug. Then, no doubt, you'll try it on and run to a mirror because this is a pretty exciting moment.
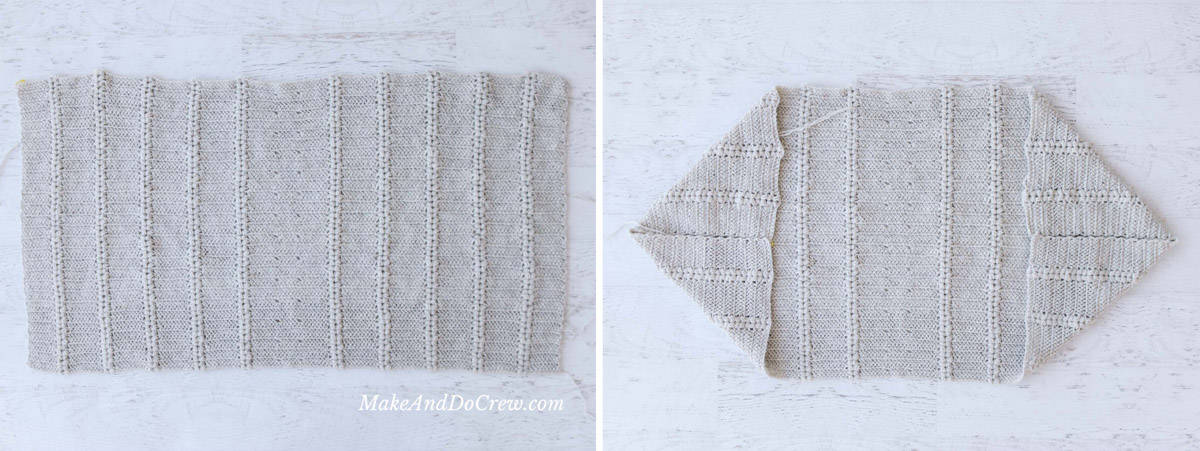
Next you'll add a "tush extension" to lengthen the sweater bottom (hello comfy leggins outfits) and work some collar rows to give the shrug more substance in the front. (If you've ever worn a crochet or knit shrug sweater and felt annoyed because it fell off your shoulders, you'll love this part because it totally solves that problem.)
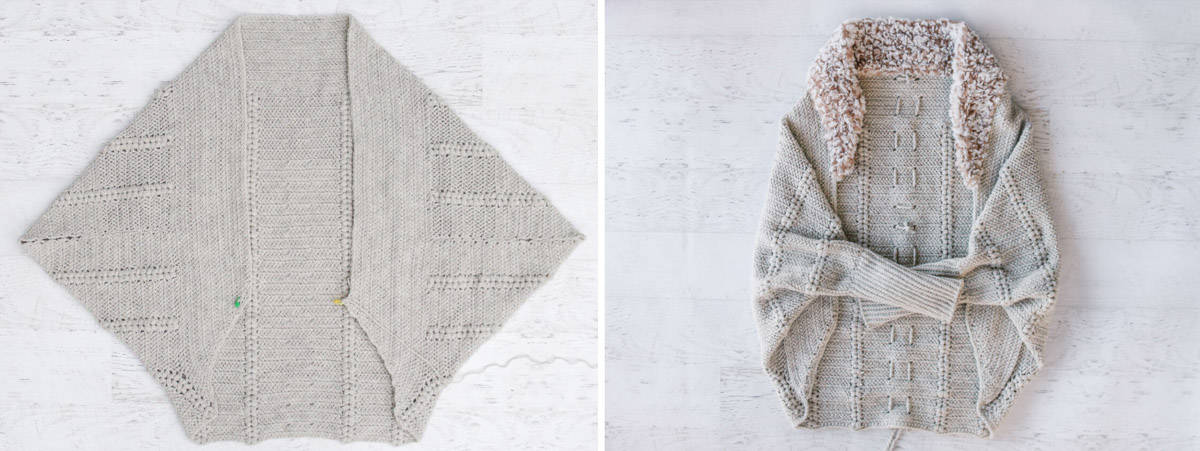
Some rows with the softest faux fur yarn you've ever laid hands on come next. This part is very fast, but you won't want it to end because the yarn really is that soft. Lastly, you'll make two ribbed rectangles, which you'll seam into sleeve tubes and attach them to the sweater.
A few twisted yarn ropes later and you'll have yourself a cardigan that looks like it cost you a couple hundred bucks in some mountain town boutique.
Related: 30+ Free Poncho Patterns to Crochet
Watch a Quick Pattern Overview
Sometimes a picture really is worth a thousand words though, which must make a video worth a million, right? I put together a quick overview of the pattern start to finish so you can see exactly how this sweater is made less than a minute!
The Faux Fur Yarn That'll Change Your Life
Okay, I was a little indifferent about the faux fur yarn trend. The first time I held a soft little skein in my hands didn't even change my mind. It took until I actually crocheted with it that I was SOLD. Now I have four patterns in progress that use it. #overboard
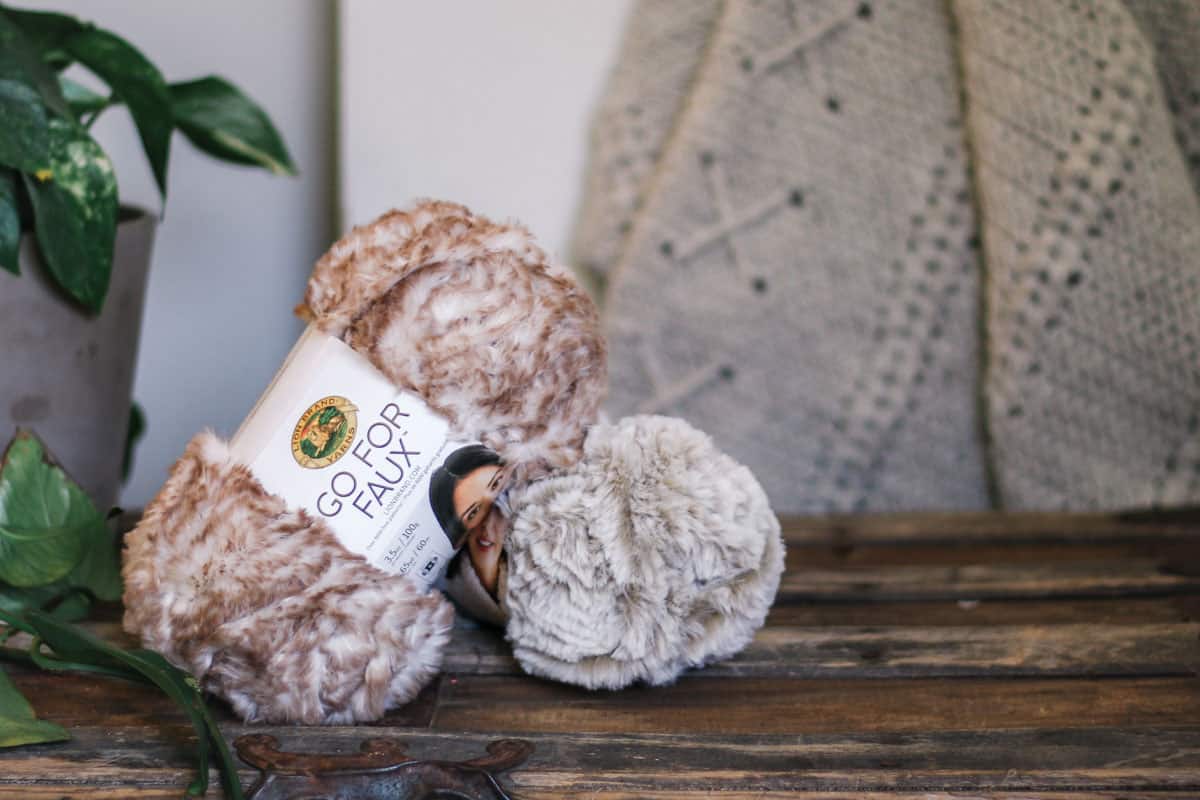
Specifically, this oversized crochet cardigan uses two colors of Lion Brand's Go For Faux yarn to achieve the scrumptiously soft collar. And let me clarify, this isn't soft only in comparison to something way less soft like jute. This is soft like you want to make a Go For Faux sleeping bag and sleep in it naked every night for the rest of your life.
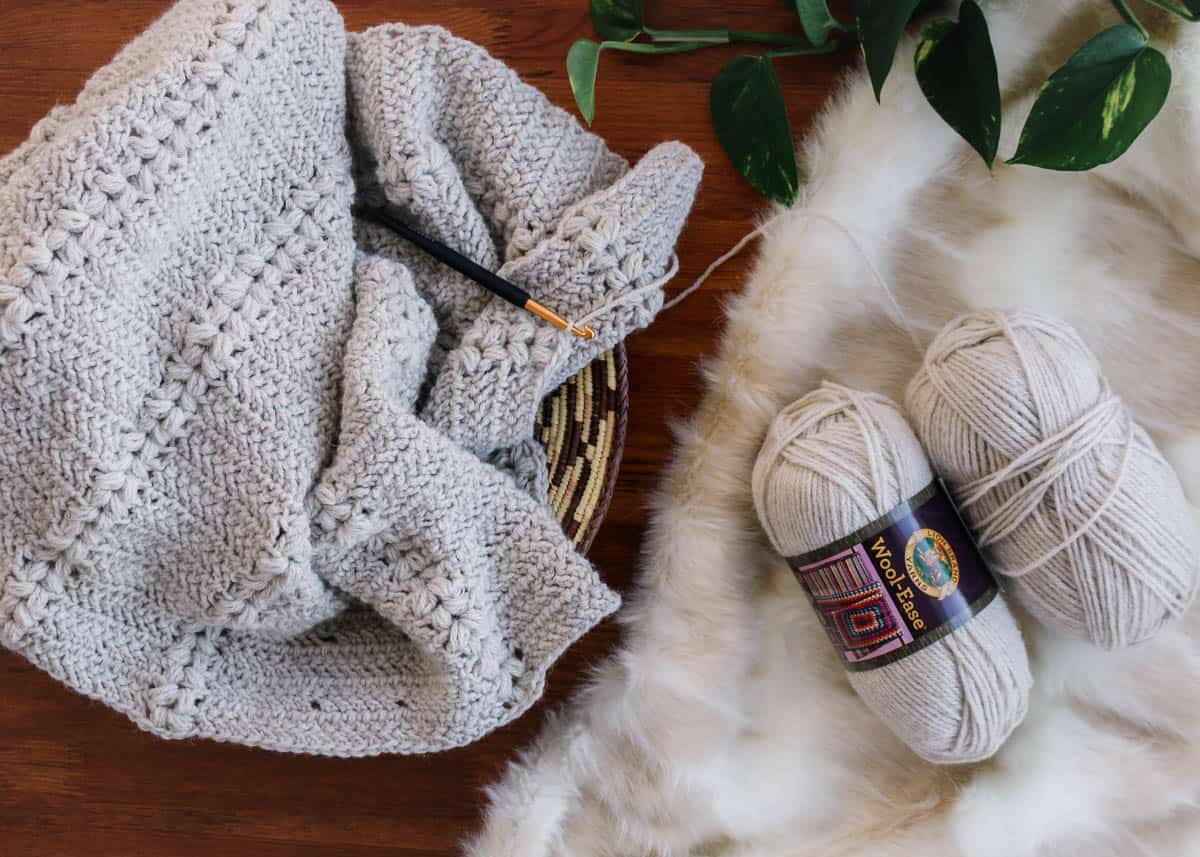
The body of the sweater is made using an old favorite, Lion Brand's Wool-Ease. I love how this yarn has just enough wool content to really show your stitches off. The puff stitches in particular have such an elegant texture when worked in Wool-Ease.
Pin it! click to pin these patterns for later ⇨
What stitches are we using?
Speaking of puff stitches, there are only a couple of stitches you need to learn to make this entire crochet sweater and I've got you covered with video tutorials.
The main rectangle that the entire cardigan is born from is worked in herringbone double crochet stitches and puff stitches.
You can learn how to work the herringbone double crochet stitches in this video tutorial. I'll be sharing a video tutorial for the puff stitches next week, so grab your yarn and check back soon!
The rest of the pattern is simple single crochet and slip stitches.
New to making cardigans? Don't miss How to Crochet a Sweater for our best beginner tips
Purchase an Optional Premium PDF
This comfy crochet cardigan pattern includes 18 tutorial images and a couple of videos to walk you through every single step of making your own sweater. I need to spread out those photos over several blog posts so that your page doesn't take too much time to load when you're trying to look at the free version of the pattern. (You can find Part 2 here and Part 3 here.)
I realize though, that lots of us just like to crochet on the couch with some wine or a warm drink and a printout of the complete pattern. (Definitely me!) So I try to always offer a nicely formatted ad-free PDF that you can easily print and take it wherever your crochet adventures take you.
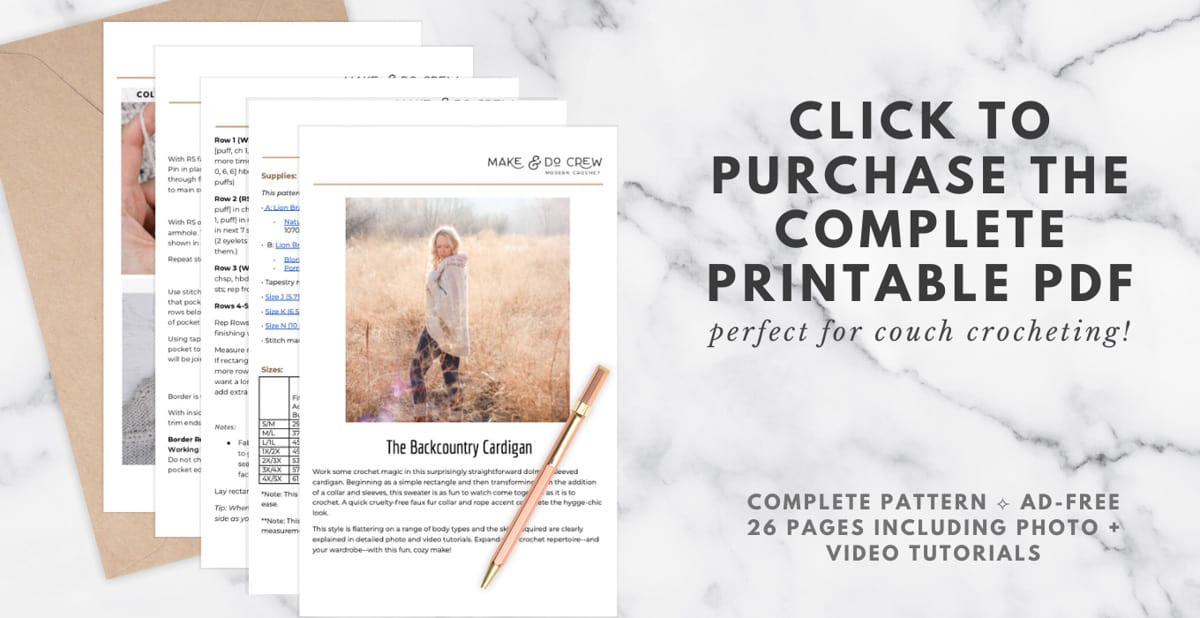
The Backcountry Cardigan premium PDF is a beautiful, 26 page guide to crocheting this sweater. The written pattern and instructions are separate from the in-depth tutorial photos, so you can choose to print the photos or conserve ink. The premium PDF is also perfect for mobile or tablet viewing. You can download the PDF here.
More Free Crochet Sweater Patterns
Crochet sweater patterns don't need to be difficult. In fact, most of ours are made with very simple shapes. Dive into the wonderful world of crochet garments with cardigans, pullovers, ponchos, shrugs and more!
See more free crochet sweater patterns →
Don't spend hours for a "meh" result!
Tired of crocheting garments that don't fit? Learn our C.R.A.F.T. Framework to make sweaters that fit and feel amazing!
The Backcountry Cardigan
Oversized Crochet Cardigan Free Pattern - Part 1
Find the next stages of the free pattern here: Part 2, Part 3.
Explanation:
Work some crochet magic in this surprisingly straightforward dolman-sleeved cardigan. Beginning as a simple rectangle and transforming with a collar and sleeves, this sweater is as fun to watch come together as it is to crochet. A quick faux fur collar and rope accent complete the hygge-chic look.
This style is flattering on a range of body types and the skills required are clearly explained in detailed photo and video tutorials. Expand your crochet repertoire--and your wardrobe--with this cozy, entertaining make!
Wanna save this pattern?
Supplies:
• A: Lion Brand Wool-Ease (Weight: 4/medium - 197 yds, 3.0 oz)
- Natural Heather (620-098) – 8 (10, 12, 13, 14, 16, 19) skeins [(approx. 620 (780, 950, 1070, 1160, 1320, 1560) g)]
• B: Lion Brand Go For Faux (Weight: 6/super bulky - 64 yds, 3.5 oz)
- Blonde Elk (322-211) - 1 (1, 2, 2, 2, 2, 2) skein(s)
and Pomeranian (322-203) - 1 (1, 2, 2, 2, 2, 2) skein(s)
• Tapestry needle
• Size J (5.75 mm) crochet hook or size needed to obtain main rectangle gauge
• Size K (6.5 mm) crochet hook or size needed to obtain sleeve gauge
• Size N (10 mm) crochet hook for adding fur trim
• Stitch markers or safety pins
Sizes:
The optional printable PDF includes an a chart of additional sweater measurements and stitch and row counts for each size that's very easy to reference. Grab the PDF here.
Size | Fits Actual Bust* |
| S/M | 29 |
| M/L | 37 |
| L/1L | 45 |
| 1X/2X | 49 |
| 2X/3X | 53 |
| 3X/4X | 57 |
| 4X/5X | 61 |
*Note: This is an oversized garment and you may want to size down if you prefer less ease.
Gauge:
Main rectangle: 12.5 hbdc x 8.5 rows = 4”Sleeves: 14 sts x 19.5 rows = 4”
Abbreviations and Glossary (US Terms):
ch – chain
chsp – chain space
dc – double crochet
hbdc – herringbone double crochet (video here)
hbdc2tog – herringbone double crochet two together
PM – place marker
rep – repeat
RS – right side
sc – single crochet
scblo – single crochet through the back loop only
sk – skip
slst – slip stitch
slstblo – slip stitch through the back loop only
st(s) – stitch(es)
WS – wrong side
yo – yarn over
Special Stitches:
Hbdc – herringbone double crochet: yo, insert hook in the designated stitch, yo and pull through stitch and first loop on hook, yo and pull through next loop on hook, yo and pull through both loops on hook.
Hbdc2tog – herringbone double crochet two together: yo, insert hook in the designated stitch, yo and pull through stitch and first loop on hook, yo and pull through one loop on hook; yo, insert hook in next stitch, yo and pull through stitch and first loop on hook [3 loops left on hook], yo and pull through one loop on hook [3 loops left on hook], yo and pull through all three loops on hook [1 loop left on hook].
Puff – [yo, insert hook in the designated stitch, yo and pull up a loop] three times in the same stitch, yo and pull through all 7 loops on hook, ch 1 to close puff.
Overall Pattern Notes:
• Ch 3 counts as 1 hbdc throughout.
!! Gauge Check !!
Check your "Main Rectangle" gauge against what is listed above before beginning and adjust your hook size as necessary. Please don’t skip this step or you will risk your sweater not fitting as expected.
If you're new to the concept of checking gauge, you can find step-by-step instructions in the printable PDF.
Main Rectangle
Notes:
• “Eyelet” in certain rows is a reminder that two eyelets will be created in the middle of the row. We’ll thread the rope through these eyelets at the end.
• The height of this rectangle, and therefore the length of your sweater, is easy to customize in the Tush Extension section. The width is not able to be adjusted once your rectangle is in progress. Therefore, please work a gauge swatch as described above and measure the width of your piece after the first repeat of Rows 2-5 to make sure it’s in the ballpark of the rectangle measurement listed in the table above.
• View a video tutorial of the Herringbone Double Crochet stitch here.
• If you'd prefer to have an easy-to-reference table of the stitch and row counts for the main rectangle, download the PDF here.
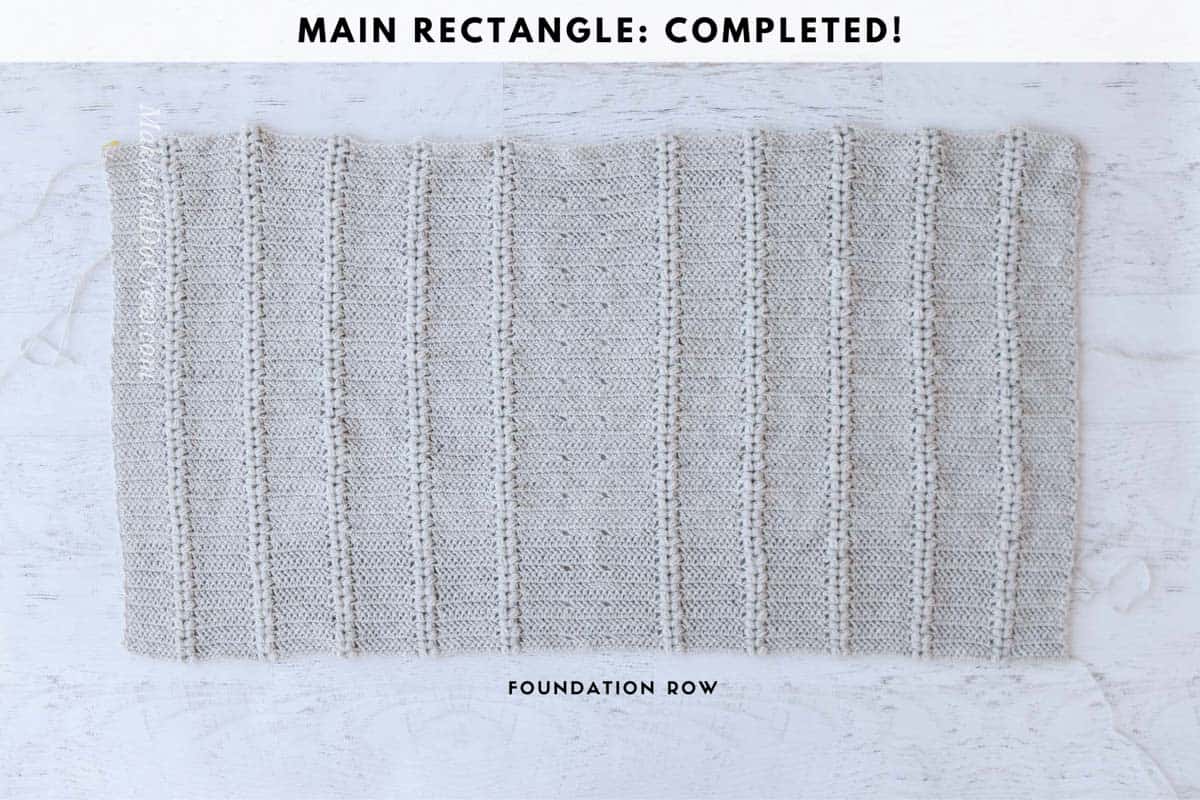
With color A and smallest hook:
Foundation Row: Ch 119 (143, 167, 117, 191, 203, 227).
Row 1 (WS): Hbdc in fourth ch from hook, hbdc in next 7 [7, 7, 13, 7, 13, 13] ch, *sk 1 ch, [puff, ch 1, puff] in next ch, sk 1 ch, hbdc in next 9 ch**; rep from * to ** 3 [4, 5, 5, 6, 6, 7] more times; hbdc in next 12 ch; rep from * to ** 4 [5, 6, 6, 7, 7, 8] more times; 0 [0, 0, 6, 0, 6, 6] hbdc; turn. (93 [111, 129, 138, 147, 156, 174] sts and 8 [10, 12, 12, 14, 14, 16] sets of puffs)
Row 2 (RS - eyelet): Ch 3, sk first dc, hbdc in next 8 [8, 8, 14, 8, 14, 14] sts, *[puff, ch 1, puff] in chsp, hbdc in next 9 sts**; rep from * to ** 2 [3, 4, 4, 5, 5, 6] more times; [puff, ch 1, puff] in next chsp, hbdc in next 7 sts, ch 1, sk 1 st, hbdc in next 5 sts, ch 1, sk 1 st, hbdc in next 7 sts; rep from * to ** 4 [5, 6, 6, 7, 7, 8] more times; 0 [0, 0, 6, 0, 6, 6] hbdc; turn. (2 eyelets created, treat them each as a st on the next row and work one st into them.)
✨Unlock this free subscriber-exclusive pattern ✨
Follow these steps to view the full free pattern below
The Backcountry Cardigan Part 2 + 3
I really hope you're enjoying this pattern so far. You can find Part 2 here and Part 3 here.
If you'd like the entire pattern and all the tutorial support in one place, you can grab the handy printable PDF.
That was so fun! Now what?
Invitation to our Facebook group
Come discuss crocheting Backcountry cardigan patterns and lots of other crochet projects and techniques in our Make & Do Crew Facebook group. Here thousands of helpful crocheters answer each others questions and share their stitches. Come join us here.
Find Your Next Sweater Project
- Lightweight Jacket Pattern - seamless + beginner-friendly
- V-Neck Sweater -simple, easy striped design
- Crochet Wrap Sweater Pattern - unique take on a raglan
- Beginner Raglan Sweater Pattern - ideal first top down pattern
- Lightweight Mesh Top - doubles as a beach coverup
- Hexagon Layering Cardigan - with bishop sleeves
- Granny Square Cardigan - modern take on a classic motif
- Seamless Crochet Poncho - a great first garment for beginners
More Free Patterns + Tutorials
Can't get enough free crochet patterns!? Me either. You'll definitely want to breeze through these collections to find your next project.
- 55+ Free Crochet Sweater and Cardigan Patterns - our most popular garments
- 40+ Free Crochet Blanket Patterns - baby blankets, throws + c2c graphgans
- 36+ Granny Square Patterns + tips for the perfect square
- 30+ Crochet Animal Patterns - adorable amigurumi stuffed animals
- Crochet Gift Ideas - easy patterns to make for others
- Fast Crochet Projects - start to finish in less than a day
Learn a New Skill
And when you're ready to master a new skill, check out our detailed guides that include everything you need to know to level up your crochet game.
- How to Corner to Corner (C2C) Crochet for Beginners - with video tutorials to get you started
- How to Crochet a Beginner Hat - make an entire beanie in 1.5 hours!
- How to Crochet Amigurumi for Beginners - the ultimate guide to making your own toys and plushies
- How to Tunisian Crochet - learn with this video and a standard hook
More Easy Free Crochet Sweater Patterns
We've got no shortage of modern free crochet sweater patterns that are both easy and wearable. Here are a few I think you might really enjoy. You can always find all our free crochet sweater patterns here.
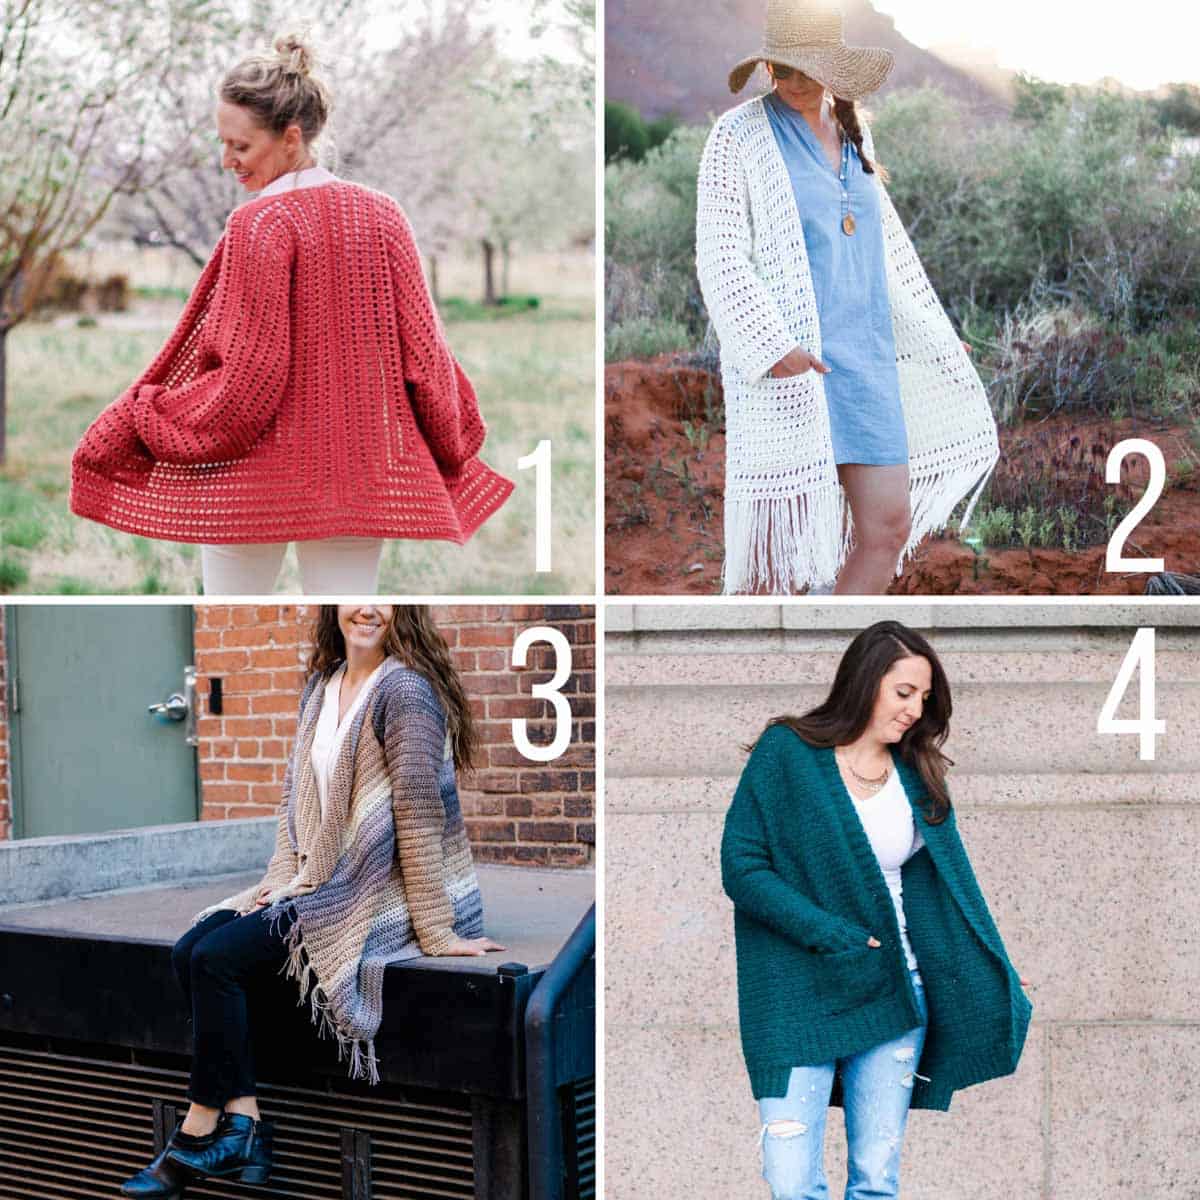
1. Day Date Cardigan + Video Tutorial - A lightweight, bishop-sleeved cardigan made from two simple rectangles.
2. Solstice Sweater - With no increasing, decreasing or seaming, this easy boho crochet cardigan is perfectly Nexflix-able.
3. Strata Sweater - Cake yarn makes this very beginner-friendly pattern easier than it looks.
4. Staycation Cardigan - This intermediate-level oversized cardigan pattern richly textured and hangs beautifully on the body.





Kim says
LOVE this sweater - I can’t wait to make it !