Free Crochet Patterns for Fall
Welcome to the Make & Do Crew archive of fall crochet patterns. We love nothing more than some mustard yellow yarn, so here you'll find plenty of free crochet patterns for cardigans, sweaters, scarves, beanies, hats, headbands, mittens, and more. Grab your hook and a pumpkin spice latte and take a look around to see what inspires you!
-
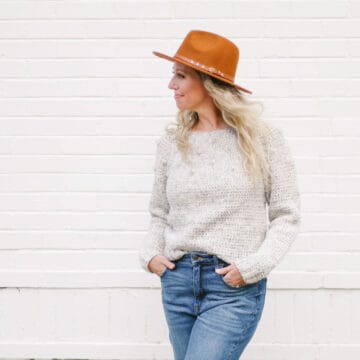
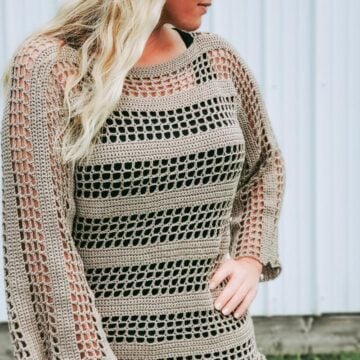
Mesh Crochet Pullover Pattern | Quick + Easy
-
1.5 Hour Crochet Pumpkin Hat Pattern | Babies - Adults
-
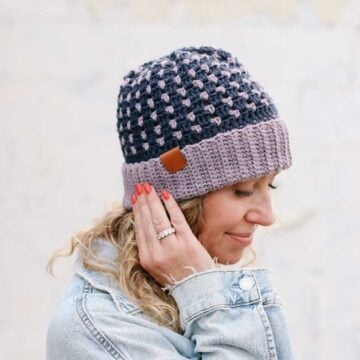
Multicolor Beanie Crochet Pattern For Babies - Adults
-
Nearly Seamless Crochet Cardigan - Easy Free Pattern
-
Marika Swancho | A Lacy Crochet Sweater Poncho
-
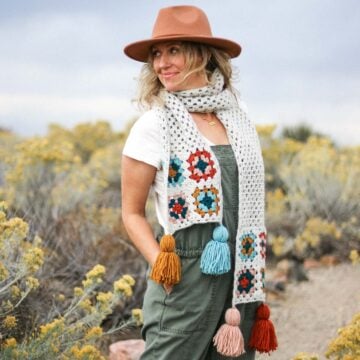
Beginner Granny Square Scarf Pattern
-
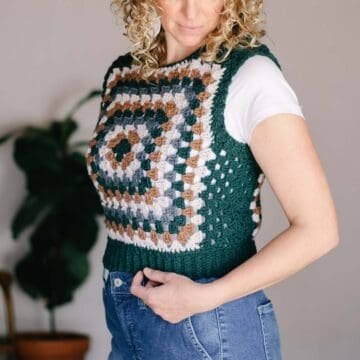
Easy Granny Square Vest - Free Crochet Pattern
-
Easy Crochet Beret - Free Pattern for Beginners
-
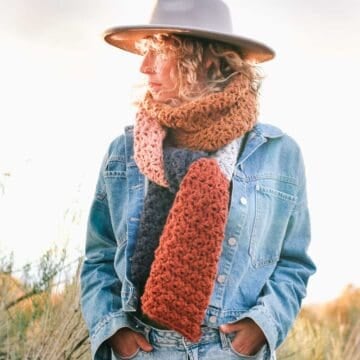
How to Crochet a Chunky Scarf - Free Pattern for Beginners
-
Stylish Crochet Crew Neck Sweater - Free Pattern
-
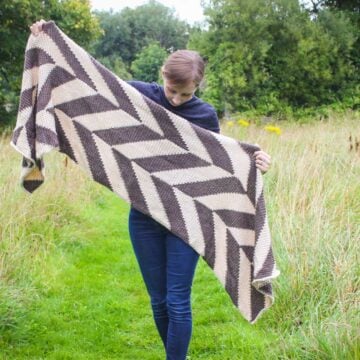
Tunisian Crochet Blanket Scarf | Oversized and Modern
-
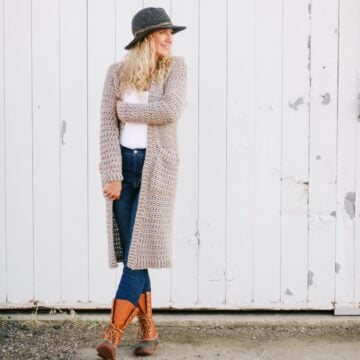
Long Crochet Duster Cardigan - Free Pattern
-
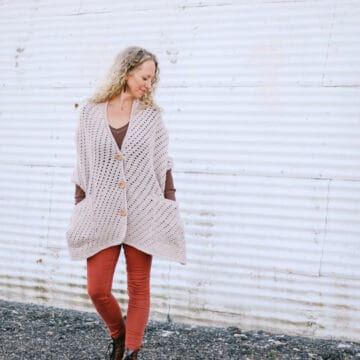
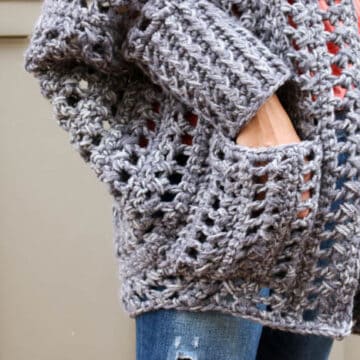
Crochet Shawl With Pockets - Free Pattern
-
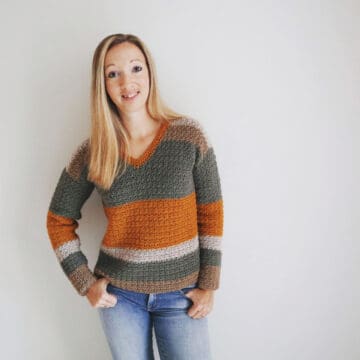
Pullover Crochet V Neck Sweater - Free Pattern
-
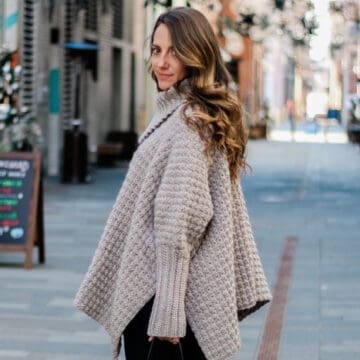
Crochet Ballet Wrap Sweater - Free Pattern
-
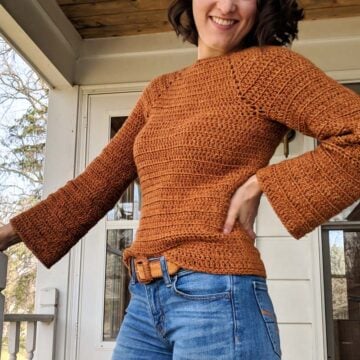
Easy Crochet Raglan Sweater - Free Pattern
-
Lightweight Crochet Top - Free Pattern by Carpe Lana Co.
-
Modern Crochet Granny Square Cardigan - Free Pattern + Videos
-
Harvest Crochet Pullover Sweater - Free Pattern by Mommy Loves Yarn
-
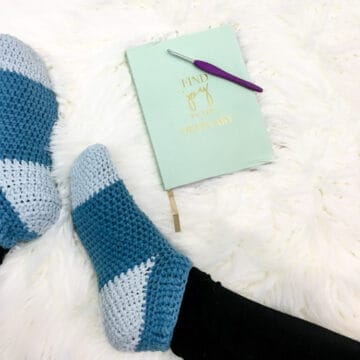
Easy Crochet Slipper Socks - Free Pattern
-
Stylish Sweater-Style Crochet Poncho Video Tutorial For Beginners
-
Up North Crochet Cardigan Free Pattern For Beginners
-
Quick Crochet Slipper Socks For Adults - Free Pattern
-
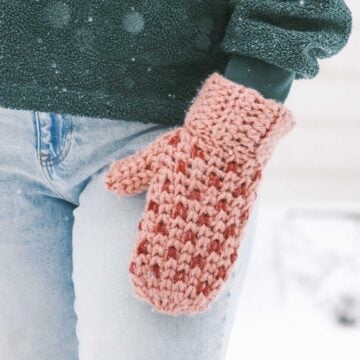
Free Knit-Look Crochet Mitten Pattern For Adults
-
Video Tutorial: How to Crochet a Chunky Sweater
-
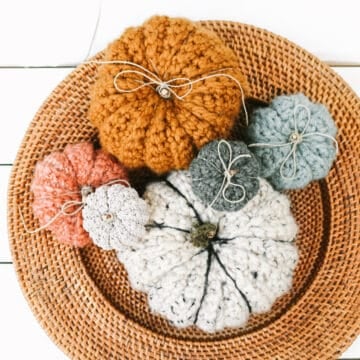
Absolute Easiest Free Crochet Pumpkin Pattern
-
The Campfire Cardigan Part 2 - Free Crochet Sweater Pattern
-
Free Crochet Hexagon Sweater Pattern - Campfire Cardigan
-
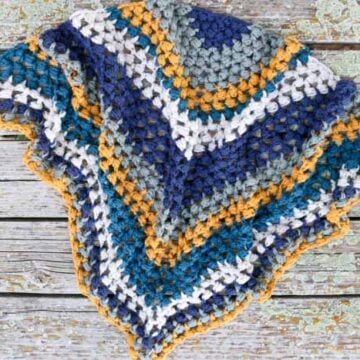
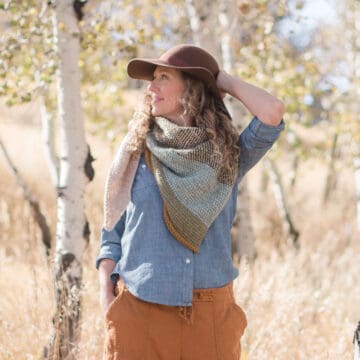
Squishy Crochet Triangle Scarf - Free Pattern + Video
-
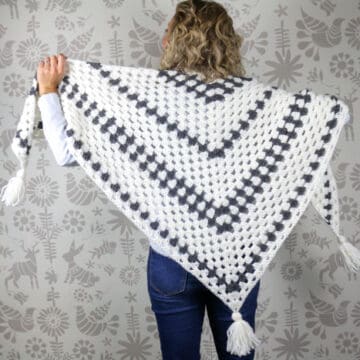
Newsprint Crochet Granny Stitch Shawl
-
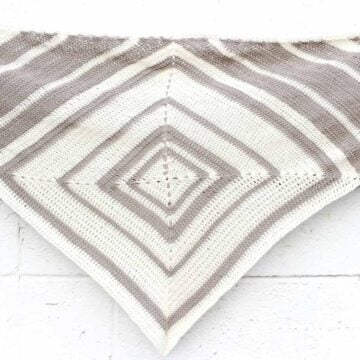
Logan House Wrap - Free Modern Scarf Crochet Pattern
-
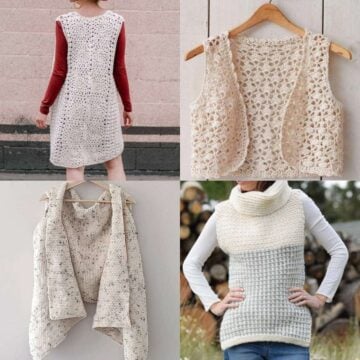
27 Easy Crochet Vest Patterns for Year-Round Style
-
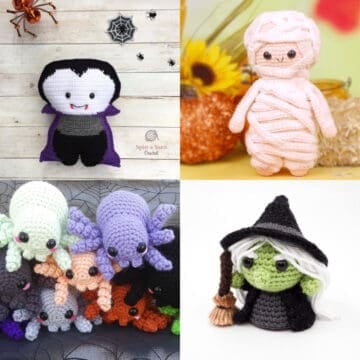
30 Cutest Amigurumi Halloween Crochet Patterns
-
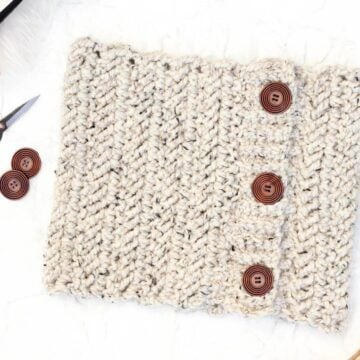
"The Bixby" - Free Crochet Cowl Pattern
-
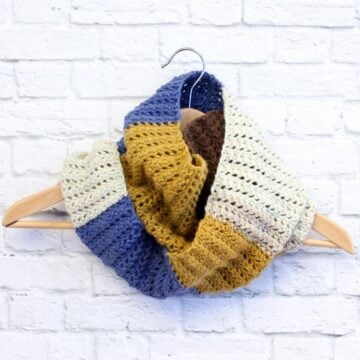
"Piece of Cake Cowl" With Caron Cakes Yarn - Free Crochet Pattern
-
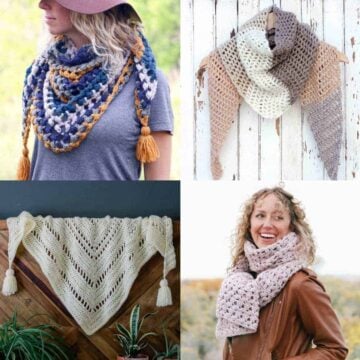
32 Easy, Free Crochet Shawl and Wrap Patterns
-
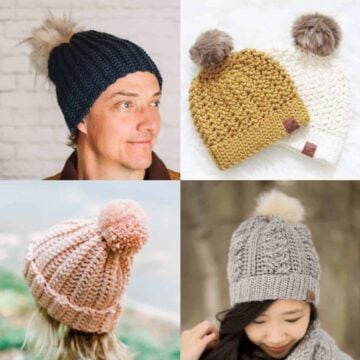
35 Crochet Chunky Hats - Quick and Easy Patterns
-
Easy Tunisian Crochet Scarf Pattern for Beginners
-
Cocoon Cardigan Free Crochet Pattern
-
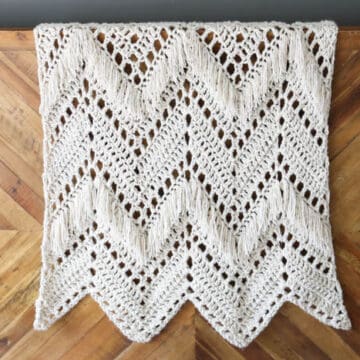
Sedona Fringed Crochet Throw - Free Pattern