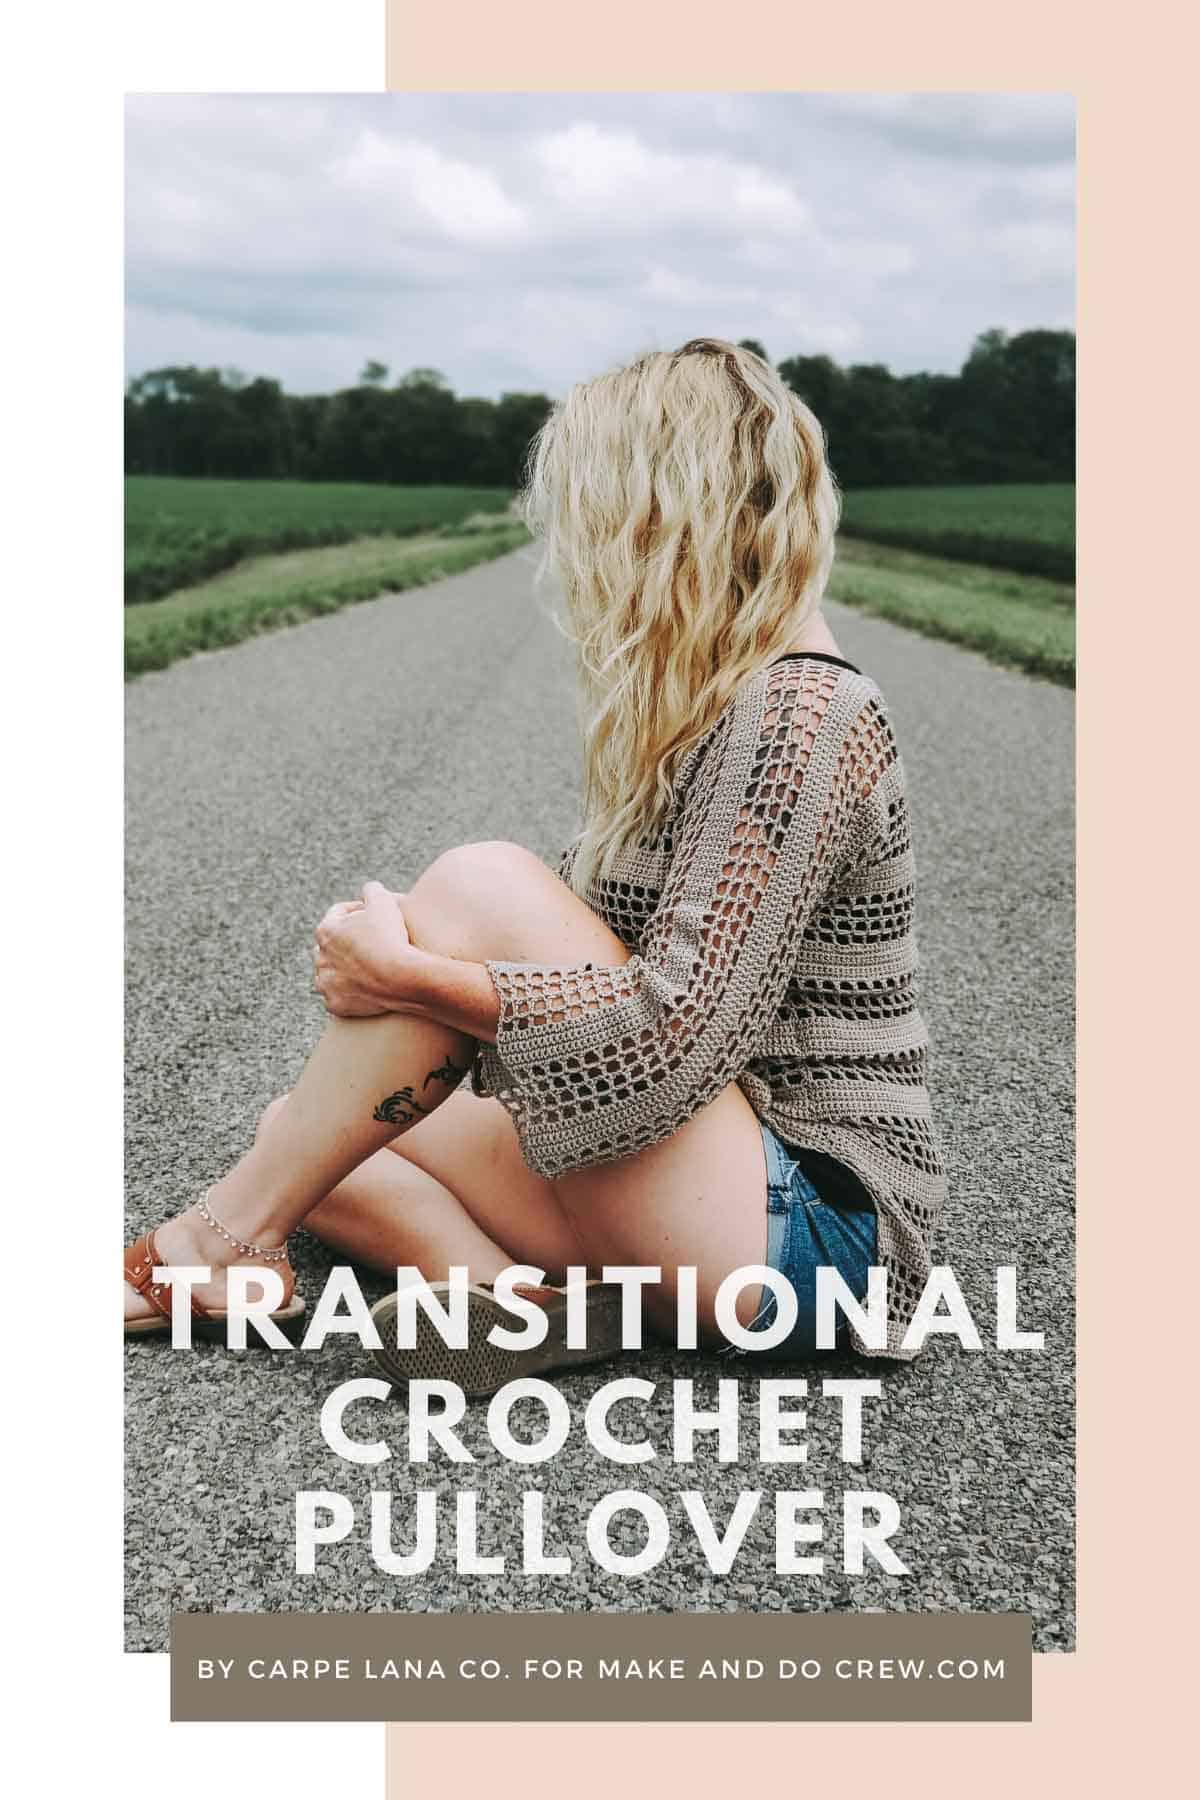
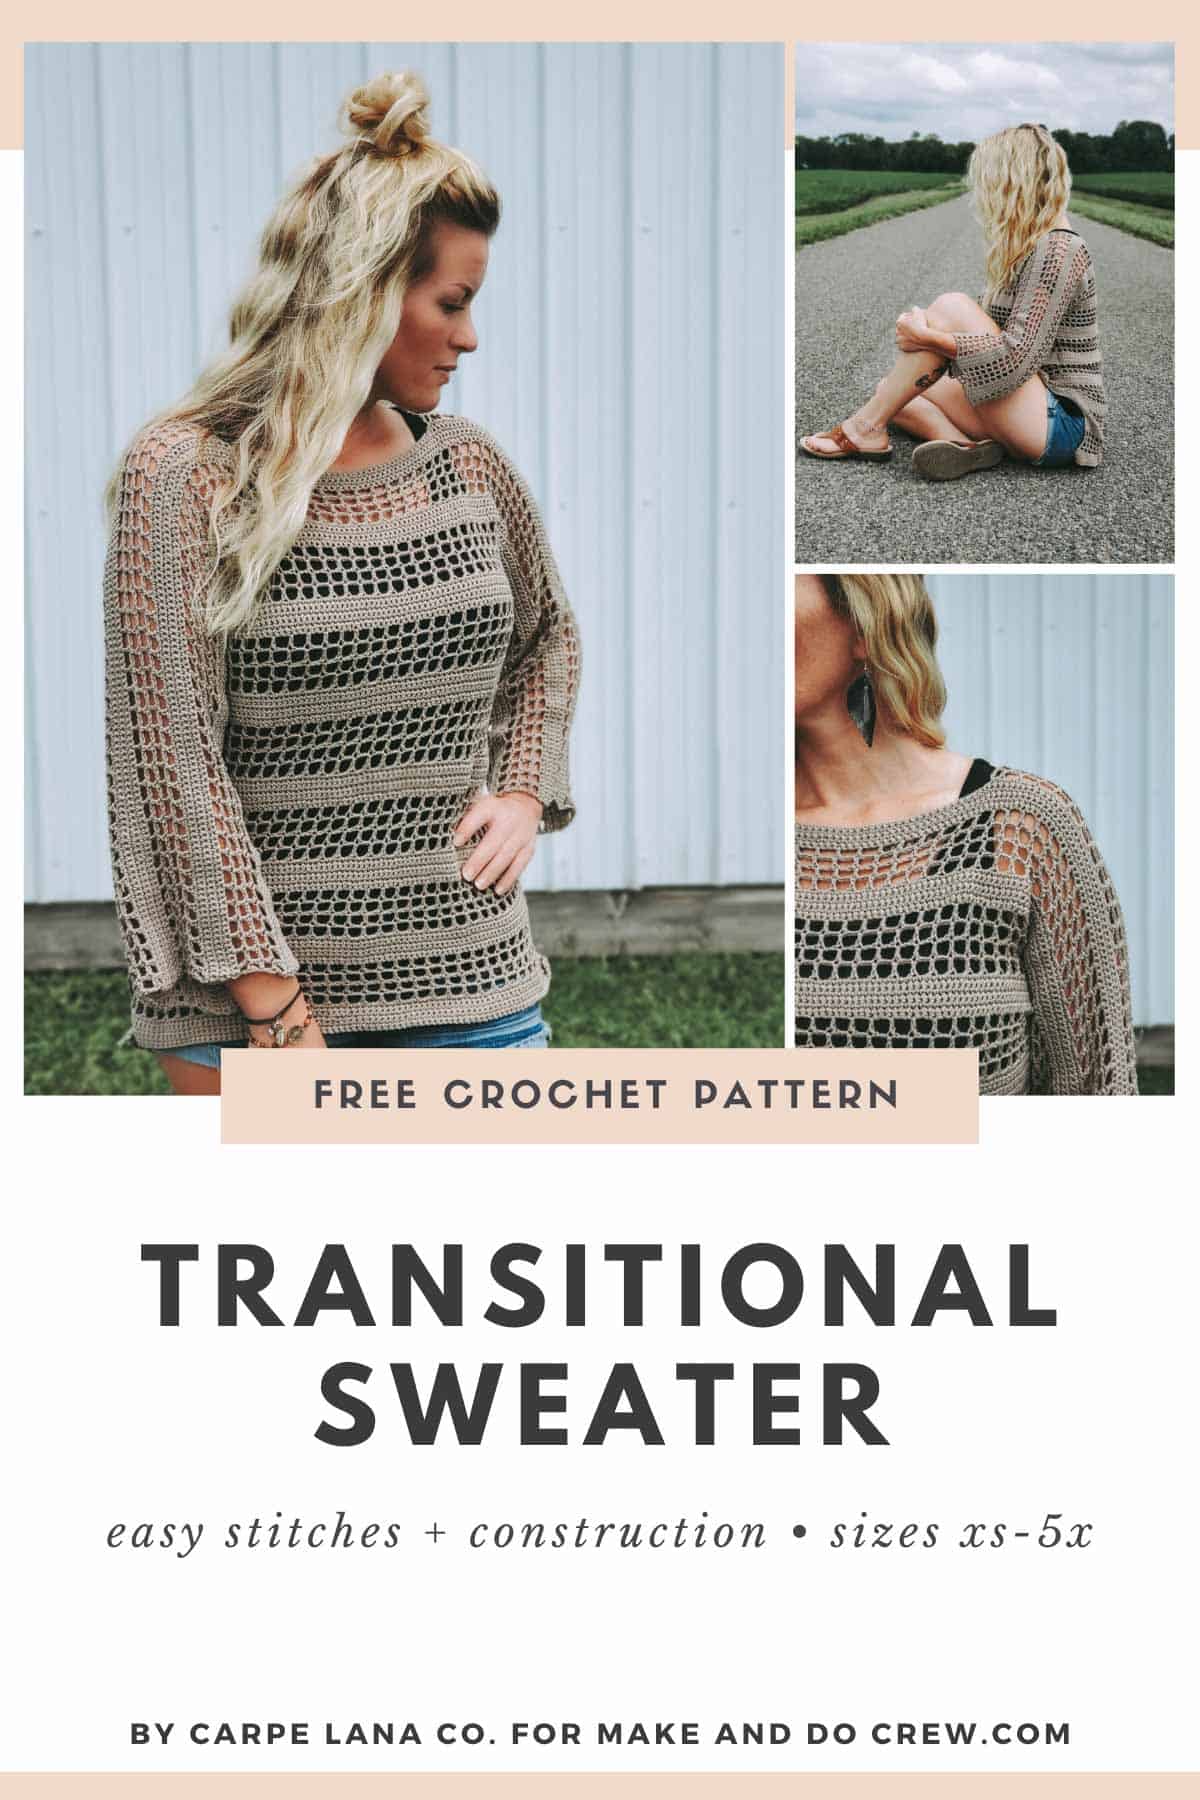
This lightweight crochet top pattern transitions between seasons beautifully and requires only basic stitches. Get the free pattern below.
Thanks to Lion Brand Yarns for supplying the yarn for this lightweight crochet top pattern. This post contains affiliate links.
Welcome back to the Make & Do Crew guest designer series where talented designers from across the internet share their free patterns with you, right here on Make & Do Crew.
Today Holly from Carpe Lana Co. is here with her free lightweight crochet top pattern! You can see lots of of Holly's gorgeous feather stitch markers in her Etsy shop. And be sure to check her out on social media too: Instagram and Pinterest. Holly, take it away!
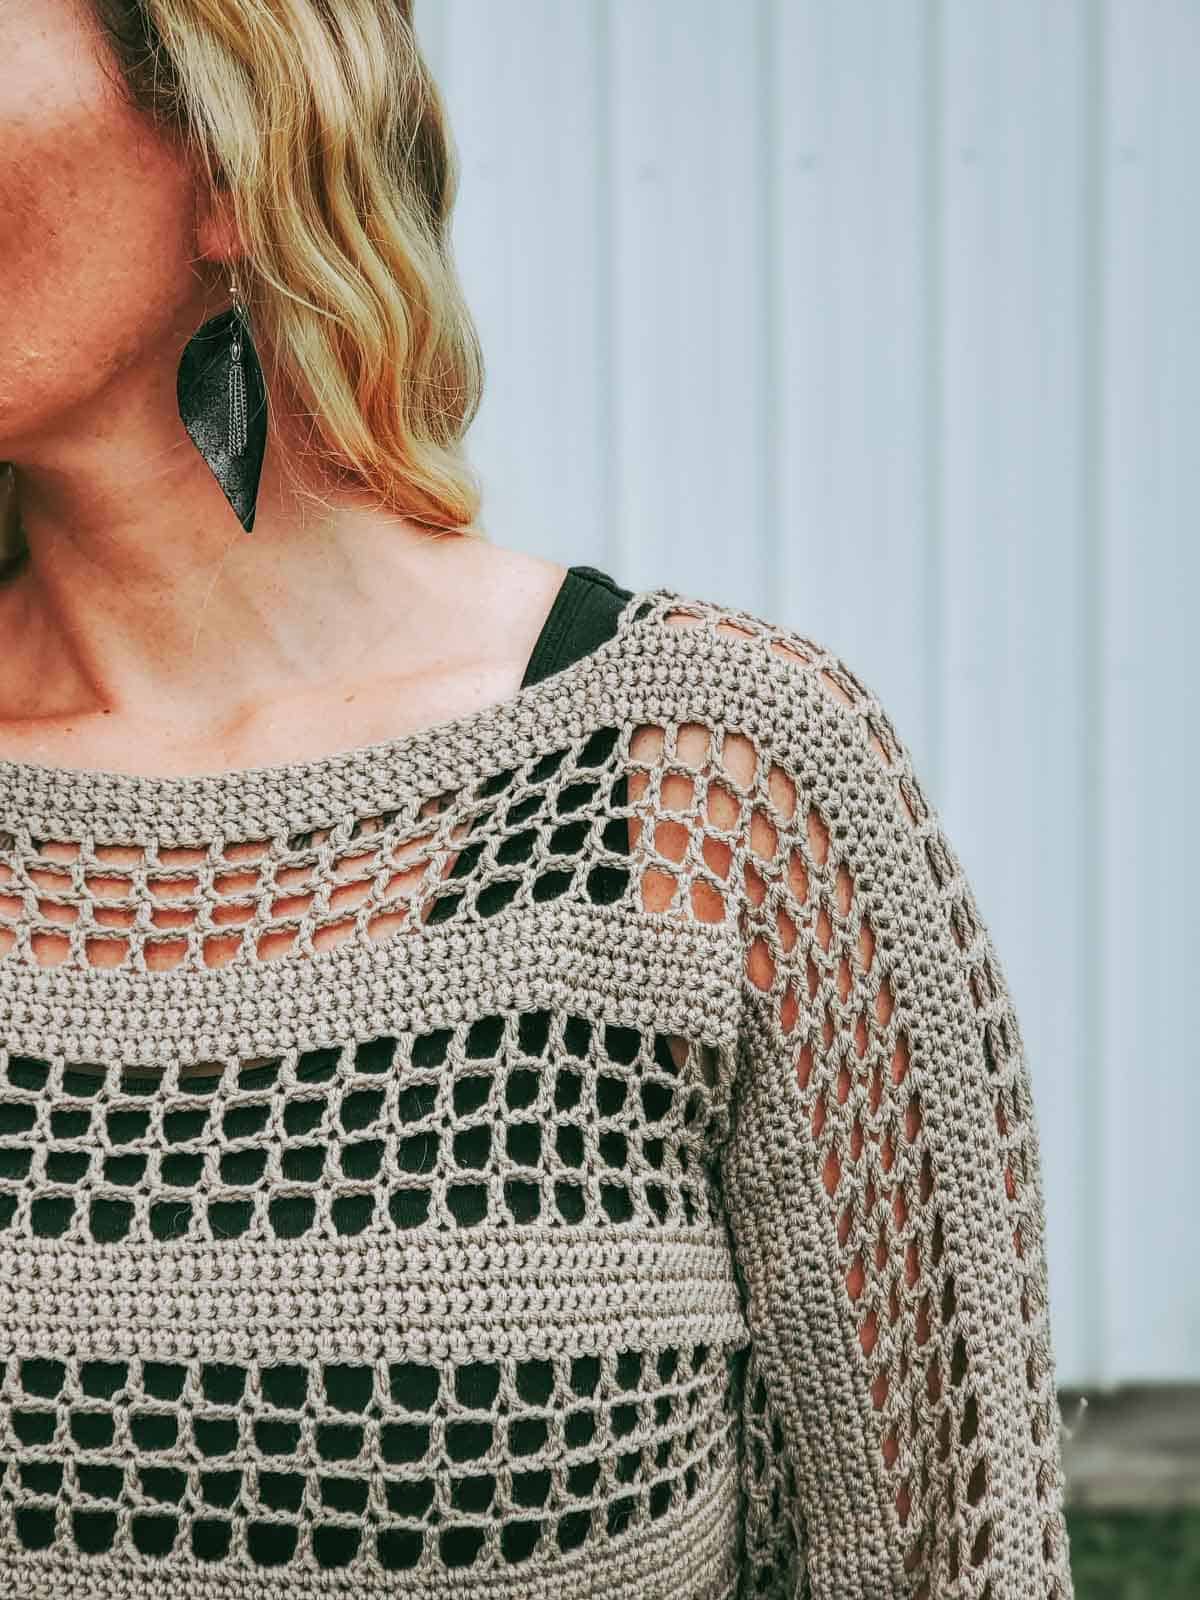
Why I Love This Easy Pullover Sweater
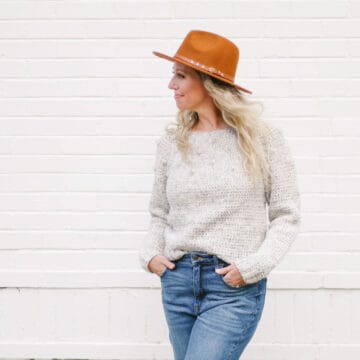
Hello everyone! I'm Holly, the designer behind Carpe Lana Co. and I am so excited to share my newest pullover design with you. A one piece, advanced beginner pullover seemed like the perfect piece to create for my guest post today.
Garments can seem intimidating at first but I wanted to show you that they don't have to be. I created this piece with the advanced beginner in mind, because everyone needs a stylish pullover in their handmade wardrobe. You can never have too many, right?!
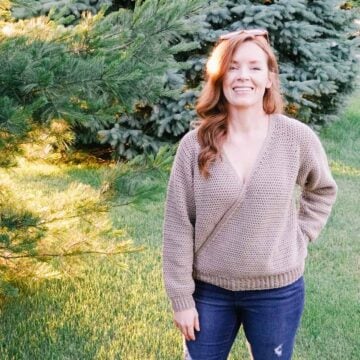
Whether it is in the middle of summer or a brisk fall evening, this versatile pullover is great to style all year round. Pair it with a cute tank and jean shorts for a day at the lake or a jean jacket, leggings, and those new cute boots for a fall evening by the bonfire. This pullover is sure to be a staple piece in your handmade wardrobe. Get the full free pattern below.
Related: Make & Do Crew's most popular free sweater patterns ⇨
A Trans-Seasonal Lightweight Yarn
The LB collection Superwash Merino yarn was a dream to work with. The soft feel, drape, and color options make it the perfect yarn for this design. You are sure to find a color option to fit your style with the amazing DK-weight yarn.
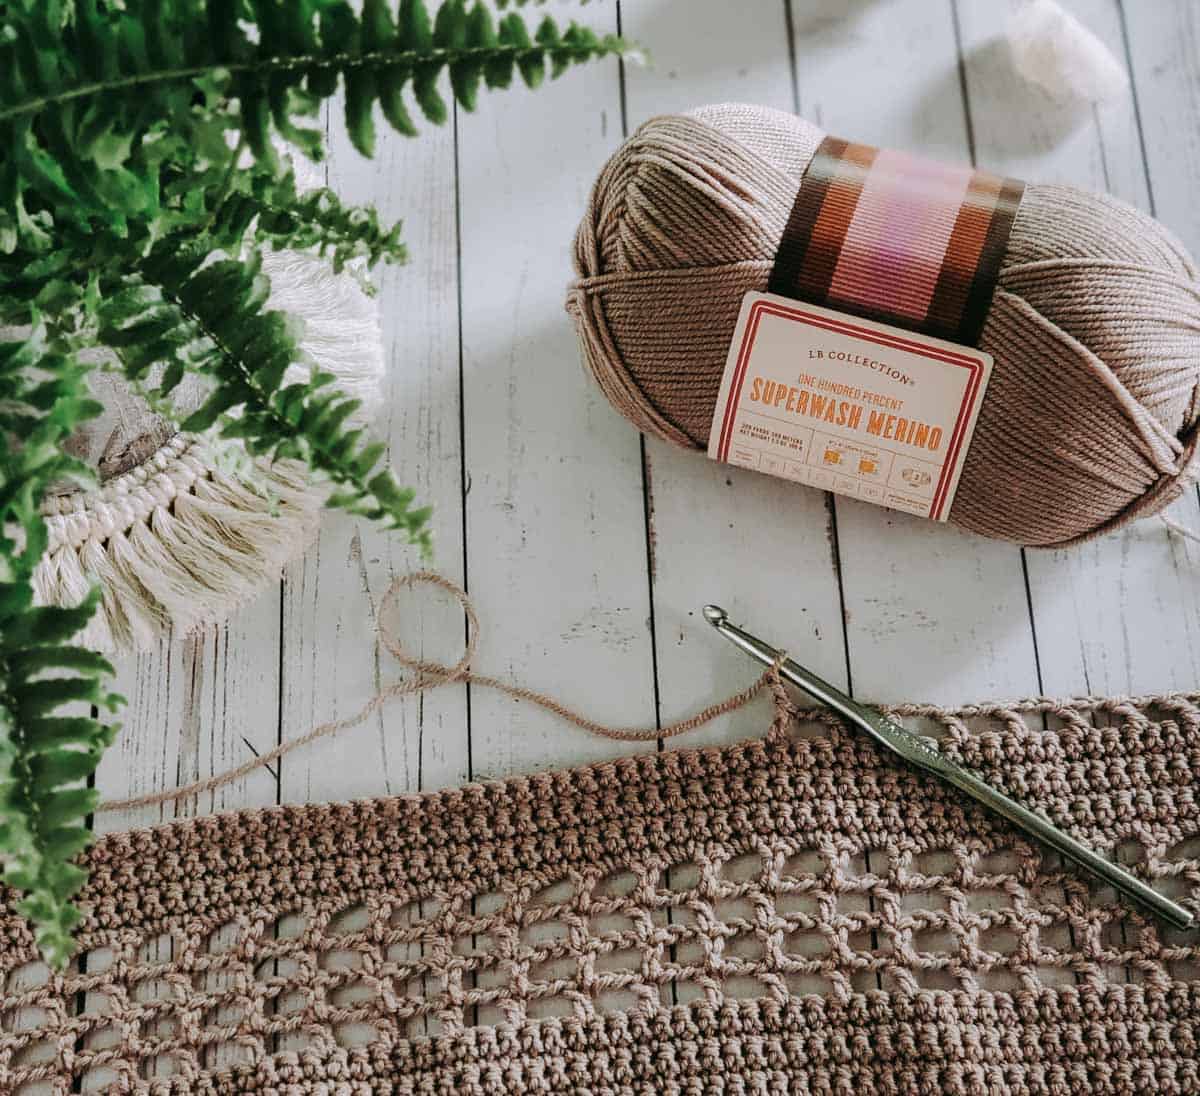
I recommend blocking this pattern when finished to bring out the full potential of the beautiful fibers and allowing it to soften up.
Can a Confident Beginner Crochet This Top?
For The Poppy Pullover, I wanted to create a piece that could be worn multiple seasons, easy to create, and stylish to boot! To accomplish this, I used basic crochet stitches. If you can single crochet, double crochet, and make a chain you can make this pullover.
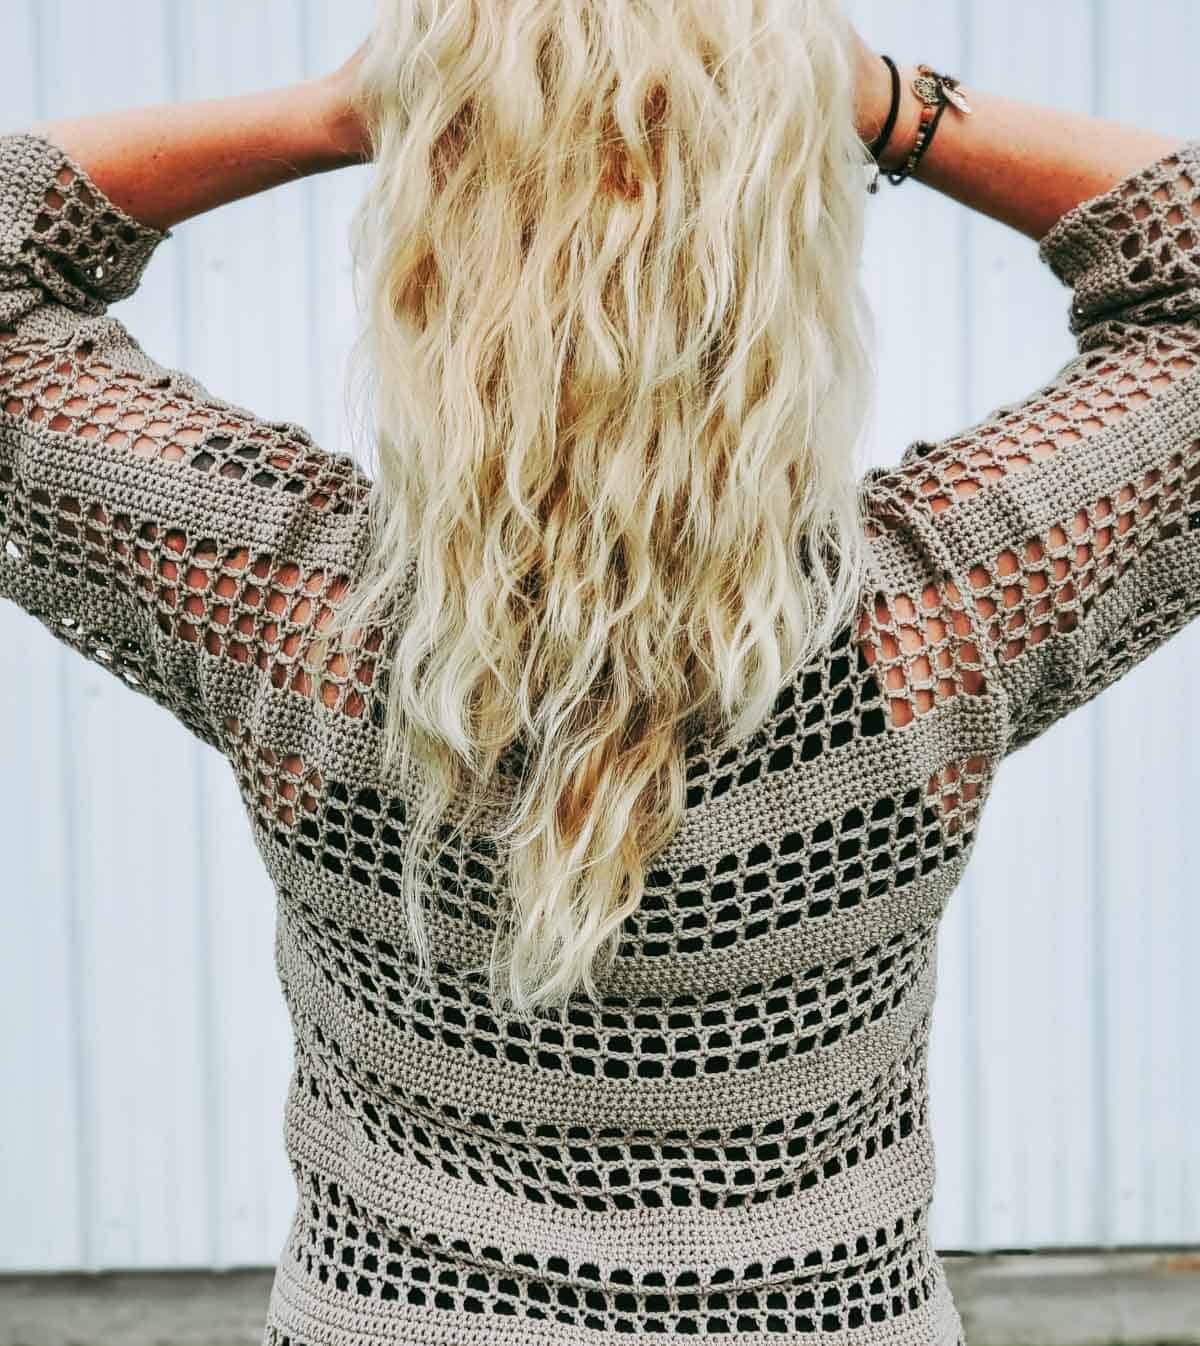
I started by creating the back panel, adding on the sleeves and shoulders, creating the front panel, and then seaming up the sides and sleeves. It's as easy as that! Written in sizes XS-5X, this pattern is easily customizable to fit you just right!
New to making garments? Check out our step-by-step guide to crocheting your first sweater.
Pin it! click to pin this pattern for later ⇨
More Free Crochet Sweater Patterns
Crochet sweater patterns don't need to be difficult. In fact, most of ours are made with very simple shapes. Dive into the wonderful world of crochet garments with cardigans, pullovers, ponchos, shrugs and more!
See more free crochet sweater patterns →
Poppy Pullover Lightweight Crochet Top Free Pattern
Pin this pattern for later here.
Explanation: The Poppy Pullover is a simple, versatile, one-piece garment. Made with single and double crochets, it's a great pattern for the adventurous beginner and advanced crocheter alike. Easily customizable to fit a wide range of sizes, this fun one piece construction will have you excited to create your own pullover!

Don't spend hours for a "meh" result!
Tired of crocheting garments that don't fit? Learn our C.R.A.F.T. Framework to make sweaters that fit and feel amazing!
Supplies:
• Lion Brand Superwash Merino (Weight: 3/DK - 306 Yds, 3.5 oz)
- Hemp (#486-123) - X balls (Edited by Make & Do Crew to add: we know the yarn amounts are missing and have been in touch with the designer to get them. We'll add them here as soon as they're available!)
• U.S I (5.5 mm) crochet hook
• Yarn needle
• Stitch markers
• Measuring tape
• Scissors
Wanna save this pattern?
Sizes/Measurements:
• Measurements in inches:
Size: (written with 4" positive ease) XS (S, M, L, XL, 2X, 3X, 4X, 5X)
Bust: 29 (33, 37, 41, 45, 49, 53, 57, 61)"
Finished bust: 33 (37, 41, 45, 49, 53, 57, 61, 65)"
Gauge:
• 4"x4" = 18 sts x 20 rows
Abbreviations and Glossary (US Terms):
Ch- chain
sc- single crochet
dc- double crochet
sl st- slip stitch
st(s)- stitch(es)
RS- right side
WS- wrong side
sk- skip
slst- slip stitch
ChSp- chain 2 space
**- Repeat
Overall Pattern Notes:
• The Poppy Pullover is crocheted in one piece then seamed up the sides and sleeves. You will maintain the same repeats throughout the entire piece, single crochet section then mesh section, and do your shaping following this repeat as you go.
Back Panel
1: Ch 75 (84,93,102,111,120,129,138,147) + 1 for turning Ch.
2: (RS) sc in 2nd Ch from hook and each st across. Turn.
3: (WS) Ch 1, sc in each st across. Turn.
4: Repeat step 3 4x for a total of 6 sc rows.
5: Ch 5 (counts as dc and Ch 2), sk2 sts, dc in next st, *Ch 2, sk2 sts, dc in next st*. Repeat to end. Turn.
✨Unlock this free subscriber-exclusive pattern ✨
Follow these steps to view the full free pattern below
*if you end this shoulder section on the outer edge leave yarn and continue to step 13. If your yarn ended by neck hole opening to match your other side, break yarn, fasten off, and attach by slst to outer edge.
WHETHER YOU END ON A SC ROW OR A MESH ROW THE NEXT STEPS WILL CONTINUE THE SAME.
13: Continue to crochet in pattern toward neck opening. After last st before neck opening Ch 42 (front neckline) and continue working straight across after sm on other side of neck opening.
14: Continue working across all sts until other half of sleeve width matches the first half, 5.5(6, 6.5, 7, 7.5, 8, 8.5, 9, 9.5)". You should now have 225(234, 243, 252, 261, 276, 285, 294, 303) sts across.
Sleeve + shoulder + sleeve width= total of approx. 13.5(14.5, 15.5, 16.5, 18, 19, 20.5, 21.5, 23)"
When above sleeve and shoulder width is reached, break yarn and fasten off.
Front Panel
1: Count in 72(72, 72, 72, 72, 75, 75, 75, 75) sts from sleeve edge on both sides and place stitch markers. You will have 81(90, 99, 108, 117, 126, 135, 144, 153) sts between markers. These sts will be worked for your front panel.
2: Attach yarn by slst to first st between markers. Continue across, back and forth between markers, in pattern until you have one less sc section and one less mesh section han the back panel. This will give you high-low look on your side hem.
3. End after a sc section. Break yarn and fasten off.
Finishing
1: Weave in ends and block to desired dimensions.
2: Fold in half with WS facing out. Line up sleeves and edges to begin seaming. Using a basic whip stitch, starting at one sleeve end, seam up sleeve and down side of front and back panels. Leave one sc section and one mesh section out of seam of front panel and two sc sections and two mesh sections out of seam of back panel. This will give you the split hem on the sides.
Weave in those ends and rock your Poppy Pullover!!
Thanks again to Holly from Carpe Lana Co. for sharing this free lightweight crochet top pattern! Be sure to check out Holly's Etsy shop for lots more modern crochet and knit inspiration!
That was so fun! Now what?
Invitation to our Facebook group
Come discuss crocheting mesh sweater patterns and lots of other crochet projects and techniques in our Make & Do Crew Facebook group. Here thousands of helpful crocheters answer each others questions and share their stitches. Come join us here.
Find Your Next Sweater Project
- Sherpa Fleece Sweater Jacket - extremely cozy cardi
- Raglan Baby Sweater - cute for Christmas
- Pullover with Removable Cowl - unique and easy design
- Hooded Sweater Pattern - Self, striping Mandala yarn pattern
- Tapestry Crochet Pattern - classic fisherman's sweater
- Seamless Cardigan Pattern - doable first sweater for beginners
- How to Crochet a Top Down Sweater - stylish, slim fit
- Lightweight Cropped Sweater - stylish 3 season top
More Free Patterns + Tutorials
Can't get enough free crochet patterns!? Me either. You'll definitely want to breeze through these collections to find your next project.
- 55+ Free Crochet Sweater and Cardigan Patterns - our most popular garments
- 40+ Free Crochet Blanket Patterns - baby blankets, throws + c2c graphgans
- 36+ Granny Square Patterns + tips for the perfect square
- 30+ Crochet Animal Patterns - adorable amigurumi stuffed animals
- Crochet Gift Ideas - easy patterns to make for others
- Fast Crochet Projects - start to finish in less than a day
Learn a New Skill
And when you're ready to master a new skill, check out our detailed guides that include everything you need to know to level up your crochet game.
- How to Corner to Corner (C2C) Crochet for Beginners - with video tutorials to get you started
- How to Crochet a Beginner Hat - make an entire beanie in 1.5 hours!
- How to Crochet Amigurumi for Beginners - the ultimate guide to making your own toys and plushies
- How to Tunisian Crochet - learn with this video and a standard hook




Tracy King says
Lovely looking sweater! For some reason the link to her Etsy shop is not working.