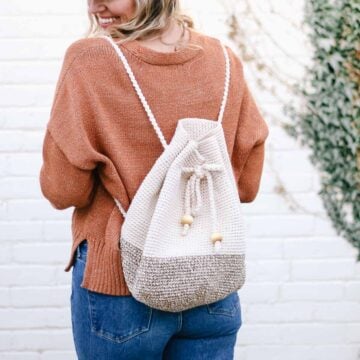
Requiring only single and double crochet and a very simple construction, this free crochet bag pattern is perfect for beginners. Neutral colors and a beautiful texture combine to form the perfect modern tote.
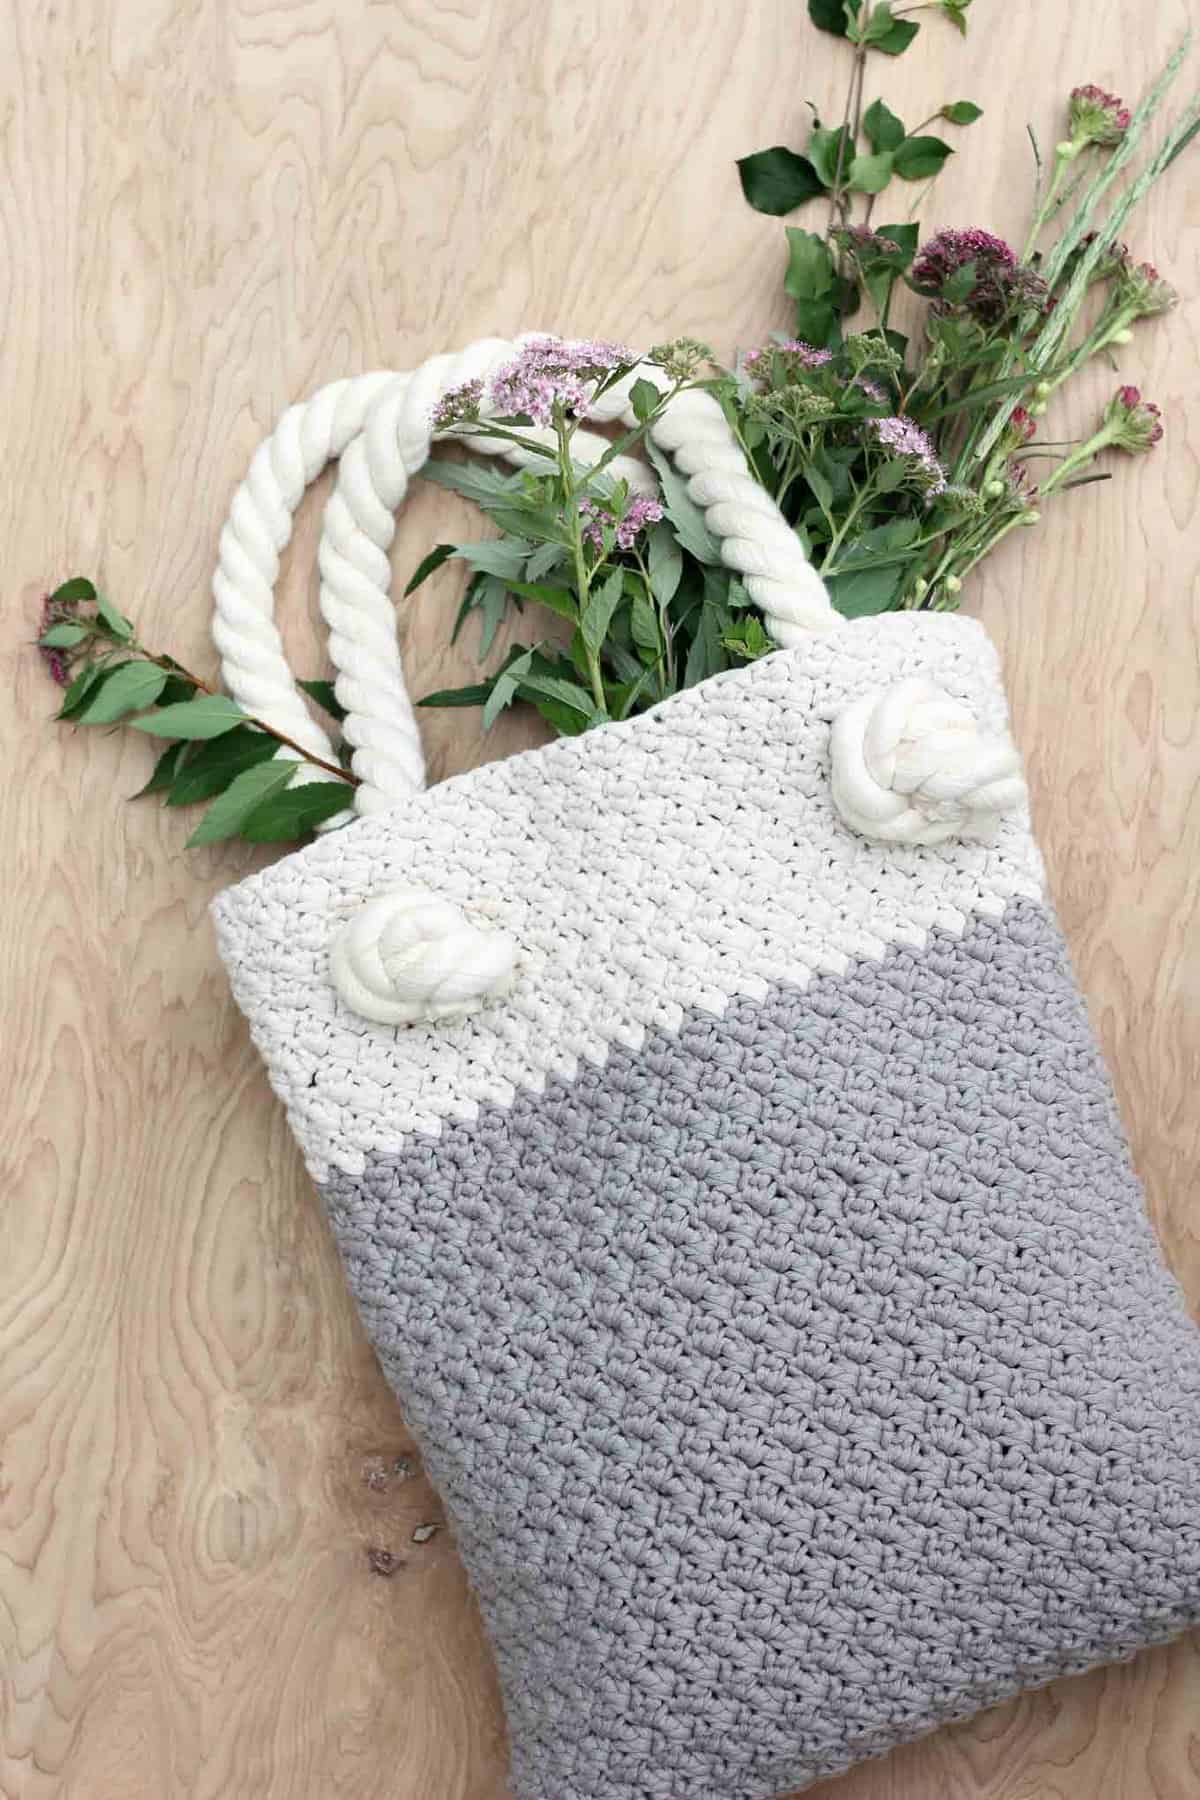 Calling all beginning crocheters! (Or more intermediate crocheters who like to zone out and watch Netflix while you’re hands mindlessly make something beautiful!) This tutorial is for you!
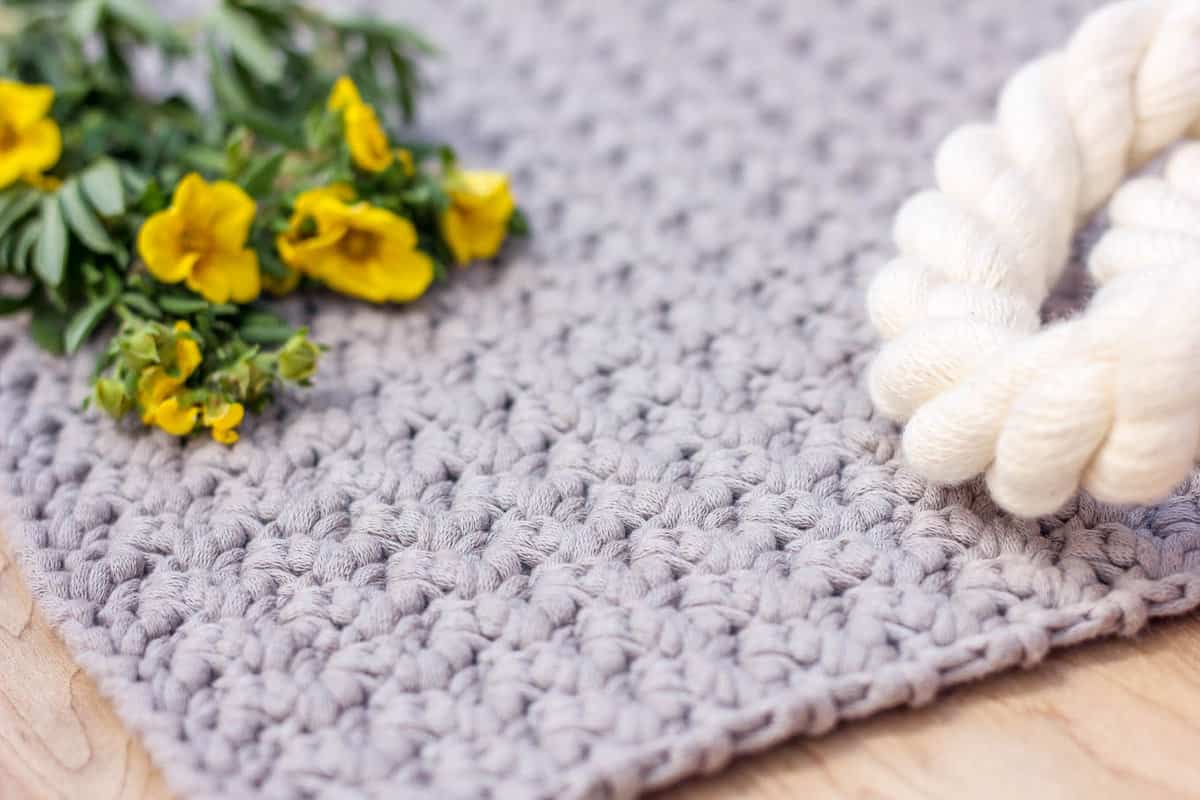
This free crochet tote bag pattern is worked in the Suzette stitch, which I first came across on Potter & Bloom. (UPDATE: I created a simple video tutorial that shows you how do this stitch!)
Related: 30+ Best Crochet Crop + Tank Top Patterns
More Free Crochet Bag + Purse Patterns
From modern granny square bags to mesh market totes to circle purses, we've got lots more free crochet bag patterns for you to enjoy. With sturdy straps and stylish details, you might just become a crochet bag-a-holic.
See more free crochet bags & purses patterns →
 “Suzette” Free Crochet Bag Pattern For Beginners
Crochet Bag Supplies
So you can spend more time crocheting and less time shopping, this post contains affiliate links at no extra cost to you.
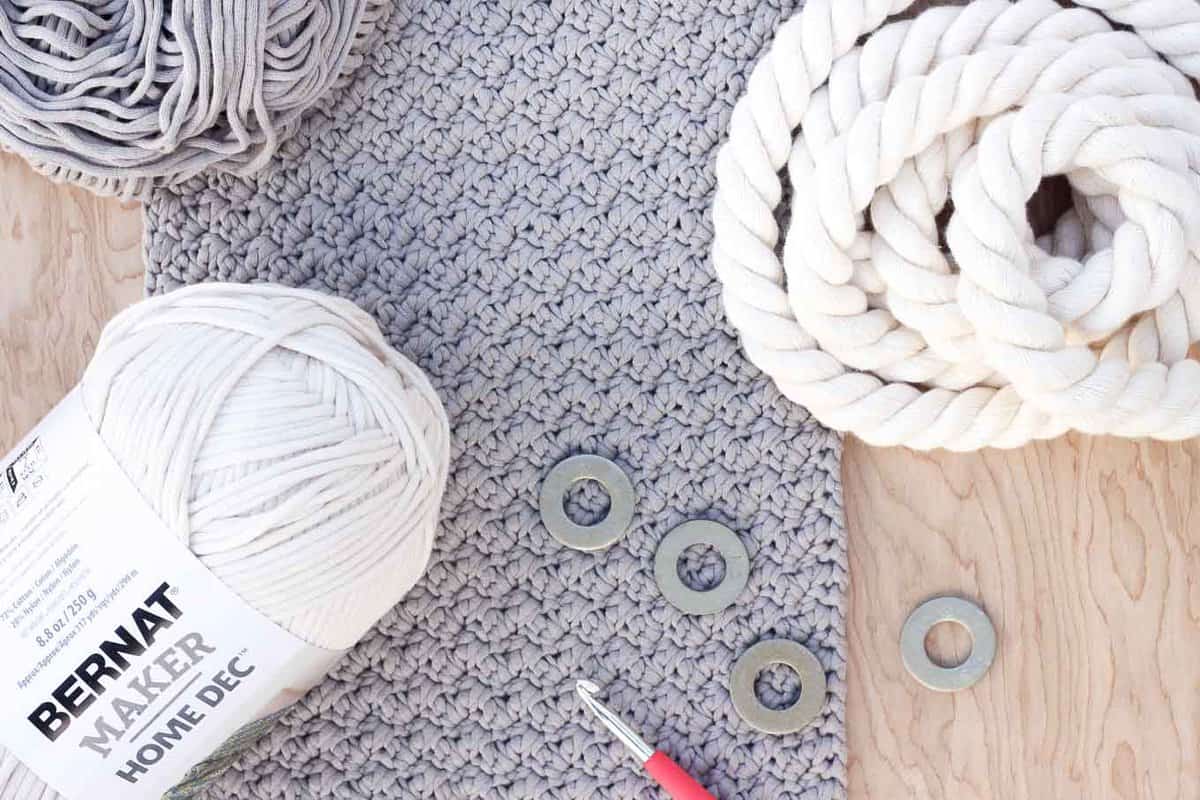
• Bernat Maker Home Dec - 1 skein cream and 1 skein clay (Use your 40% off coupon!)
• size J/10 hook (I love this inexpensive set.)
• stitch markers
• 2.5 yds thick home decor rope (I found it in the curtain supplies section of JoAnn’s. My Hobby Lobby and Michael’s don’t carry it.)
• tape (clear or masking)
• sharp scissors (I got these for xmas and they're fantastic.)
• measuring tape
• (4) ⅝” washers from a hardware store (Or curtain grommets from a craft store. These aren't essential, but they'll be helpful if you plan to carry heavy loads in your bag.)
white thread or Fray Check
Abbreviations - US Terms
fsc - foundation single crochet
ch - chain
sc - single crochet
dc - double crochet
sk - skip
st - stitch
Gauge
7 (sc, dc) groupings = 4”
12 rows = 4”
To work a gauge swatch in Suzette stitch, make a multiple of 2 ch for the foundation chain. 18 ch will be sufficient. Work rows 1 and 2 of the pattern, then repeat row 2 until the swatch measures approximately 5” high. If you’d like, save this swatch and sew it inside your bag as a convenient pocket.
To Make the Crochet Bag
Watch the Suzette stitch video tutorial if you prefer video learning!
Wanna save this pattern?
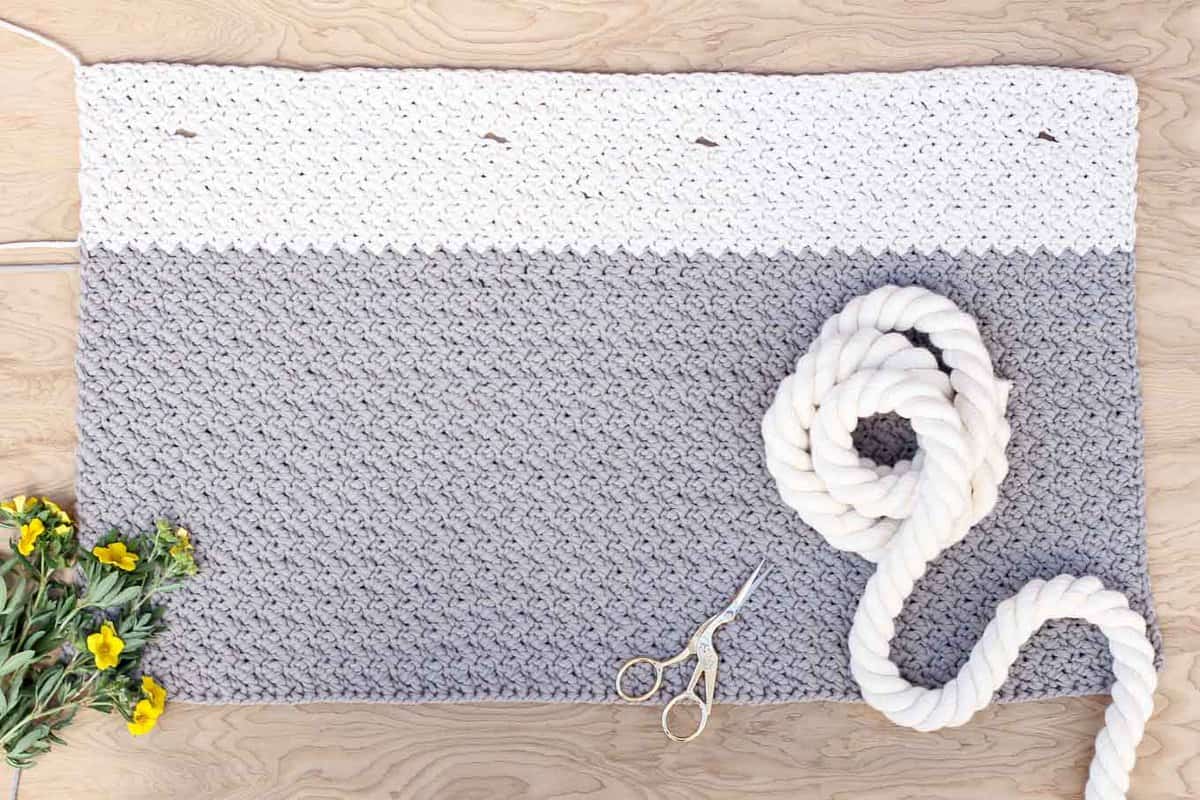
Using “Clay” color, Fsc 81. (If you are overwhelmed by the idea of foundation single crochet, just ch 81 and progress with the pattern as written. The difference will be negligible.)
Begin the Suzette stitch pattern as follows:
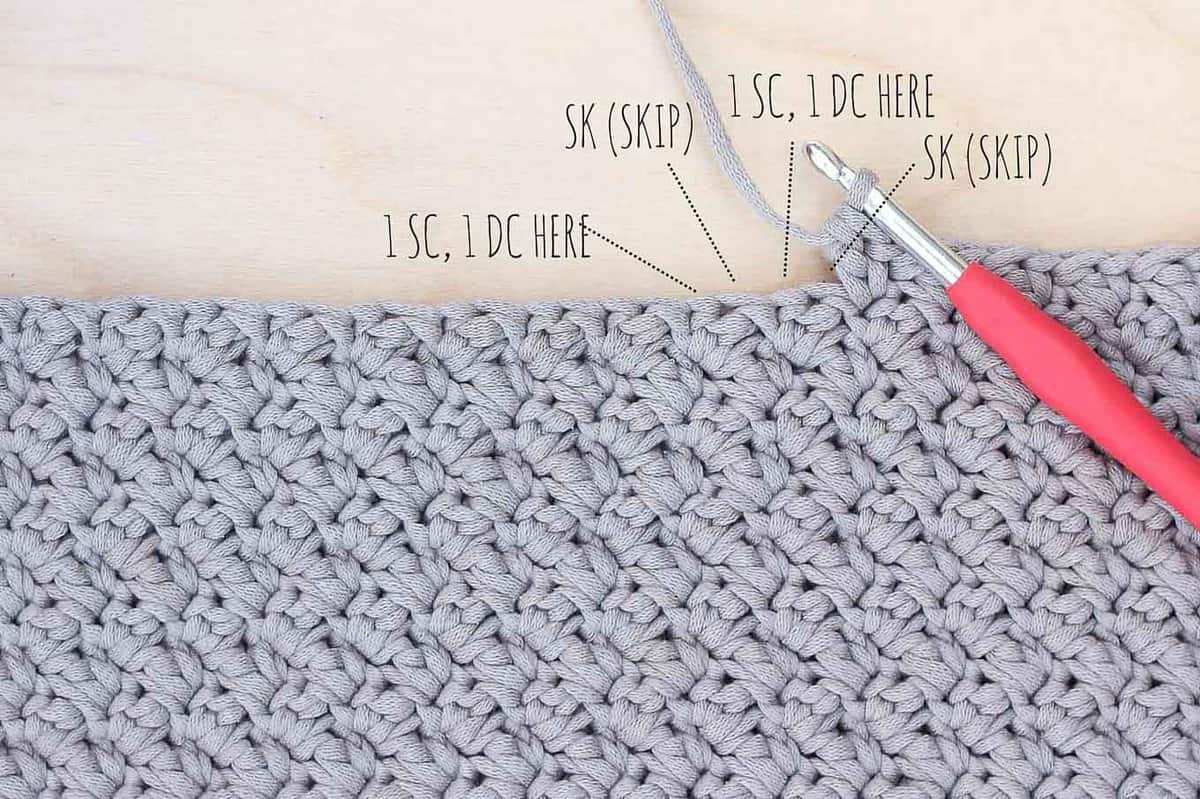
Row 2: ch 1, (1 sc, 1 dc) into first sc, sk next dc, *(1 sc, 1 dc) into next sc, sk next dc; repeat from * to end finishing with 1 sc in turning ch; turn.
Repeat Row 2 to form the stitch pattern and continue until work measures 11.5” (about 29 rows). Switch to “Cream” color and continue for 7 more rows.
✨Unlock this free subscriber-exclusive pattern ✨
Follow these steps to view the full free pattern below
To Add Rope Handles
1. Measure 36” of rope. Wrap a piece of tape tightly around the rope where you plan to cut it. Then cut down the middle of the tape, leaving both freshly cut ends of rope wrapped in tape. Repeat to create a second 34” handle. Don’t remove the tape because your rope will immediately begin to unravel.
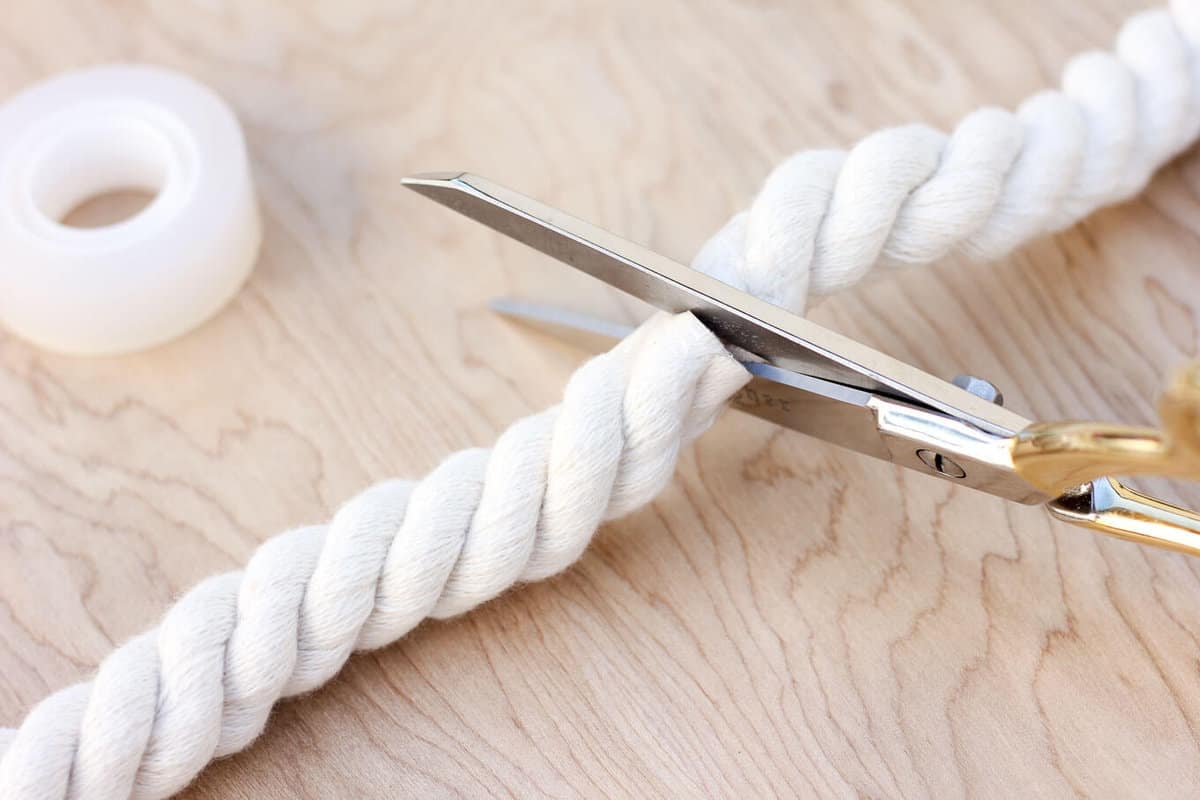
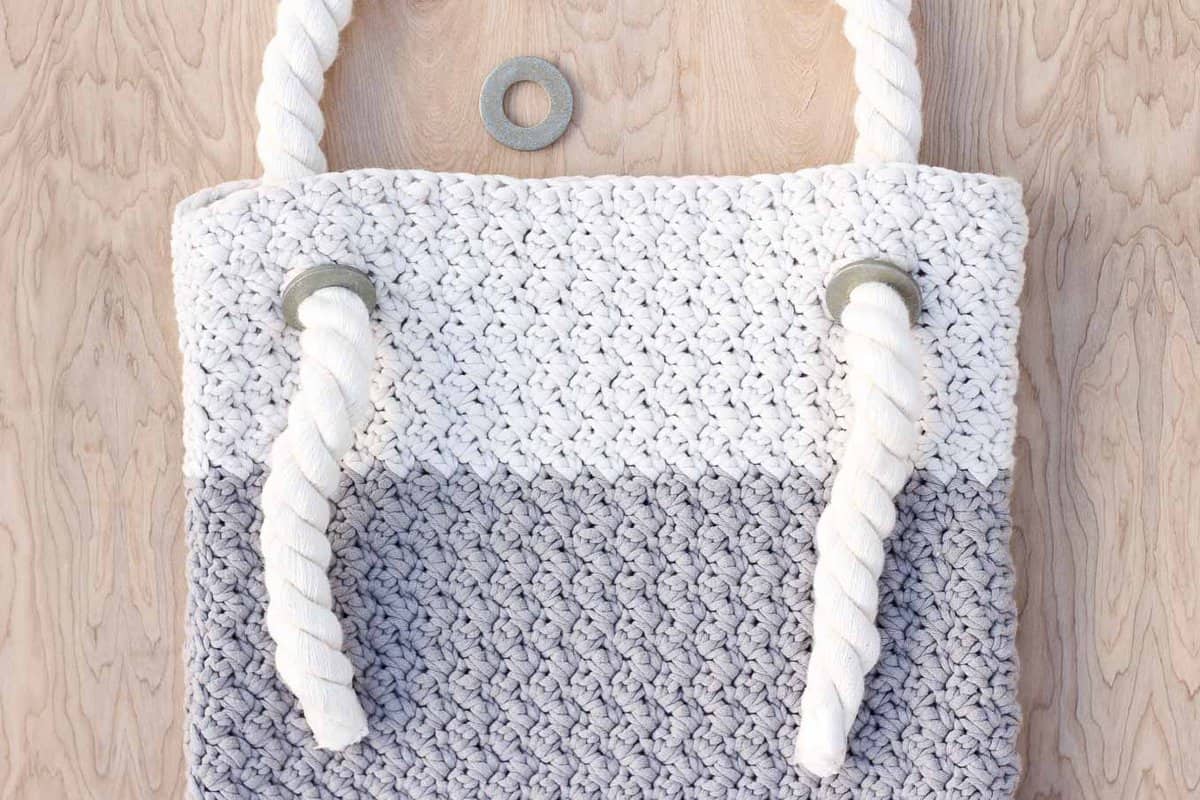
4. Apply Fray Check to the end of each rope before removing tape. Alternatively, gently remove tape and tie a piece of thread tightly around each rope end to prevent fraying.
Hit the beach, the farmer’s market or your lunch hour feeling awesome because you made something useful and beautiful with your own two hands!
That was so fun! Now what?
Invitation to our Facebook group
Come discuss crocheting easy purse patterns and lots of other projects and techniques in our Make & Do Crew Facebook group. Here thousands of helpful crocheters answer each others questions and share their stitches. Come join us here.
More Free Crochet Patterns for Bags + Purses
- Urban Nomad Boho Bag - creative construction + style
- Crochet Lunch Bag Pattern - also fun gift for kids
- Lacy Crochet Shoulder Bag Pattern - summery tote bag
- Fringe Crochet Purse Pattern - bohemian flare!
- Beginner Crochet Tote Bag - fun crochet geometry
- How to Add Leather Handles to Any Crochet Bag - easy upgrade
- Crochet Tote Bag Free Pattern - with leather handles
- Finger Crochet Bag Pattern + Video - no hook, no problem!
And here are a few more free beginner crochet patterns to keep your hands busy:

Dollar Store Twine + Thrifted Belt Basket (pictured above)
Basic Crochet Hexagon Pattern (Hip, modern and great for afghans!)

 “Suzette” Free Crochet Bag Pattern For Beginners
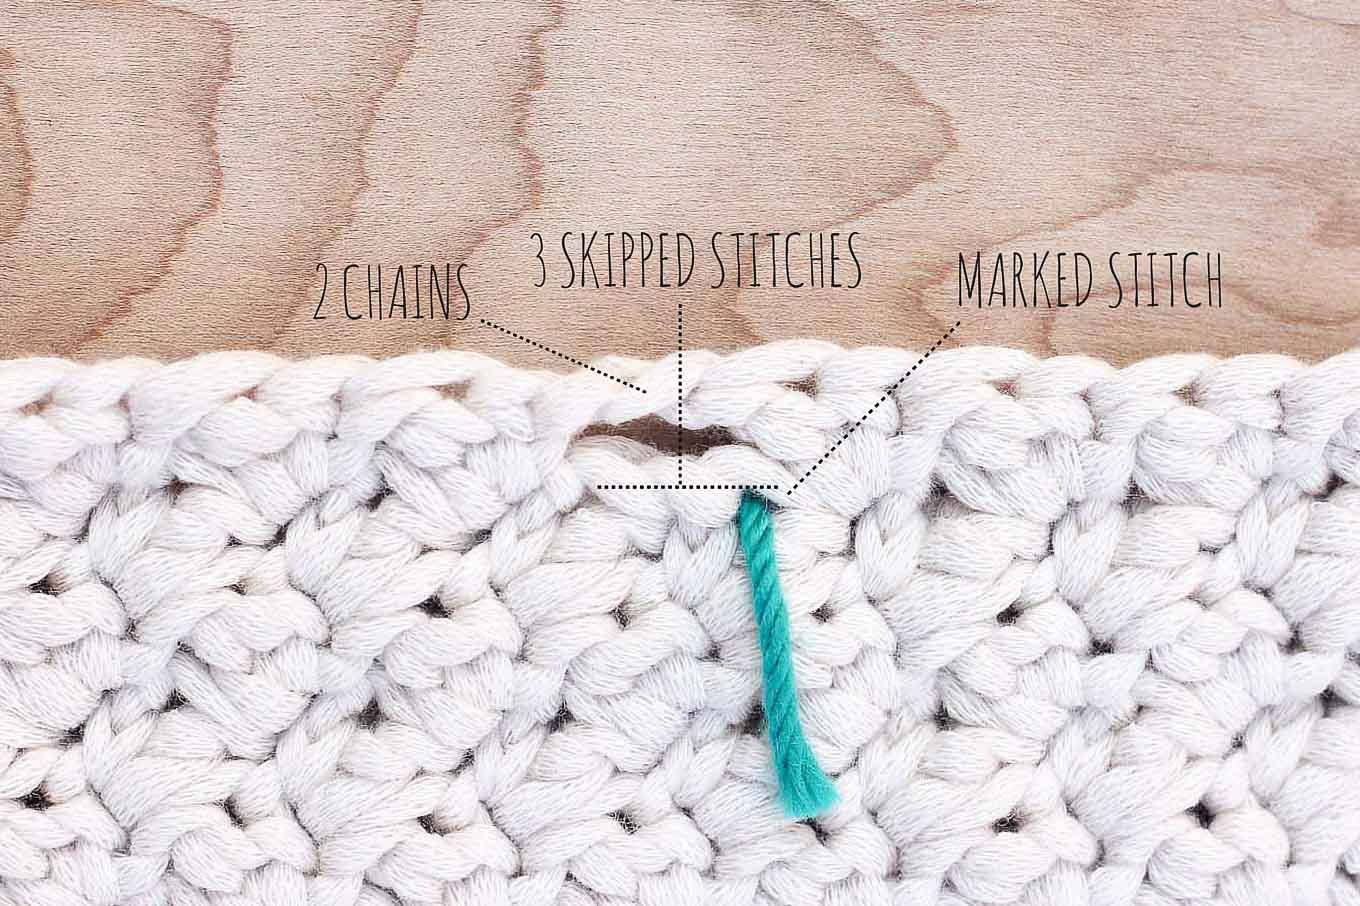 Cont in pattern for 4 more rows; fasten off, leaving a 12-15” tail.
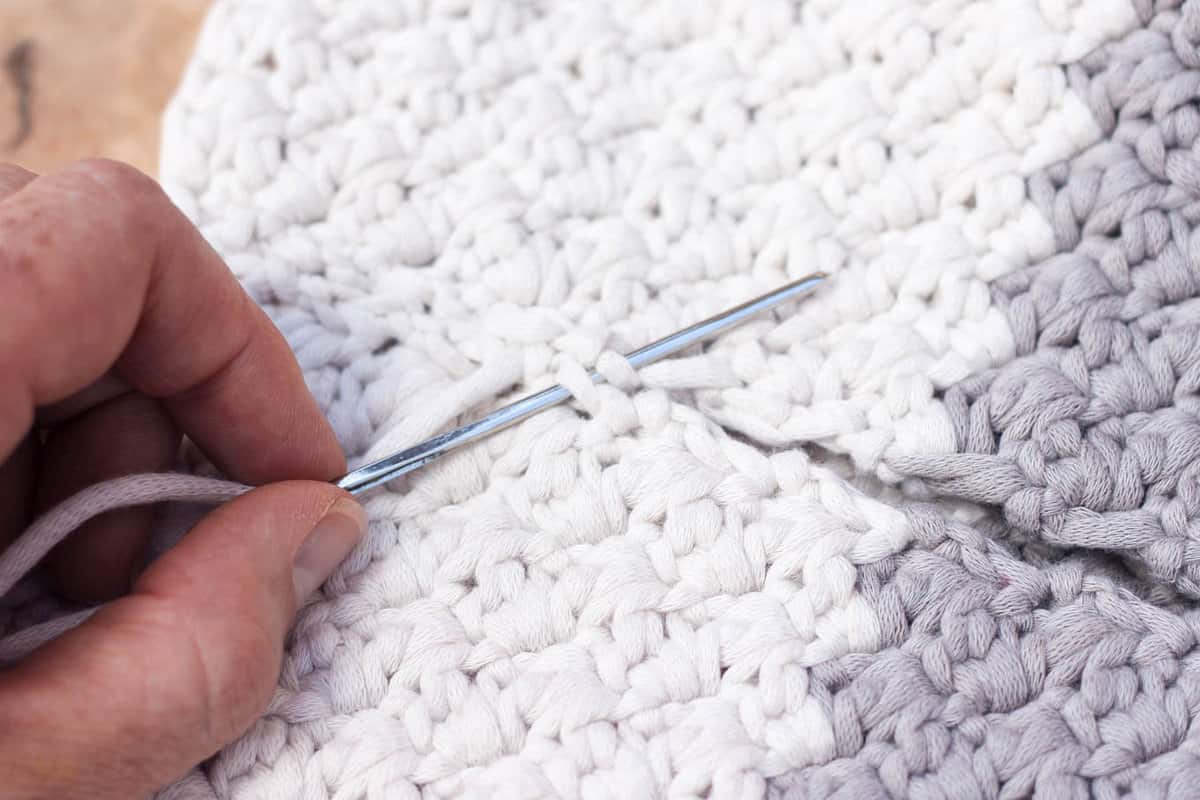 When you reach the clay-colored section, weave in the cream yarn and seam the rest of the bag side and bottom with clay yarn; fasten off and weave in ends. Turn bag right side out.



Amy says
I have started this bag. Looks great. I was wondering if you had any instructions on how it could be lined with fabric?
Jess @ Make and Do Crew says
Hey Amy,
I don't unfortunately, but if you google something like "how to add a fabric liner to a crochet bag," I think you'll find some good options. I know I've seen tutorials around the internet. 🙂
Jess
Jamie says
Hi Jess,
Thanks so much for this pattern! I see some of your other patterns use the Lion Brand Fast Track, do you think that would work with this pattern?
Jess @ Make and Do Crew says
Yes! For sure. I think it has a bit bigger gauge than the yarn I used for this, but as far as being suitable for a bag, I think Fast Track works great. 🙂
Erica Rupp says
Hi Jess,
I am thinking about starting this bag, but I was wondering if this bag is washable/dryable in a washing machine/dryer? I'd like to be able to wash it and dry it and not worry about it coming apart. It's ok if it shrinks. Let me know what you think.
Thanks for sharing your pattern,
Erica
Jess @ Make and Do Crew says
Hey Erica,
I think you'd be fine washing the yarn, but you could look at Home Dec yarn's care instructions to be certain. I think where you might have an issue is washing the rope without the tail end getting a little muffled up. If you're willing to hang it dry, I bet you could make it work though. Hope that's helpful!
Jess
Sarah Carver says
Hi there!
Love your patterns!! Have a question on this one, I went ahead and made it with 101 stitches but can't seem to be able to figure out where to place my stitch markers since I have 20 more stitches then your tote??
Also what is the length of the belt you used for your updated pattern of this tote??
Thank you!
Sarah
Taylor says
Could I use other yarn to make this bag? What would you recommend?
Helga says
Dear Jess,
Thank you for the pattern! The bag is really beautiful.
I'm just crocheting it and I found a mistake in the pattern: In the 2nd row you wrote to finish the row with 1 sc in the turning chaine. I think it's a mistake and should finish the row with 1 sc in the last sc of the previous row.
Pls check it and if you also find it right than I suggest to correct to make easier the successful crocheting for the next crocheters. 🙂
Thank you and best regards,
Helga
Alina says
How do the grommets stay attached? Do we crochet them into the holes somehow?
Thanks
Alina says
How do the washers stay on? Are we supposed to somehow crochet around them to secure them?
Jess @ Make and Do Crew says
Hey Alina,
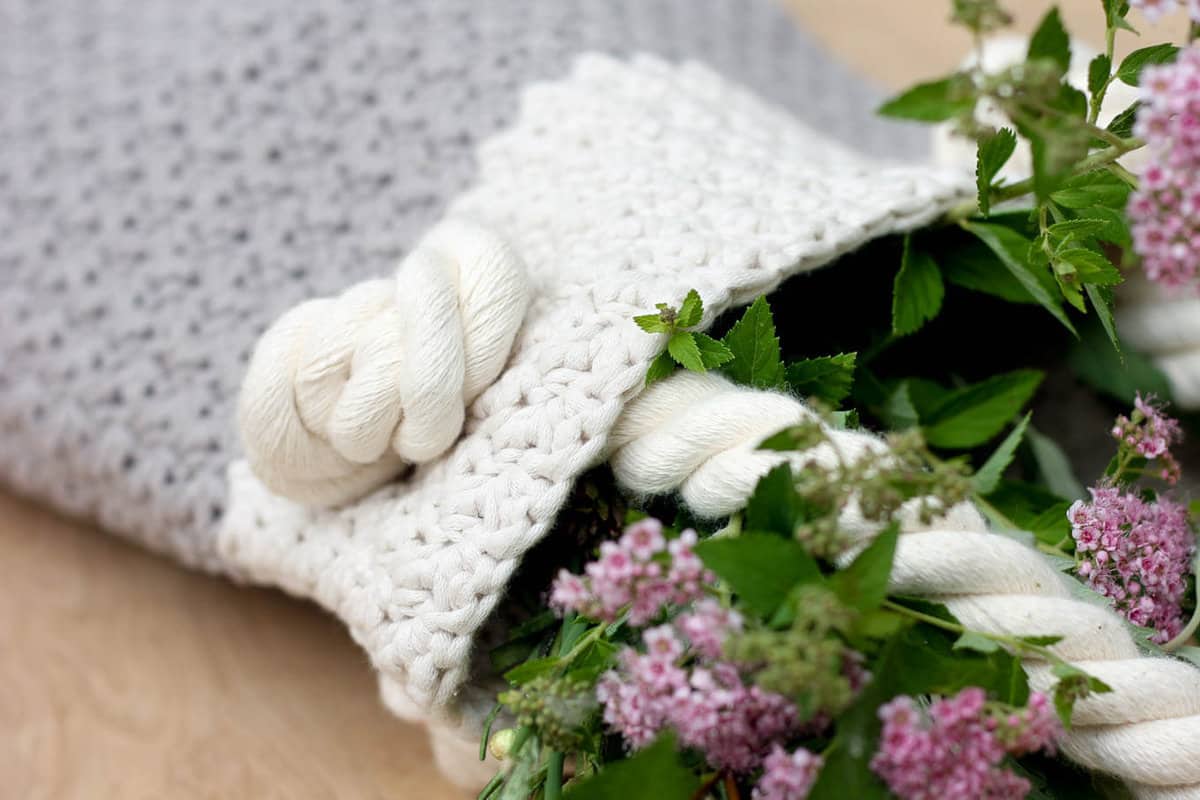
The washers stay on just because of the knot that's tied in the rope handle. The total circumference of the washer is big enough to not pull through the hole in your crocheted bag.
Does that make sense?
Jess
Kristen Scott says
I love the idea of this bag, but I have to say that the yarn is almost too stretchy to hold the shape of the bag. I expected it to be more firm, so after making the bag I made a liner of canvas to go with it.. On the rope, I also have to comment that Joann's doesn't always have it in stock, so I looked at the stated hickness (about 3/4" was what Joann's site said) and I ordered some on Amazon. I think it was probably bigger than Joann's. When I cut the rope, 34" was definitely not long enough, and the handles look far too thick and short for the bag. I would post photos of the finished bag, but I can't do it here.
Ashley Birkrem says
Hi!
I've frogged this bag twice now and am so confused. I've only gotten about four rows in each time and go back to either the video or the written instructions and come away with different ideas of how this stitch is supposed to look. Do you place the new stitch in the V or the outside of the V from the previous row? In the video it looks like you're placing the stitch in the gap between stitches, whereas in the provided picture it appears that you're placing the stitch smack dab in the middle of the SC + DC. I'm sure I'm making this harder than it needs to be!