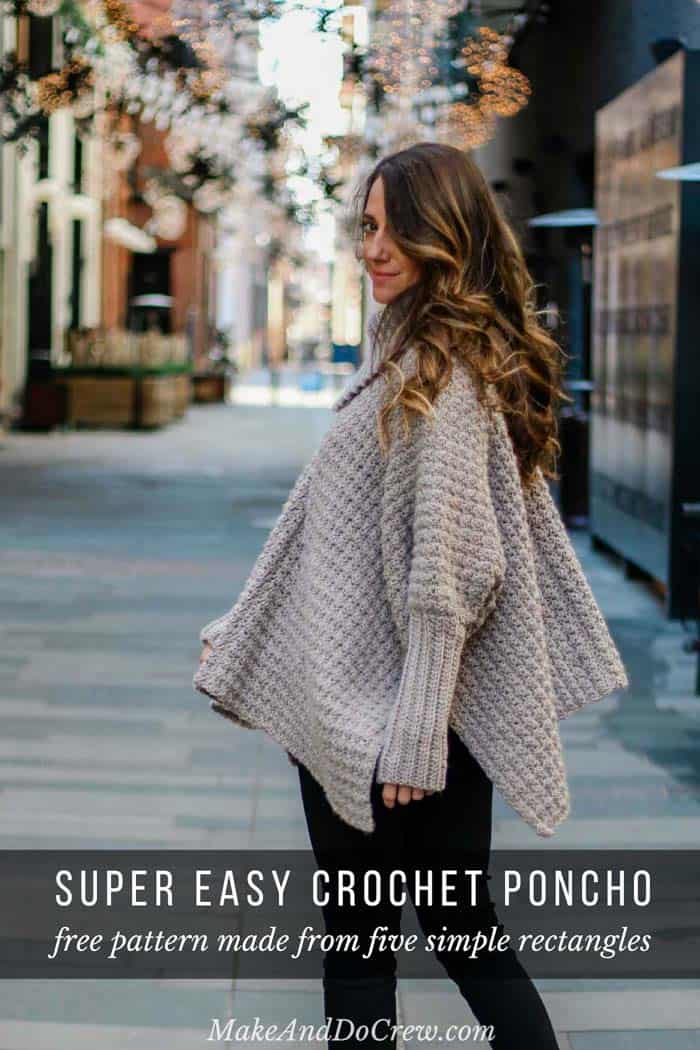
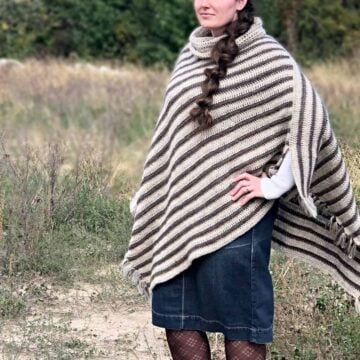
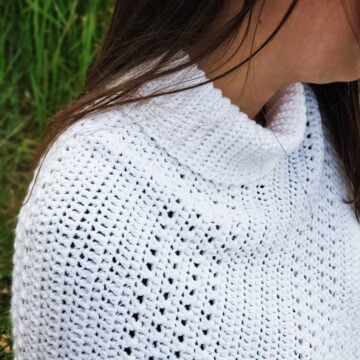
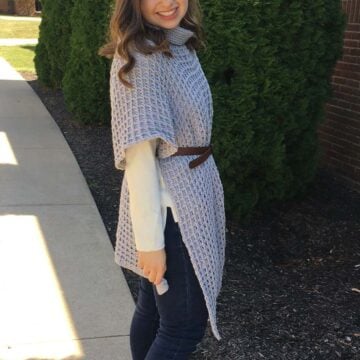
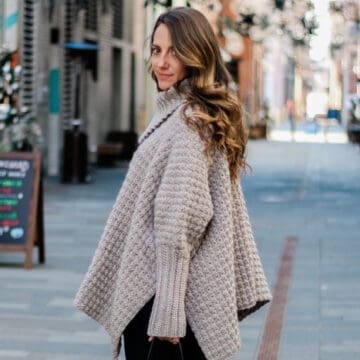
This stylish crochet sweater poncho with sleeves is very easy because it's made from five simple rectangles. Get the free pattern below or purchase the ad-free, printable PDF here. Watch the step-by-step video tutorial for extra help.
This post is part of a collaboration with Lion Brand Yarn. This post contains affiliate links.
Part Poncho, Part Sweater
If you can crochet a basic rectangle, you can make this easy crochet poncho with sleeves! With no increasing or decreasing, you can create a cozy, sweater-style poncho that flatters all types of bodies.
Read all the pattern and yarn details below, or keep scrolling for the free written poncho pattern.
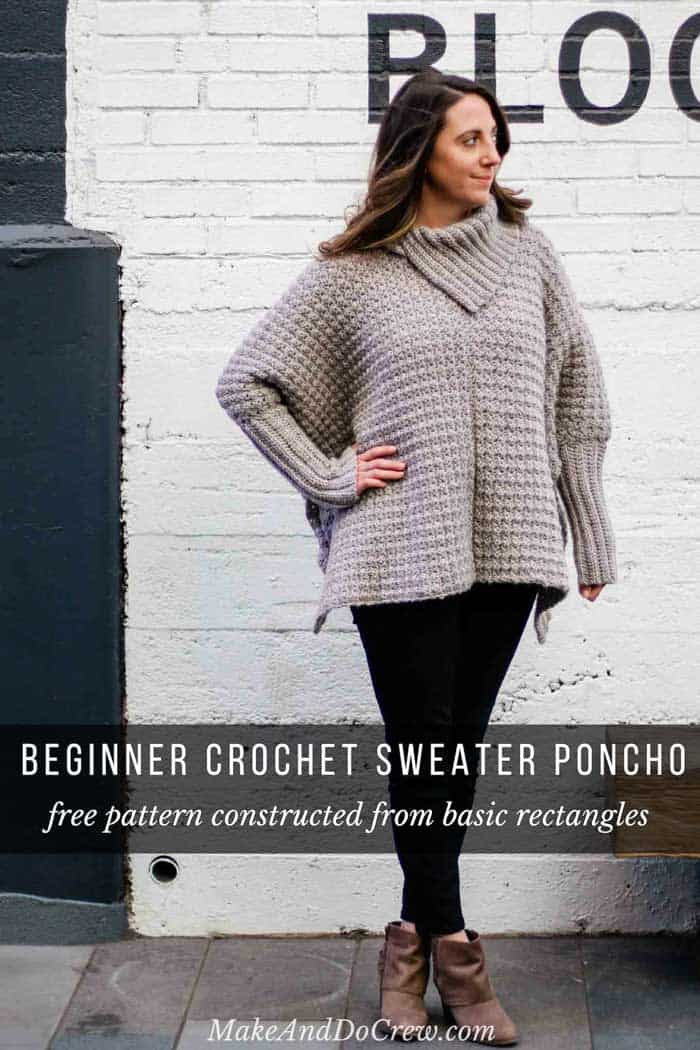
How to Crochet A Poncho?
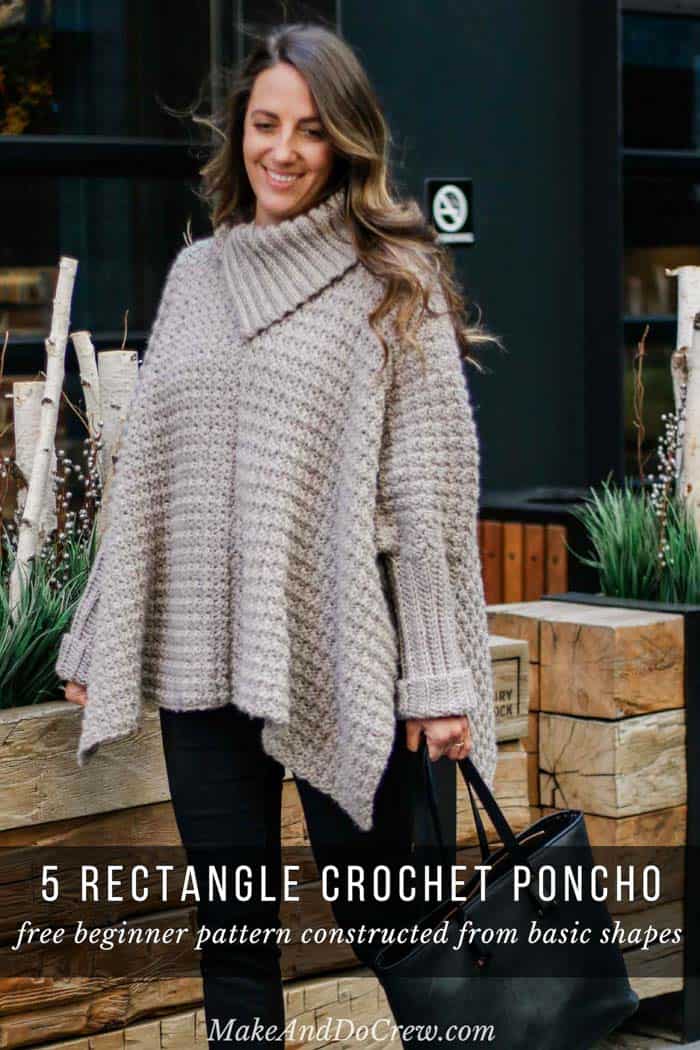
We've shared a few free crochet poncho patterns over the years and they've all been quite easy in construction. I'm especially happy with this crochet poncho with sleeves my mom and I designed together though because it has the look of a more sophisticated sweater, but the construction is as simple as making some large crochet washcloths and joining them together.
Four Simple Rectangles
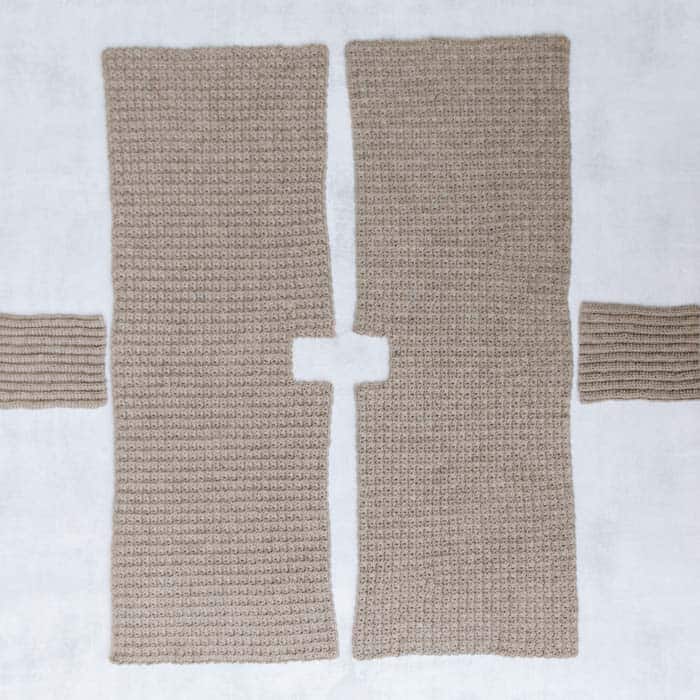
Okay, I hope these rectangles don't actually look like washcloths (!), but this poncho really does come together from nothing but rectangles of crochet fabric.
First, you'll make two identical rectangles for the left front and back and the right front and back of the poncho.
Next you'll crochet two much smaller ribbed rectangles that will become the sleeves. Lastly, you'll use the same ribbing stitch to make a rectangular poncho collar.
It's really that easy! (Check out the full step-by-step video tutorial to watch how it comes together.)
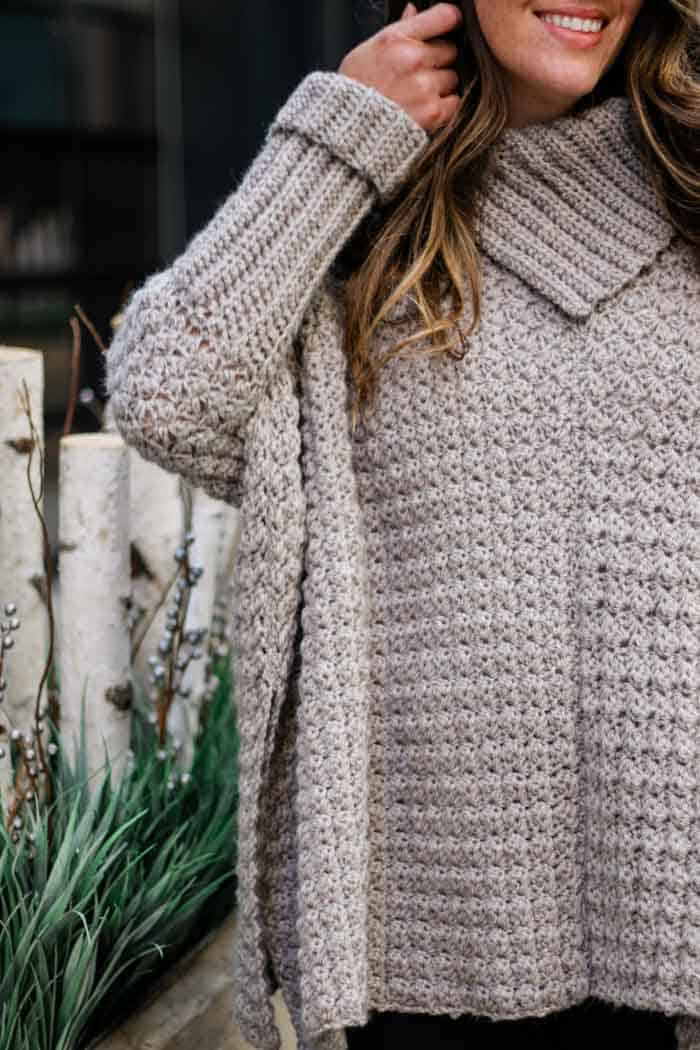
The stitches used are all very simple, but give this crochet poncho with sleeves pattern a really beautiful texture! Because this poncho pattern covers most sizes, including plus sizes, I hope many 'a lady can feel beautiful in it! (The size M/L sample fits my 5'8" sister, my 5"11" mom and my round and pregnant self and we all look pretty darn good in it.)
The Perfect Worsted Weight Yarn for a Crochet Poncho
For this easy crochet poncho with sleeves, we knew we needed a yarn that had beautiful drape, came with a lot of yardage and included a bit of luxury so you'd enjoy it for a long time. Lion Brand's Touch of Alpaca yarn immediately came to mind and and it worked so well.
Touch of Alpaca is a worsted-weight yarn from Lion Brand that comes in two sizes--a 3.5 oz skein and a larger 7 oz "Bonus Bundle" size. The free crochet poncho pattern below lists the Bonus Bundle size as you can get more yardage for your dollar with this larger size. If you only have access to the smaller skeins though, just know you'll need twice the number the pattern lists.
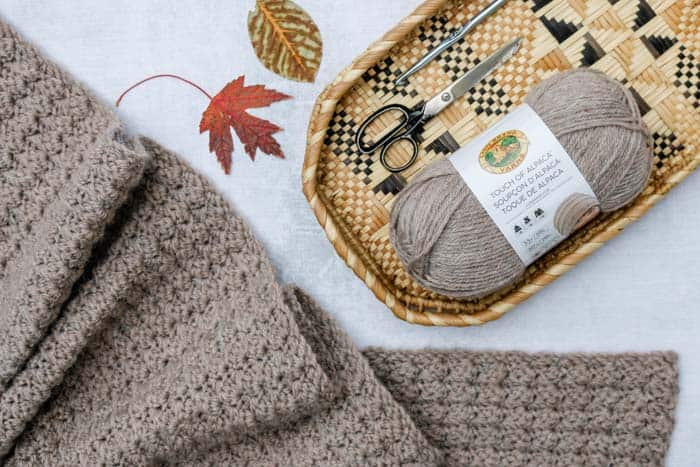
In either case, Touch of Alpaca yarn comes in a wonderful, sophisticated palette of colors that I think you'll love. You can check them all out here. And if you'd like to see what else we've made in this yarn, check out the free Greyscale Poncho pattern and the At First Blush Triangle Scarf + video tutorial.
Related: 30+ Free Poncho Patterns to Crochet
Modify Your Poncho Sweater
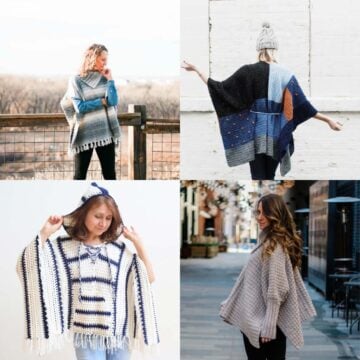
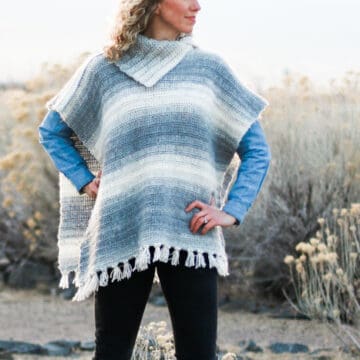
While as written this free crochet poncho pattern includes sleeves and an oversized collar, there are lots of ways to customize it to suit your personal style.
• Eliminate the sleeves for a more traditional poncho look.
• Add a hood to this poncho by creating a large rectangle, seaming it at the top and joining it to the neck opening. (Look at this free cardigan pattern to get an idea of how to make a very simple hood.)
• Give the poncho sweater a cowl neck by picking up stitches around the neckline and working in the round until the collar drapes to your liking. (See this free crochet poncho pattern for an idea of how to do that.)
New to crocheting garments? Don't miss our Step-By-Step Guide To Sweater Success
More Free Crochet Sweater Patterns
Crochet sweater patterns don't need to be difficult. In fact, most of ours are made with very simple shapes. Dive into the wonderful world of crochet garments with cardigans, pullovers, ponchos, shrugs and more!
See more free crochet sweater patterns →
Alpine Sweater Poncho - Free Pattern
Don't spend hours for a "meh" result!
Tired of crocheting garments that don't fit? Learn our C.R.A.F.T. Framework to make sweaters that fit and feel amazing!
Explanation:
Take advantage of some simple crochet geometry to turn five basic rectangles into a stunning, cold weather poncho. The deceptively easy sleeves will keep you cozy and give this garment a polished, sweater-like vibe.
You’ll begin by making two identical rectangles using a simple, but eye-catching stitch pattern. Next you’ll make three more rectangles using crochet ribbing that will become the collar and two sleeves. Because the entire garment is made without increasing or decreasing, the skills required are quite beginner-friendly and include single crochet, half double crochet, double crochet and seaming.
Watch the step-by-step video tutorial here.
Supplies:
• Lion Brand Touch of Alpaca Bonus Bundle (Weight: 4/medium - 415 yds, 7 oz)
- Taupe (124-123) – 6 (7, 7, 8) skeins [approx. 1140, (1250, 1390, 1490) g]
• Tapestry needle
• Size J (6.0 mm) crochet hook
• Stitch markers or safety pins
Sizes:
S/M - fits bust: 35”
M/L - fits bust: 39”
L/XL - fits bust: 43”
XL/2X - fits bust: 47”
Sample is a M/L pictured on a 5’8” model with a 38” bust. Poncho has a generous 42” of ease.
Main body of poncho when laying flat (excluding collar and sleeves) measures:
S/M - 38.5” wide x 25.75” long
M/L - 40.5” wide x 26.5” long
L/XL - 42.5” wide x 27.25” long
XL/2X - 44.5” wide x 28” long

Gauge:
Main Poncho:
4.5 horizontal clusters (sc, hdc, dc) = 4”
5.5 vertical clusters (11 rows worked in pattern) = 4”
Ribbing:
14 hdc = 4”
10 rows = 4”
Abbreviations and Glossary (US Terms):
ch(s) – chain(s)
dc – double crochet
hdc – half double crochet
hdcblo – half double crochet through the back loop only
PM – place marker
rep – repeat
]RS – right side
sc – single crochet
sk – skip
st(s) – stitch(es)
tch – turning chain
WS – wrong side
Overall Pattern + Sizing Notes:
• If you're a visual learner, investing a few dollars in the ad-free, printable PDF will be very helpful because it includes a stitch chart for the main rectangle pieces.
• Poncho is constructed from five rectangles. Left front and back of poncho are worked at the same time, as are the right front and back.
• Watch the step-by-step Alpine Poncho video tutorial here.
Poncho Fronts and Backs
Notes:
• Right front and back of poncho and left front and back are worked identically.
• A horizontal “cluster” = 1 sc, 1 hdc, 1 dc. Vertically, 2 rows equal a complete cluster.
Make 2.
Foundation Row: Ch 177 (183, 189, 195). [177 (183, 189, 195)]
Wanna save this pattern?
Row 1 (RS): Sk 2 chs (counts as 1 sc), work [hdc, dc] in next ch, *sk 2 chs, work [sc, hdc, dc] in next ch; rep from * until 3 chs remain, sk 2 chs, sc in last ch; turn. [58 (60, 62, 64) horizontal clusters]
Row 2 (WS): Ch 1 (counts as 1 sc), work [hdc, dc] in first st, *sk [1 dc, 1 hdc], work [sc, hdc, dc] in next sc; rep from * until 3 sts remain, sk [1 dc, 1 hdc], sc in top of tch; turn.
Rep Row 2 another 48 (50, 52, 54) more times for a total of 50 (52, 54, 56) rows. [This will look like 25 (26, 27, 28) vertical clusters.] End with a WS row. Do not fasten off.
✨Unlock this free subscriber-exclusive pattern ✨
Follow these steps to view the full free pattern below
Final rectangle (including the additional rows for the neckline) should measure approx. 51.75 (53.25, 54.75, 56.25)” x 19.25 (20.25, 21.25, 22.25)”.
Sleeves
Notes:
• Sleeve rectangles are worked lengthwise. To shorten or lengthen sleeve, adjust number of chains in Foundation Row.
• For a tighter sleeve, work fewer total rows. For a looser sleeve, work more rows. In both cases, take care to work an even number of rows total. Note that adjusting sleeve in this way will impact the amount of room you want to leave open for armhole when you seam main poncho pieces together.
• Ribbed look is created by working through the back loop only of each hdc stitch. This is the loop that’s farthest away from you, regardless of whether the WS or RS of work is facing you.
• Ch 2 at beginning of row does not count as a hdc.
Make 2.
Foundation Row: Ch 39 (40, 41, 39). [39 (40, 41, 39)]
Row 1 (RS): ]Sk 2 chs, hdc in each ch to end of row. [37 (38, 39, 37)]
Row 2 (WS): Ch 2, hdcblo in each hdc to end of row. [37 (38, 39, 37)]
Rep Row 2 another 18 (20, 22, 22) more times for a total of 20 (22, 24, 24) rows. [This will look like 10 (11, 12, 12) ridges of ribbing.] Fasten off leaving a 25” tail.
Collar
Notes:
• Collar rectangle is worked horizontally. To shorten or lengthen height of collar, adjust number of chains in Foundation Row.
• Like with sleeves, the ribbed look is created by working through the back loop only of each hdc stitch. This is the loop that’s farthest away from you, regardless of whether the WS or RS of work is facing you.
• Ch 2 at beginning of row does not count as a hdc.
Make 1.
Foundation Row: Ch 36 (38, 40, 42). [ 36 (38, 40, 42)]
Row 1 (RS): Sk 2 chs, hdc in each ch to end of row. [34 (36, 38, 40)]
Row 2 (WS): Ch 2, hdcblo in each hdc to end of row. [34 (36, 38, 40)]
Rep Row 2 another 49 (53, 66, 70) more times for a total of 51 (55, 68, 72) rows. [This will look like 25.5 (27.5, 34, 36) ridges of ribbing.] Fasten off leaving a 30” tail.
Finishing
Notes:
• To minimize the number of ends to weave in, use leftover tails from fastening off to seam whenever possible.
Joining Main Poncho Pieces:
Lay two main pieces so that the fronts and backs are aligned. Since RS and WS are identical, choose which you prefer and designate it the RS. Note that the back has one extra st (cluster) than the front, so take care to have both back sides aligned with each other. With WS of each piece facing out, pin if desired. Using the zig zag stitch, begin at bottom of Front and seam toward Neck (see photo below). Take care to line up visual clusters while seaming. Fasten off at neck opening.
With WS still facing out, repeat the same process to seam Backs beginning at bottom and working toward Neck.

Marking Sleeve Placement:
With WS facing out, fold poncho in half so bottom of Front and Back are lined up. PM at outside edge of shoulder crease on both Left and Right sides to denote top of shoulder.
Counting from shoulder marker down, skip 4 (4, 5, 5) clusters then PM in next cluster on both Front and Back. [There are therefore 8 (8, 10, 10) total clusters between markers. This marks the sleeve opening.] Repeat on opposite side. Note: The number of clusters skipped will vary if you added or eliminated rows to adjust looseness of sleeve.
Fold sleeve in half along ribbing. PM at mid-point to mark point of ribbing that’s half way from Foundation Row and final row. Repeat with second sleeve.
Joining Sleeves to Poncho:
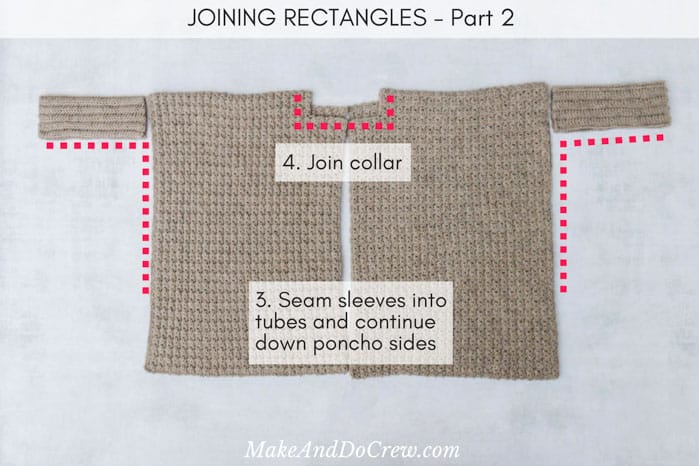
Lay poncho out flat as pictured in photo above. Pin sleeve to poncho by first aligning sleeve marker with shoulder marker. Next, stretch sleeve a bit so edges reach markers on poncho Front and Back. Repeat with second sleeve.
With WS of poncho facing out, seam each sleeve rectangle in place.
Seaming Sleeve Tubes + Sides of Poncho:
With WS of poncho still facing out, fold in half so bottom of Front and Back line up. Beginning at bottom (wrist) of sleeve, seam sleeve tube together. Continue seaming along side opening of poncho until 10 (11, 11, 12) clusters are joined. Leave the rest of side seam open and fasten off. See photo below. Repeat on opposite side.
Turn poncho RS out and weave in any remaining ends.
Joining Collar:
With RS of poncho and RS of collar facing each other, pin collar in place. Collar should begin in 4th (4th, 6th, 6th) cluster to the left of middle seam, wrap around neck and end with approx. 3” of overlap. Seam in place, see photo above.
Now that you’re a master of crochet geometry, pull on your new poncho and hit the town in style!
That was so fun! Now what?
Invitation to our Facebook group
Come discuss crocheting poncho with sleeves patterns and lots of other crochet projects and techniques in our Make & Do Crew Facebook group. Here thousands of helpful crocheters answer each others questions and share their stitches. Come join us here.
Find Your Next Sweater Project
- Easy Tunisian Crochet Cardigan - clever reversible cardi
- Casual Pullover Sweater - with exposed seams
- Simple Everyday Cardigan - using the easy V-stitch
- Lightweight Jacket Pattern - seamless + beginner-friendly
- V-Neck Sweater -simple, easy striped design
- Crochet Wrap Sweater Pattern - unique take on a raglan
- Beginner Raglan Sweater Pattern - ideal first top down pattern
- Lightweight Mesh Top - doubles as a beach coverup
More Free Patterns + Tutorials
Can't get enough free crochet patterns!? Me either. You'll definitely want to breeze through these collections to find your next project.
- 55+ Free Crochet Sweater and Cardigan Patterns - our most popular garments
- 40+ Free Crochet Blanket Patterns - baby blankets, throws + c2c graphgans
- 36+ Granny Square Patterns + tips for the perfect square
- 30+ Crochet Animal Patterns - adorable amigurumi stuffed animals
- Crochet Gift Ideas - easy patterns to make for others
- Fast Crochet Projects - start to finish in less than a day
Learn a New Skill
And when you're ready to master a new skill, check out our detailed guides that include everything you need to know to level up your crochet game.
- How to Corner to Corner (C2C) Crochet for Beginners - with video tutorials to get you started
- How to Crochet a Beginner Hat - make an entire beanie in 1.5 hours!
- How to Crochet Amigurumi for Beginners - the ultimate guide to making your own toys and plushies
- How to Tunisian Crochet - learn with this video and a standard hook



Taylor Lynn says
I've been looking for a poncho like this one! It is seriously so cute. The shape of it is so much more flattering than so many others I've seen.
Jess @ Make and Do Crew says
I agree, ponchos always seem hit or miss in how they drape on a person. I'm so glad you like this one!
Jess
Francine Nault says
Love this pattern and wish I had the urge to crochet but maybe later on....
Jess @ Make and Do Crew says
I hear you. My cro-jo has been a little lacking lately too. This pattern will be waiting for you whenever you have the urge. 🙂
Jess
Doreen says
This pattern is beautiful and I am excited to make it! I just had a question about how many skeins of yarn are actually needed. You mention using the Touch of Alpaca Bonus Bundle which has 415 yards. Then for the small size, you mention needing 6 skeins (2490 yards) but it looks like the pattern only ends up using 1140 yards. Am I correct in thinking it would be 3 of the Bonus Bundle size or 6 of the regular size yarn skein. Thank you!
Jess @ Make and Do Crew says
Yeah, good question. The 1140 is actually the grams needed. So you'll need 6 of the bonus bundle size to make the small. Hope that makes sense.
Happy crocheting!
Jess
Darlene Krauskopf says
Oh how l love your creations. I have been waiting patiently for sleeves In a poncho for years finally you have given me this gourgeous poncho. I can’t wait to begin and keep me warm.. Thank you so much.
Jess @ Make and Do Crew says
Me too, Darlene! Ever poncho I've made, I've always wished it had sleeves.
Here's to warm elbows from now on! 😉
Jess
Amarah says
Thank you for this! I your patterns!
Jess @ Make and Do Crew says
Hey Hannah!
Thanks so much! I hope you enjoy this one.
Jess
Karen says
This is gorgeous! Can you please tell me how to adjust for length?
I'm interested in making the M/L but would like it a bit longer.
Thank you for all of these beautiful patterns and Happy New Year!!
Jess @ Make and Do Crew says
Hey Karen,
So the stitch count for the main rectangles just needs to be a multiple of 3. So you can chain more stitches in the foundation and you'll end up with a longer poncho overall. For the neck, I think you could skip the same number of clusters as the pattern lists, so you'll just want to basically divide your total number of clusters by 2 so that you can place the neck in the center.
(I realize this all sort of sounds complicated until you get into the pattern, but it really should be a simple tweak.:)
Happy crocheting!
Jess
S. Helfery says
A poncho with sleeves? Really....then it's not a poncho but a oversized sweater. Dumb idea to me. Waste of time. SMH
Jess @ Make and Do Crew says
Haha, thanks for your very candid feedback. Luckily for you, the internet is filled with crochet ideas, so you don't have to bother making any of the ones you consider "dumb."
Happy crocheting!
Jess
Jackie Thorpe says
This is fabulous! It is so beautiful. You just keep getting better and better. Thank you so much for sharing this. This one is my next one.❤
Happy New Year!?.
Jess @ Make and Do Crew says
Hey Jackie,
Thank you so much! My mom and I were pretty unsure about this one at points along the way, but we both loved how it turned out in the end too.
Happy New Year to you too!
Jess
Tae says
This is amazing!! I’ve always wanted a poncho but with sleeves!! Thank you so much for sharing!!
vicki says
I love all of your patterns, my first cardigan was your Staycation and I had never made anything but baby blankets before. Thanks for all of the tutorials and patterns! This is a must make for me!!
Vicki
Rachel says
Hello Jess!! Love your patterns, and your book!!! Long time listener, first time caller here. I don’t have LB Touch of Alpaca yarn in my local stores, and I refuse to order off their website because every time I do, there’s an issue. I do have, however, a million skeins of RH Hygge yarn that I need to do something with. It’s slightly bulkier, but not by much, and it’s super soft. Do you think this would be a good alternative??
Thanks, and congratulations on the baby!!
Jess @ Make and Do Crew says
Hey Rachel,
Thanks so much for taking the time to "call in". 🙂 I'm not super familiar with that yarn, but my suggestion would be to make a gauge swatch to see if you want to reduce the total number of chains and rows a bit. Your foundation chain just needs to be a multiple of 3. Other than that, I think this poncho is really easy to modify to fit your needs. 🙂
Jess
Grace says
This is beautiful! I can’t wait to make it!
Jess @ Make and Do Crew says
Thanks Grace! My mom and I were both really happy with how it turned out.
Happy crocheting!
Jess