In Part 2 of the Celestial Sweater, we'll add sleeves and seam our yarn origami into a comfy crochet pullover! Find Part 1 of the free pattern here or purchase the complete pattern as a printable PDF here.
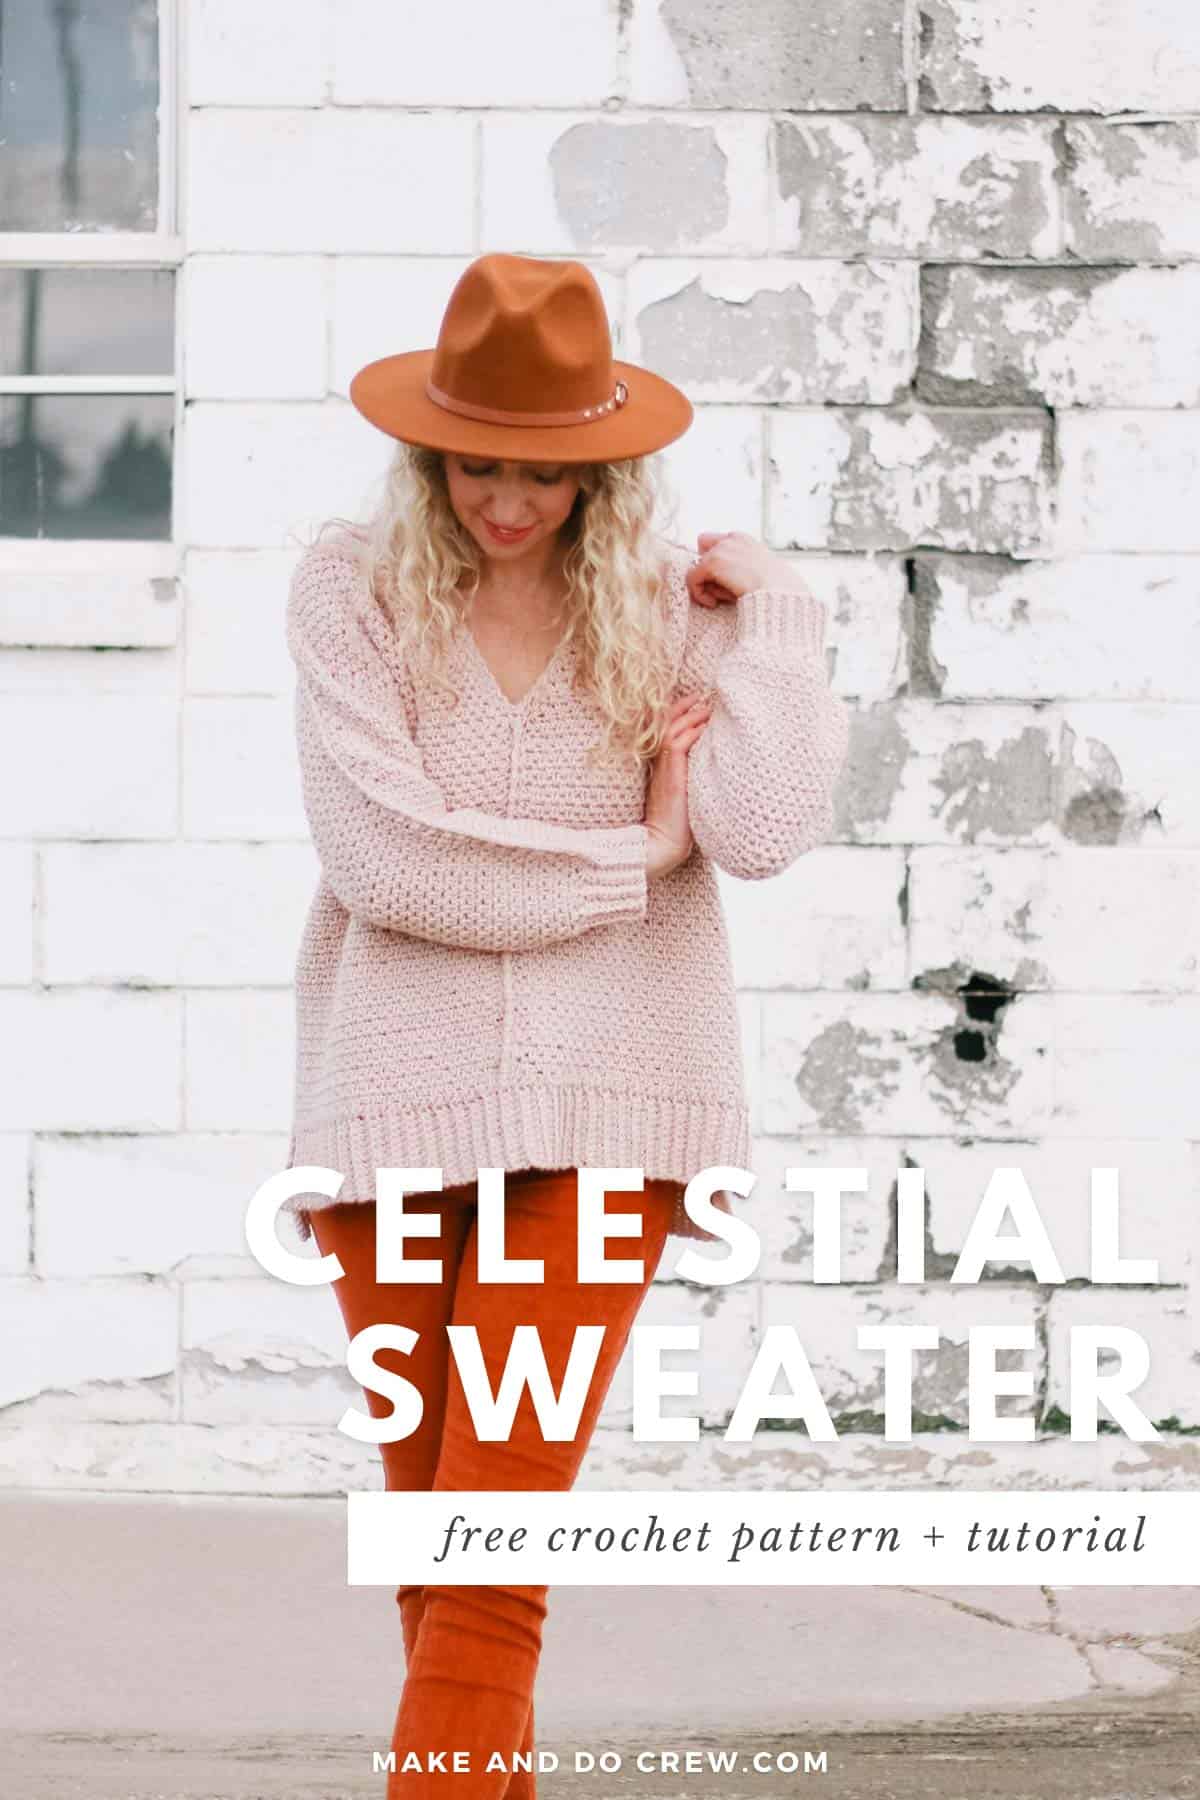
The free Celestial Sweater crochet pattern is part of a collaboration with Lion Brand Yarns. This post contains affiliate links.
In Part 1 of the Celestial Sweater, we started from the bottom up to crochet a high-low hem and the body of the sweater. Now it's time to add sleeves directly into the existing sweater shoulders in flat rows. Lastly, we'll use single crochet and reverse single crochet stitches to join up the sweater front and sleeves with the look of an exposed seam.
This part is so fun. Let's dive in!
A Stitch Chart to Help With the Decreases
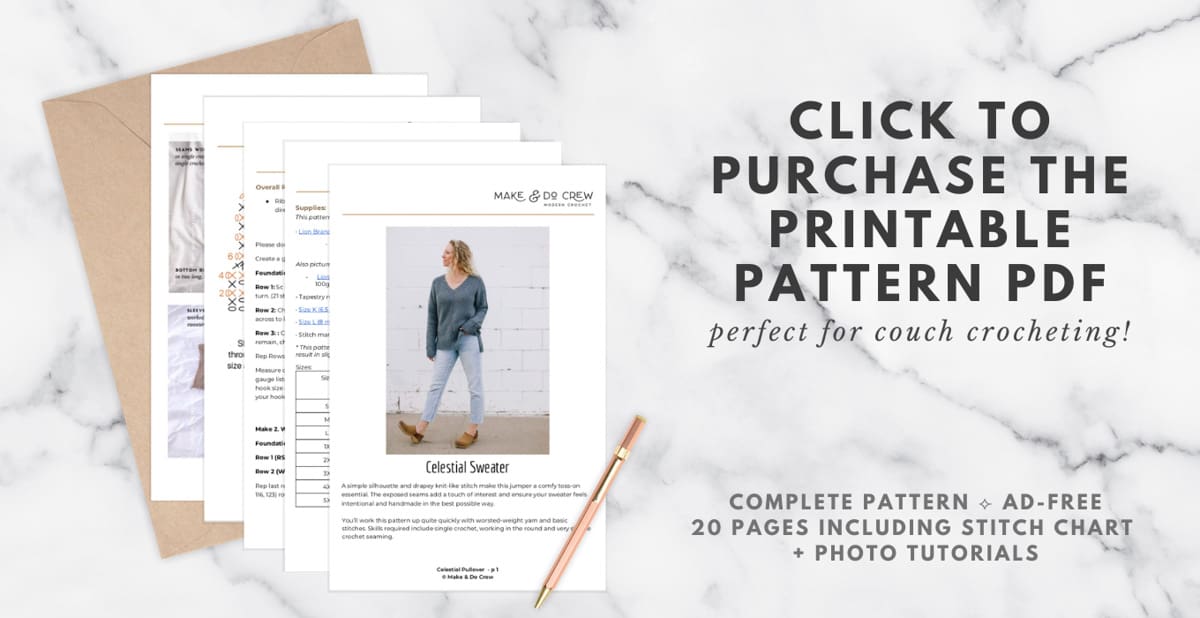
Just a reminder that you can grab the printable PDF version of the Celestial Sweater pattern on Etsy here or on LoveCrafts here. The PDF lets you avoid the ads, access the complete pattern in one handy place and it includes a stitch diagram that clearly outlines how to implement the decreases for the sleeves.
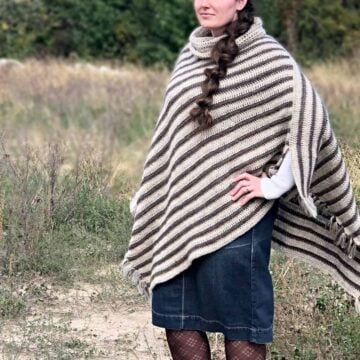
Related: 30+ Easy Poncho Patterns to Crochet
More Free Crochet Sweater Patterns
Crochet sweater patterns don't need to be difficult. In fact, most of ours are made with very simple shapes. Dive into the wonderful world of crochet garments with cardigans, pullovers, ponchos, shrugs and more!
See more free crochet sweater patterns →
Print it! Purchase the ad-free, printable PDF ⇨
Celestial Sweater
Free Crochet Pullover Pattern
Part 2
Purchase the ad-free, printable PDF on Etsy here or on LoveCrafts here.
Save this pattern to your Ravelry here.
Pin it for later here.
Get Part 1 of the free pattern here.
Explanation:
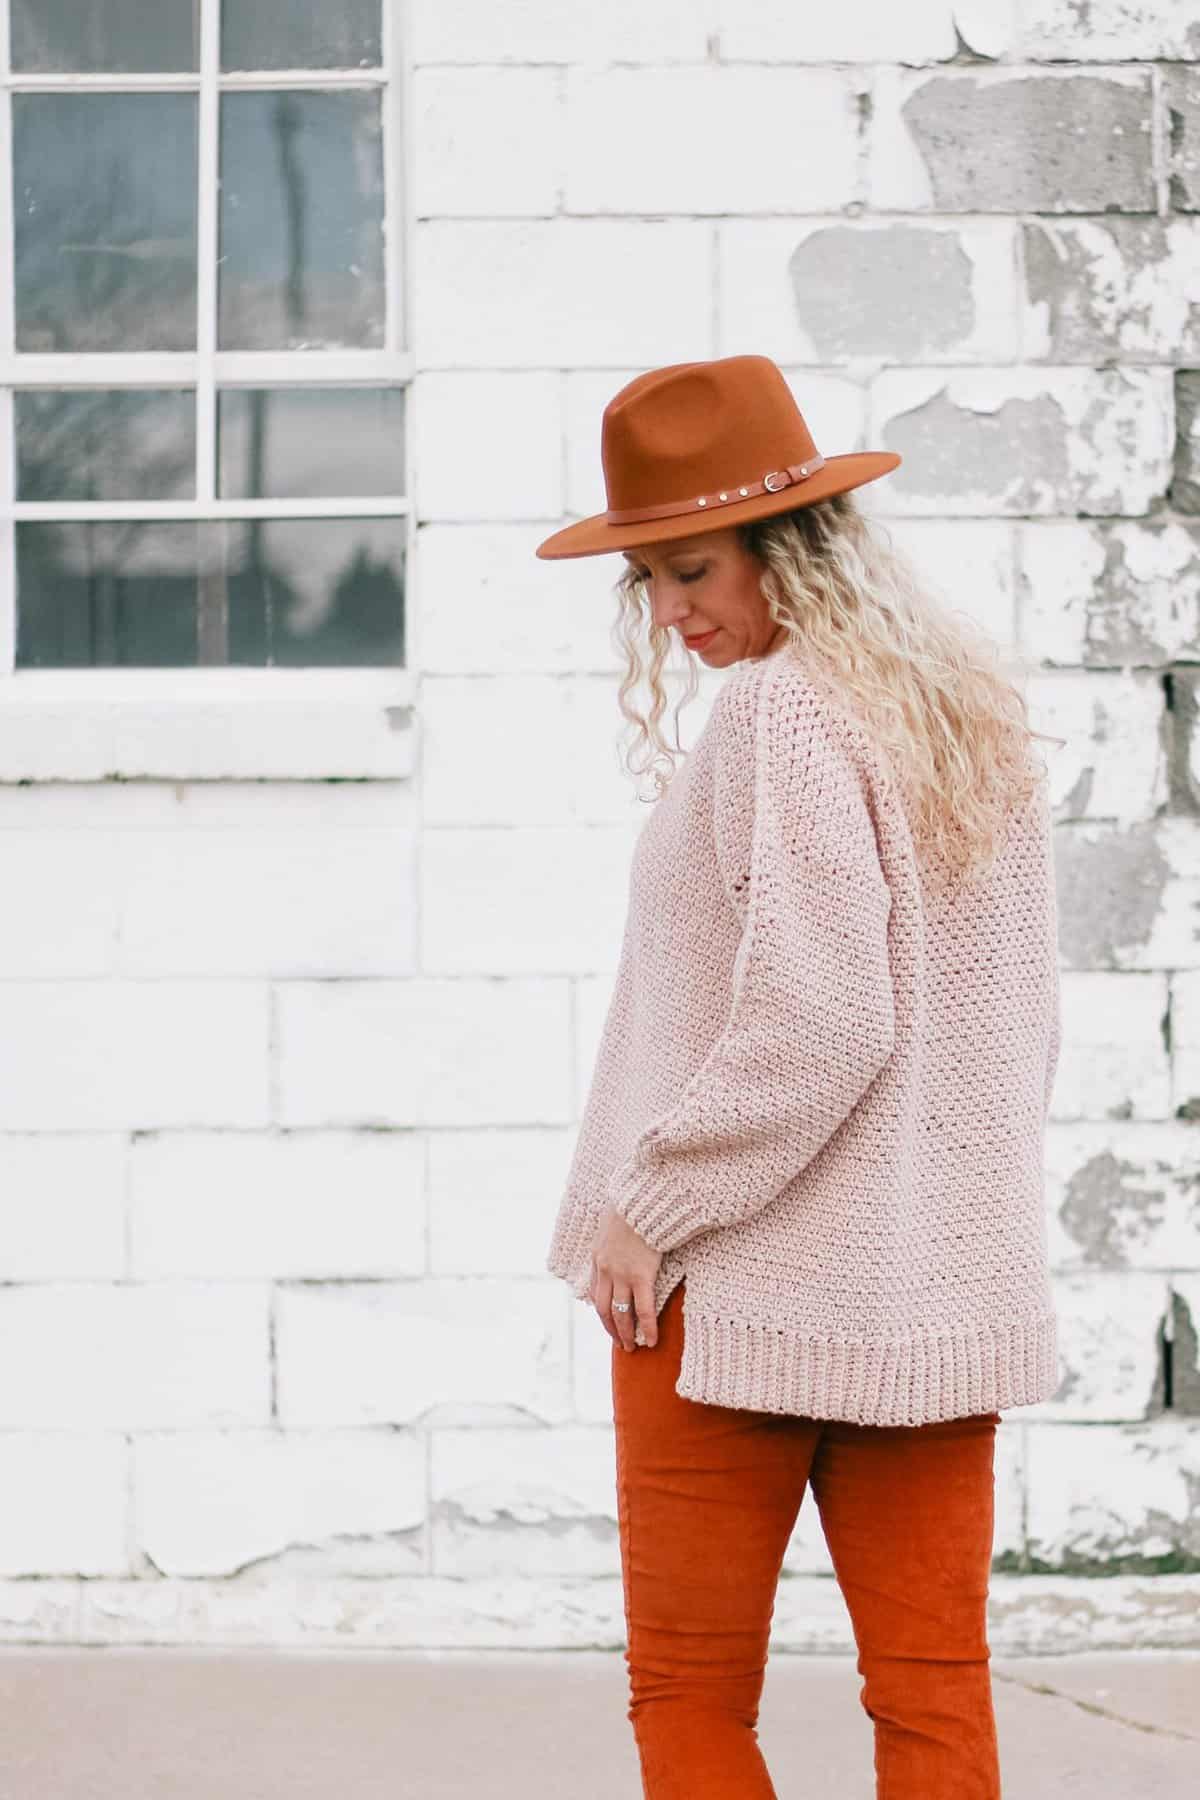
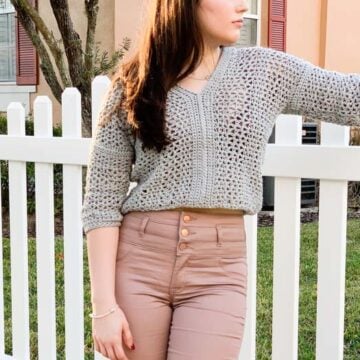
A simple silhouette and drapey knit-like stitch make this jumper a comfy toss-on essential. The exposed seams add a touch of interest and ensure your sweater feels intentional and handmade in the best possible way.
You’ll work this pattern up quite quickly with worsted-weight yarn and basic stitches. Skills required include single crochet, working in the round and very simple crochet seaming.
Supplies:
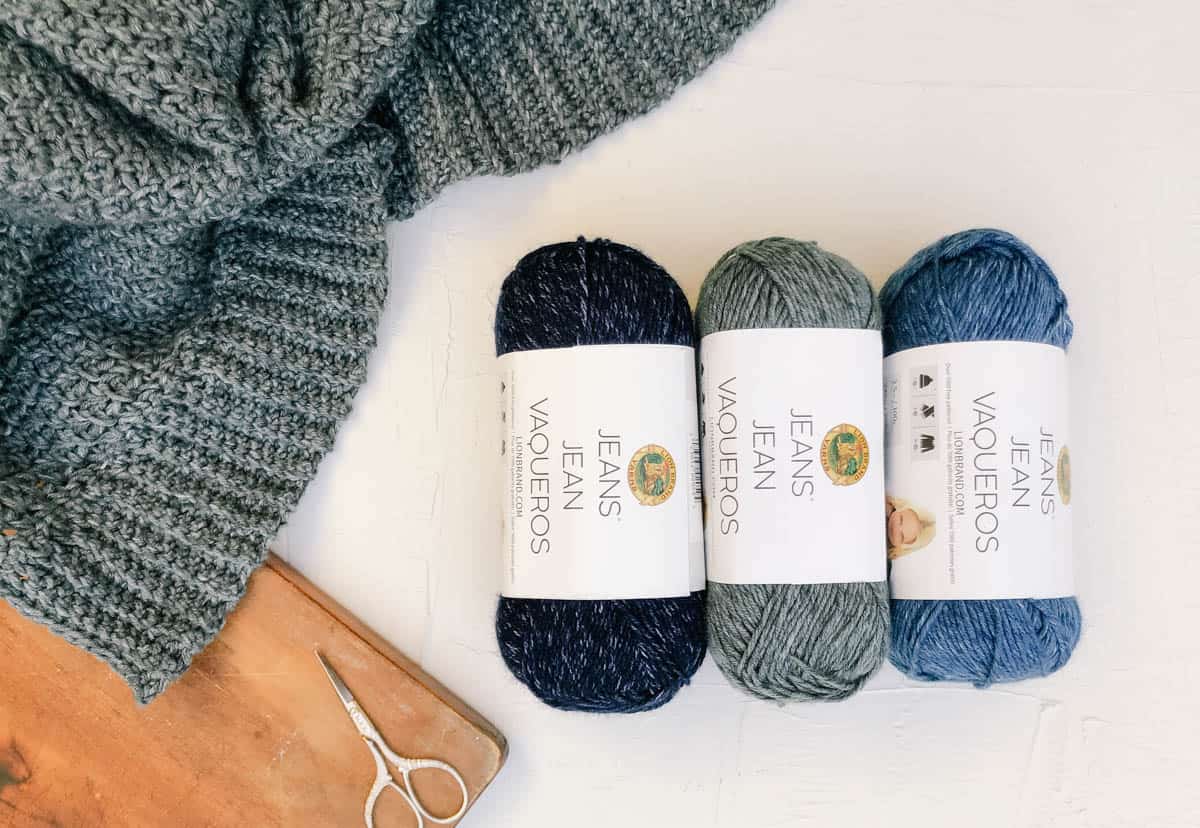
• Lion Brand Jeans (Weight: 4/medium - 246 yds, 3.5 oz, 100 g)
- Vintage (#505-150) - 7 (7, 8, 9, 9, 10, 10, 11) skeins [(approx. 630 (680, 750, 820, 880, 930, 970, 1030) g)]
Also pictured:
• Lion Brand Cobblestone - Misty Rose* (Weight: 4/medium - 219 yds, 3.5 oz, 100g)
• Tapestry needle
• Size K (6.5 mm) crochet hook for ribbing only
• Size L (8 mm) crochet hook for body and sleeves or size needed to obtain gauge
• Stitch markers or safety pins
* This pattern was designed using Lion Brand Jeans. Using a different yarn may result in slightly more or less yardage required.
Deliver it! Order your all-in-one kit ⇨
Sizes:
S, M, L, 1X, 2X, 3Xm 4X, 5X
See Part 1 of the free pattern for more sizing details.
Gauge:
8 sets of [sc, ch 1] = 4” (16 total stitches = 4”)
14 rows = 4”
Abbreviations and Glossary (US Terms):
ch(s) – chain(s)
ch1sp – space created by 1 ch
dec – decrease
pm - place marker
rep – repeat
RS – right side
sc – single crochet
sc2tog – single crochet 2 together
scblo – single crochet through the back loop only
sk – skip
slst – slip stitch
st(s) – stitch(es)
WS – wrong side
yo – yarn over
Special Stitches:
rsc - reverse single crochet: Right-handed: Working from left to right, work a sc in the next st to the right. Left-handed: Working from right to left, work a sc in the next st to the left.
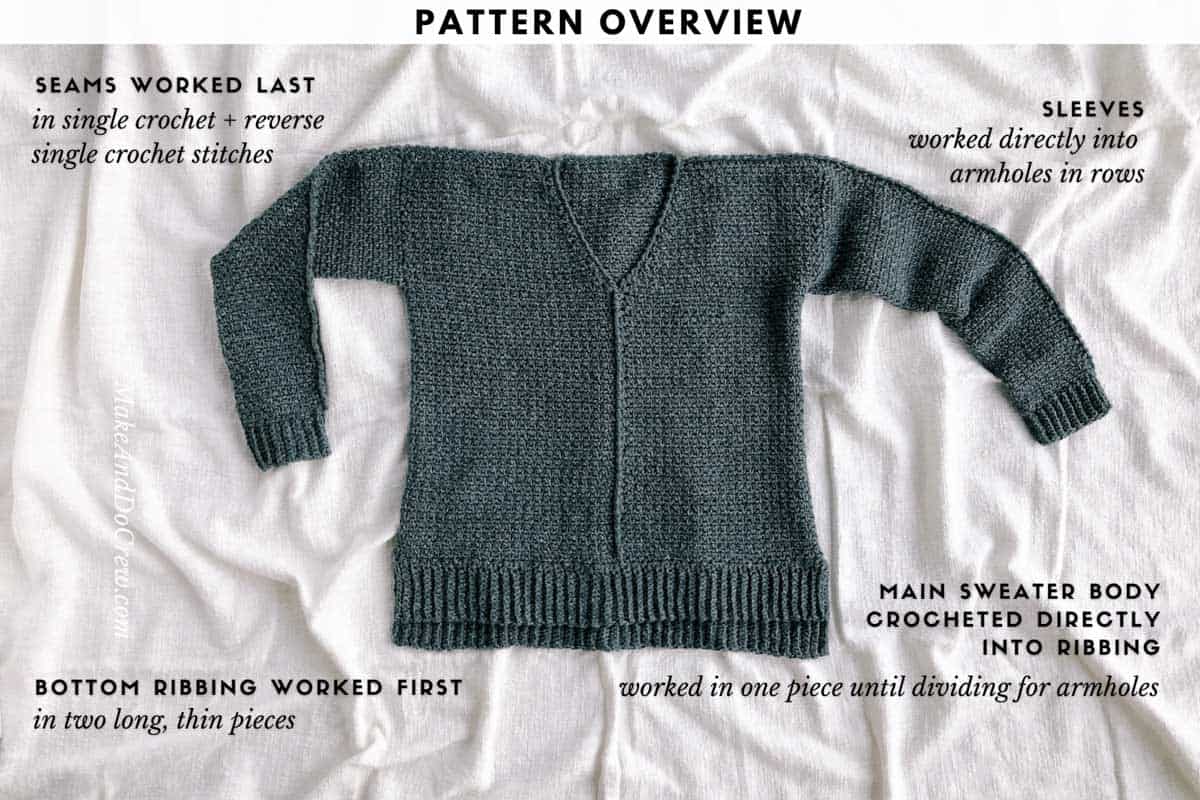
Overall Pattern Notes:
• Ribbing is crocheted using smaller hook and sweater body is crocheted using larger hook.
• Watch a video tutorial showing how to crochet the moss stitch used in this pattern here.
Sleeves
Notes:
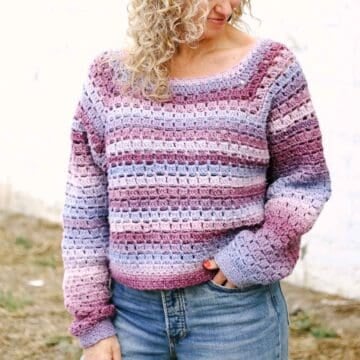
• To create shorter, bracelet-length sleeves as pictured in the pink sample, stop working sleeve rows when sleeve lands just above wrist bone. This will make your sleeve cuffs slightly looser and impact the number of rows necessary to complete the cuff.
• The bonus stitch chart in the printable PDF demonstrates stitch placement for the decreases.
With RS facing, attach yarn at top of armhole. (Note that this means for the right sleeve as worn, the yarn is attached on the front of sweater and for the left sleeve as worn, the yarn is attached on the back of sweater. In both cases, RS of fabric should be facing out.) Row 1 is worked across row ends.
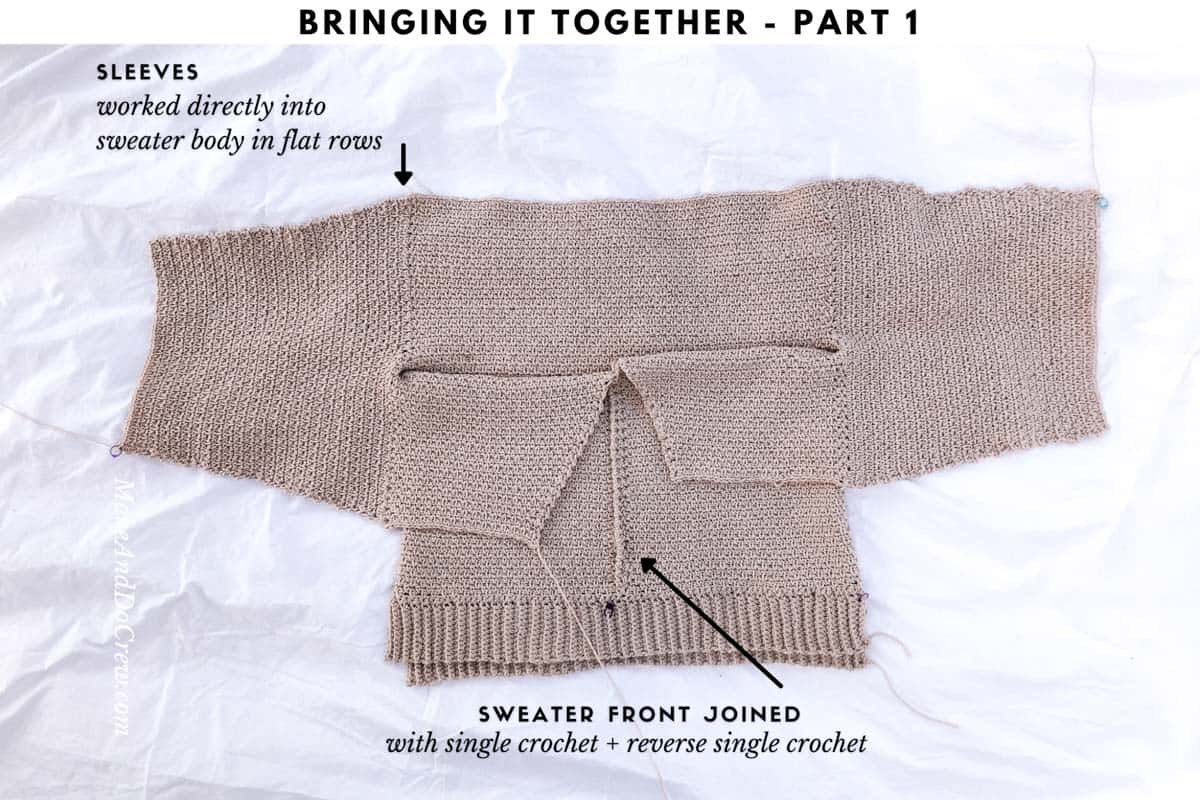
Make 2. With larger hook:
Row 1 (RS): Ch 1, sc in first row end, *ch 1, sk next row end, sc in next row end**; rep from * last row end of side, ch 1, sk last row end, sc in marked st (you will now have 2 sc in marked st), [ch 1, sk next st, sc in next st] 1 ( 1, 2, 3, 4, 5, 5, 7) time(s), ch 1, sk last st, sc in marked st; rep between * and ** to top of armhole; turn. Remove markers. [57 (57, 63, 69, 75, 81, 81, 89) total sts]
Row 2 (WS): Ch 1, sc in first sc, sc in first ch1sp, *ch 1, sk next sc, sc in next ch1sp; rep from * to last sc, sc in last sc; turn. [57 (57, 63, 69, 75, 81, 81, 89) total sts]
Row 3 (RS): Ch 1, sc in first sc, *ch 1, sk next sc, sc in next ch1sp; rep from * to last 2 sc, ch 1, sk next sc, sc in last sc; turn. [57 (57, 63, 69, 75, 81, 81, 89) total sts]
Row 4 (WS): Rep Row 2.
Row 5 (RS - dec): Ch 1, sc2tog over first 2 sc, (do not ch 1), sc in first ch1sp, *ch 1, sk next sc, sc in next ch1sp; rep from * to last 2 sc, (do not ch 1), sc2tog. Turn. [55, (55, 61, 67, 73, 79, 79, 87) total sts]
Row 6 (WS): Rep Row 3.
Sizes Small and Medium Only
Rows 7–10: Rep Rows 2 & 3 twice.
Row 11: Rep Row 2.
Row 12: Rep Row 5. (53 sts)
Then, rep rows 6–12 seven more times. (39 sts)
Then, rep rows 6–8 once more for Small only and fasten off.
Rep rows 6–10 once more for Medium only and fasten off.
Sleeve should now contain 37 sts for both Small and Medium and 64 (66) rows.
Size Large Only
Rows 7–10: Rep Rows 2 & 3 twice.
Row 11 (RS - dec): Ch 1, sc2tog over first sc and first ch1sp, ch 1, sk next sc, sc in next ch1sp; rep from * to last (sc, ch1sp, sc), ch 1, sk next sc, sc2tog over last ch1sp and last sc; turn. (59 sts)
Rows 12–15 (WS): Rep Rows 2 & 3 twice.
Row 16: Rep Row 2.
Rep Rows 5–16 four more times. (43 sts)
Rep Rows 5–7 once more. Fasten off. (41 sts)
Sleeve should now contain 41 sts and 67 rows.
Size 1X Only
Rows 7–9: Rep Rows 2 & 3, then Row 2 once more.
Wanna save this pattern?
Row 10 (WS - dec): Rep Row 5. (65 sts)
Rep rows 6–10 eleven more times. (43 sts)
Last Row (dec): Work as Row 3 to last 2 sc, sc2tog. Fasten off. (1 st decreased)
Sleeve should now contain 42 sts and 66 rows.
Size 2X Only
Rows 7–8: Rep Rows 2 & 3.
Row 9 (RS - dec): Ch 1, sc2tog over first sc and first ch1sp, ch 1, sk next sc, sc in next ch1sp; rep from * to last (sc, ch1sp, sc), ch 1, sk next sc, sc2tog over last ch1sp and last sc; turn. (71 sts)
Rows 10–11: Rep Rows 2 & 3.
Row 12: Rep Row 2.
Rep Rows 5–12 six more times. (47 sts)
Rep Row 5 once more. Fasten off. (45 sts)
Sleeve should now contain 45 sts and 61 rows.
Sizes 3X and 4X only
Rows 7: Rep Row 2.
Row 8 (WS - dec): Rep Row 5. (77 sts)
Rep rows 6–8 fifteen more times. (47 sts)
For size 3X only: rep Row 3 once, then Rows 2–3 once more.
Fasten off for both sizes.
Sleeve should now contain 47 sts for both 3X and 4X and 56 (53) rows.
Size 5X Only
Rows 7–9: Rep Rows 2–4.
Row 10 (WS - dec): Rep Row 5. (85 sts)
Row 11: Rep Row 3.
Row 12 (WS - dec): Ch 1, sc2tog over first sc and next ch1sp, ch 1, sk next sc, sc in next ch1sp; rep from * to last 2 sc, ch 1, sk next sc, sc2tog over next ch1sp and last sc; turn. (83 sts)
Row 13: Rep Row 2.
Rep Rows 10–13 eight more times. (51 sts)
Rep Rows 5–6. (49 sts)
Last Row: Work as Row 12 to last 2 sc, ch 1, sk next sc, sc in next ch1sp, sc in last sc. Fasten off. (1 st decreased)
Sleeve should now contain 48 sts and 48 rows. Keep yarn attached and move on to cuff.
Cuff:
Notes:
• Each ribbing row worked in the direction of the sleeve contains a decrease where ribbing meets sleeve. This makes ribbing slightly tighter than sleeve.
• While the stitches used are different and there isn’t a decrease at the point of join, the video tutorial in this post illustrates how the basic concept of how to add ribbing.
Using smaller hook and with yarn still attached:
Cuff Foundation: Ch 11.
Row 1 (WS - dec): Sc in 2nd ch from hook and in each ch to end, slst in next st of sleeve, pull up a loop in the next 2 sts of sleeve and slst through 2 loops on hook (dec made); turn. (10 sc)
Row 2 (RS): Skip 2 slsts, do not ch 1, scblo of first sc and each sc to end of row; turn. (10 sc)
Row 3 (WS - dec): Ch 1, scblo in first sc and each sc to end of row, slst in next st of sleeve, pull up a loop in the next 2 sts of sleeve and slst through 2 loops on hook. (dec made); turn. (10 sc)
[Rep Rows 2 and 3] 11 (11, 11, 12, 13, 13, 13, 14) more times.
Sizes L, 3X and 4X Only
Next Row: Rep Row 2.
Last Row: Ch 1, scblo in first sc and each sc to end of row, pull up a loop in the last 2 sts of sleeve and slst through 2 loops on hook (dec made). (10 sc)
All Sizes
Ribbing should now contain 25 (25, 27, 27, 29, 31, 31, 31) rows in total. Fasten off.
Finishing
Seaming Front:
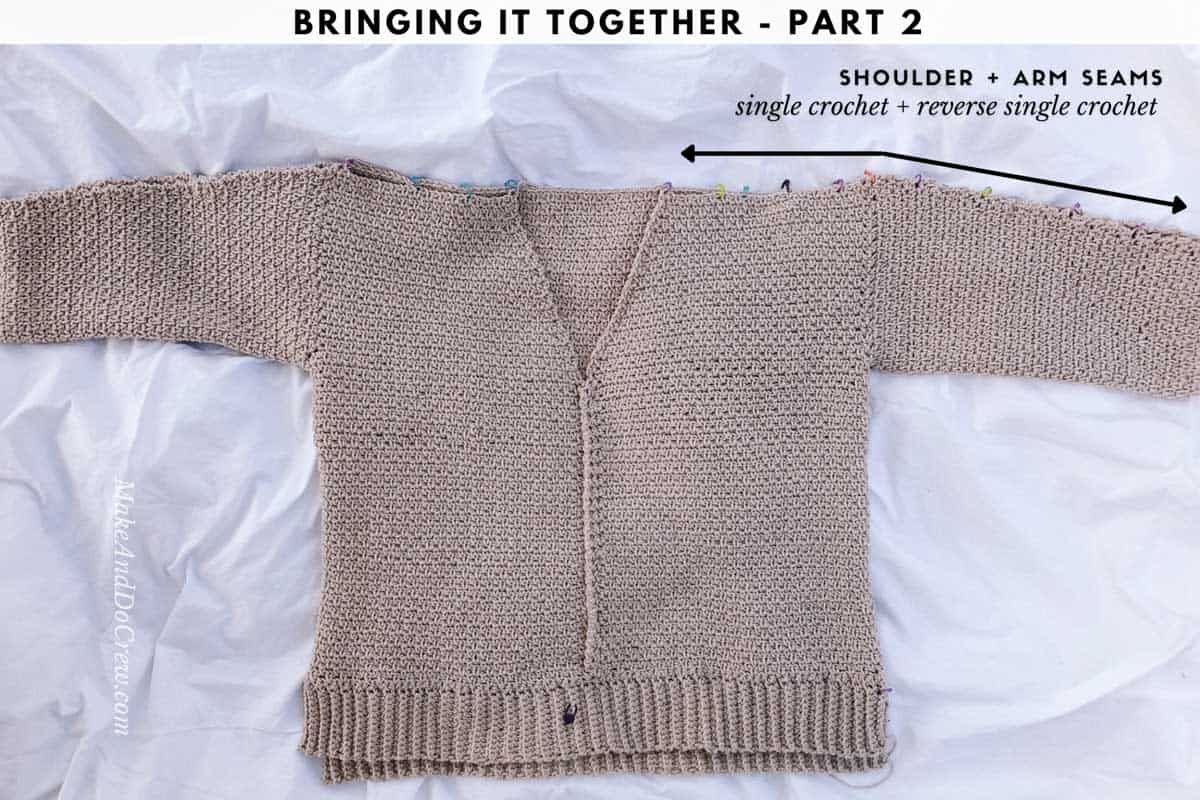
Pin wrong sides together. Starting at bottom of front, join yarn in first row. Work single crochets loosely as you will skip every other row.
Joining Row 1 (RS): Ch 1, sc in same sp as join, working through both sides of Front at the same time, *skip next row, sc in next row (though both sides as the same time); rep from * to end of row at neck edge. Do not turn because Row 2 is worked in reverse. (25 sc for all sizes unless the length was changed before dividing for armholes.)
Row 2 (RS): Ch 1, rsc in each sc working back down the front. Fasten off. (25 rsc)
Seaming Sleeves + Shoulders:
Pin wrong sides together. Join yarn at bottom of sleeve. Work single crochets loosely as you will skip every other row.
Joining Row 1 (RS): Ch 1, sc in same sp as join, working through both sides of Sleeve at the same time, *sk next row, sc in next row (working through both sides of Sleeve and then Shoulder at the same time); rep from * to end of row at neck edge, working a sc in second to last row as well as the last row for sizes S-3X. Do not turn because Row 2 is worked in reverse. [46 (49, 50, 51, 49, 48, 48, 46) sc]
Row 2 (RS): Ch 1, work rsc in each sc working back down the sleeve to the cuff. Do not fasten off. [[46 (49, 50, 51, 49, 48, 48, 46) rsc]
Repeat for second sleeve.
Neck Border:
With RS facing, join yarn at center V of neck. Work up right side of neck, across back and down left side of neck edge as follows. (Left-handed: work opposite direction.)
Round 1 (RS): Ch 1, sc in every other row up right front neck edge, sc in every ch1sp across back neck edge, sc in every other row down left neck edge. Do not turn. [40(40, 45, 48, 53, 56, 56, 61) sc]
Round 2 (RS): Ch 1, rsc in each sc, slst in first rsc to join. Fasten off.
Weave in any remaining ends.
Wear your new pullover with the satisfaction only something made by hand can provide!
Share your work! Mention @MakeAndDoCrew and tag #MakeAndDoCrew and #Celestial Sweater to show off your stitches ⇨
That was so fun! Now what?
Invitation to our Facebook group
Come discuss crocheting celestial sweater patterns and lots of other crochet projects and techniques in our Make & Do Crew Facebook group. Here thousands of helpful crocheters answer each others questions and share their stitches. Come join us here.
Find Your Next Sweater Project
- Seamless Crochet Poncho - a great first garment for beginners
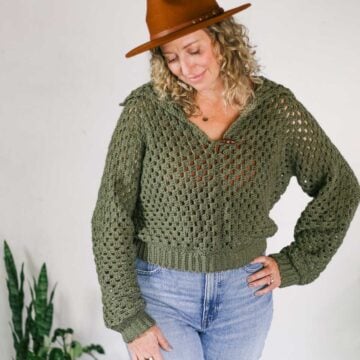
- Basic V-Neck Pattern - classic styling
- High Low Jumper Pattern - finish in one weekend
- Rectangle Crochet Poncho - made from two simple pieces
- Oversized Cardi - with fur collar
- Sherpa Fleece Sweater Jacket - extremely cozy cardi
- Raglan Baby Sweater - cute for Christmas
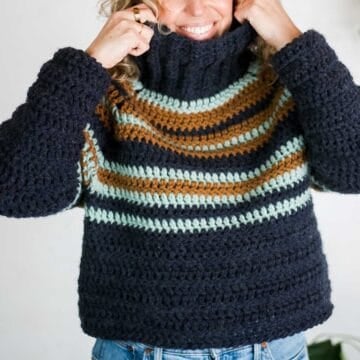
- Pullover with Removable Cowl - unique and easy design
More Free Patterns + Tutorials
Can't get enough free crochet patterns!? Me either. You'll definitely want to breeze through these collections to find your next project.
- 55+ Free Crochet Sweater and Cardigan Patterns - our most popular garments
- 40+ Free Crochet Blanket Patterns - baby blankets, throws + c2c graphgans
- 36+ Granny Square Patterns + tips for the perfect square
- 30+ Crochet Animal Patterns - adorable amigurumi stuffed animals
- Crochet Gift Ideas - easy patterns to make for others
- Fast Crochet Projects - start to finish in less than a day
Learn a New Skill
And when you're ready to master a new skill, check out our detailed guides that include everything you need to know to level up your crochet game.
- How to Corner to Corner (C2C) Crochet for Beginners - with video tutorials to get you started
- How to Crochet a Beginner Hat - make an entire beanie in 1.5 hours!
- How to Crochet Amigurumi for Beginners - the ultimate guide to making your own toys and plushies
- How to Tunisian Crochet - learn with this video and a standard hook






Leave a Reply