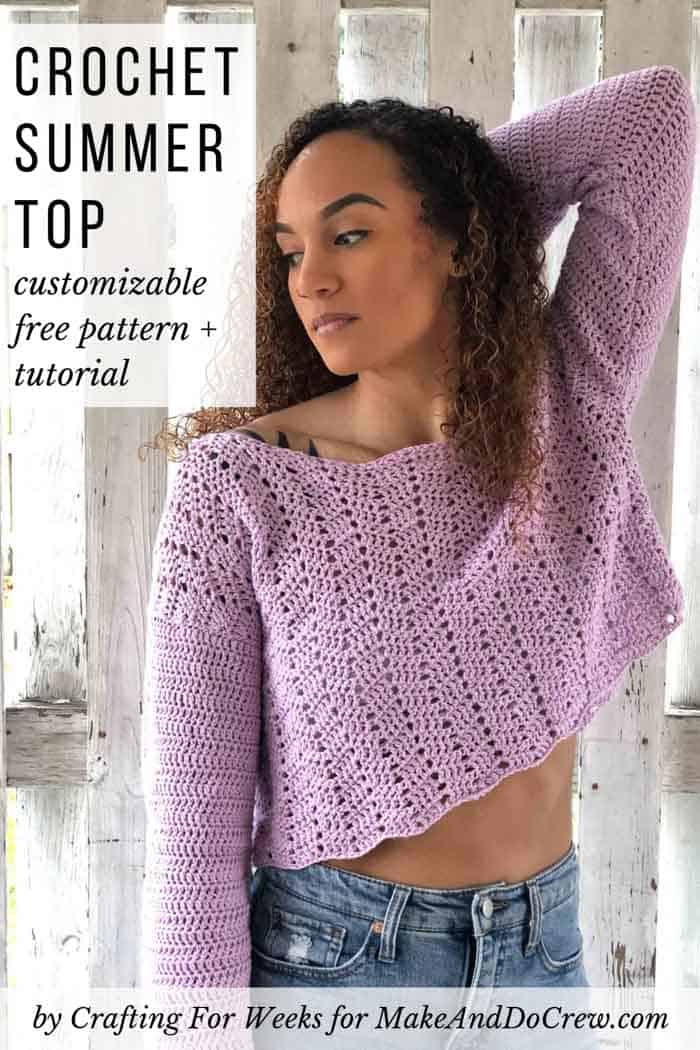
Add some sass to your style with this cropped crochet summer top with bell sleeves. Sassy not your thing? This lacy crochet sweater is easily customizable to be full length, short sleeve, sleeveless--whatever your heart (and hook) desires. Get the full free crochet pattern below.
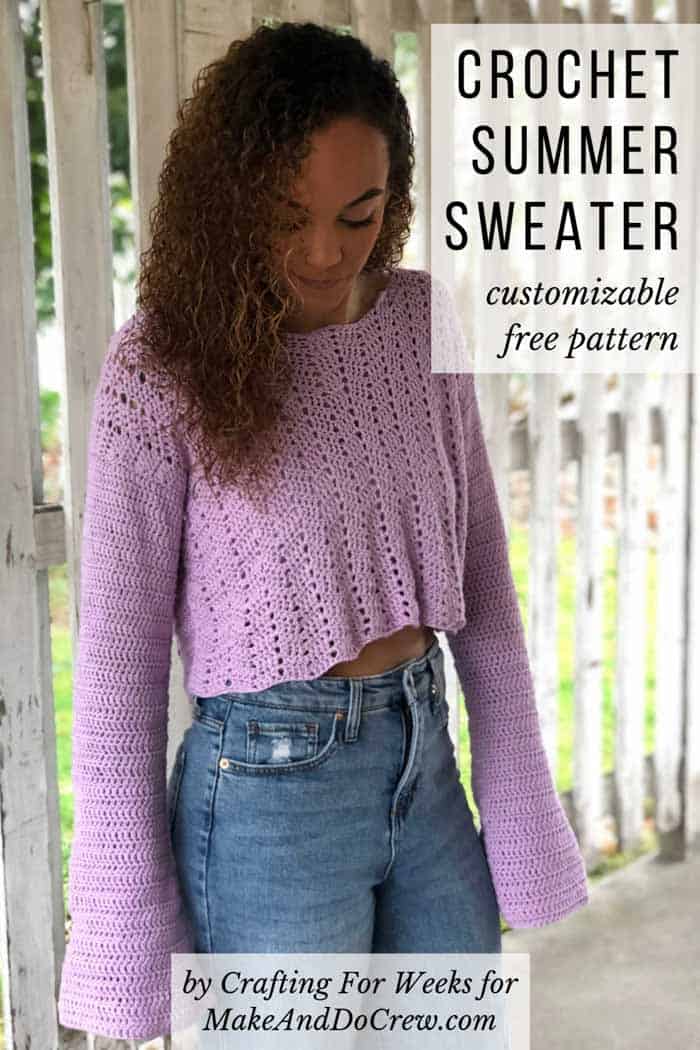
Thanks to Lion Brand Yarns for providing the yarn for this free crochet summer top pattern. This post contains affiliate links.
Welcome back to the Make & Do Crew guest designer series. While I'm getting to know the newest baby in our family, Kelsie from Crafting For Weeks is sharing her free crochet summer top pattern with us today! You can see lots of of Kelsie's crochet patterns her blog, Crafting For Weeks, Etsy, and Ravelry. And be sure to check her out on social media too: Instagram, Pinterest, and Facebook. Kelsie, take it away!
The Inspiration for My Crochet Summer Top
When I started designing this sweater, the only thing I knew was that I wanted it to have dramatic bell sleeves. My original thought was to go with a simple v-neck, but after getting it all assembled, it just didn't look quite like I hoped. But as a somewhat new designer, I'm no stranger to frogging a project.
Since I knew that I wanted to salvage my sleeves, I started looking through my crochet books for something that just jumped out at me to use for the body piece. I found a stitch called Peephole Chevron stitch that seemed to have the perfect texture for a spring garment.
I was so much happier with the result of using some different stitches to create some lace effect and texture. Plus, I was able to keep my dramatic sleeves. I love the drape and feel of this sweater once it all came together.
Double Crochet Is All You Need To Know!
This pattern is fairly simple in at its core. The only stitch you'll really see through the entire pattern is a double crochet stitch or a variation of it. Because of the variations in the double crochet stitches and the assembly requirements, I have called this an intermediate pattern. But if you can do a double crochet stitch and read a crochet pattern fairly well, this a great pattern for even a beginner to try out.
Since I know that crop tops with dramatic sleeves aren't everyone's ideal garment (trust me, I'm 2 months postpartum with my 3rd child, lol) I tried to give some variation on the pattern. It's very easy to adjust the length by adding rows. And if you want don't want long sleeves, you can make a quick short sleeve or just leave the sleeves off entirely for a cap sleeve style.
A Cotton Yarn With Beautiful Drape for Summer
I used Lion Brand Coboo yarn for this project. This is a CYC weight 3 yarn. Its made from a combination of cotton and bamboo fibers. I wanted to use a cotton blend so that it would be a bit more breathable for spring and summer.
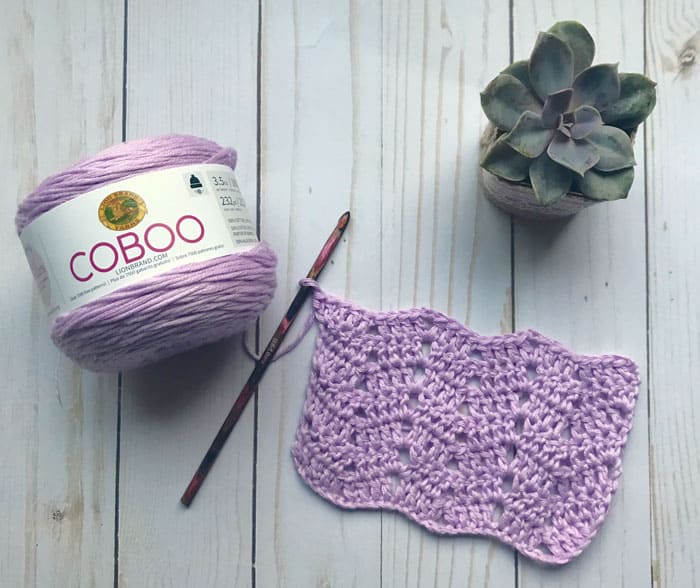
This yarn is a bit unique because its a multi-stranded yarn. Instead of being spun or twisted together, it's more like several threads held together and wound into a cake. This type of yarn gives absolutely amazing drape, but you do have to be careful not to split the yarn as you're working. (You can see all the colors of Lion Brand Coboo here.)
I found that if I used a slightly more in-line hook, I didn't have problems with my yarn splitting. If you were to substitute this yarn, I would recommend another CYC weight 3 or DK yarn that meets the gauge.
More Free Crochet Sweater Patterns
Crochet sweater patterns don't need to be difficult. In fact, most of ours are made with very simple shapes. Dive into the wonderful world of crochet garments with cardigans, pullovers, ponchos, shrugs and more!
See more free crochet sweater patterns →
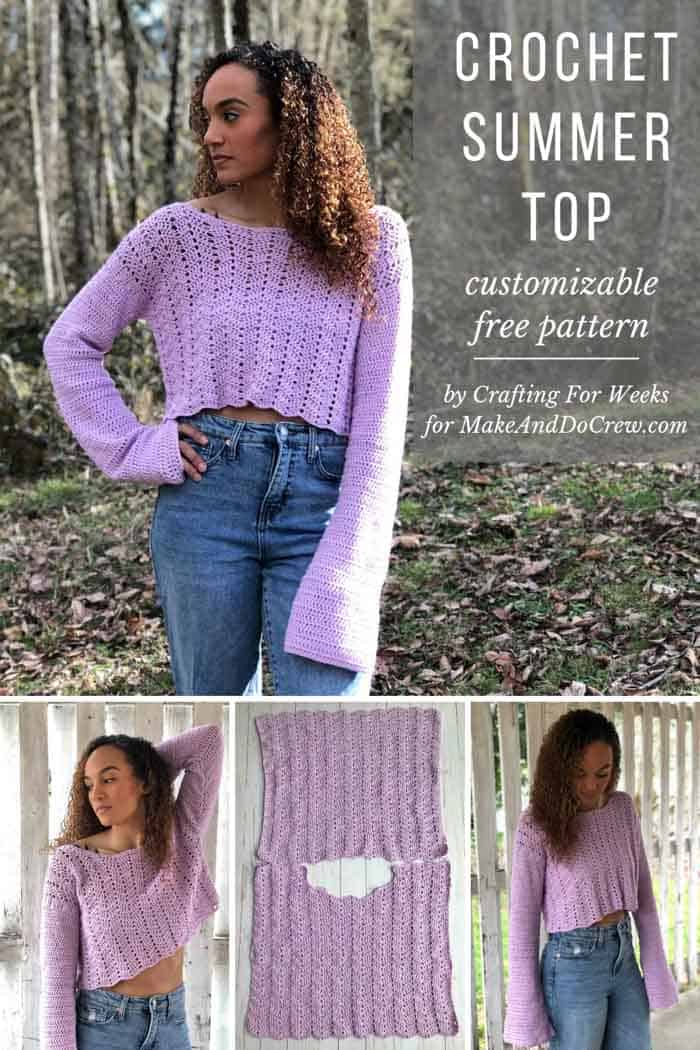
Willow Crop
Free Crochet Top Pattern
Pin This Pattern for Later here.
Explanation:
The Willow Crop Top is an ultra-versatile crochet sweater. This top has a lacy design with dramatic bell sleeves. However, if long sleeves aren’t your cup of tea, this pattern has the option to make it into short sleeve top. This sweater can easily be made to whatever length you choose, whether it be flirty crop-length or a beautiful full-length. It’s made with Lion Brand Coboo, which is a Cotton/Bamboo yarn. This yarn has amazing drape and is super lightweight, making it a perfect addition to your spring/summer wardrobe. This pattern is an intermediate level of difficulty. While it uses basic stitches, it requires some experience with reading patterns.
Supplies:
• Lion Brand Coboo (weight: 4/worsted - 400 yards, 3.5 oz)
- Lilac (#835-143) - 4-7 balls
• Size H (5.5 mm) crochet hook
• Tapestry needle
• Stitch markers
• Scissors
• Measuring tape
Sizes/Measurements:
• X-Small: 15” Length, 15” Width, 21” Sleeve (860 yds/4 skeins)
• Small: 16” Length, 17” Width, 21” Sleeve (980 yds/5 skeins)
• Medium: 17” Length, 19” Width, 21” Sleeve (1100 yds/5 skeins)
• Large: 18” Length, 21” Width, 21” Sleeve (1240 yds/6 skeins)
• X-Large: 19” Length, 23” Width, 21” Sleeve (1380 yds/6 skeins)
• 2X-Large: 20” Length, 25” Width, 21” Sleeve (1520 yds/7 skeins)
Gauge:
• 20 stitches x 7 rows = 4” square
• Pattern for Gauge: (Peephole Chevron Stitch)
- Row 1: Ch 22. DC in 3rd chain from hook. DC in each of the next 3 stitches. *Skip 2 Ch. DC in next 4 Ch spaces. Ch 2. DC in each of the next 4 Ch spaces.* Repeat from * until you reach the last Ch space. DC 2 in the last Ch space.
- Row 2-7: Ch 3 and turn. DC in first stitch (same stitch as Ch 3). *DC in next 3 stitches. Sk 2 stitches. DC in each of the next 3 stitches. DC 1, Ch 2, DC 1 in the Ch 2 spaces from the previous row.* Repeat from * until you reach the turning Ch. DC 2 in the turning Ch.
Abbreviations and Glossary (US Terms):
DC - Double Crochet
Ch - Chain
DC2Tog - Double Crochet Two Together, Whip Stitch
Overall Pattern Notes:
• Top is made to be slightly oversized to accentuate the drape. For a more fitted top, go down one size.
• Sweater can be made full-length by adding rows until it reaches desired length. Additional yarn will be needed to make full-length version.
• Sweater can be made short sleeved by leaving off bell-sleeves and substituting short sleeve directions. Alternatively you can leave off sleeves entirely and seam the sides, leaving space for armholes.
• Panels are worked in increments of 10 stitches (+2 turning stitches) to adjust the size of your sweater panels, add or subtract 10 stitches at a time.
• Parentheses are used to differentiate between sizes throughout the pattern. Sizes are as follows (X-Small, Small, Medium, Large, X-Large, 2X-Large)
Back Panel
The panels can be made in cropped or full-length depending on how long you want your sweater to be. Row count recommendations are included for both crop and full length. However, to tailor your sweater, simply add or subtract rows to adjust the length. For a more fitted sweater, it is recommended that you size your panels down one size.
Ch 102 (82, 92, 102, 112, 122, 132).
Row 1: DC in 3rd chain from hook (Note: Ch spaces count as first stitch throughout panels). DC in each of the next 3 stitches. *Skip 2 Ch. DC in next 4 Ch spaces. Ch 2. DC in each of the next 4 Ch spaces.* Repeat from * until you reach the last Ch space. DC 2 in the last Ch space.
Row 2: Ch 3 and turn. DC in first stitch (same stitch as Ch 3). *DC in next 3 stitches. Sk 2 stitches. DC in each of the next 3 stitches. DC 1, Ch 2, DC 1 in the Ch 2 spaces from the previous row.* Repeat from * until you reach the turning Ch. DC 2 in the turning Ch.
Repeat Row 2 until work reaches desired length, taking note of how many rows were worked.
✨Unlock this free subscriber-exclusive pattern ✨
Follow these steps to view the full free pattern below
Neckline Shaping
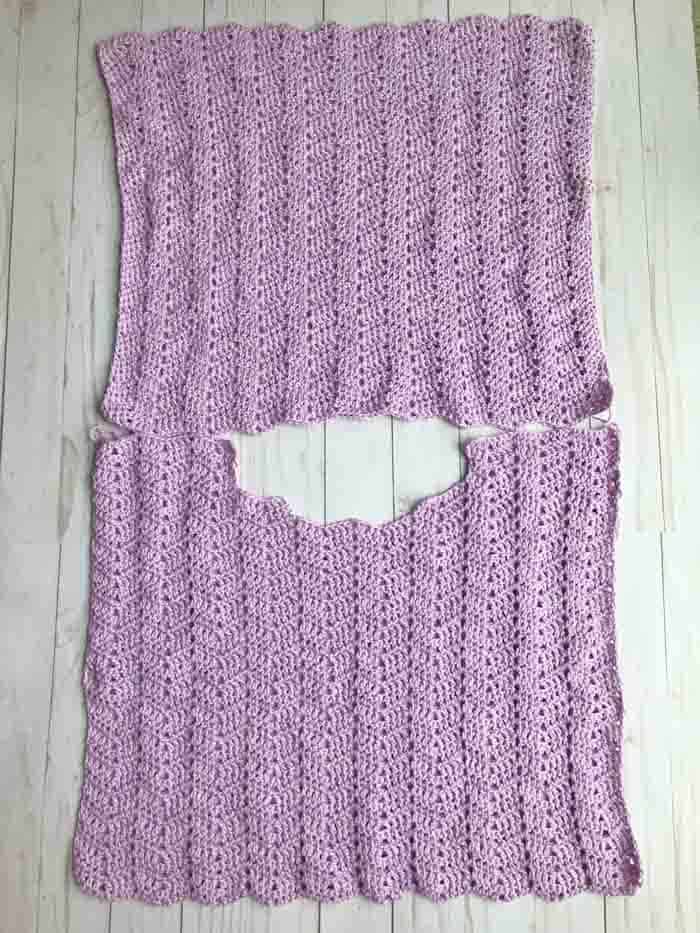
We will now begin to shape the neckline by continuing with the working yarn. This will involve ending the rows early and turning. Each row will end in the peak of a chevron. If you would prefer a boxy, straight-across neckline, skip the shaping steps and make the front panel exactly the same as the back panel.
Shoulder
Row 1: Ch 3 and turn. DC in first stitch (same stitch as Ch 3). *DC in next 3 stitches. Sk 2 stitches. DC in each of the next 3 stitches. [DC 1, Ch 2, DC 1] in the Ch 2 spaces from the previous row.* Repeat from * 2(1,1,2,2,3,3) more times. DC in next 3 stitches. Sk 2 stitches. DC in each of the next 3 stitches. DC 1 in the chain space from the previous row.
Row 2: Ch 3 and turn. DC in first stitch (same stitch as Ch 3). DC in next 2 stitches. Sk 2 stitches. DC in each of the next 3 stitches. [DC 1, Ch 2, DC 1] in the Ch 2 spaces from the previous row. *DC in next 3 stitches. Sk 2 stitches. DC in each of the next 3 stitches. [DC 1, Ch 2, DC 1] in the Ch 2 spaces from the previous row.* Repeat from * until you reach the turning Ch. DC 2 in the turning Ch.
Row 3: Ch 3 and turn. DC in first stitch (same stitch as Ch 3). *DC in next 3 stitches. Sk 2 stitches. DC in each of the next 3 stitches. [DC 1, Ch 2, DC 1] in the Ch 2 spaces from the previous row.* Repeat from * 1 (0,0,1,1,2,2) more times. DC in next 3 stitches. Sk 2 stitches. DC in each of the next 3 stitches. DC 1 in the chain space from the previous row.
Row 4: Ch 3 and turn. DC in first stitch (same stitch as Ch 3). DC in next 2 stitches. Sk 2 stitches. DC in each of the next 3 stitches. [DC 1, Ch 2, DC 1] in the Ch 2 spaces from the previous row. *DC in next 3 stitches. Sk 2 stitches. DC in each of the next 3 stitches. [DC 1, Ch 2, DC 1] in the Ch 2 spaces from the previous row.* Repeat from * until you reach the turning Ch. DC 2 in the turning Ch.
Wanna save this pattern?
Row 5: Ch 3 and turn. DC in first stitch (same stitch as Ch 3). *DC in next 3 stitches. Sk 2 stitches. DC in each of the next 3 stitches. [DC 1, Ch 2, DC 1] in the Ch 2 spaces from the previous row.* Repeat from * (0,0,1,1,2,2) more time. DC in next 3 stitches. Sk 2 stitches. DC in each of the next 2 stitches. DC 2 in the turning ch.
Row 6: Repeat Row 4 (For sizes XS-Large, tie off and weave ends after Row 6)
Row 7: Ch 3 and turn. DC in first stitch (same stitch as Ch 3). *DC in next 3 stitches. Sk 2 stitches. DC in each of the next 3 stitches. [DC 1, Ch 2, DC 1] in the Ch 2 spaces from the previous row.* Repeat from * (-,-,-,-,2,2) more time. DC in next 3 stitches. Sk 2 stitches. DC in each of the next 2 stitches. DC 2 in the turning ch.
Row 8: Repeat Row 4. Tie off and weave in ends.
Opposite Shoulder
Attach Yarn on opposite side of top and repeat Rows 1-6(8).
Sleeves
To tailor sleeves to fit your needs, you can measure your arm at its widest point, just below the armpit. Take this measurement and add 2” and that will be the length of the starting chain you will need for your sleeve.
For Bell Sleeves:
Row 1: Ch 55 (51, 53, 55, 59, 63, 67). DC in the 4th Ch from hook (Ch spaces count as first stitch throughout sleeves). DC in next Ch space each Ch across.
Row 2-4: Ch 3 (counts as first stitch) and turn. DC in next stitch and each stitch across. (48, 50, 52, 56, 60, 64)
Row 5: Ch 3 and turn. DC2Tog over next 2 stitches. DC in each stitch across until 3 stitches (including the turning Ch) remain. DC2Tog over next 2 stitches. DC in turning Ch.
Row 6-8: Repeat Rows 2-4
Row 9: Repeat Row 5
Row 10-12: Repeat Rows 2-4
Row 13: Repeat Row 5
Row 14-16: Repeat Rows 2-4
Row 17: Repeat Row 5
Row 18: Ch 3. DC in same stitch. DC in each stitch across.
Row 19-40: Repeat Row 18 (continue repeat until sleeve reaches desired length)
Make 2 sleeves.
For Short Sleeves:
Row 1: Ch 55 (51, 53, 55, 59, 63, 67). DC in 4th Ch from hook (counts as first stitch). DC in next Ch space and each Ch across. (48, 50, 52, 56, 60, 64)
Row 2-6: Ch 3 and turn. DC in next stitch and each stitch across. (continue repeat until sleeve reaches desired length)
Make 2 sleeves.
Fold sleeve in half lengthwise for bell sleeves (short ends together for short sleeved version). Whip stitch along the length of the sleeve using a tapestry needle. Tie off and weave in ends.
Related: 30+ Beautiful Free Crochet Dress Patterns
Assembly
Connecting Panels:
Line up the top edges of the Front Panel with the top edges of the Back Panel.
Whip stitch the top edges of both pieces together, stopping when you reach the edge of the last row of Neckline Shaping.
Attaching Sleeves:
1) Open the Front and Back Panels, so that the right sides are facing up. Turn your sleeves right side out.
2) Lay first sleeve across the Back Panel with the top (shoulder portion) of the sleeve meeting the point where the panels are sewn together. The sleeve seam should be pointing toward the bottom edge.
3) Fold the Front Panel down over the sleeve. You should now have your sleeve sandwiched between the two panels with the wrong sides of the panels facing out. The edge of the top of the sleeve should line up along the top one side.
4) Whip stitch the sleeve into place, then continue to whip stitch down the side of the two panels. When you open the panels, you should have one sleeve and one side seam finished with all the whip stitches on the wrong side.
5) Repeat with opposite sleeve.
Thanks again to Kelsie of CraftingForWeeks.com for sharing this free crochet summer top pattern! Be sure to check out Kelsie's blog for lots more free modern crochet patterns!
That was so fun! Now what?
Invitation to our Facebook group
Come discuss the best crochet top patterns and lots of other crochet projects and techniques in our Make & Do Crew Facebook group
. Here thousands of helpful crocheters answer each others questions and share their stitches. Come join us here.
Find Your Next Sweater Project
- Sherpa Fleece Sweater Jacket - extremely cozy cardi
- Raglan Baby Sweater - cute for Christmas
- Pullover with Removable Cowl - unique and easy design
- Hooded Sweater Pattern - Self, striping Mandala yarn pattern
- Tapestry Crochet Pattern - classic fisherman's sweater
- Seamless Cardigan Pattern - doable first sweater for beginners
- How to Crochet a Top Down Sweater - stylish, slim fit
- Lightweight Cropped Sweater - stylish 3 season top
More Free Patterns + Tutorials
Can't get enough free crochet patterns!? Me either. You'll definitely want to breeze through these collections to find your next project.
- 55+ Free Crochet Sweater and Cardigan Patterns - our most popular garments
- 40+ Free Crochet Blanket Patterns - baby blankets, throws + c2c graphgans
- 36+ Granny Square Patterns + tips for the perfect square
- 30+ Crochet Animal Patterns - adorable amigurumi stuffed animals
- Crochet Gift Ideas - easy patterns to make for others
- Fast Crochet Projects - start to finish in less than a day
Learn a New Skill
And when you're ready to master a new skill, check out our detailed guides that include everything you need to know to level up your crochet game.
- How to Corner to Corner (C2C) Crochet for Beginners - with video tutorials to get you started
- How to Crochet a Beginner Hat - make an entire beanie in 1.5 hours!
- How to Crochet Amigurumi for Beginners - the ultimate guide to making your own toys and plushies
- How to Tunisian Crochet - learn with this video and a standard hook
More Free Modern Crochet Patterns for Warm Weather
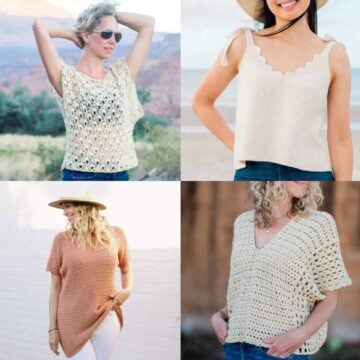
If you’re interested in more free beginner crochet patterns for warm weather, here are a few of the most loved by M&DC crocheters.
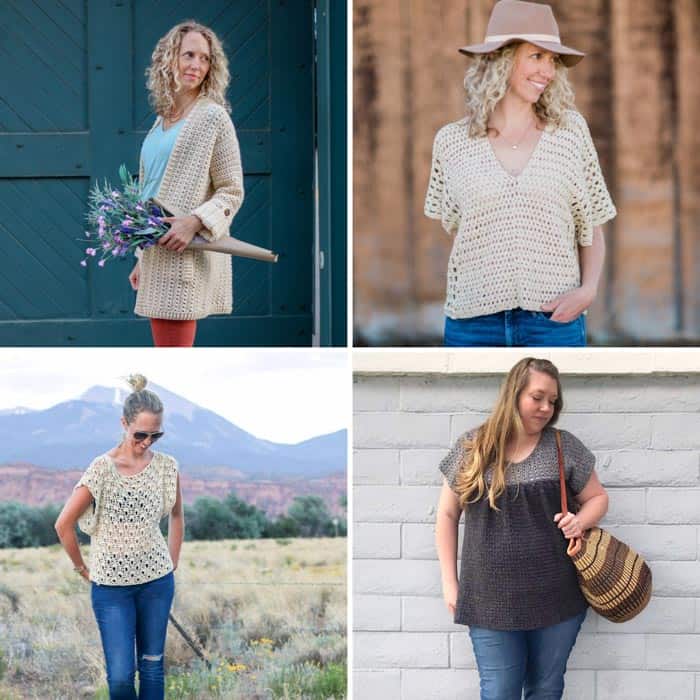
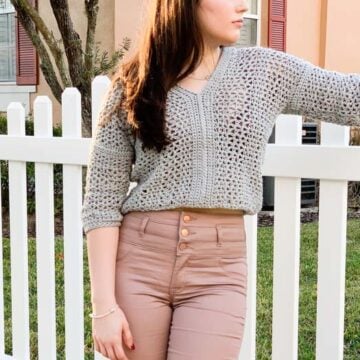
1. Alchemy Cardigan - This lightweight sweater is perfect to throw on for summer evenings. Extensive video tutorials walk you through every step of the free pattern. Sizes S-4X.
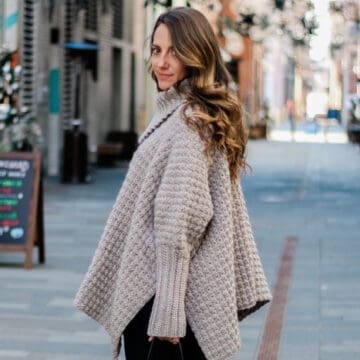
2. Saratoga Poncho Top - This popular pattern is made from two simple rectangles to create a boho style that's flattering on a variety of bodies. Sizes S-3X.
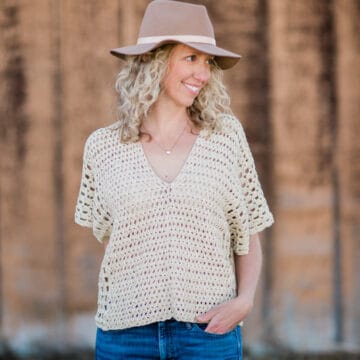
3. Canyonlands Boho Crochet Top - If feminine, bohemian style is your thing, you're going to love this T-style top. Sizes S-3X.
4. Andie Crochet Top - A lightweight crochet top with cap sleeves that uses basic crochet stitches to create a beautiful texture. Gathers add a flattering touch for any figure. Sizes XS-3X.






Elegon Otasowie says
Hey there, i really love your patterns and and as a beginner, it has assisted me so much. I got a bit confused in the neckline and shoulder part. Please could you try and explain to me especially around the part where you put repeat*2 more times and also the dc1 in the chain space from the previous row.