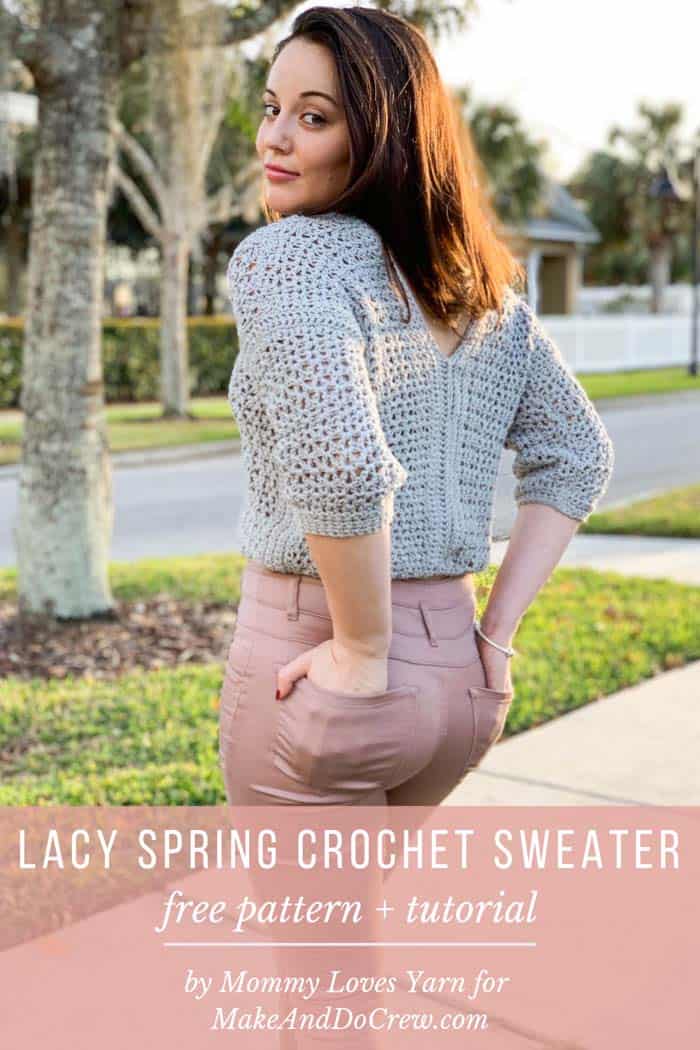
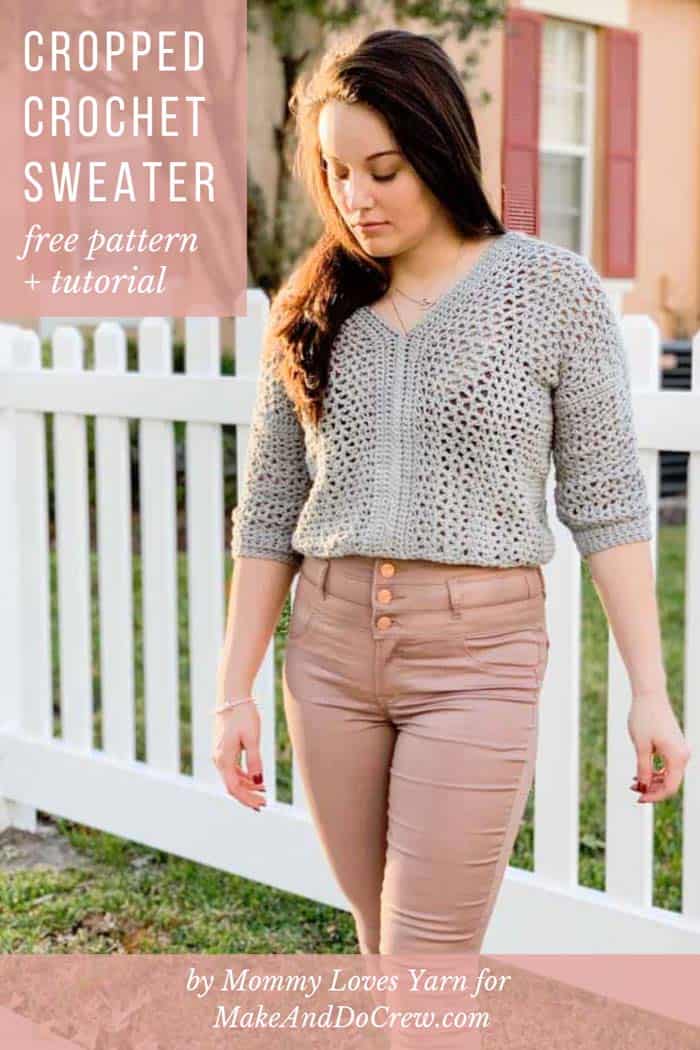
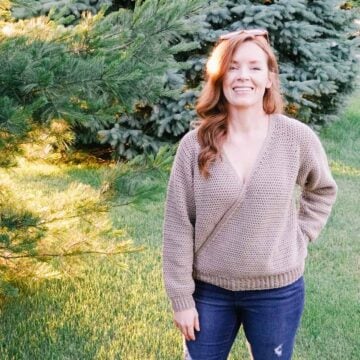
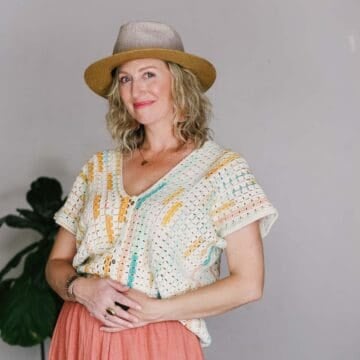
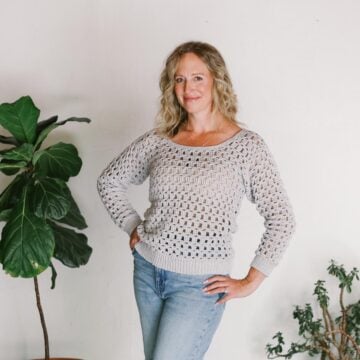
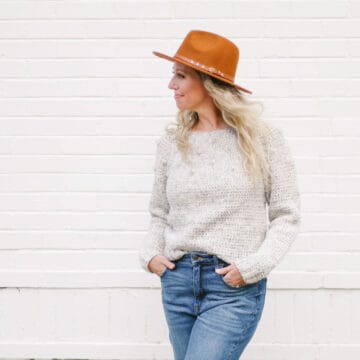
This v-neck, lightweight cropped crochet sweater comes together with surprisingly simple construction and is perfect for the warmer weather months ahead. Get the full free pattern below or purchase the printable, ad-free PDF here!
Thanks to Lion Brand Yarns for providing the yarn for this free cropped crochet sweater pattern. This post contains affiliate links.
Welcome to the Make & Do Crew guest designer series. While I'm prepping for the newest baby in our family, Liz Salazar from Mommy Loves Yarn is sharing her free lightweight cropped crochet sweater pattern with us today! You can see lots of of Liz's crochet patterns her blog, Mommy Loves Yarn, or in her Etsy shop. And be sure to check her out on social media too: Instagram, Pinterest, and Facebook. Liz, take it away!
The Inspiration for My Cropped Crochet Sweater
I’m Liz and I’m a lover of all things yarn related. My husband, two active little boys and my beautiful daughter are the loves of my life. Briana, my daughter, happily models my crochet designs for me. And I think she looks fantastic in the Silver Linings V-neck top that I created for Make and Do Crew. I’m so grateful to the ladies of “the crew” for this incredible opportunity. Showing off my work on the Make and Do Crew blog, from which I’ve gained so much inspiration and knowledge, is a dream come true.
A Cropped Crochet Sweater with Simple Construction
The silver linings top has a unique yet simple construction that’s really easy to achieve. If you’ve made a garment or two you can easily tackle this project. You’ll need to know a few basic crochet stitches as well as a good seaming technique. I like the mattress seam.
This top works up quickly and the end result is a beautiful v-neck that you’ll want to wear just about anywhere. It’s going to look great with sandals and denim for a day of shopping and brunch with friends. The open stitching creates a light weight drapey fabric, perfect for a spring or summer evening out. Two main body panels are seamed up the middle front and middle back rather than the sides.
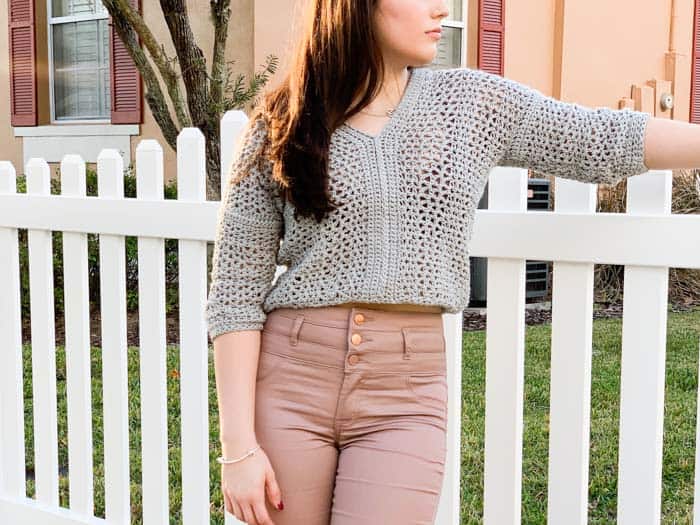
This construction allows the maker to create one armhole in each panel and also results is a beautiful v- neckline for both the front and back of the top. You’ll really love the stitch pattern because it consists of the quick and simple v-stitch with a few rows of single crochet sprinkled in. Alternating double crochet v stitches with half double crochet v stitches produces a subtle monochromatic striped pattern within the design.
New to making garments? Don't miss our beginner's guide to crocheting your first sweater.
A Yarn With Beautiful Drape for Spring Crochet Projects
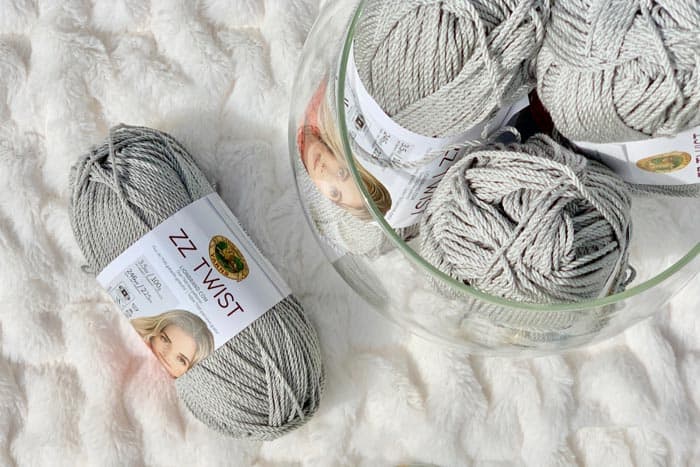
The alternating v-stitch pattern keeps things interesting but the Lion Brand ZZ Twist yarn I used really makes this one shine, literally. Can you see how the yarn has a shiny almost metallic appearance? I’ve been in love with ZZ Twist yarn ever since its release.
You can’t beat the texture that it’s going to lend to any stitch you chose. It’s the yarns “z-twist” design that creates amazing stitch definition and takes your stitches to the next level. I used the color “silver” because I wanted a lighter shade that would really emphasize my alternating v-stitch's and I think this color did the trick.
But you can find ZZ Twist yarn in an array of eye-catching colors and my current favorites are the delicious pumpkin and grape. (See them all here!) I think this top would also really stand out in ZZ Twist “royal blue.” Now let’s get to making!
More Free Crochet Sweater Patterns
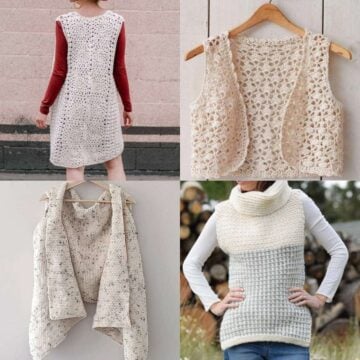
Crochet sweater patterns don't need to be difficult. In fact, most of ours are made with very simple shapes. Dive into the wonderful world of crochet garments with cardigans, pullovers, ponchos, shrugs and more!
See more free crochet sweater patterns →
Silver Linings V-Neck Top
Free Cropped Crochet Sweater Pattern
Purchase the ad-free, printable PDF from Mommy Loves Yarn here.
Pin it for later here.
Explanation:
Some days simply call for a plunging neckline! Shaping those v-necks can be tricky in crochet, but there's no shaping needed for this one! You can achieve this look by simply seaming your two crocheted panels together in the centers of your top rather than the sides. This creates that beautiful plunging neckline as well as a unique open back look.
Supplies:
• Lion Brand ZZ Twist (weight: 4/medium - 246 yards, 3.5 oz)
- Silver (763-150)- 4 (5, 6, 6) balls
• Size J (6.5 mm) crochet hook
• Tapestry needle
• Stitch marker
Sizes/Measurements:
• Pattern is written in sizes S, (M, L, XL)
• Fits bust: 32-34 (36-38, 40-42, 44-46)
• Finished Measurements (each body panel):
- Length: 16.5 (16.5, 17.75, 17.75) inches
- Width: 17.5 (18.5, 20.25, 22) inches
• Finished Measurements (each sleeve):
- Length: 9 (9, 10.25, 10.25) inches
- Width: 13.25 (14, 15, 16.5) inches
Finished top is shown in size S. Model is 5 foot 3 inches tall with a 34 inch bust.
Gauge:
8 dc-v sts x 12 rows pattern st (3 rows hdc-v, 3 rows dc-v alternating) = 5.5 inches x 5.5 inches
15 sc sts x 16 rows = 4 inches x 4 inches
Abbreviations and Glossary (US Terms):
ch - chain
hdc - half-double crochet
st (sts) - stitch (stitches)
sc - single crochet
sk - skip
beg - begin/beginning
dc - double crochet
V-st - V- stitch
yo - yarn over
sp - space
dec - decrease
Dc-v - (dc, ch 1, dc) in indicated st or sp
Hdc-v - (hdc, ch 1, hdc) in indicated st or sp
Don't spend hours for a "meh" result!
Tired of crocheting garments that don't fit? Learn our C.R.A.F.T. Framework to make sweaters that fit and feel amazing!
Overall Pattern Notes:
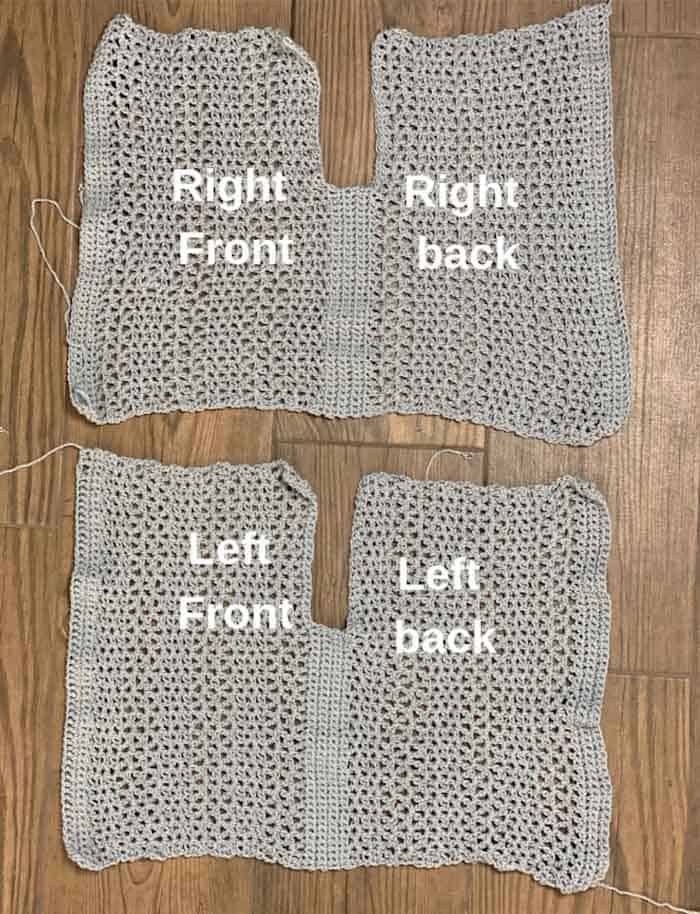
• Pattern is worked by creating 2 identical panels that will be seamed together in the middle front and middle back of the top. Sleeves are made separately then seamed on. Bottom border is worked in sc rounds after piece is seamed.
• Each panel is worked as follows in vertical rows. 1. Right front, armhole opening, right back. 2. Left front, armhole opening, left back.
• Foundation single crochet- Ch 2, insert hook in 2nd ch from hook, yo, pull up a loop (2 loops on hook), yo, draw through 1 loop (1 ch made), yo, draw through 2 loops (foundation single crochet completed) *insert hook under the 2 loops of the ch at bottom of stitch you just made, yo and pull up a loop, yo and draw through 1 loop, yo and draw through 2 loops. Repeat from * to desired number of foundation single crochet.
Right & Left Panels (Make 2 Identical)
✨Unlock this free subscriber-exclusive pattern ✨
Follow these steps to view the full free pattern below
Creating Opening For Arm
Row 20 (21, 23, 25): Ch 1, turn, sc in each st and in each ch-1 sp across. 62 (62, 71, 71) sc.
Row 21 (22, 24, 26): Ch 1, turn, sc in next 40 (36, 38, 36) sts, leaving last 22 (26, 33, 35) sts unworked.
Rows 22 (23, 25, 27) - 24 (25, 27, 29): Ch 1, turn, sc in each st across row.
40 (36, 38, 36) sc.
Row 25 (26, 28, 30): Ch 1, turn, sc in each st across to end of row, do not turn, ch 23 (27, 34, 36) (See photo below.)
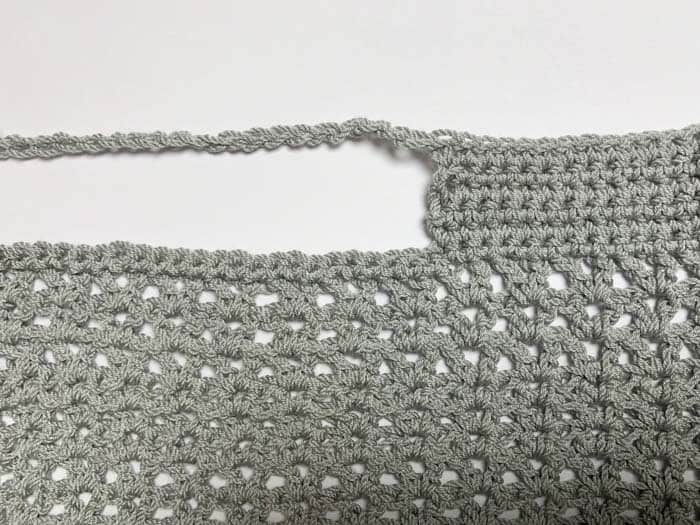
Row 26 (27, 29, 31): Turn, sc in 2nd ch from hook and each of the ch’s just made, sc in each sc st of previous row. 62 (62, 71, 71) sc
Row 27 (28, 30, 32): Ch 2, turn, hdc in first st, sk next st, hdc-v in next st, *sk next 2 sts, hdc-v in next st, repeat from * to last 2 sts, sk next st, hdc in last st. 20 (20, 23, 23) v-sts
Row 28 (29, 31, 33) - 29 (30, 32, 34): Ch 2, turn, hdc in first st, *hdc-v in ch-1 sp of next v-st, repeat from * to last st, hdc in last st.
Rows 30 (31, 33, 35) - 32 (33, 35, 37): Ch 3, turn, dc in first st, *dc-v in ch-1 sp of next v-st, repeat from * to last st, dc in last st. 20 (20, 23, 23) v-sts
Rows 33 (34, 36, 38)- 41 (43, 47, 51): Work even in pattern alternating 3 rows hdc-v with 3 rows dc-v.
Wanna save this pattern?
Row 42 (44, 48, 52): Ch 1, turn, sc in each st and in each ch-1 sp across. 62 (62, 71, 71) sc.
Rows 43 (45, 49, 53)- 45 (47, 51, 55): Ch 1, turn, sc in each st across row.
Fasten off.
Sleeves (Makes 2 Identical)
Fsc 50 (53, 56, 62) to create row 1, then proceed to row 2
Alternatively,
Ch 51 (54, 57, 63)
Row 1: Sc in 2nd ch from hook and each ch across. 50 (53, 56, 62) sc
Rows 2-4: Ch 1, turn, sc in each st across. 50 (53, 56, 62) sc
Row 5: Ch 2, turn, hdc in first st, sk next st, hdc-v in next st, *sk next 2 sts, hdc-v in next st, repeat from * to last 2 sts, sk next st, hdc in last st.
16 (17, 18, 20) hdc v-sts.
Rows 6-7: Ch 2, turn, hdc in first st, *hdc-v in ch-1 sp of next v-st, repeat from * to last st, hdc in last st.
Row 8-10: Ch 3, turn, dc in first st, *dc-v in ch-1 sp of next v-st, repeat from * to last st, dc in last st.
Rows 11-19 (19, 22, 22): Work even in pattern, alternating 3 rows of hdc-v st with 3 rows dc v st.
Row 20 (20, 23, 23): (dec row) Ch 1, turn sc in first st, *sc in next st, sk ch-1 sp, sc in next st, repeat from * across the row. 34 (36, 38, 42) sc
Row 21 (21, 24, 24): (dec every 5th st) Ch 1, turn, *sc 4, sc2tog, rep from * across to last 4 (0, 2, 0) sts, sc in last 4 (0, 2, 0) sts. 29 (30, 32, 35) sc
Rows 22 (22, 25, 25)- 23 (23, 26, 26): Ch 1, turn, sc in each st across row. 29 (30, 32, 35) sc
Fasten off.
Joining Pieces
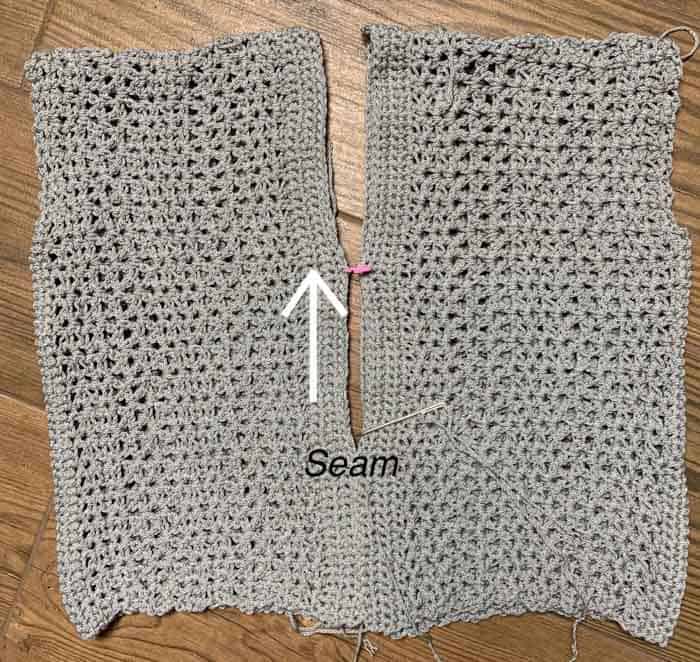
Note- There is no technical right or wrong side of the panels so choose whichever looks best to be the right side.
With wrong sides facing out, fold the 2 main panels at armhole openings as shown in photo. Using the mattress stitch, seam across the entire shoulder of each panel.
Next, to join the two main panels, place a stitch marker approximately ¾ of the way up (or desired v-neck length). Beginning from the bottom, seam the two panels together at the sc rows using the mattress stitch. Stop at the st marker, fasten off. Repeat on back.
Attaching the Sleeves
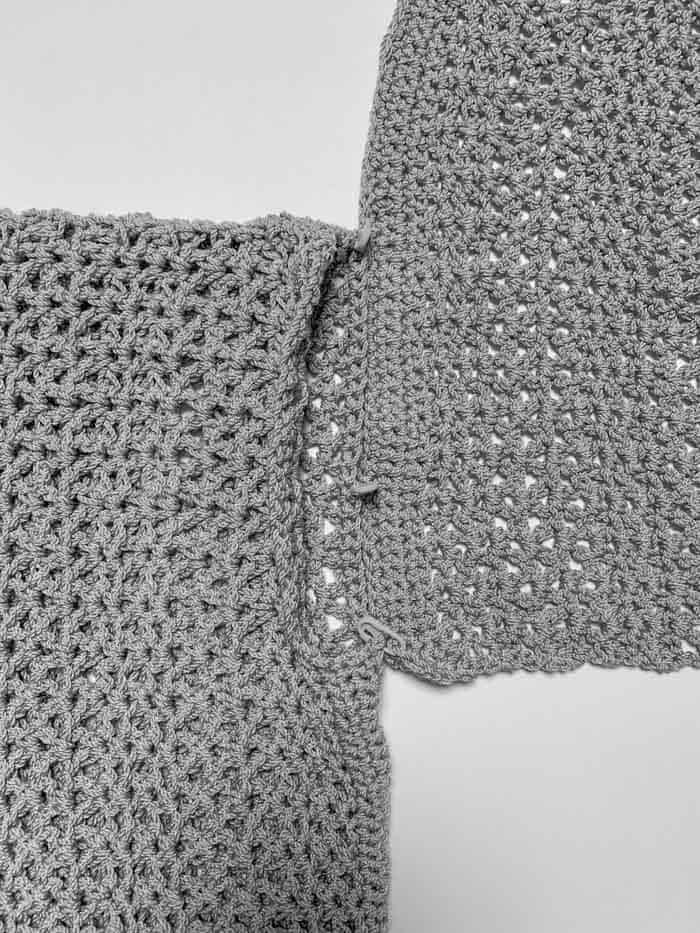
Place the sleeves on and pin into place. Starting at the back underarm, seam up to the shoulder and back around the front underarm. Check your pin placement to ensure your seam is even. When you reach the underarm, continue seaming the sleeve together across the arm to the cuff. Fasten off. Repeat for other sleeve.
After you have completed all your seams, turn your top so that all the seams are on the inside.
Begin the bottom border with the shirt turned right side facing out.
Bottom Border
The bottom border will be worked in single crochet rounds into the rough edges of the stitches.
Note - For the first round of the bottom border it’s ok if your stitch count varies from the written pattern. What is important is that your stitches are evenly spaced around the bottom.
Starting in the back, attach a new strand of yarn with a sl st to the bottom edge of your sweater.
Round 1: Ch 1 (place stitch marker), work 2 sc sts into the sides or rough edges of each dc, and work 1 sc st into each side or rough edge of the sc rows around, sl to beg ch-1 to join. 95 (105, 115, 125)
Rounds 2-4: Ch 1, sc in each st around, sl st to beg ch-1 to join. 95 (105, 115, 125) sc
Fasten off. Weave in all ends.
Thanks again to Liz of MommyLovesYarn.com for sharing this free cropped crochet sweater pattern! Be sure to check out Liz's blog for lots more free modern crochet patterns!
That was so fun! Now what?
Invitation to our Facebook group
Come discuss crocheting lightweight cropped sweater patterns and lots of other crochet projects and techniques in our Make & Do Crew Facebook group. Here thousands of helpful crocheters answer each others questions and share their stitches. Come join us here.
Find Your Next Sweater Project
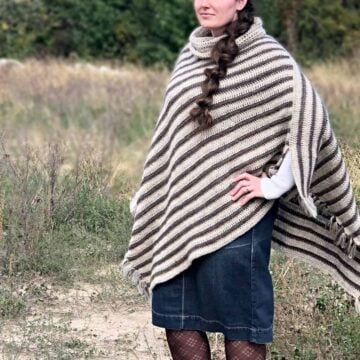
- Easy Poncho With Sleeves - made entirely from rectangles
- Beginner Cardigan with Video - uses only half double crochet stitches
- Mandala Cardigan with Hood - crochet your own rainbow
- Poncho With Pockets - slim cut + kangaroo pocket
- The Dwell Sweater - with plus sizes + video tutorials
- Beginner Cardigan - made from rectangles
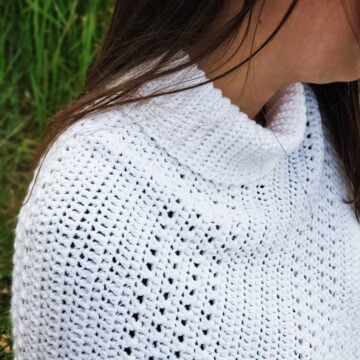
- Pullover Yoke Sweater - nearly seamless
- Long Boho Cardigan Pattern - with fringe!
More Free Patterns + Tutorials
Can't get enough free crochet patterns!? Me either. You'll definitely want to breeze through these collections to find your next project.
- 55+ Free Crochet Sweater and Cardigan Patterns - our most popular garments
- 40+ Free Crochet Blanket Patterns - baby blankets, throws + c2c graphgans
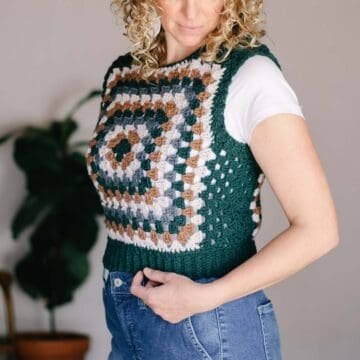
- 36+ Granny Square Patterns + tips for the perfect square
- 30+ Crochet Animal Patterns - adorable amigurumi stuffed animals
- Crochet Gift Ideas - easy patterns to make for others
- Fast Crochet Projects - start to finish in less than a day
Learn a New Skill
And when you're ready to master a new skill, check out our detailed guides that include everything you need to know to level up your crochet game.
- How to Corner to Corner (C2C) Crochet for Beginners - with video tutorials to get you started
- How to Crochet a Beginner Hat - make an entire beanie in 1.5 hours!
- How to Crochet Amigurumi for Beginners - the ultimate guide to making your own toys and plushies
- How to Tunisian Crochet - learn with this video and a standard hook
More Free Crochet Patterns for Spring
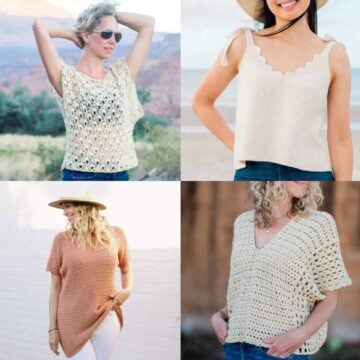
If you love this cropped crochet sweater, you might also like to check out these free crochet garment patterns that are perfect for warm weather. You can always find all our free patterns for spring here.
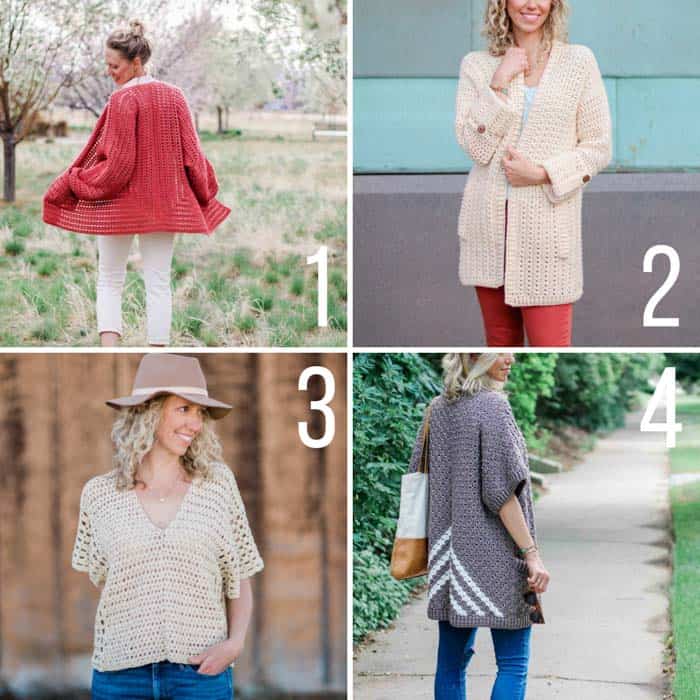
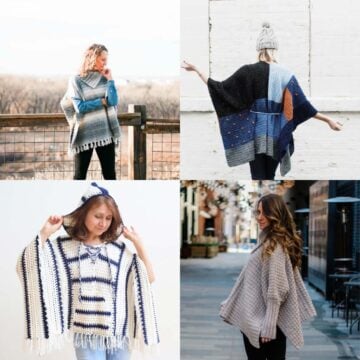
1. Day Date Cardigan + video tutorial - This modern, easy crochet cardigan pattern is made from two simple hexagons, making this lightweight sweater perfect for beginners. Hexagons become a sweater almost like a magic trick.
2. Alchemy Cardigan + video tutorial - Last year's popular crochet along is still inspiring makers to whip up this lightweight, four-season cardigan. The very detailed video tutorial will guide you every step of the way.
3. Saratoga Poncho Top - Made from two simple rectangles, this stylish top will take you effortlessly from music festival to BBQ to beach vacay this summer. Featuring flowing lace and very simple construction.
4. Free Range Kimono - Basic crochet rectangles come together to form a gorgeously drapy, short-sleeved sweater in this simple free C2C pattern and tutorial.




cherub says
Love this pattern so far! For rows 11-19, is there a starting chain for these rows?
Jess @ Make and Do Crew says
Hey Cherub,
Let me check with the designer, Liz. I'm hoping she can comment here to clarify.
Jess
liz says
(Answer- from Liz of mommylovesyarn.com)
Hey there! For Rows 11-19 you should just continue working alternating rows (3 rows hdc, 3 rows dc), until you reach the section titled "create opening for arm." There is no starting chain needed here because you have not finished working that first panel. The pattern consists of two identical panels. Each panel has a starting chain of 63 (63, 72, 72) which is listed just before Row 1.
I hope this helps!
Liz
Patricia says
Lovey pattern thanks for sharing they are all beautiful!
Jess @ Make and Do Crew says
Didn't Liz do a wonderful job?
Thanks for your kind words.
Jess
Iris Dunivent says
Very nice.
Jess @ Make and Do Crew says
Isn't it beautiful, Iris? I think Liz did such a nice job. 🙂
Jess
Erlinda says
Jess I love to see all the videos from you and your mom..I know this is not one of your patterns but on this cropped sweater pattern can I add more rows to make longer? I don't like my tummy to show. Also wanted to say can't wait to see pictures of your newest member of your family. What a wonderful blessing for you all. Praying for a safe quick labor and delivery. God bless you all. Erlinda
Jess @ Make and Do Crew says
Thank you so much, Erlinda! I can't wait to see this new babe too. He's 12 days past due today, so we're anxiously awaiting his arrival.
Liz said you can def add length to this sweater if that suites your style better. I think it's a pretty easy pattern to modify. 🙂
Jess
Liz salazar says
You will have to add more stitches to make this one longer, but should be very simple. Another option is to make the sc border around the bottom more than just the 4 rounds than the pattern called for. Then you will have a pretty border and you can just keep adding rounds until you are happy with the length.
Thank you - Liz Salazar (mommyloveyarn.com)