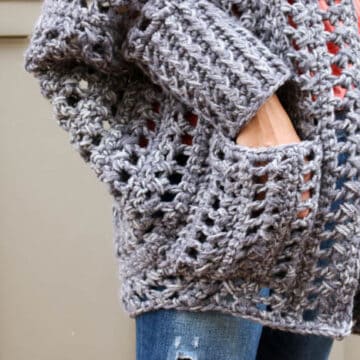
Cotton blend yarn lends a natural texture and organic drape to this simple crochet jacket pattern. Get the free pattern below or purchase the ad-free, printable PDF with stitch charts here.
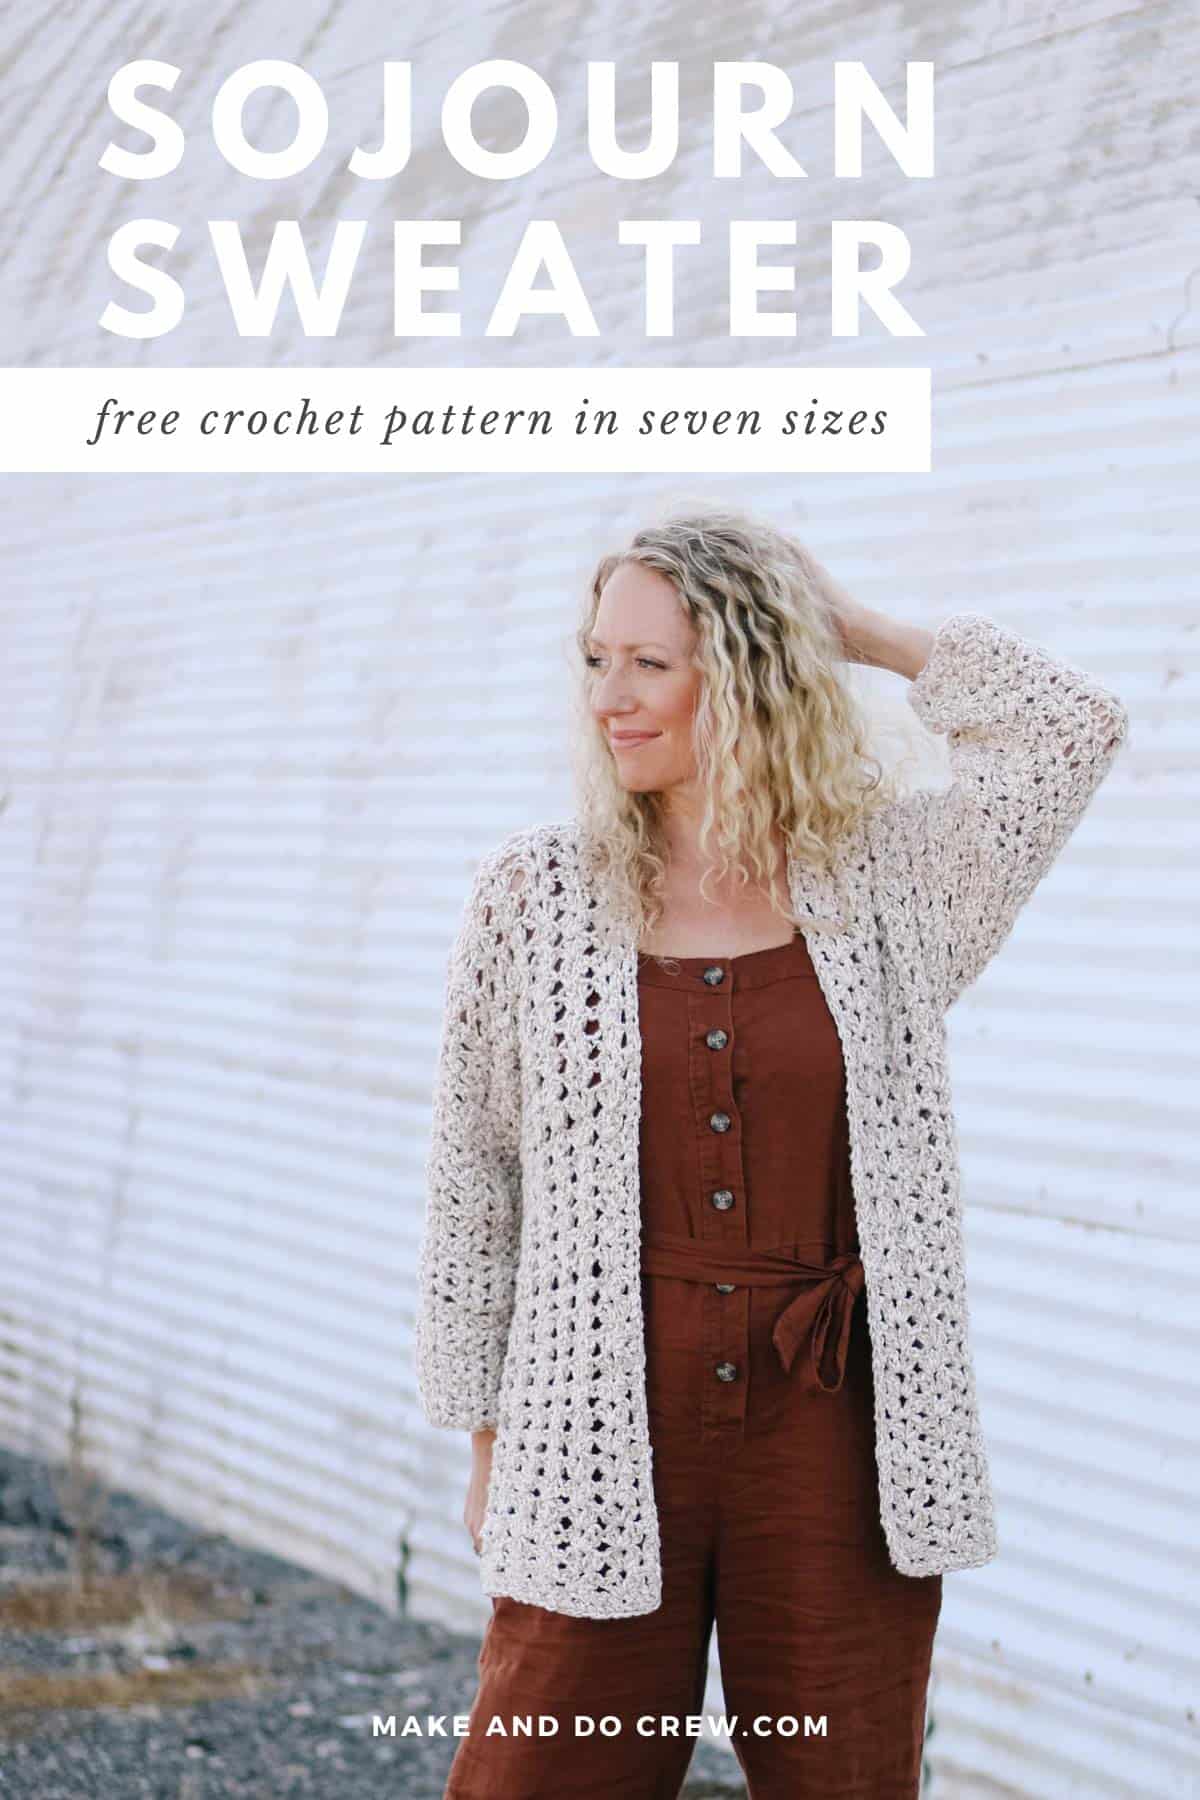
This simple crochet jacket pattern is part of a collaboration with Lion Brand Yarns. This post contains affiliate links.
This is a cardigan that’s as effortless to make as it is to wear. While the yarn is on the heavier side, the open stitches combine for a comfortable, flattering fabric. Two short shoulder joins are the only seaming you’ll do while whipping up this speedy and simple crochet jacket project.
Keep reading all the yarn and inspiration details or scroll down for the complete free pattern.
Please Welcome My Mom
I'm so happy to be sharing this casual crochet jacket pattern with you today because it was entirely dreamed up and designed by my mom, Jacque! She has worked behind the scenes for a few years crocheting some of the most beautiful samples you see here on M&DC. Thanks to the pandemic though, she's been able to join us in a more consistent capacity designing and writing patterns.
I'm really excited to publish more of my mom's designs in the coming months. I've grown up watching her create the most incredible things and now I get to share them with you! My mom is a large part of how I learned to connect with my own creativity and it feels really fun for us to work together like this. Thank YOU, as always, for supporting, sharing and crocheting our patterns!
Related: Our 25 most popular free crochet sweater patterns ⇨
A Jacket or a Cardigan?
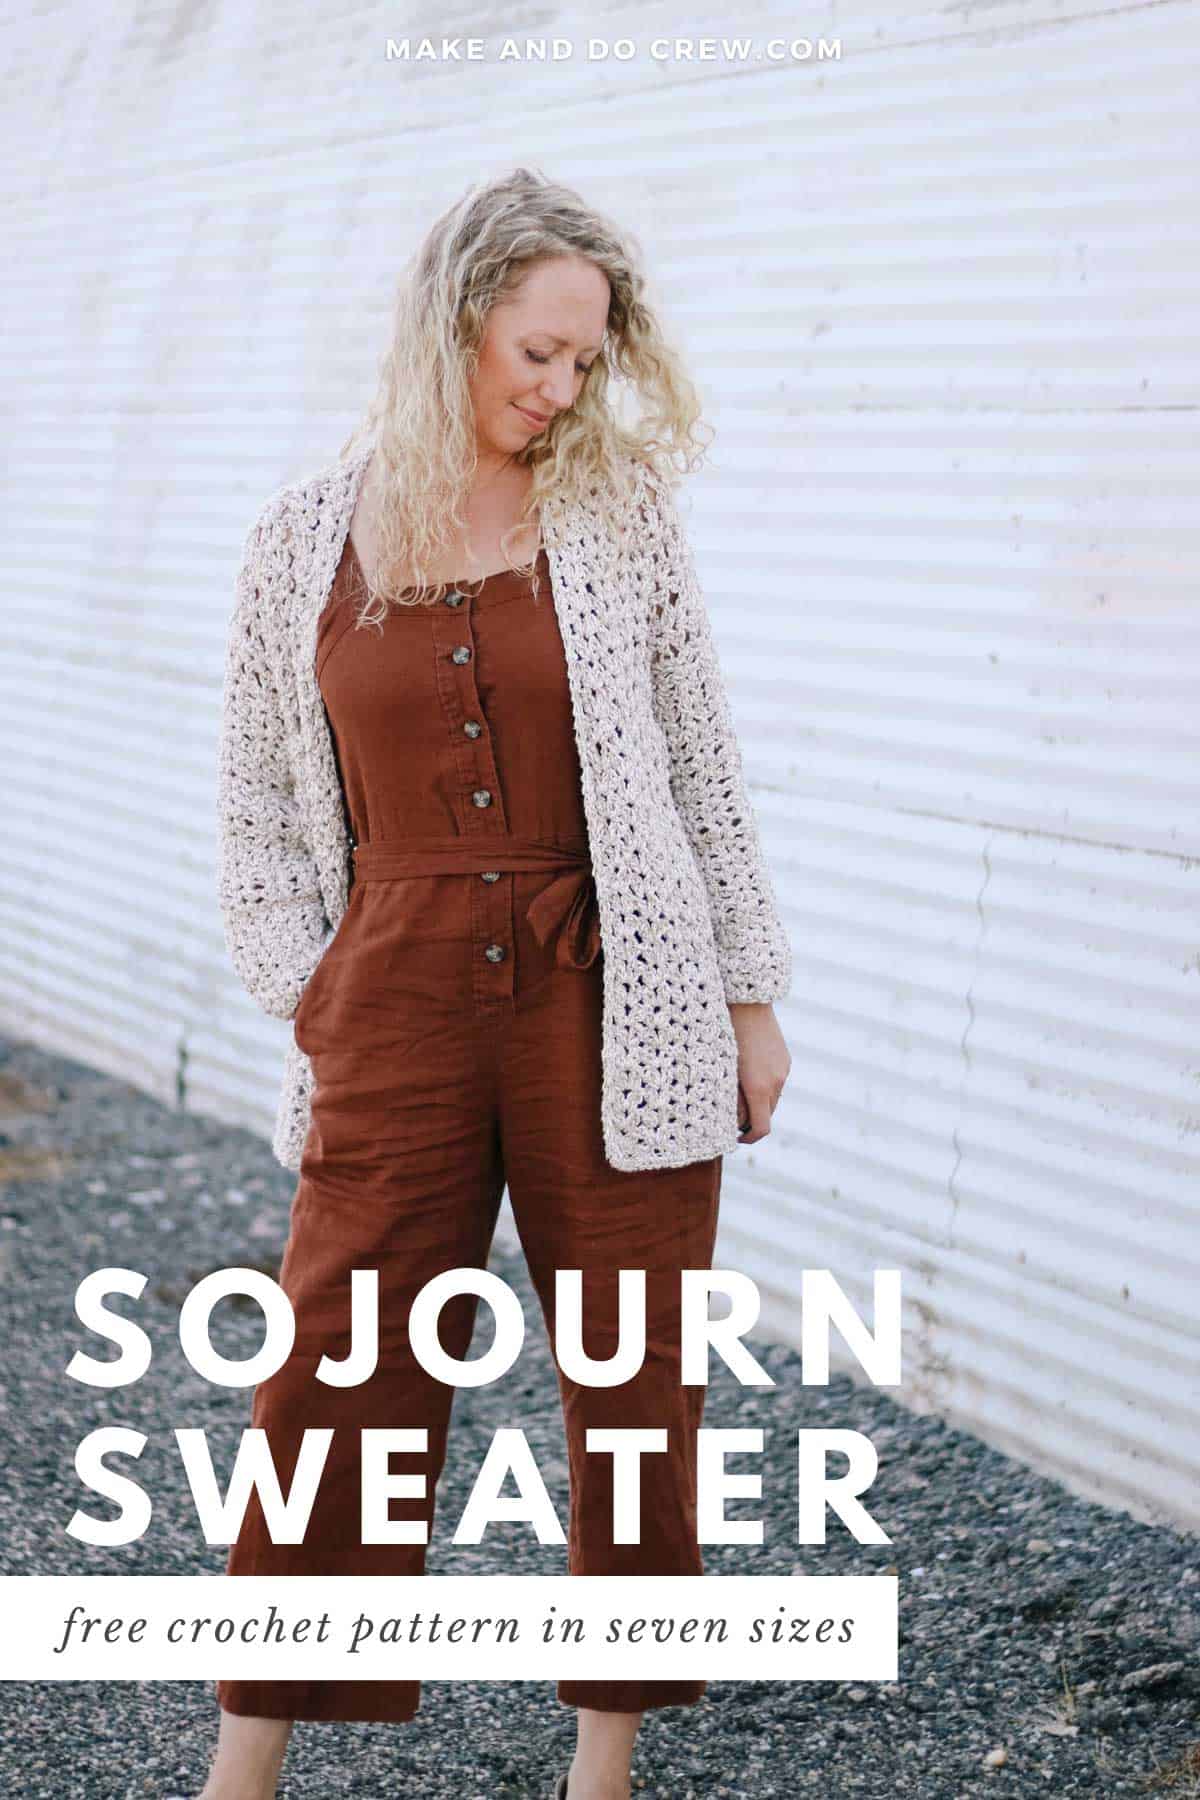
To be honest, I asked myself this question a few times while preparing this pattern. What's really the difference between a jacket or light coat and a cardigan when it comes to crochet garments? I'm not sure we're going to get to the bottom of that today, but this pattern is really a beautiful blend of all the things you want in a lightweight layer.
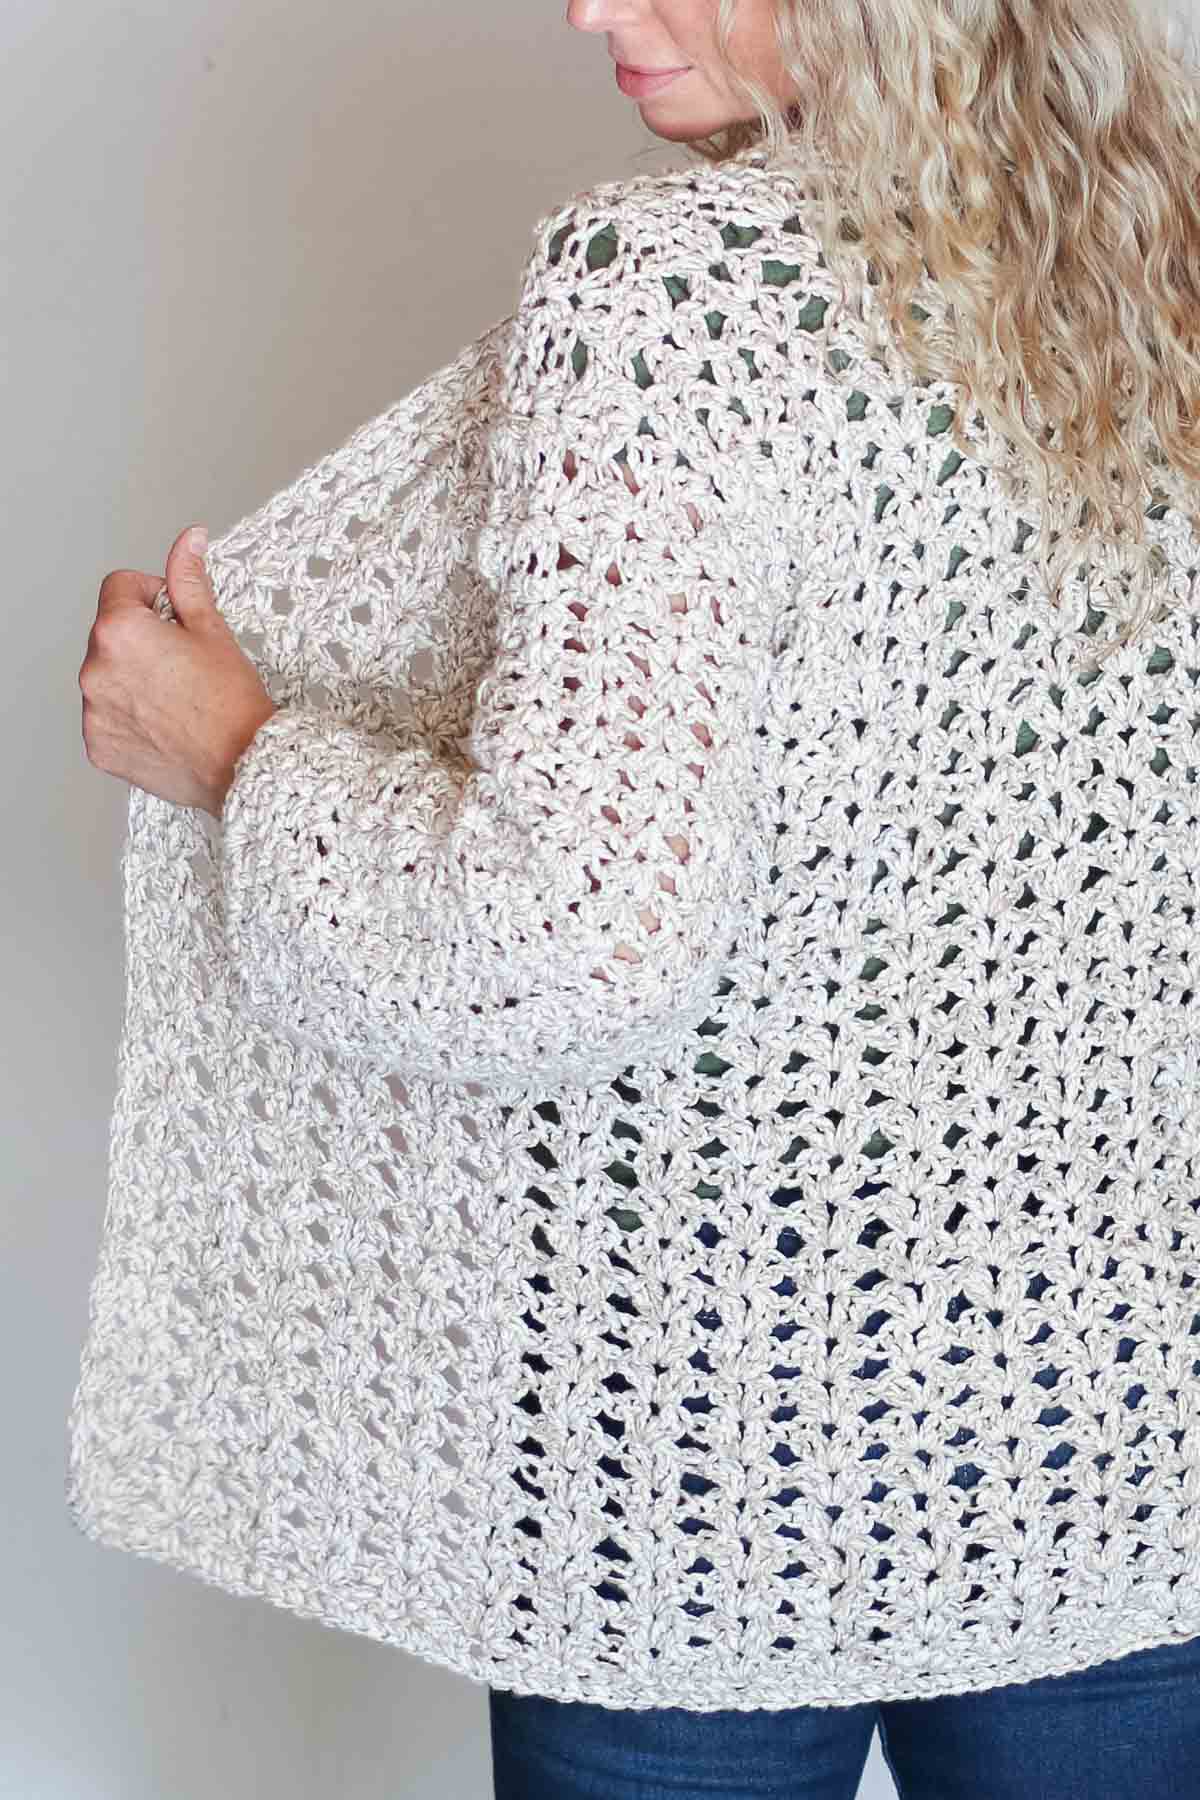
The gravity of the Lion Brand Twisted Cotton Blend yarn creates such a comforting feeling on your body (very similar to the delicious feeling of the Up North Cardigan). Of course, if the stitch pattern was denser, the effect could be a little too bulky and heavy. That's where these easy lace iris stitches come in. They're airy enough to keep the fabric quite drapy and very simple to crochet. I think you're going to LOVE wearing this simple crochet jacket.
Pin it! Click to pin this pattern for later ⇨
See It In Video Form
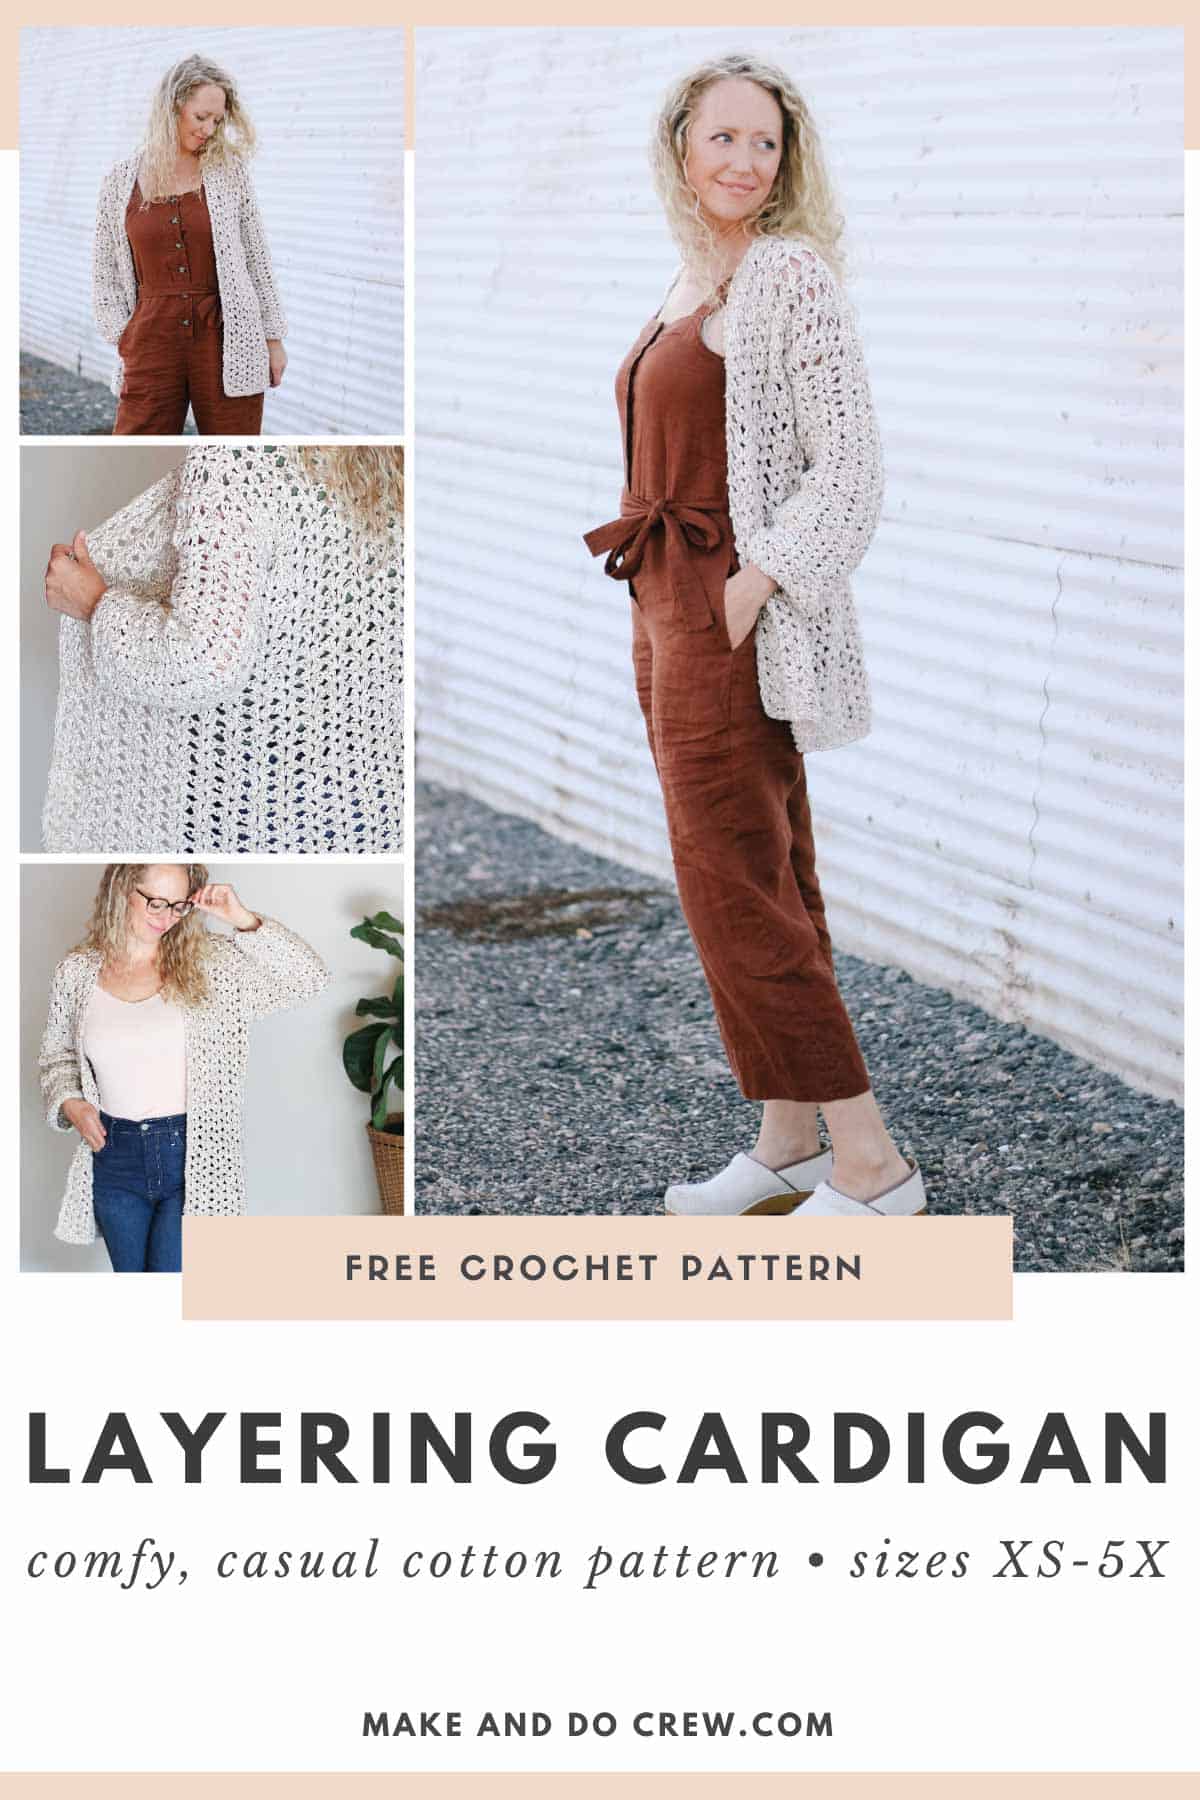
Wanna see how magically this sweater jacket drapes despite being made with a thicker (quicker!) yarn? I've got a quick video to show how the finished sweater looks in action.
Yarn Details + Substitutions
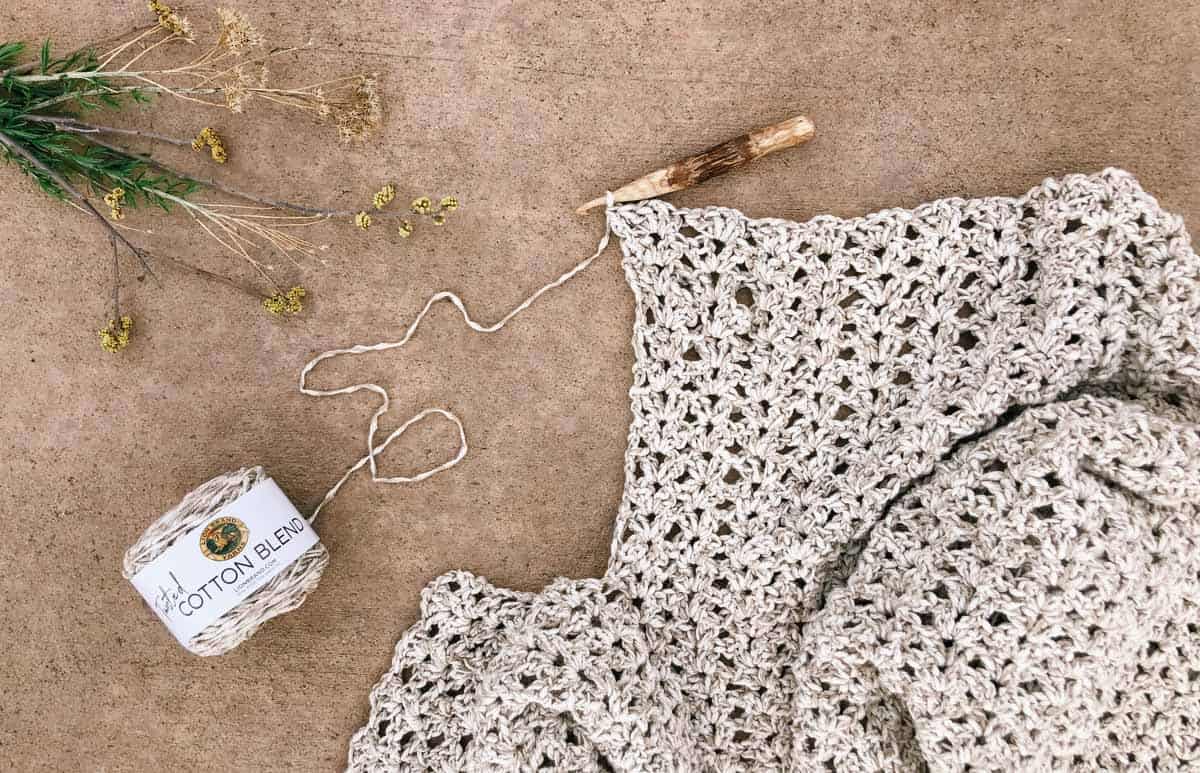
Okay, let's talk texture! I adore this Twisted Cotton Blend from Lion Brand. It's a newer yarn and it's such a good demonstration of how well an acrylic and natural fiber can play together. At 69% cotton, the natural, slightly nubby texture of cotton really shows beautifully. And the 31% acrylic will keep your crochet jacket looking great for longer.
Twisted Cotton Blend is a category 5 weight yarn, so if you'd like to substitute, you'll want something that's also a category 5. You could try Lion Brand Hue + Me (stunning colors!) or Color Made Easy to create a totally different look than this casual, cotton sample. As always with a garment, you'll want to swatch any yarn you use to see if you need to adjust your hook size before diving into the full pattern. (Instructions for a gauge swatch included in the pattern below.)
Buy it! Shop for the yarn you'll need ⇨
Make Things Easier With a Stitch Chart
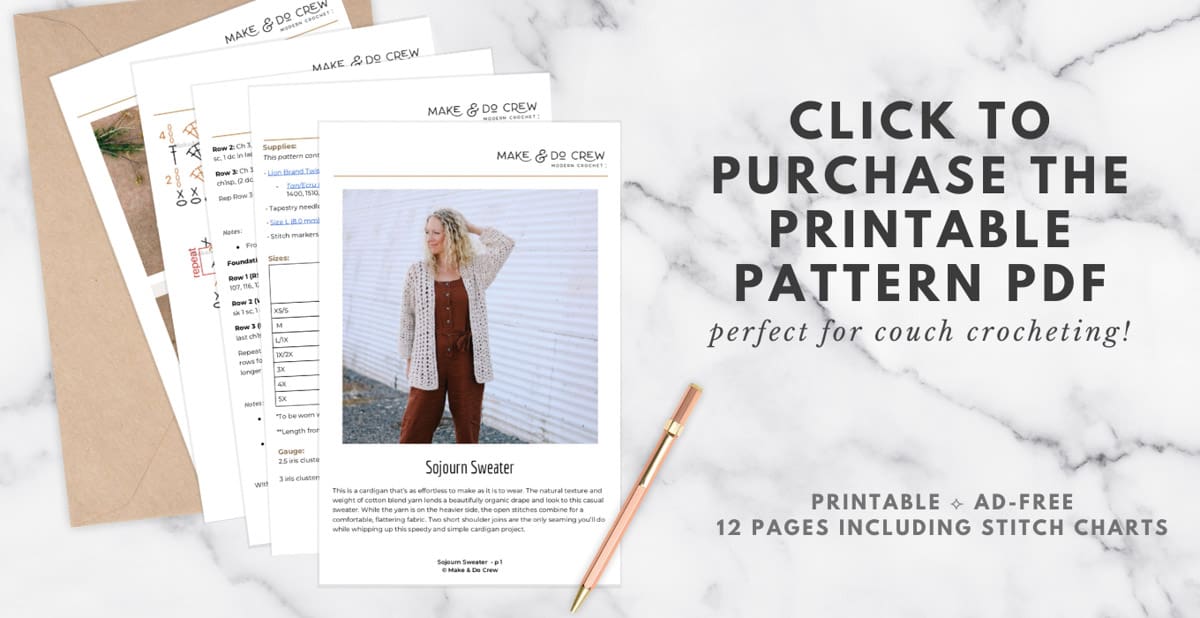
We love offering our patterns for free here on the blog. After many requests for printable patterns, we now always offer the option of purchasing an ad-free PDF that's formatted for easy printing.
The full written pattern is included in large type, plus any tutorial photos that are relevant. In the Sojourn Sweater, we've also added a very helpful stitch chart that clearly lays out the simple stitch repeat for the sweater body and sleeves.
If you're a visual learner or new to pattern reading, I think you'll find these charts a very simple way to digest this crochet jacket pattern.
New to making cardigans? Don't miss How to Crochet a Sweater for our best beginner tips
Print it! Purchase the printable PDF with stitch charts ⇨
More Free Crochet Sweater Patterns
Crochet sweater patterns don't need to be difficult. In fact, most of ours are made with very simple shapes. Dive into the wonderful world of crochet garments with cardigans, pullovers, ponchos, shrugs and more!
See more free crochet sweater patterns →

Don't spend hours for a "meh" result!
Tired of crocheting garments that don't fit? Learn our C.R.A.F.T. Framework to make sweaters that fit and feel amazing!
The Sojourn Sweater
Simple Crochet Jacket - Free Pattern
Purchase the ad-free, printable PDF with stitch chart on Etsy here or LoveCrafts here.
Save this pattern to your Ravelry here.
Pin this pattern for later here.
Explanation:
This is a cardigan that’s as effortless to make as it is to wear. The natural texture and weight of cotton blend yarn lends a beautifully organic drape and look to this casual sweater. While the yarn is on the heavier side, the open stitches combine for a comfortable, flattering fabric. Two short shoulder joins are the only seaming you’ll do while whipping up this speedy and simple cardigan project.
Supplies:
• Lion Brand Twisted Cotton Blend: (Weight: 5/Bulky yarn weight - 98 yds, 3.5 oz)
- Tan/Ecru (#765-209) – 10 (11, 13, 15, 16, 17, 18) skeins [(approx. 910 (1090, 1270, 1400, 1510, 1680, 1750) g)]
• Tapestry needle
• Size L (8.0 mm) crochet hook or size needed to obtain gauge
• Stitch markers or safety pins
Sizes:
| Fits Actual Bust* | SweaterLength**(top of collar to bottom) | Circumference at bust | Circumference of sleeve | |
| XS/S | 29” | 27” | 33.5” | 13.5” |
| M | 37” | 28” | 40” | 14.5” |
| L/1X | 45” | 29” | 48” | 16” |
| 1X/2X | 49” | 29.5” | 51” | 18.5” |
| 3X | 53” | 29.5” | 56” | 20” |
| 4X | 57” | 30.5” | 61” | 21.5” |
| 5X | 61” | 30.5” | 65.5” | 21.5” |
*To be worn with 2-4 inches of ease
**Length from armhole to hem is the same for all sizes
Gauge:
2.5 iris clusters x 5 rows = 4” as worked in main body stitch pattern
3 iris clusters x 7 rows = 4” as worked in sleeve pattern
Abbreviations and Glossary (US Terms):
ch – chain
ch1sp – space created by 1 chain
dc – double crochet
hdc – half double crochet
PM – place marker
rep – repeat
RS – right side
sc – single crochet
sk – skip
slst – slip stitch
st(s) – stitch(es)
tch – turning chain
WS – wrong side
Want some company while you crochet?
Get support (and camaraderie!) in the Make & Do Crochet Crew Facebook Group here.
Permissions + Copyright:
Please do not publish or share this pattern as your own. You may make items to sell with this pattern. In exchange, please link back this post. Do NOT use my photos as your own sales photos.
Overall Pattern Notes:
• Ch 3 counts as 1 dc throughout.

Wanna save this pattern?
!! Gauge Check !!
Please don’t skip this step or you will risk your sweater not fitting as expected.
To check gauge:
Foundation Row: Ch 18.
Row 1: Sc in 2nd ch from hook and in each ch to end of row; turn. [17 sc]
Row 2: Ch 3, *sk 2 sc, (2 dc, ch 1, 2 dc) in the next sc; rep from * until 2 sc remain, sk 1 sc, 1 dc in last sc; turn. [5 Iris clusters, 2 dc]
Row 3: Ch 3, sk first 3 dc, *(2 dc, ch 1, 2 dc) in ch1sp, sk next 4 dc, rep from * until last ch1sp, (2 dc, ch 1, 2 dc) in ch1sp, sk 2 dc, 1 dc in tch, turn.
Rep Row 3 five more times for 8 rows in total. Measure in center 4” square of swatch and compare to gauge listed above. If square includes more stitches than the listed gauge, increase hook size and try again. If square includes fewer stitches than the listed gauge, decrease hook size and try again.
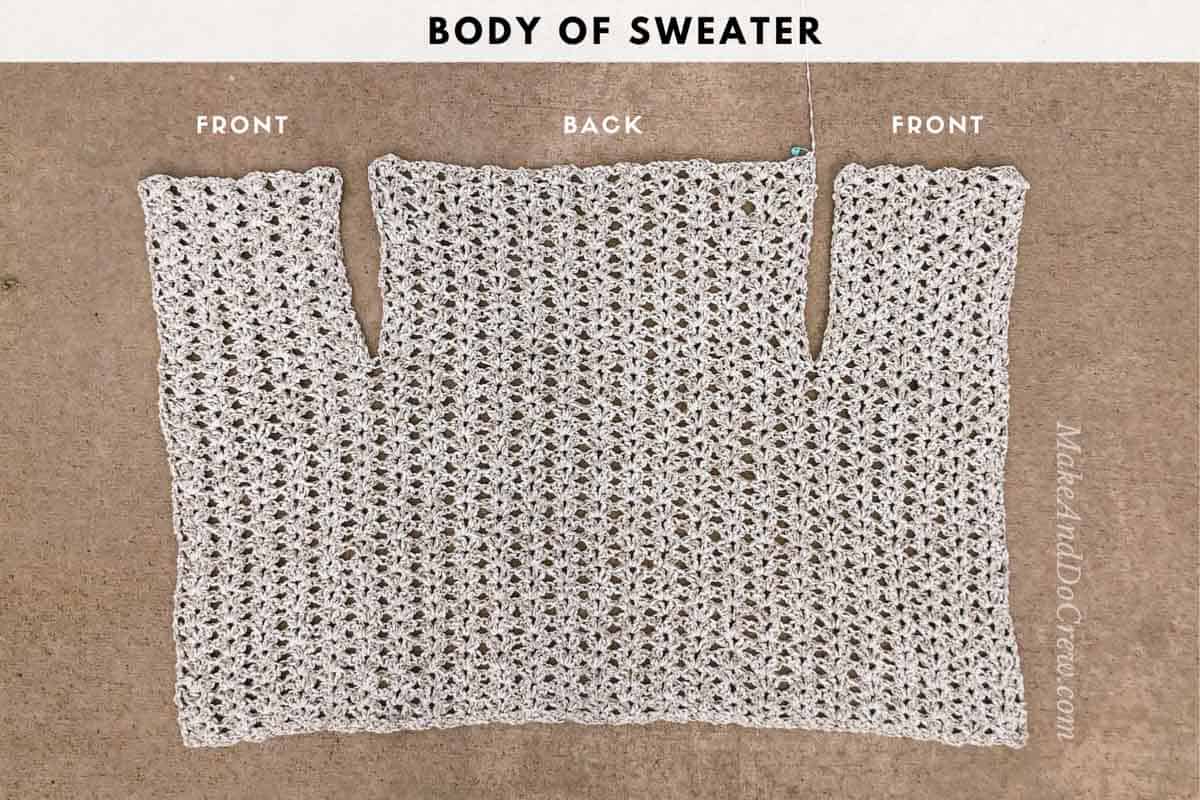
Body Of Sweater
Notes:
• Fronts and Back are worked in one piece until dividing for the armholes.
Foundation Row: Ch 66 (78, 93, 99, 108, 117, 126).
Row 1 (RS): Sc in 2nd ch from hook and in each ch to end of row; turn. [65 (77, 92, 98, 107, 116, 125) sc]
✨Unlock this free subscriber-exclusive pattern ✨
Follow these steps to view the full free pattern below
Second Front:
With RS facing, attach yarn in last dc of marked cluster to the right of marker on opposite (unworked) side of piece. (Left handed: left side of marker.)
Row 1 (RS): Ch 3, sk first 2 dc of marked cluster, (2 dc, ch 1 , 2 dc) in marked ch1sp, *sk next 4 dc, (2 dc, ch 1, 2 dc) in next ch1sp; rep from * to last 3 sts , sk 2 dc, 1 dc in top of tch; turn. [5 (6, 7, 7, 8, 9, 10) Iris clusters, 2 dc]
Row 2 (WS): Ch 3, sk first 2 dc, (2 dc, ch 1, 2 dc) in next ch1sp, *sk next 4 dc, (2 dc, ch 1, 2 dc) in next ch1sp; rep from * to end, sk 1 dc, 1 dc in top of tch; turn.
[Repeat Row 2] 9 (10, 11, 12, 12, 13, 13) more times for a total of 11 (12, 13, 14, 14, 15, 15) rows. Fasten off.
Back:
Notes:
• Back is worked over remaining 11 (13, 16, 18, 19, 20, 21) unworked clusters in between fronts.
With RS facing, attach yarn in the first dc of next unworked cluster between fronts.
Row 1 (RS): Ch 3, sk first 2 dc, (2 dc, ch 1, 2 dc) in first ch1sp, *sk next 4 dc, (2 dc, ch 1, 2 dc) in next ch1sp; rep from * to last 2 dc, sk next dc, 1 dc in last dc of cluster; turn. [11 (13, 16, 18, 19, 20, 21) Iris clusters, 2 dc]
Row 2 (WS): Ch 3, sk first 2 dc, (2 dc, ch 1, 2 dc) in next ch1sp, *sk next 4 dc, (2 dc, ch 1, 2 dc) in next ch1sp; rep from * to end, 1 dc in turning ch. [11 (13, 16, 18, 19, 20, 21) Iris clusters, 2 dc]
[Repeat Row 2] 9 (10, 11, 12, 12, 13, 13) more times for a total of 11 (12, 13, 14, 14, 15, 15) rows. Fasten off.
Seaming Shoulder
Fold RS of sweater Fronts to sweater Back. Pin in place taking care to line up stitches of Front and Back pieces. Use tapestry needle and mattress stitch to join Right Front to Back and Left Front to Back at shoulders.
Border
With larger hook and RS facing, attach yarn anywhere along bottom of sweater edge. Complete border with RS facing.
Finishing Border (RS): Ch 1, sc in each st along bottom edge, sc evenly up first front, around neck, down second front and in remainder of bottom-edge stitches, slst to first sc of round to join. Fasten off.
Sleeves
Notes:
• Sleeves are worked in the same Iris cluster stitch as main body using hdc instead of dc.
• Sleeves are worked in turned rounds. This means each round is joined with a slip stitch and then turned in order to work back in the opposite direction.
• Ch-2 at the beginning of each round counts as 1 hdc throughout.
Make 2.
With RS facing, attach yarn at bottom of armhole.
Round 1 (RS): Ch 1, place 43 (47, 51, 59, 63, 67, 67) sc evenly around armhole; sl st to first sc of round to join; turn. [43 (47, 51, 59, 63, 67, 67) sc]
Round 2 (WS): Ch 2, sk first 3 sc, (2 hdc, ch 1, 2 hdc) in next sc, *sk 3 sc, (2 hdc, ch 1, 2 hdc) in next sc; rep from * until 3 sts remain, sk 2 sc, 1 hdc in last sc, slst to top of tch to join; turn. [10 (11, 12, 14, 15, 16, 16) hdc Iris clusters, 2 hdc]
Note: To make sure the sleeve is centered properly: for sizes M and 3X, ensure the 6th (M) and 8th (3X) cluster is at the shoulder seam; for sizes XS/S, L/1X, 1X/2X, 4X, and 5X ensure the shoulder seam is between the 5th & 6th, 6th & 7th, 7th & 8th, 8th & 9th, and 8th & 9th clusters for each size, respectively.
Round 3 (RS): Ch 2, sk tch, 1 hdc in next st, *sk 2 hdc, (2 hdc, ch 1, 2 hdc) in next ch1sp, sk 2 hdc; rep from * to end of round; sl st to top of tch to join; turn. [10 (11, 12, 14, 15, 16, 16) hdc Iris clusters, 2 hdc]
Round 4 (WS): Ch 2, sk tch, *sk 2 hdc, (2 hdc, ch 1, 2 hdc) in next ch1sp, sk 2 hdc; rep from * to last st, 1 hdc in last hdc, slst to top of tch to join; turn. [10 (11, 12, 14, 15, 16, 16) hdc Iris clusters, 2 hdc]
[Rep Rounds 3 & 4] 9 (10, 9, 8, 8, 8, 7) more times then [rep Round 3] 1 (0, 0, 1, 0, 1, 0) more time(s). Sleeve should now contain a total of 23 (24, 22, 21, 20, 21, 18) rounds and measure 14 (14.5, 13.25, 12.75, 12, 12.75, 11.5)”. After last round, do not turn (turn, turn, do not turn, turn, do not turn, turn) to have RS facing.
If a longer sleeve length is desired, work additional repeats of Rounds 3 & 4 as desired, if ending on Round 3, do not turn to keep RS facing.
Finishing Border (RS): Ch 1, sc in top of tch, sc in next hdc, *sc in first hdc of next cluster, sc in next ch1sp, sc in last hdc of same cluster; rep from * to end of round; sl st to first sc of round to join. (32 [35, 38, 44, 47, 50, 50] sc)
Fasten off.
Weave in remaining ends.
Wrap up in your new Sojourn sweater, brew some tea and congratulate yourself for adding a new piece to your handmade wardrobe.
That was so fun! Now what?
Invitation to our Facebook group
Come discuss crocheting simple jacket patterns and lots of other crochet projects and techniques in our Make & Do Crew Facebook group. Here thousands of helpful crocheters answer each others questions and share their stitches. Come join us here.
Find Your Next Sweater Project
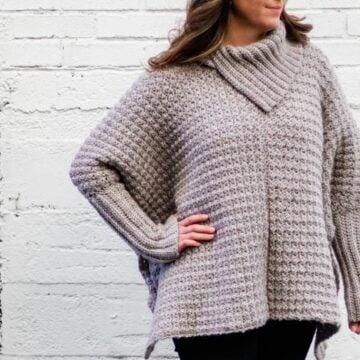
- Poncho With Pockets - slim cut + kangaroo pocket
- The Dwell Sweater - with plus sizes + video tutorials
- Beginner Cardigan - made from rectangles
- Pullover Yoke Sweater - nearly seamless
- Long Boho Cardigan Pattern - with fringe!
- Summer Crochet Cardigan Pattern - short sleeved topper
- Lightweight Cardigan - made from hexagons
- Color Block Cardi Pattern - drapey and soft
More Free Patterns + Tutorials
Can't get enough free crochet patterns!? Me either. You'll definitely want to breeze through these collections to find your next project.
- 55+ Free Crochet Sweater and Cardigan Patterns - our most popular garments
- 40+ Free Crochet Blanket Patterns - baby blankets, throws + c2c graphgans
- 36+ Granny Square Patterns + tips for the perfect square
- 30+ Crochet Animal Patterns - adorable amigurumi stuffed animals
- Crochet Gift Ideas - easy patterns to make for others
- Fast Crochet Projects - start to finish in less than a day
Learn a New Skill
And when you're ready to master a new skill, check out our detailed guides that include everything you need to know to level up your crochet game.
- How to Corner to Corner (C2C) Crochet for Beginners - with video tutorials to get you started
- How to Crochet a Beginner Hat - make an entire beanie in 1.5 hours!
- How to Crochet Amigurumi for Beginners - the ultimate guide to making your own toys and plushies
- How to Tunisian Crochet - learn with this video and a standard hook





Tracy McDonald says
Well... Nice in it's own way, but too many items are made with this very basic beginners Stitch Pattern. The next basic stitch is the same shell but alternate placement, so one shell sits between the shells of the previous row. Don't you get bored with this?
Jess Coppom says
This pattern was aimed to help people who've never crocheted a sweater before, hence the simple stitch repeat. We have a lot more unique crochet sweater patterns though if you're looking for something a little different. 🙂