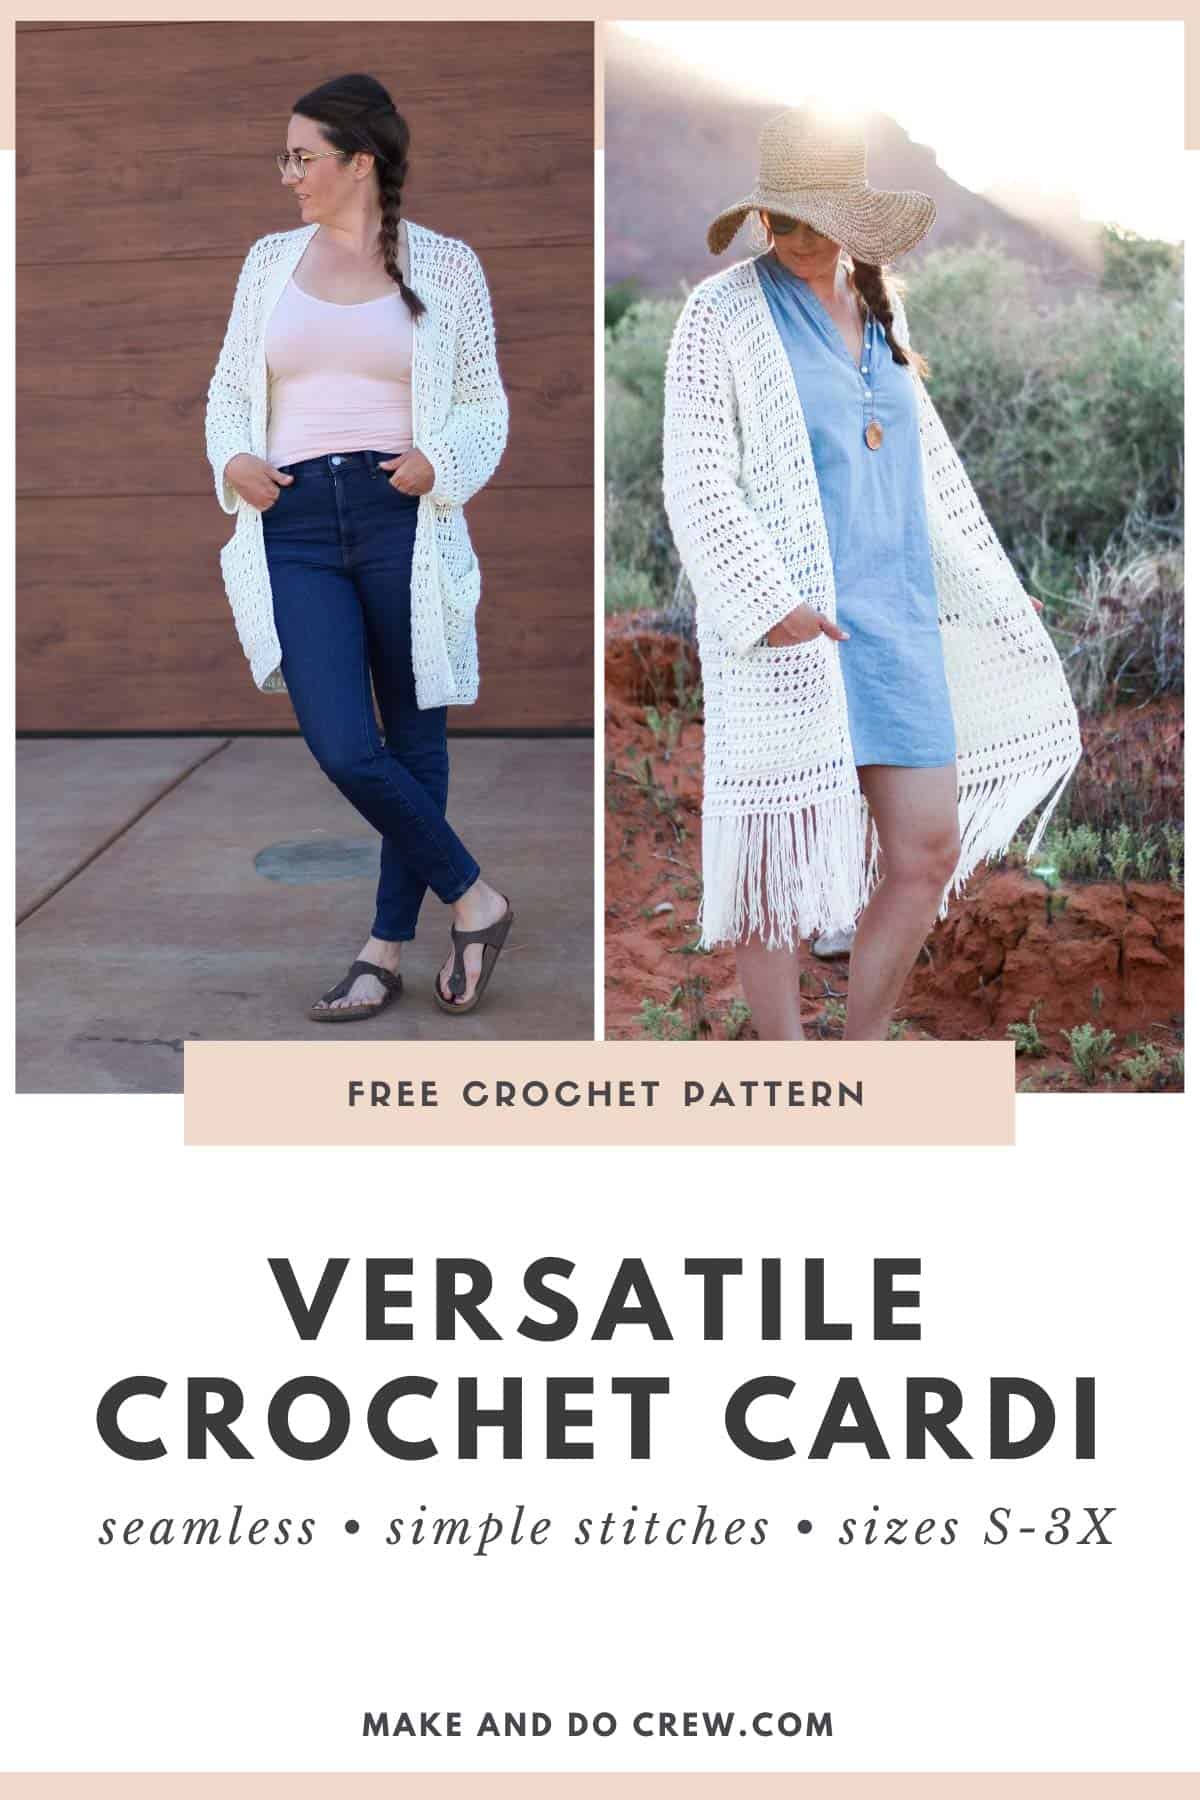
Minimal counting and two short seams come together in a very easy long crochet cardigan that's perfect for layering. Get the full free pattern below or purchase the ad-free, printable PDF here.
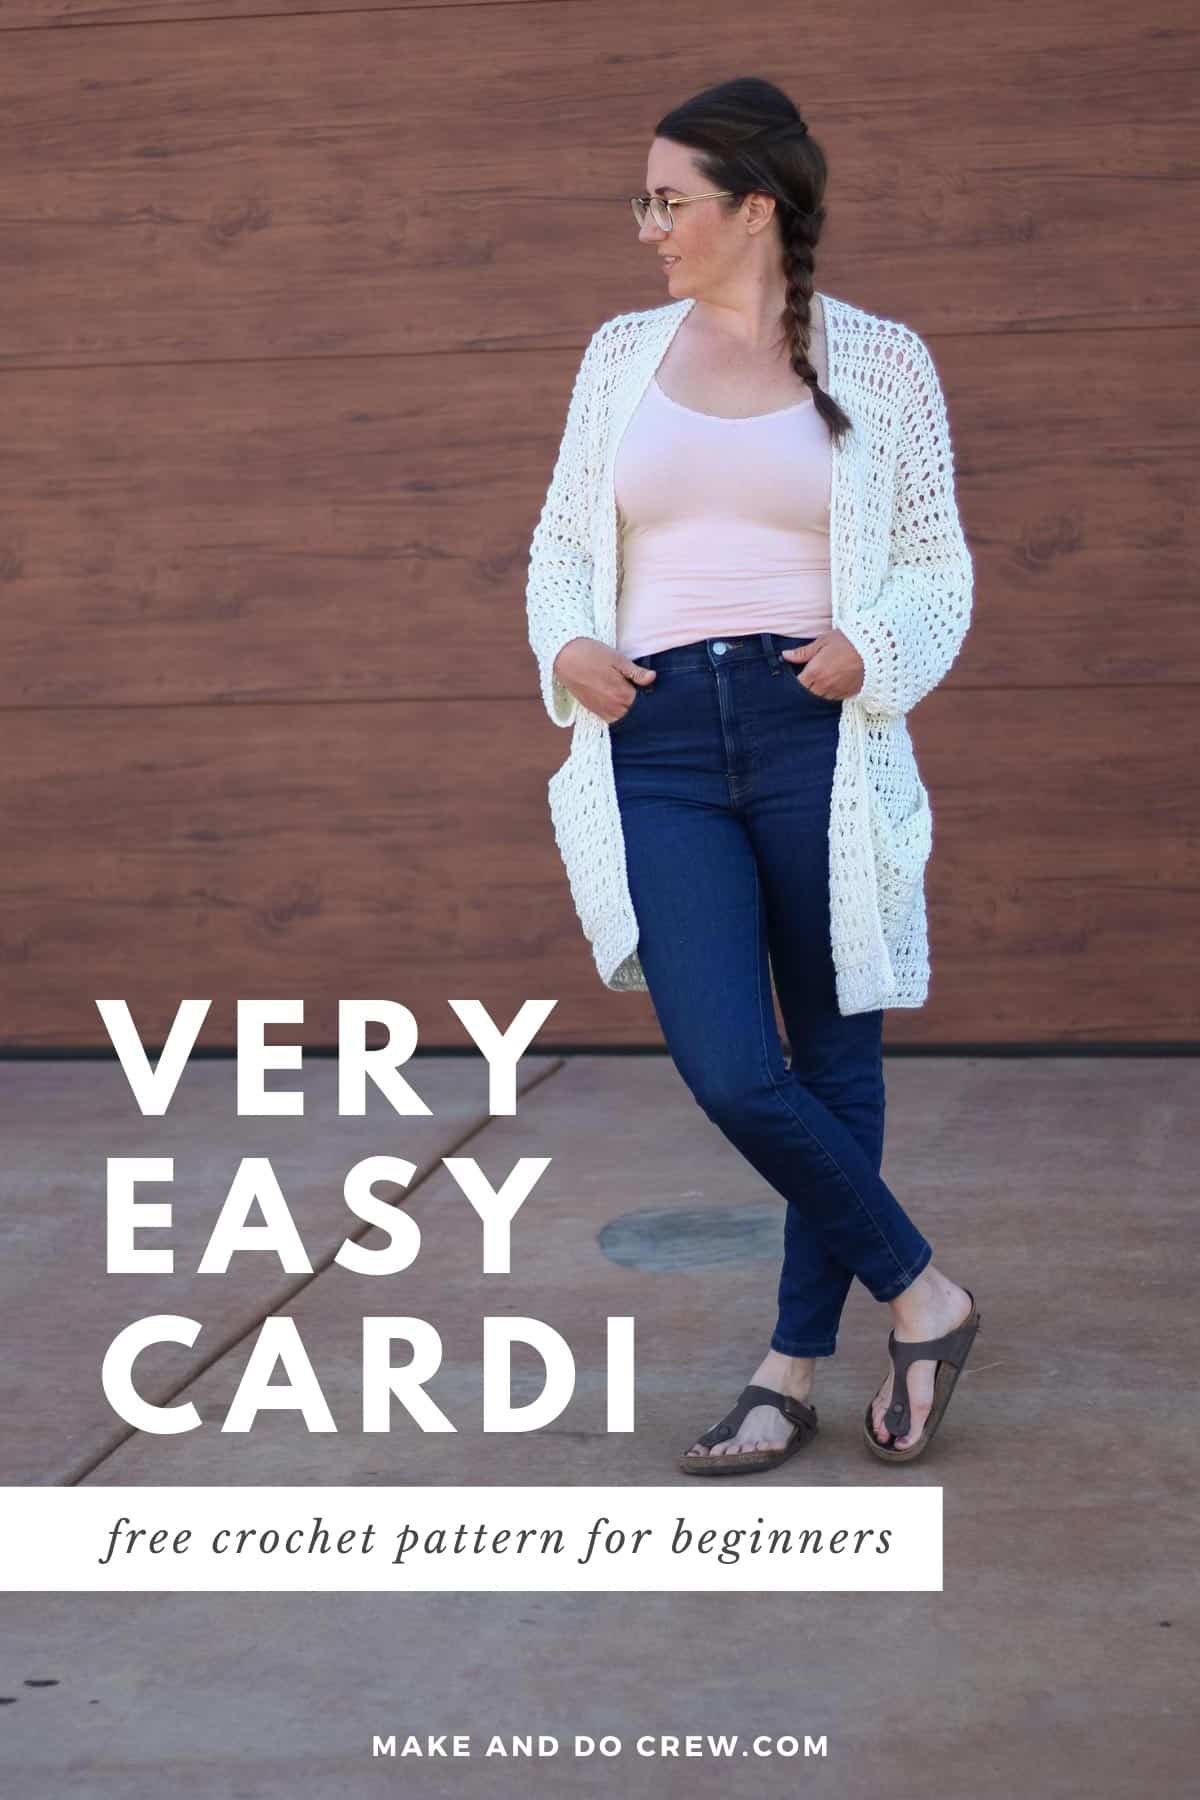
This free crochet long cardigan pattern is part of a collaboration with Lion Brand Yarns. This post contains affiliate links.
By using treble crochet and floppy worsted weight yarn, you’ll work through this versatile cardigan quickly and be sashaying with style in no time! This is one of the comfiest crochet pieces I've ever worn and I'm so excited to share all the details with you. Keep reading for more about the yarn and inspiration and a video preview or scroll down for the free pattern.
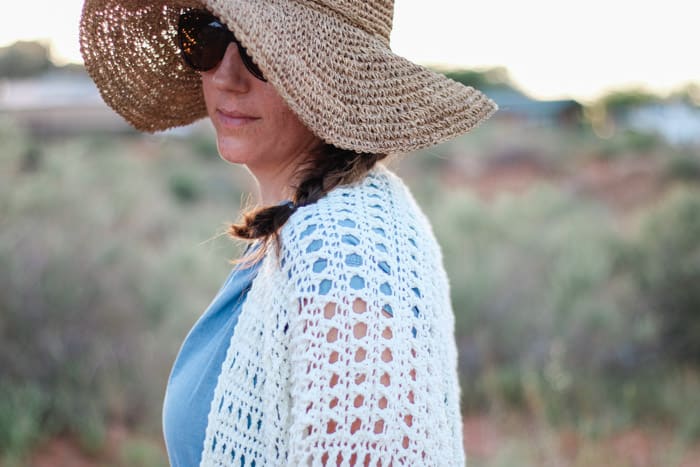
A Crochet Long Cardigan That Was Made For the American Southwest
For the last three years, my family has taken a mountain biking trip to Moab, Utah. This year as we were planning the AirBnB rental, who would cook what each night and what rides we'd attempt, my mom and I were also busy scheming a crocheted long cardigan that would be perfect to photograph against the backdrop of the red rocks of Moab.
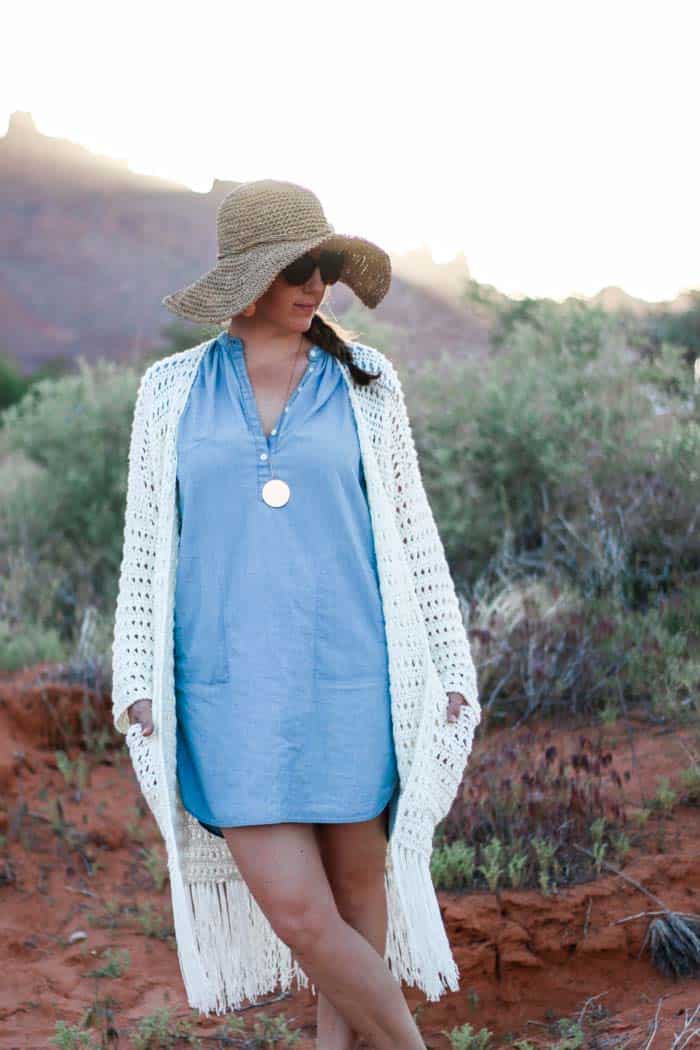
And holy smokes--isn't Utah beautiful!? I just adore this landscape. Paired with the optional exaggerated fringe and fantastic drape of this sweater, everything about the Moab desert complimented the boho crochet cardigan vibe we were going for.
Wear This Long Crochet Cardigan Year Round
Sometimes you just need a statement piece that makes an otherwise average outfit look really intentional. When designing this pattern, we wanted to create a crochet cardigan that felt summery enough to toss on over a sundress, but also versatile enough to wear with leggings and a long sleeve shirt in the fall.

How to Customize Your Boho Cardigan
It's really easy to customize this cardigan because the construction is super simple to begin with. You'll work the fronts and back in one large seamless piece and then add the sleeves by picking up stitches around the armholes, again eliminating the need for seaming.
To make your long crochet cardigan extra long, similar to a crochet duster, simply work extra rows in the body section. To make it shorter just eliminate some of the rows in the body before you divide for the armholes.
As you can see, you can leave the fringe off for a less free-spirited look. Adding the fringe weighs the bottom of the cardi down a bit, so you might decide to add a few extra rows before dividing for the armholes if you're planning to skip the fringe.
New to making cardigans? Don't miss How to Crochet a Sweater for our best beginner tips
Yarn Options for Your Long Crochet Cardigan
As my mom and I expected, Lion Brand's ZZ Twist proved to be the perfect yarn to use to achieve the flowey, slinky and lightweight effect we were going for with this crocheted long cardigan. (We also used it in the Free Range Kimono pattern last summer!)
Unfortunately, it seems like this yarn is in the process of being discontinued and only certain colors are available on LionBrand.com. You can also purchase ZZ Twist on Amazon here.
Because ZZ Twist is a worsted weight yarn though, it's quite simple to find substitutes. Searching on YarnSub.com is a great place to start. You'll want a category 4 weight yarn that is flexible and drapey. Lion Brand Jeans or Jeans Colors and Mandala Ombre are soft, flexible options I think would work really well.
Pin it! click to pin this pattern for later ⇨
Get a Preview of the Solstice Sweater In Action
Sometimes it's hard to tell in a photo what a crochet pattern really looks like and get a feel for what the fabric will be like when you wear it. So for this long crochet cardigan pattern, I put together a little preview video of the sweater in action.
In a quick 30 seconds, I think you'll really get a sense of how comfy, flowy and flattering this cardigan is. (And be sure to watch to the final scene where you can see my sister twirl her little bohemian heart out! I was laughing out loud editing this part of the video.)
More Free Crochet Sweater Patterns
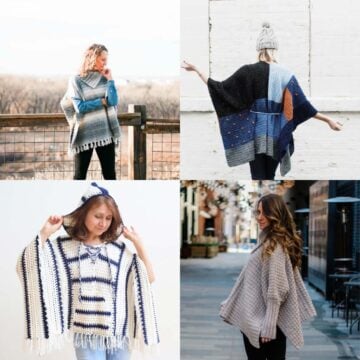
Crochet sweater patterns don't need to be difficult. In fact, most of ours are made with very simple shapes. Dive into the wonderful world of crochet garments with cardigans, pullovers, ponchos, shrugs and more!
See more free crochet sweater patterns →
The Solstice Sweater
Free Long Crochet Cardigan Pattern
Explanation:
Exaggerated fringe, open stitch work and flatteringly drapey yarn come together to make a very easy carefree cardigan that’s perfect for laying year round.

Don't spend hours for a "meh" result!
Tired of crocheting garments that don't fit? Learn our C.R.A.F.T. Framework to make sweaters that fit and feel amazing!
With very little increasing or decreasing and only two short crochet seams in the entire sweater, this pattern is approachable for confident beginners. The main sweater fronts and backs are worked in one piece and sleeve stitches are picked up around armhole (no seams!) By using treble crochet and floppy worsted-weight yarn, you’ll work through this cardigan quickly and be sashaying in no time.
Supplies:
Purchase a handy kit with all the yarn + a printed copy of the pattern here.
• Lion Brand ZZ Twist (Weight: 4/medium - 246 yds, 3.5 oz)
- Ecru (763-098) – 7 (8, 10, 11, 12) skeins [ (approx. 670 (795, 900, 1030, 1165) g)]
(See notes in blog post above for substitute yarn options.)
• Tapestry needle
• Size J hook
• Stitch markers or safety pins
• Piece of stiff cardboard approximately 9” tall
• Scissors
| Size | Fits Bust | Length (without fringe) |
| S/M: | 28-34” | 32.75” |
| M/L: | 34-40” | 34” |
| L/1X: | 40-46” | 34” |
| 1X/2X: | 46-52” | 35.25” |
| 2X/3X: | 52-58” | 36.5” |
Sample pictured is a M/L on a 5’8” model with a 38” bust.
Gauge:
6.5 rows worked in pattern (3.5 rows of hdc + 3 rows of tr “X”s) = 4”
15 hdc = 4”
Note: When working gauge swatch, keep in mind that gauge listed above includes some natural stretch from the weight of the sweater. If your swatch is slightly shorter than gauge, it will likely stretch to the right size in the completed cardigan particularly if you add fringe.
Abbreviations and Glossary (US Terms):
ch – chain
dec – decrease
fhdc – foundation half double crochet
hdc – half double crochet
hdc2tog – half double crochet two together (see below)
pm – place marker
rep – repeat
RS – right side
rsc – reverse single crochet (crab stitch)
sc – single crochet
sk – skip
sl st – slip stitch
st(s) – stitch(es)
tr – treble crochet
WS – wrong side
yo – yarn over
Special Stitches:
hdc2tog: Yo, insert hook in next st, yo, pull up a loop, insert hook in next st, yo, pull up a loop, yo, draw hook through all 4 loops.
Overall Pattern + Sizing Notes:
• Ch 2 at beginning of row counts as 1 hdc throughout.
• Ch 4 at beginning of row counts as 1 tr throughout.
Main Sweater Body
Notes:
• Fronts and back are worked at one time from the bottom up until you divide for armholes.
• To make a longer or shorter sweater, eliminate or work additional rows of main sweater body before dividing for front.
Preferred Foundation Row 1 (RS): Fhdc 112 (134, 158, 180, 202).
Alternative Foundation Row: Ch 113 (135, 159, 181, 203).
Alternative Foundation Row 1 (RS): Hdc in 3rd ch from hook, hdc in each ch to end of row; turn. [112 (134, 158, 180, 202) hdc]
Row 2 (WS): Ch 4, sk first hdc, *sk next hdc, tr in next hdc, working behind last tr made, tr in skipped hdc (X made), rep from * until turning ch remains, tr in turning ch; turn. [55, (66, 78, 89, 100) Xs; 2 tr]
Row 3 (RS): Ch 2, sk first hdc, hdc in each st to end of row; turn. [112 (134, 158, 180, 202) hdc]
✨Unlock this free subscriber-exclusive pattern ✨
Follow these steps to view the full free pattern below
Sleeves
Notes:
• Sleeves are picked up along armhole opening and worked in the round.
Wanna save this pattern?
• Sleeves are worked in unturned rounds with the RS always facing.
• Since there is extra length from the Main Body section, sleeves are different lengths for all sizes. To make sleeves longer once Last Round is complete, work additional rounds in the pattern without decreasing.
With RS facing, attach yarn at underarm of either armhole opening.
Round 1: Ch 2, work 53 (61, 63, 67, 75) hdc evenly around armhole opening, sl st to ch-2 from beginning of round to join. [54 (62, 64, 68, 76) hdc]
Round 2 (RS): Ch 4, sk first hdc, *sk next hdc, tr in next hdc, working behind last tr made, tr in skipped hdc (X made), rep from * until turning ch remains, tr in turning ch, sl st to ch-4 from beginning of round to join. [26 (30, 31, 33, 37) Xs, 2 tr]
Round 3: Ch 2, sk first hdc, hdc in each st to end of round, sl st to ch-2 from beginning of round to join. [54 (62, 64, 68, 76) hdc]
Round 4: Rep Round 2. [26 (30, 31, 33, 37) Xs, 2 tr]
Round 5 (dec): Ch 2, sk first hdc, hdc2tog, hdc in each st until 3 sts remain, hdc2tog, hdc in last st, sl st to ch-2 from beginning of round to join. [52 (60, 62, 66, 74) hdc]
Round 6: Rep Round 2. [25 (29, 30, 32, 36) Xs, 2 tr]
Round 7: Rep Round 3. [52 (60, 62, 66, 74) hdc]
Round 8: Rep Round 2. [25 (29, 30, 32, 36) Xs, 2 tr]
Round 9 (dec): Rep Round 5. [50 (58, 60, 64, 72) hdc]
SIZES S/M (M/L, L/1X) ONLY:
Rounds 10-25: Rep Rounds 6-9 four (four, three) more times, then Rnds 8-9 zero (zero, two) more times. Sleeve should have 42 (50, 48) hdc at end of Round 25. Move on to Round 26.
SIZES 1X/2X ( 2X/3X) ONLY:
Rounds 10-25: Rep Rounds 8-9 eight times. Sleeve should have 48 (56) hdc at end of Round 25.
Round 26: Rep Round 2. [22 (26) Xs, 2 tr]
Move on to Last Round.
SIZES S/M (M/L) ONLY:
Round 26: Rep Round 2. [20 (24, 23) Xs, 2 tr]
Round 27 (dec): Rep Round 5. [40 (48) hdc]
Rounds 28-29: Rep Rounds 26-27 once more. Sleeve should have 38 (46) hdc at end of Round 29.
Round 30: Rep Round 2. [18 (22) Xs, 2 tr]
ALL SIZES:
Last Round: Ch 2, sk first st [hdc2tog, hdc in each of next 35 (7, 7, 21, 4) sts] 1 (5, 5, 2, 9) time(s), 0 (0, 2, 1, 1) hdc, sl st to ch-2 from beginning of round to join. [37 (41, 43, 46, 47) hdc]
Sleeve Edging (RS): Ch 1, rsc in each hdc to end of round, sl st to ch from beginning of round to join. [37 (41, 43, 46, 47) rsc]
Pockets
Make 2.
Preferred Foundation Row 1 (RS): Fhdc 30.
Alternative Foundation Row: Ch 31.
Alternative Foundation Row 1 (RS): Hdc in 3rd ch from hook, hdc in each ch to end of row; turn. (30 hdc)
Row 2 (WS): Ch 4, sk first hdc, *sk next hdc, tr in next hdc, working behind last tr made, tr in skipped hdc (X made), rep from * until turning ch remains, tr in turning ch; turn. (14 Xs, 2 tr)
Row 3 (RS): Ch 2, sk first hdc, hdc in each st to end of row; turn. (30 hdc)
Repeat Rows 2 and 3 seven more times. End with a Row 3.
Row 18 (WS): Ch 1, sc in each hdc; turn. (30 sc)
Pocket Edging (RS): Ch 1, rsc in each sc. Fasten off leaving a 30” tail.
Finishing
Edging on Main Sweater Body:
With WS facing, attach yarn at bottom of right front (this is the left side when wearing sweater). Left-handed crocheters, attach yarn at bottom of left front.
Row 1 (WS): Ch 1, sc evenly along edge of first front, along back of neck and down edge of second front; turn.
Row 2: (RS): Ch 1, rsc in each sc along edges of fronts and neck. Fasten off.
Attaching Pockets:
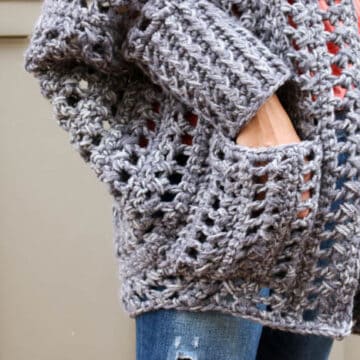
Using stitch markers, pin WS of pocket to RS of sweater as pictured. Thread leftover yarn tail on tapestry needle and whip stitch pocket in place. Repeat for second pocket.
Adding Fringe:
Fringe pieces need to measure approx. 18” long before adding them to cardigan. To quickly cut fringe pieces of all the same length, wrap yarn around a piece of cardboard or a thin book that is approximately 9” tall. Cut at one end.
With RS facing, begin at one corner of cardigan bottom. Insert hook from the front of cardigan toward back and grab three strands of fringe. Pull fringe partially up to front of cardigan. Insert fingers through resulting loop of fringe and pull fringe tails through loop.
Repeat along cardigan bottom so fringe sections are quite close together. Trim as desired. (Fringe pictured in sample is approx. 8.5” long.)
Toss on your newly finished sweater, pop a flower behind your ear and head out to frolic in your fringe!
That was so fun! Now what?
Invitation to our Facebook group
Come discuss crocheting boho cardigan patterns and lots of other crochet projects and techniques in our Make & Do Crew Facebook group. Here thousands of helpful crocheters answer each others questions and share their stitches. Come join us here.
Find Your Next Sweater Project
- Lightweight Cropped Sweater - stylish 3 season top
- Easy Poncho With Sleeves - made entirely from rectangles
- Beginner Cardigan with Video - uses only half double crochet stitches
- Mandala Cardigan with Hood - crochet your own rainbow
- Poncho With Pockets - slim cut + kangaroo pocket
- The Dwell Sweater - with plus sizes + video tutorials
- Beginner Cardigan - made from rectangles
- Pullover Yoke Sweater - nearly seamless
More Free Patterns + Tutorials
Can't get enough free crochet patterns!? Me either. You'll definitely want to breeze through these collections to find your next project.
- 55+ Free Crochet Sweater and Cardigan Patterns - our most popular garments
- 40+ Free Crochet Blanket Patterns - baby blankets, throws + c2c graphgans
- 36+ Granny Square Patterns + tips for the perfect square
- 30+ Crochet Animal Patterns - adorable amigurumi stuffed animals
- Crochet Gift Ideas - easy patterns to make for others
- Fast Crochet Projects - start to finish in less than a day
Learn a New Skill
And when you're ready to master a new skill, check out our detailed guides that include everything you need to know to level up your crochet game.
- How to Corner to Corner (C2C) Crochet for Beginners - with video tutorials to get you started
- How to Crochet a Beginner Hat - make an entire beanie in 1.5 hours!
- How to Crochet Amigurumi for Beginners - the ultimate guide to making your own toys and plushies
- How to Tunisian Crochet - learn with this video and a standard hook
More Free Crochet Boho Patterns
Nurture your inner free spirit with these additional bohemian free crochet patterns from Make & Do Crew! You can always find all our free crochet patterns here.
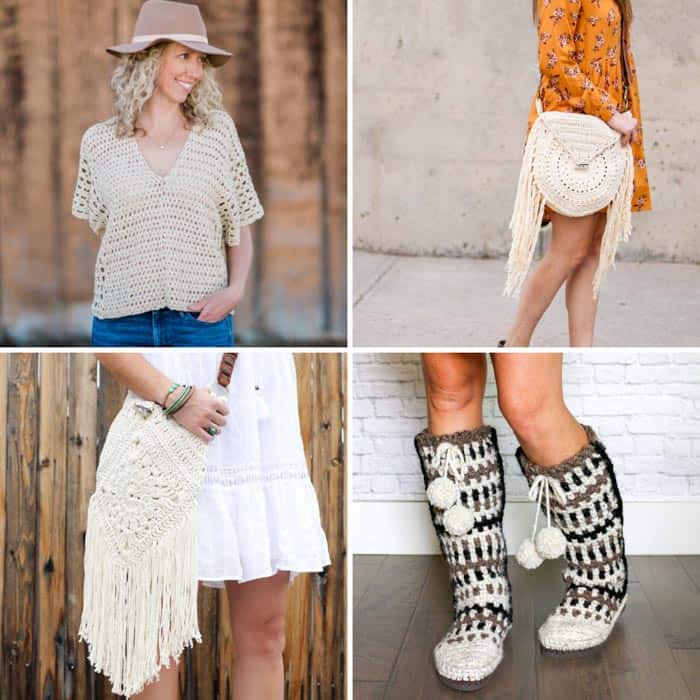
1. Saratoga Poncho Top - This easy crochet top is made from two simple rectangles.
2. Moonrise Boho Purse - A richly textured bag with instructions for an optional leather strap.
3. Urban Nomad Boho Bag - The creative construction of this fringed bag will keep you interested until the last stitch.
4. Taos Slipper Boots - Crocheted on top of a pair of flip flops, these cozy mukluk style boots are as cozy as they look.







Erlinda says
Jess I think that either way this cardi is very trendy and cute. I will be putting this on my make list to.
Joanne Walker says
Hi apologies not Boho but Solstice Cardigan video
Jess @ Make and Do Crew says
Hey Joanne,
Do you use an ad-blocker? If so, you'll have to turn it off to view the video. 🙂
Then you can find it right above the pattern. Happy crocheting!
Jess
Joanne Walker says
Good morning
I cant seem to find the link for the video for the Boho cardigan
Sybille Piorr Beland says
Hi is it possible tu use any weight 4 yarn?
Jess @ Make and Do Crew says
I think so. 🙂 I'd make a gauge swatch and compare it to the gauge listed in the pattern. That'll give you an idea of if you need to change your hook size to end up with a sweater that fits you. Happy crocheting!
Jess
Diana D Marion says
I love your webpage so very much, I can dream while perusing and this time I got the pattern and ordered the zz lion brand yarn so when I go to our Sierra Mountain cabin this month I’ll have the most fun project to create.
Jess @ Make and Do Crew says
That sounds like a wonderful way to spend your mountain vacation! Happy crocheting, Diana. 🙂
Jess
Sally says
Love the open work and fringe! Do you have a similar pattern with a high low hem? I think it would really be cool with the fringed bottom!
Jess @ Make and Do Crew says
I don't, but I really love that idea! Maybe I'll have to design one. 🙂
Eileen says
Where is the tutorial?
Jess @ Make and Do Crew says
Hey Eileen,
I'm sorry, this pattern doesn't have a tutorial per-say besides the detailed pattern instructions. If there's enough interest in one, I'll consider creating a video.
Thanks,
Jess
Dina says
I love love love this cardi! Where can I find the tutorial?
Jess @ Make and Do Crew says
Hey Dina,
Unfortunately, this pattern doesn't have a tutorial per-say besides the detailed pattern instructions. If there's enough interest though, I'll consider creating a video.
Thanks,
Jess
Joanne Walker says
Please could you do a tutorial. I find it helps