In the third stage of the Backcountry Cardigan, we'll crochet the simple rectangular sleeves and finish our sweaters off with pockets and a delicate rope accent. Scroll down for the final stage of the free pattern or purchase the complete ad-free, printable PDF here.
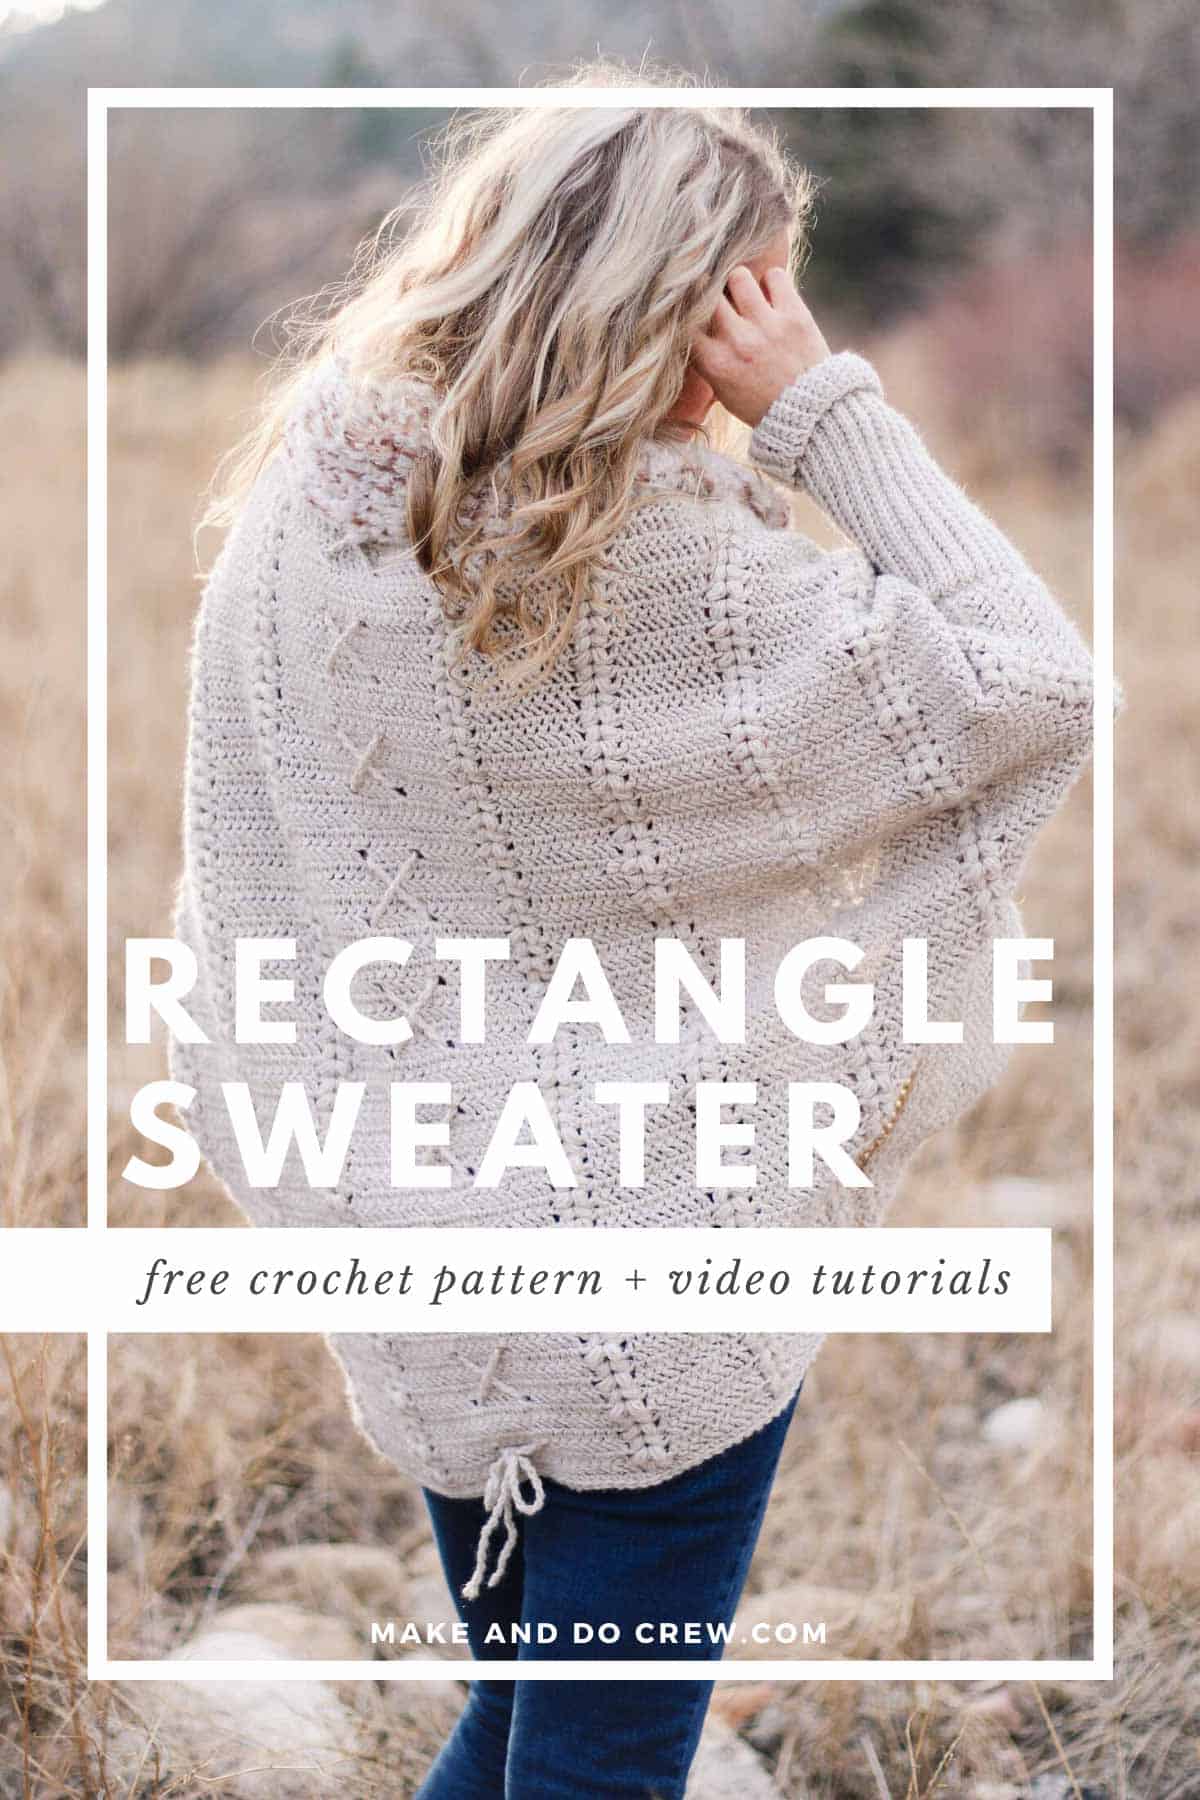
This free crochet cardigan pattern is part of a collaboration with Lion Brand Yarns. This post contains affiliate links.
Welcome back to the Backcountry Cardigan pattern! It's time to finish up our sweaters!
If you're just joining us, head to Part 1 of the pattern here to learn all about the construction, yarn and inspiration for this sweater.
If you prefer to have all your pattern pieces, tutorial photos and information in one easily printable document, the PDF is definitely your best bet. With 26 nicely formatted pages, you'll be able to easily complete this sweater from the comfort of your couch, car or bed. You can download the PDF here.
(You can totally make the sweater entirely from the free pattern too! I just offer the PDFs because some people prefer to print.)
Here are some resources you might need as you head into Part 3:
• Backcountry Cardigan free pattern - Part 1
• Backcountry Cardigan free pattern - Part 2
• Backcountry Cardigan - complete printable pattern PDF
• Herringbone double crochet video tutorial
• Lion Brand Wool-Ease
• Lion Brand Go For Faux
• Make & Do Crew Facebook Group - an awesome place to ask questions and show off your stitches!
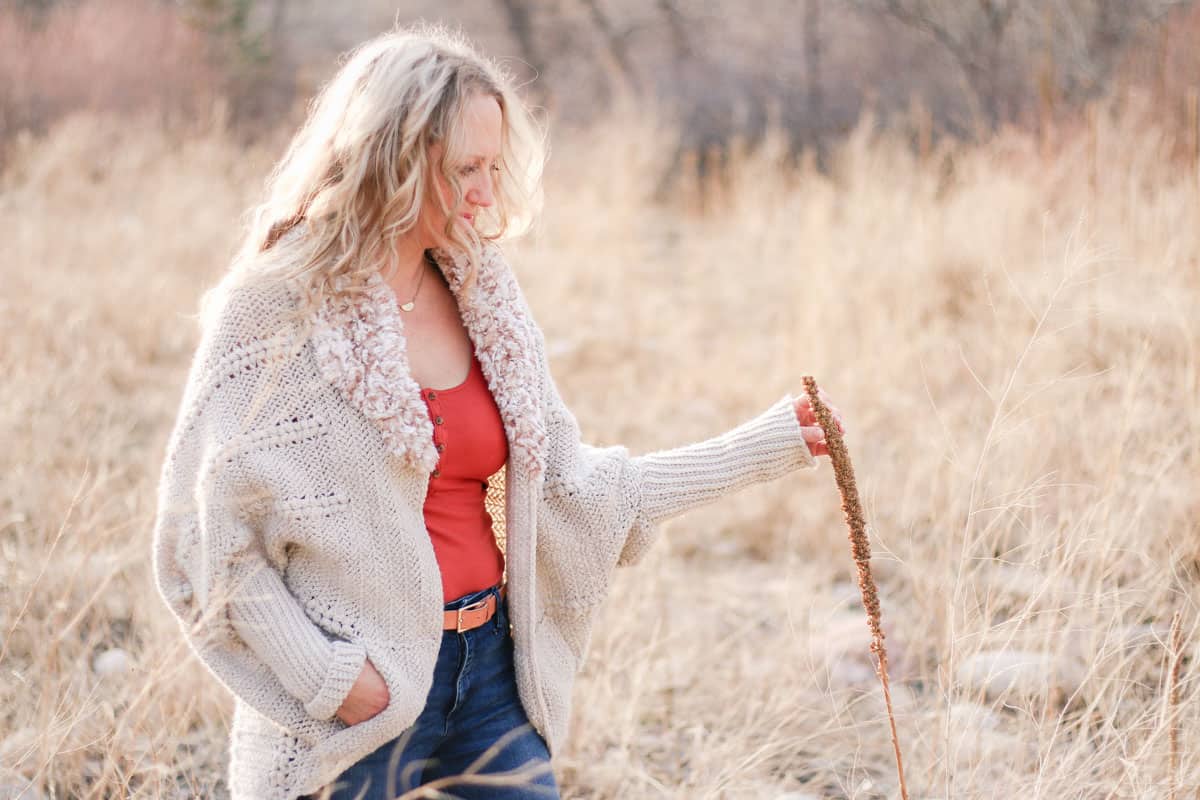
Let's Remember What We're Working Toward!
In case you missed it, here's the brief video I put together that shows the sweater from start to finish in less than a minute. I always find it so inspiring to see what I'm working toward when I'm summoning the energy to finish a project (and resisting the urge to start a new one. ;)) Watch this video if you need a little finish-strong motivation.
More Free Crochet Sweater Patterns
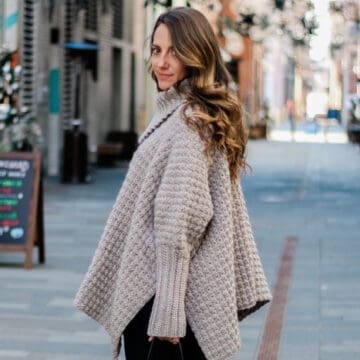
Crochet sweater patterns don't need to be difficult. In fact, most of ours are made with very simple shapes. Dive into the wonderful world of crochet garments with cardigans, pullovers, ponchos, shrugs and more!
See more free crochet sweater patterns →
The Backcountry Cardigan
Free Pattern - Part 3
Find the previous stages of the free pattern here: Part 1, Part 2.
Sleeves
Notes:
• Sleeves are rectangles that are seamed and attached to main sweater.
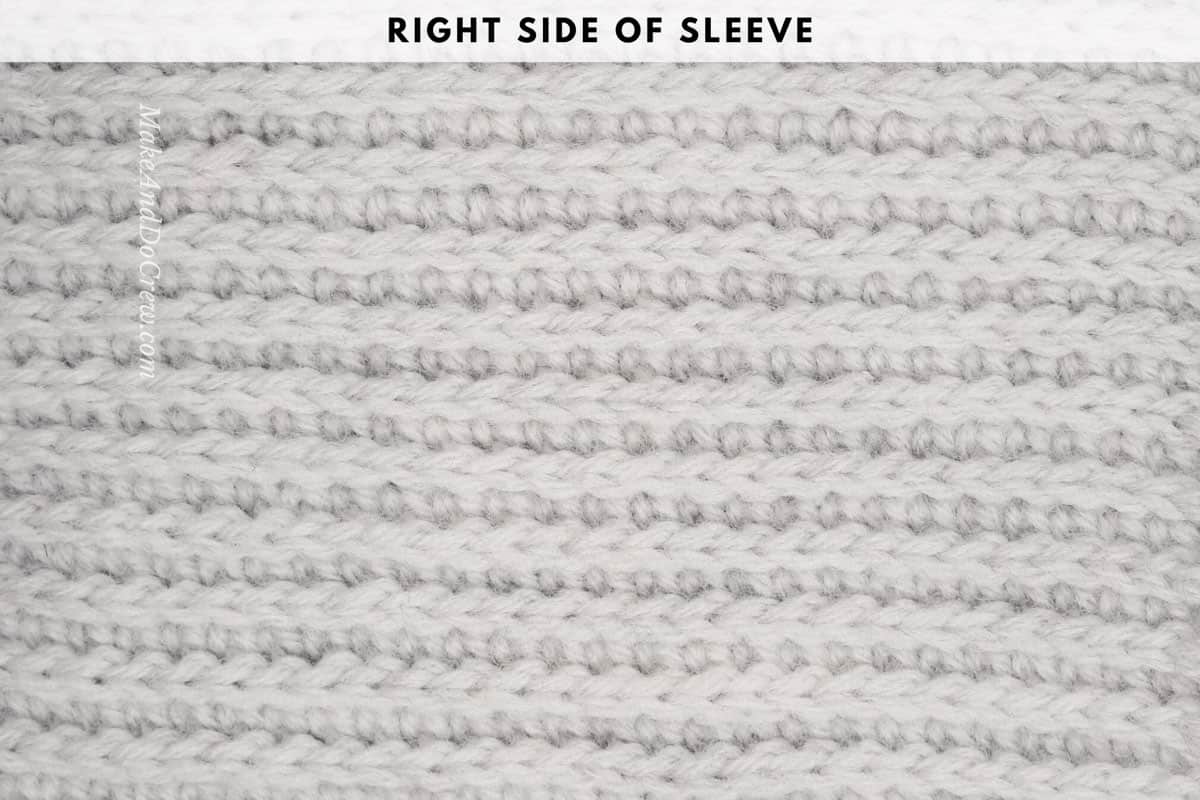
• Row 2 and beyond are worked only through the back loop of each stitch. (See photo below.)
• Slip stitch rows must be worked loosely. If you’re having trouble inserting your hook on the next row, work your slip stitches more loosely.
• Ch 1 at beginning of slip stitch rows is worked tightly in order to create the cleanest edges along the sleeve. Ch 1 at beginning of single crochet rows can be worked normally.

With middle-sized hook and color A:
Make 2.
Foundation Row: Ch 47 [40, 30, 26, 26, 26, 15].
Row 1 (WS): Sk 1 ch, sl st in back bump of each ch to end; turn. (46 [39, 29, 25, 25, 25, 14] sts)
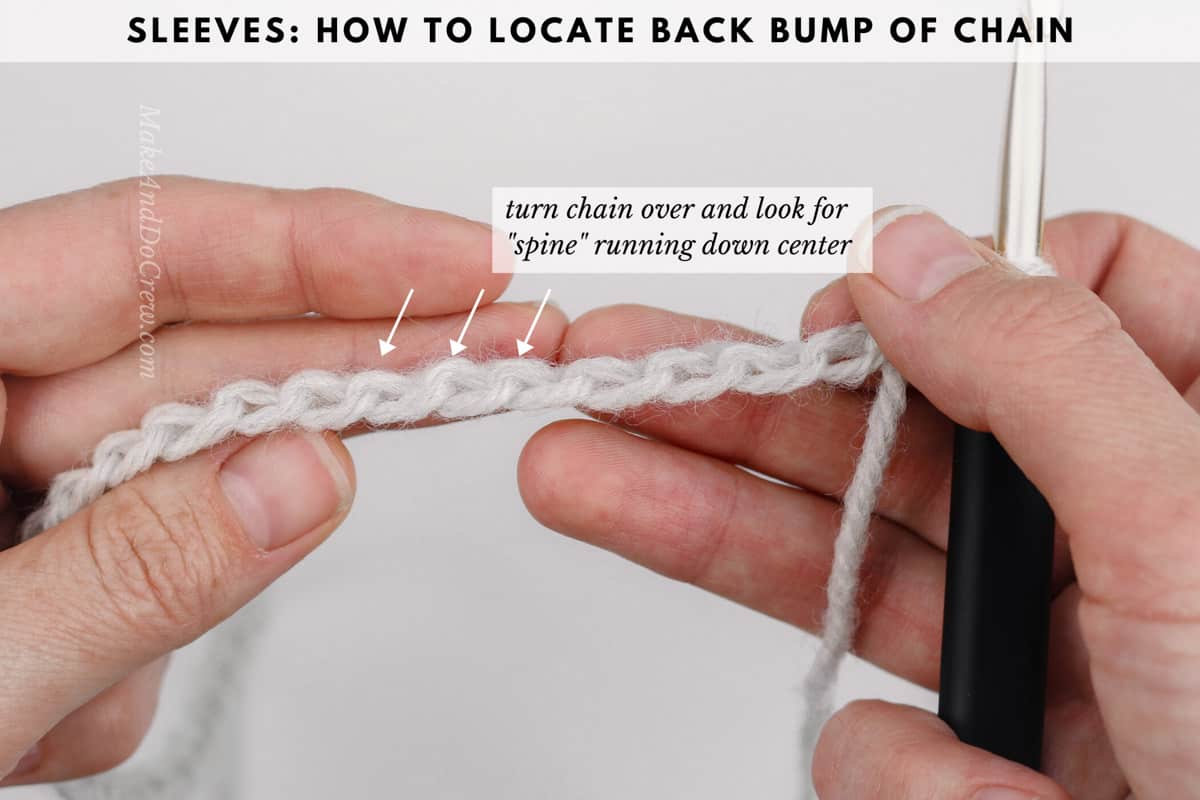
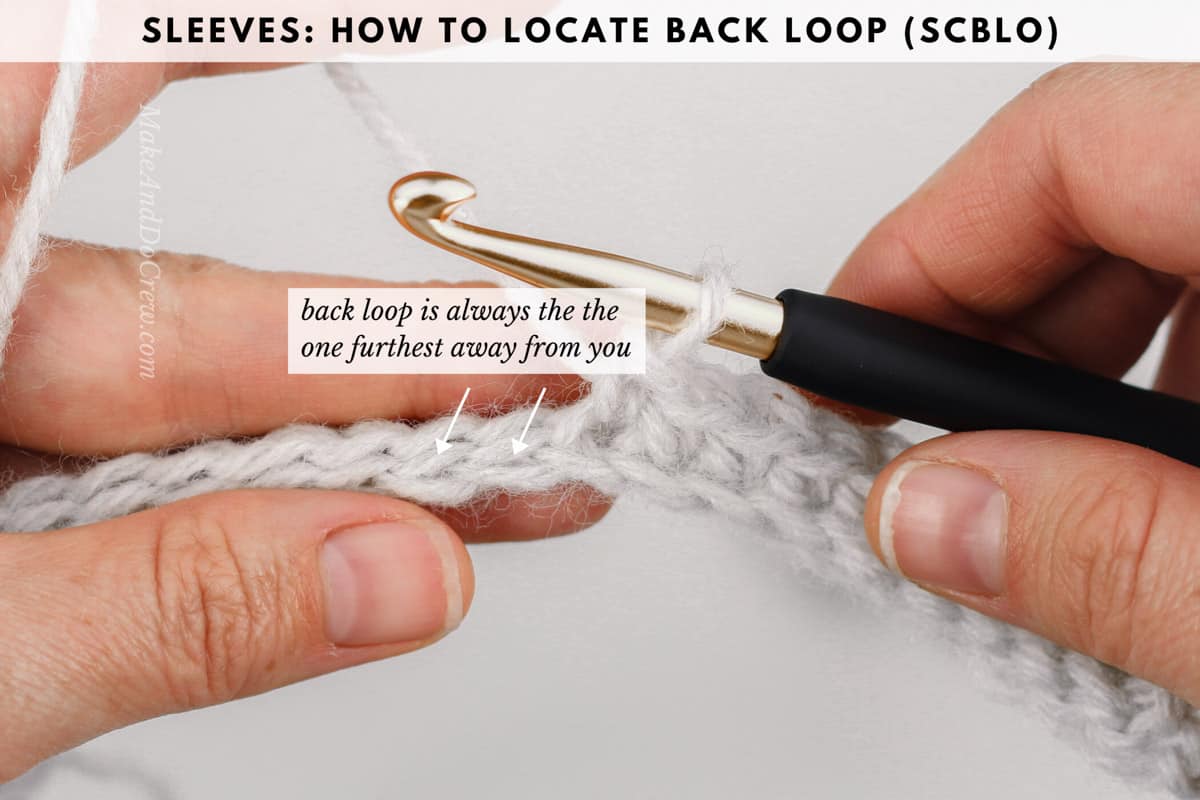
Row 2 (RS): Ch 1, scblo in each st to end; turn.
Row 3 (WS): Ch 1 tightly, slstblo in each st to end; turn.
Rows 4-36 [40, 46, 48, 50, 50, 52]: Rep Rows 2-3. End with a Row 2. Fasten off leaving a 30” tail for seaming.
Pockets
Notes:
• Ch 2 at the beginning of the row does not count as a stitch. Ch 3 at the beginning of the row does count as a stitch.
• Size S/M only: Pocket width is expanded by working additional rows on the opposite side of the foundation row.
Right Pocket:
With color A and smallest hook:
Foundation Row: Ch 33 [33, 42, 48, 48, 51, 57].
Row 1 (RS): Hbdc in 4th ch from hook, and in each ch to end; turn. (31 [31, 40, 46, 46, 49, 55] sts)
Row 2 (WS): Ch 3, sk first st, hbdc in each st until 4 sts remain, hbdc2tog twice; turn. (29 [29, 38, 44, 44, 47, 53] sts)
Row 3 (RS): Ch 2, hbdc2tog twice, hbdc in each st to end; turn. (27 [27, 36, 42, 42, 45, 51] sts)
Rep Rows 2 and 3 until pocket contains 6 [12, 20, 20, 20, 24, 24] total rows. (21 [9, 2, 8, 8, 3, 1] sts)
All sizes
Fasten off leaving a 25 (25, 30, 30, 30, 40, 40)” tail for joining. Size S/M only, continue to instructions below.
Size S/M Only
PM in 6th foundation ch from decreased edge.
With WS facing, attach color A in marked st.
Wanna save this pattern?
Row 1 (WS): Ch 2, hbdc2tog, hbdc in each st to end; turn. (25 sts)
Row 2 (RS): Ch 3, sk first st, hbdc in each st until 2 sts remain, hbdc2tog; turn. (24 sts)
Row 3 (WS): Ch 3, sk first st, hbdc in each st to end; turn. (24 sts)
Rep Row 3 three more times. Fasten off. Pocket should have 12 total rows.
Left Pocket:
With color A and smallest hook:
Foundation Row: Ch 33 [33, 42, 48, 48, 51, 57].
Row 1 (RS): Hbdc in 4th ch from hook, and in each ch to end; turn. (31 [31, 40, 46, 46, 49, 55] sts)
Row 2 (WS): Ch 2, hbdc2tog twice, hbdc in each st to end; turn. (29 [29, 38, 44, 44, 47, 53] sts)
Row 3 (RS): Ch 3, sk first st, hbdc in each st until 4 sts remain, hbdc2tog twice; turn. (27 [27, 36, 42, 42, 45, 51] sts)
Rep Rows 2 and 3 until pocket contains 6 [12, 20, 20, 20, 24, 24] total rows. (21 [9, 2, 8, 8, 3, 1] sts)
All sizes
Fasten off leaving a 25 (25, 30, 30, 30, 40, 40)” tail for joining. Size S/M only, move on to instructions below.
Size S/M Only
PM in 6th foundation ch from decreased edge.
With WS facing, attach color A in first foundation ch on straight edge (edge opposite starting tail).
Row 1 (WS): Ch 3, hbdc in each st to 1 st before marker, hbdc2tog over next st and marked st; turn. (25 sts)
Row 2 (RS): Ch 2, hbdc2tog, hbdc in each st to end; turn. (24 sts)
Row 3 (WS): Ch 3, sk first st, hbdc in each st to end; turn. (24 sts)
Rep Row 3 three more times. Fasten off. Pocket should have 12 total rows.
Seaming
1. Seaming Sleeves:
With RS facing out, bring Foundation Row under final row to fold sleeve into a tube. Pin in place with stitch markers. Using 30” yarn tail and tapestry needle, seam through final row and Row 1 (not the chain). Keep yarn attached for seaming sleeve to main sweater.
2. Attaching Sleeves to Sweater:
With RS of sweater and RS of sleeve facing out, use stitch markers to pin sleeve to armhole. Take care to line up sleeve seam with sweater seam. Using technique shown in photo on p17, seam sleeve to sweater.
Repeat steps 1-2 on second sleeve/side.
3. Attaching Pockets to Sweater:
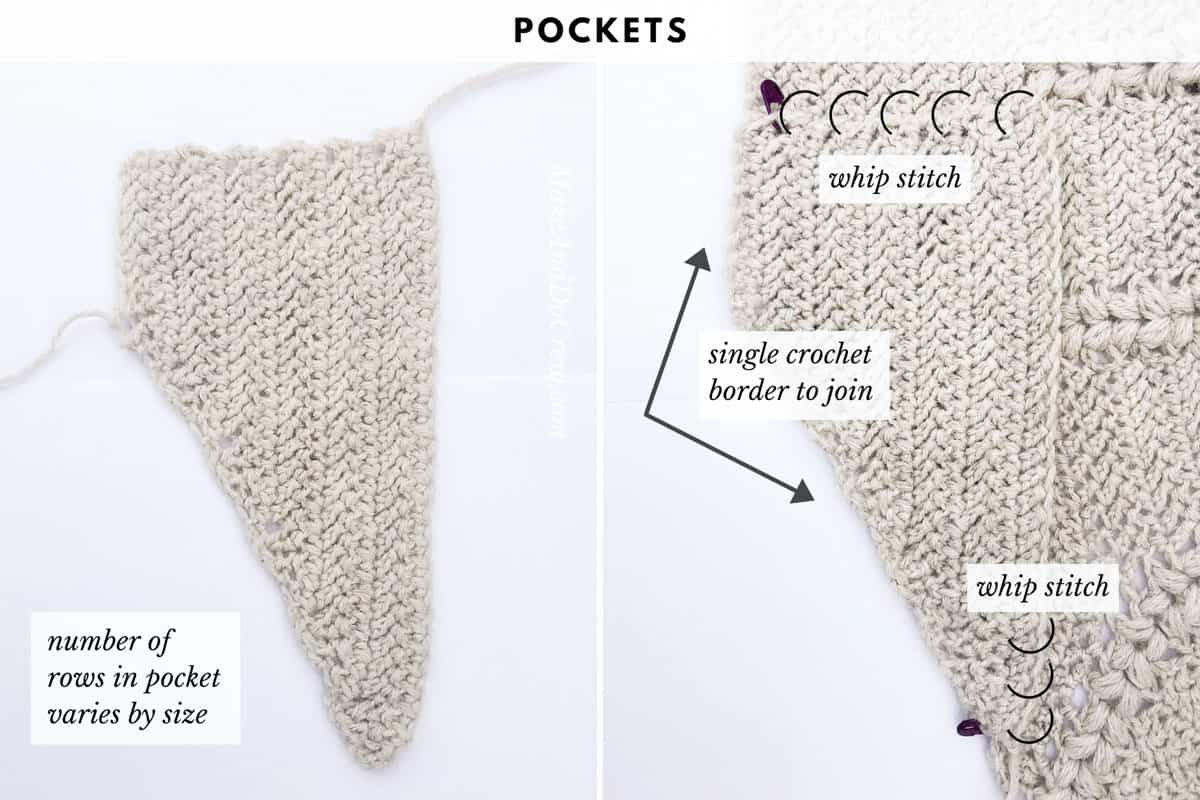
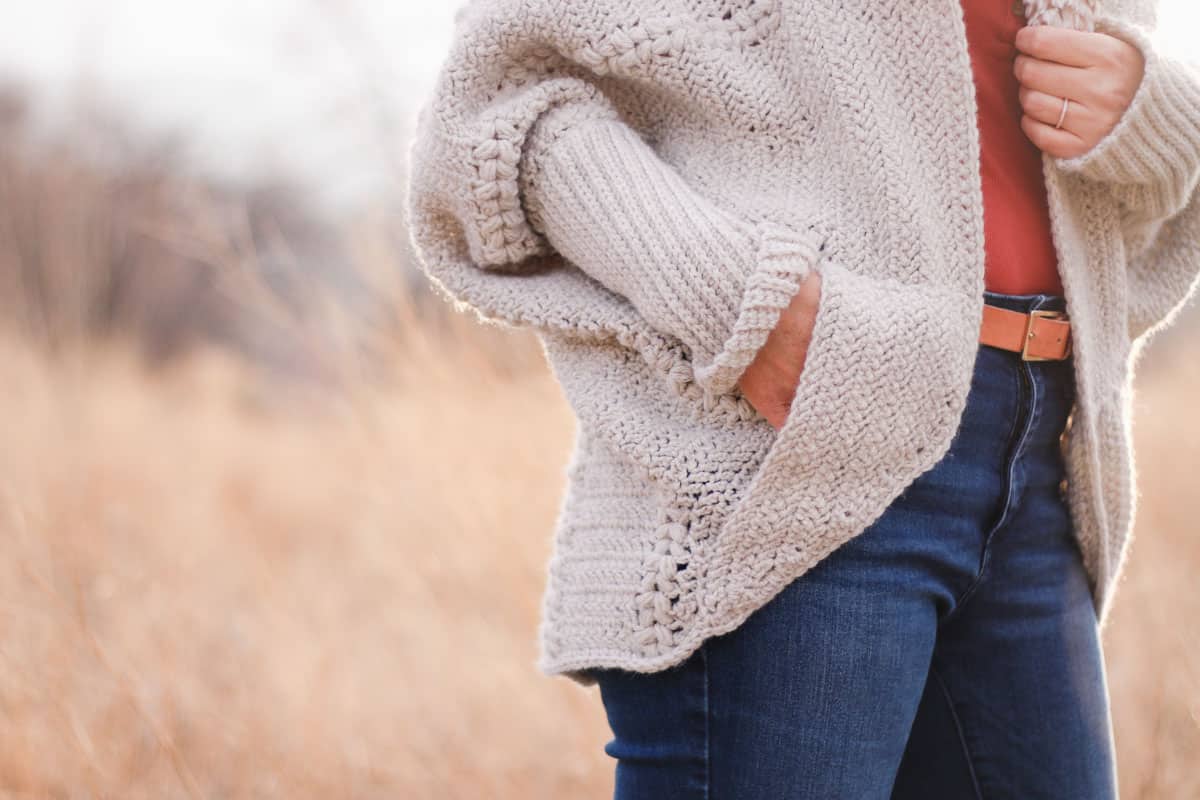
Use stitch markers to pin pockets in place as pictured in photos above (in Pockets section) and below. Note that pockets are not interchangeable – direction of stitches should match the collar rows below pocket. Take care to line up visual pocket rows with collar rows. Bottom of pocket should essentially align with bottom edge of collar.
Using tapestry needle and leftover yarn tails where possible, whipstitch top of each pocket to collar. Repeat at bottom outer corner of each pocket. Other pocket edges will be joined with Border.
More Free Crochet Shirts + Tops Patterns
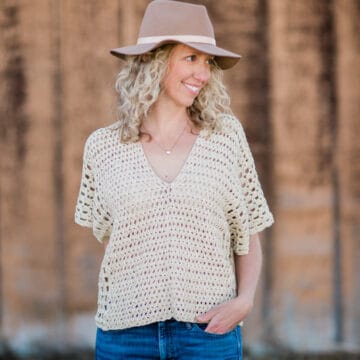
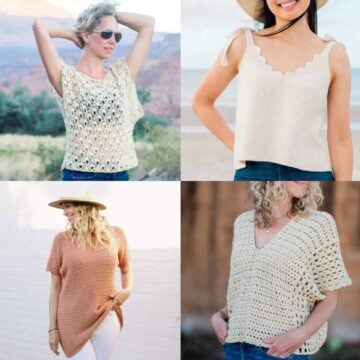
From peplum-style pullovers to easy, breezy lace blouses, crop tops and everything in between, you'll find your next wearable crochet project here.
See more free crochet shirts + tops patterns →
Border
Border is worked along front edges of Collar and bottom of sweater.
With inside (WS) of sweater facing you, use smallest hook to attach color A where fur trim ends on right side of sweater (left-handed: left side of sweater).
Border Row 1 (WS):
Working into first collar edge:
Do not ch 1, sc in each st along collar edge toward bottom of sweater, sc into both pocket edge and collar edge at the same time to join them…(See photo on p23.)
Working into bottom of sweater:
...Place 1 sc in each hbdc, 1 sc in each puff and 1 sc in each chsp…
Working into second collar edge:
...Sc into both pocket edge and collar edge at the same time to join them, sc in each st along collar edge toward fur trim on opposite side until 1 st remains, slst in last st; turn.
Border Row 2 (RS): Do not ch 1, slst in each st of Border Row 1.
Rope
Watch a video tutorial on creating this type of rope here.
Rope lace is created by twisting two strands of Color A together. It is best accomplished by tying the strand of yarn to an anchor like an oven or refrigerator handle. Measurements include enough excess to accommodate tying to the anchor and cutting yarn when removing.
Make 3 [3, 3, 4, 4, 4, 4].
- Cut a 4-yard length of yarn A. Fold strand in half.
- Tie yarn at halfway point to anchor.
- Look closely at yarn to determine which way it is naturally twisting from when it was spun.
- With one strand in each hand, begin twisting yarn in direction it was spun. (This should be the same direction for both pieces.) Keep twisting and twisting and twisting!
- When yarn cannot be twisted any further, put both strands together slowly and let them twist onto each other.
- If there are kinks or tangles, slowly tug each strand to smooth them out.
- Trim rope off anchor. Tie a knot at trimmed side.
- Rep steps 2-7 with same rope a second time so that it’s now doubled over again.
- Repeat steps 1-8 two [two, two, three, three, three, three] times to create additional ropes. (Note: Length of final rope will vary depending on how tightly you twist. If you find you’re running short of rope in step 10, simply make one more. Excess can be removed in step 11.)
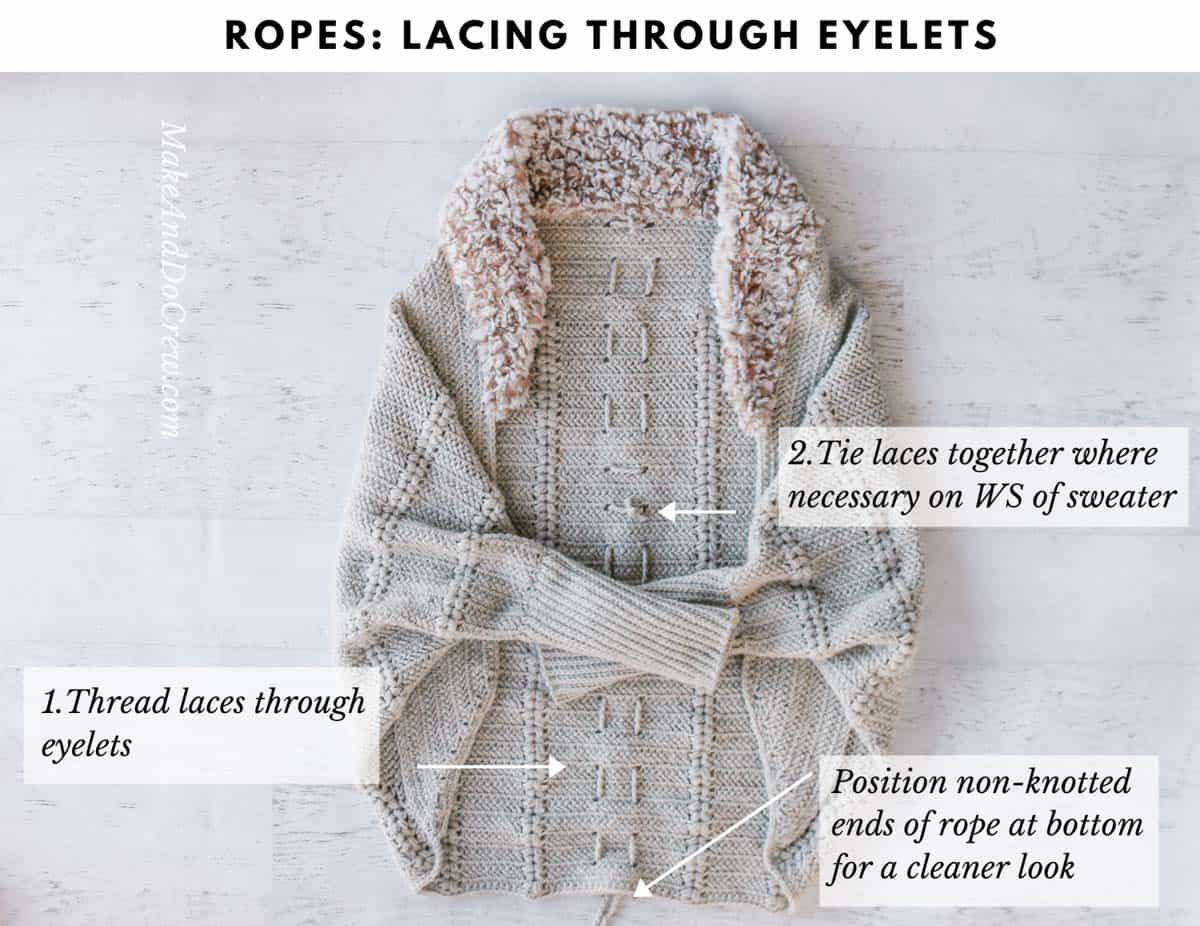
- Lace ropes through eyelets as pictured below.
Tip: Place non-knotted ends of rope at bottom of sweater to create a cleaner look. - Once ropes are basically positioned, tie ropes together inside sweater so as to disguise knots.
Wrap up in your new cruelty-free cardigan and go out to frolic with the foxes!
That was so fun! Now what?
Invitation to our Facebook group
Come discuss crocheting backcountry cardigan patterns and lots of other crochet projects and techniques in our Make & Do Crew Facebook group. Here thousands of helpful crocheters answer each others questions and share their stitches. Come join us here.
Find Your Next Sweater Project
- Seamless Crochet Poncho - a great first garment for beginners
- Basic V-Neck Pattern - classic styling
- High Low Jumper Pattern - finish in one weekend
- Rectangle Crochet Poncho - made from two simple pieces
- Oversized Cardi - with fur collar
- Sherpa Fleece Sweater Jacket - extremely cozy cardi
- Raglan Baby Sweater - cute for Christmas
- Pullover with Removable Cowl - unique and easy design
More Free Patterns + Tutorials
Can't get enough free crochet patterns!? Me either. You'll definitely want to breeze through these collections to find your next project.
- 55+ Free Crochet Sweater and Cardigan Patterns - our most popular garments
- 40+ Free Crochet Blanket Patterns - baby blankets, throws + c2c graphgans
- 36+ Granny Square Patterns + tips for the perfect square
- 30+ Crochet Animal Patterns - adorable amigurumi stuffed animals
- Crochet Gift Ideas - easy patterns to make for others
- Fast Crochet Projects - start to finish in less than a day
Learn a New Skill
And when you're ready to master a new skill, check out our detailed guides that include everything you need to know to level up your crochet game.
- How to Corner to Corner (C2C) Crochet for Beginners - with video tutorials to get you started
- How to Crochet a Beginner Hat - make an entire beanie in 1.5 hours!
- How to Crochet Amigurumi for Beginners - the ultimate guide to making your own toys and plushies
- How to Tunisian Crochet - learn with this video and a standard hook
What Should We Crochet Together Next?
I really hope you've enjoyed the Backcountry Cardigan pattern! If you're looking for more crochet inspiration, here are some deceptively easy crochet sweater patterns you might like. You can always find all our free crochet sweater patterns here.
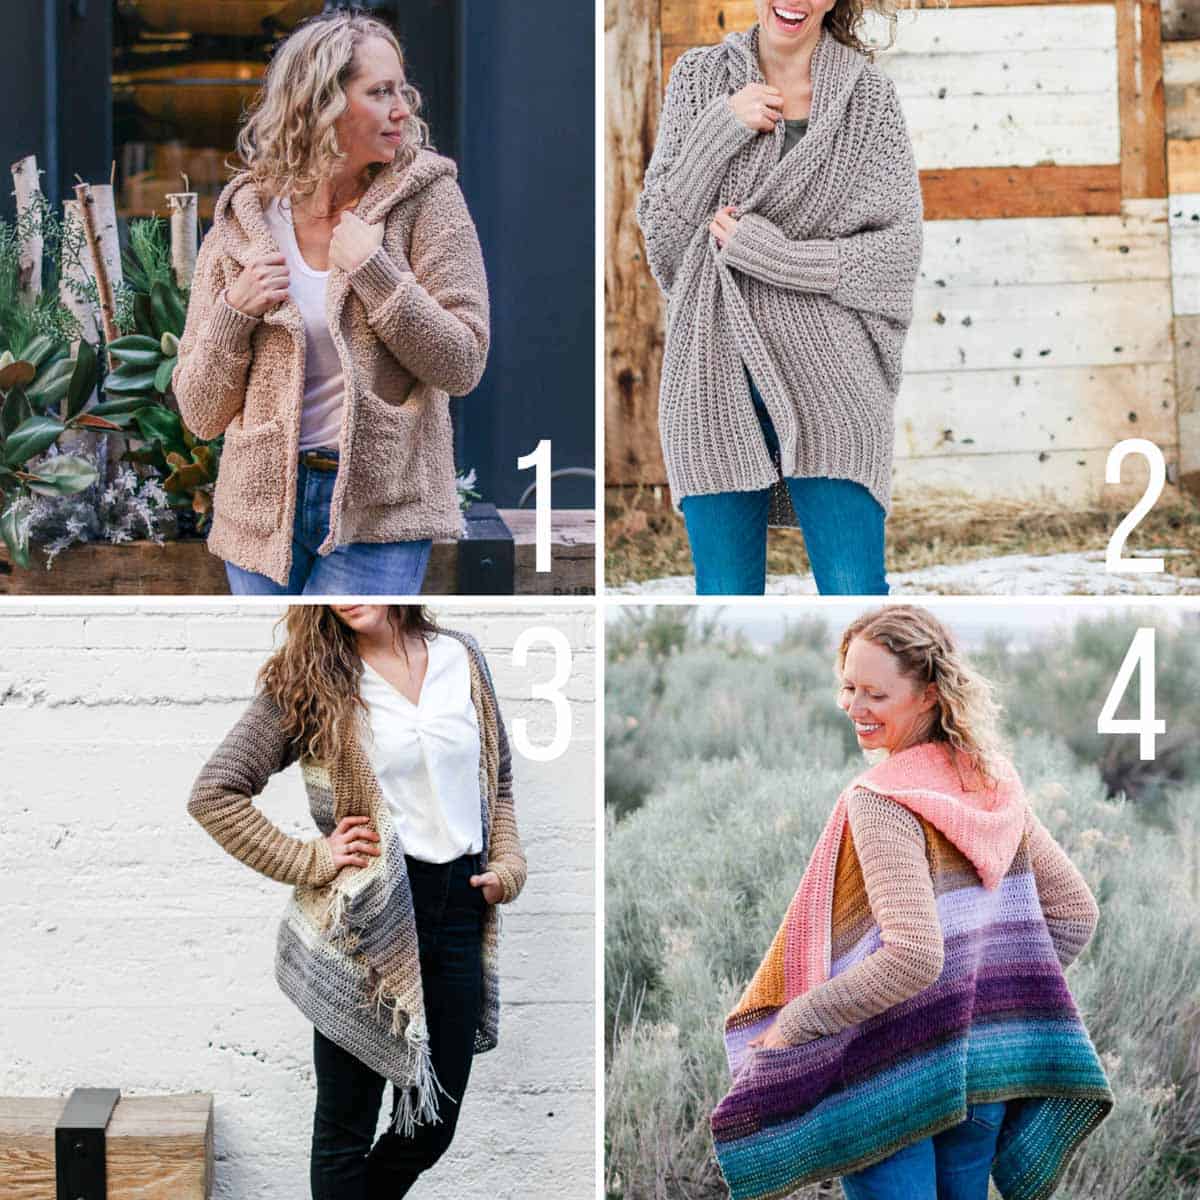
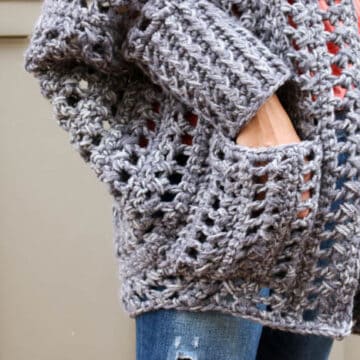
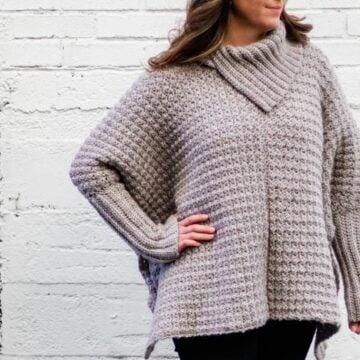
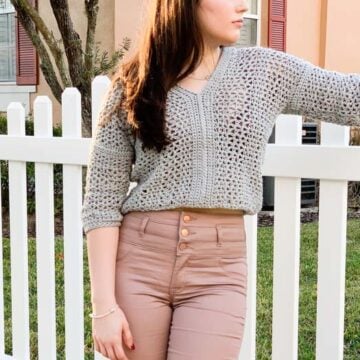
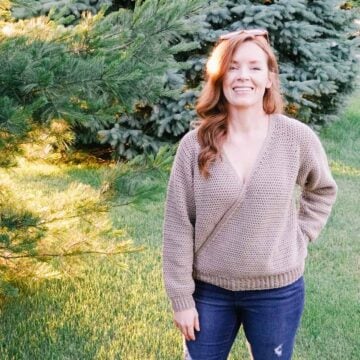
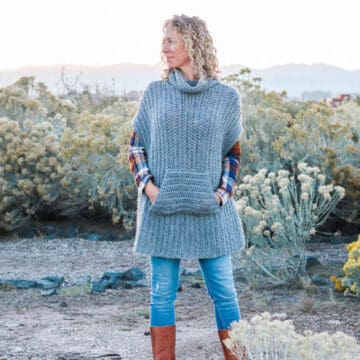
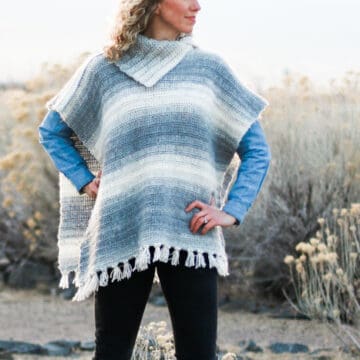
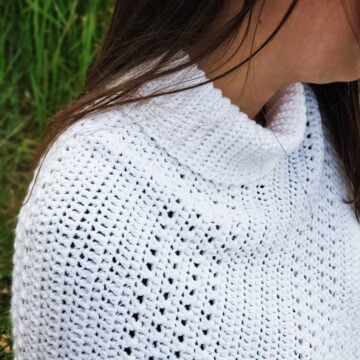
1. Sherpa Sweater // 2. Habitat Cardigan + video tutorial // 3. Strata Sweater // 4. Remix Cardigan + video tutorial





Leave a Reply