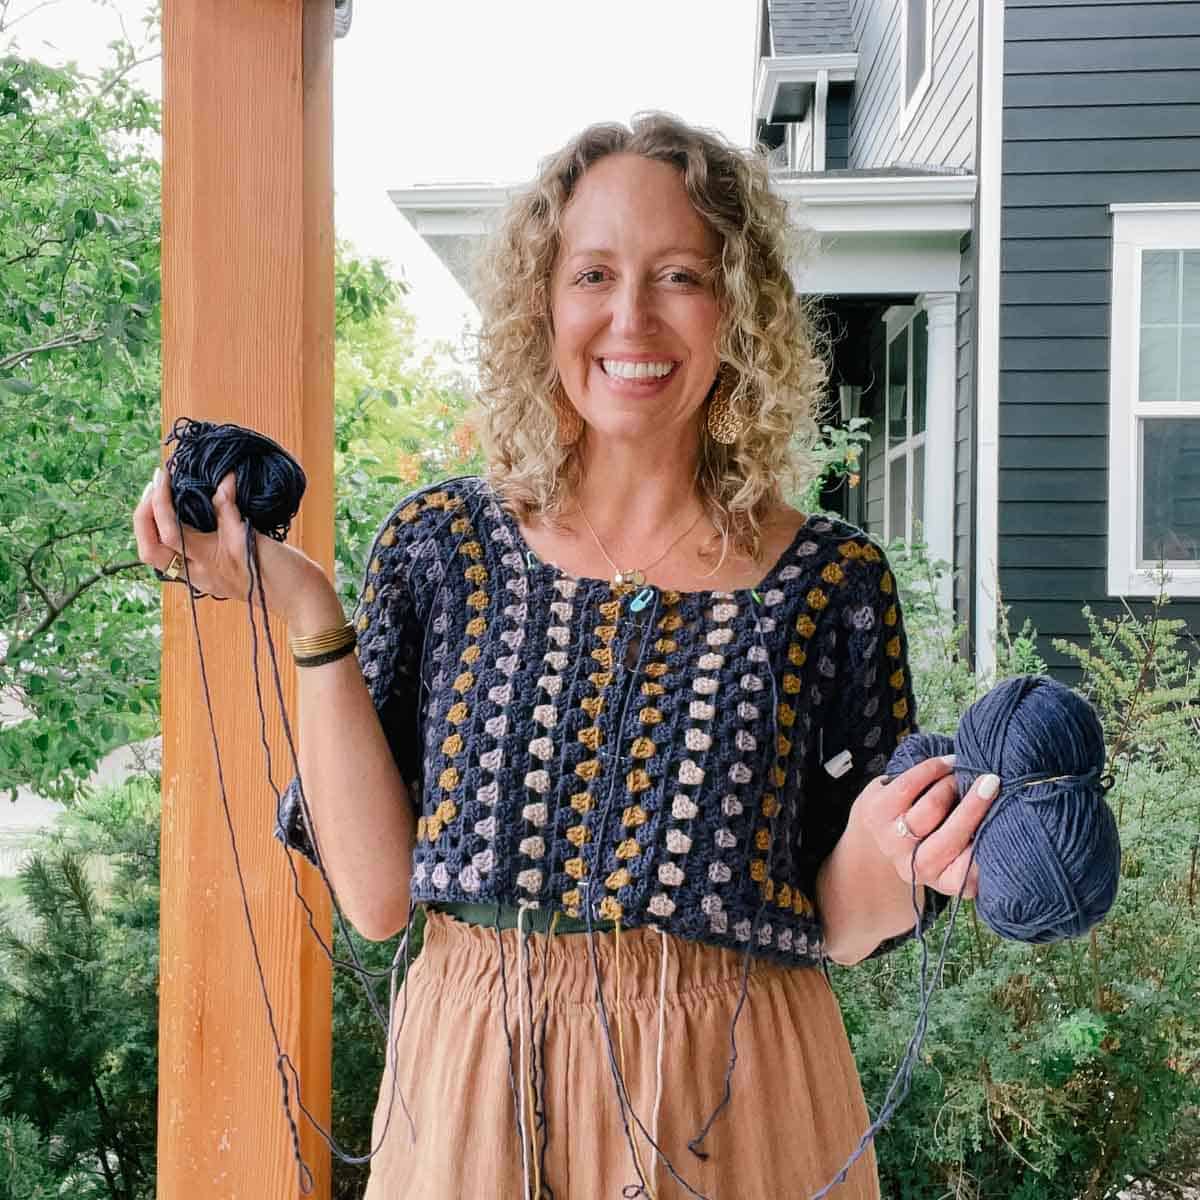
With a super easy construction based on a rectangle, this free crochet sweater pattern is playful, fast and perfect for beginner to advanced crocheters. You'll love watching it come together with zero increasing or decreasing! Get the free pattern + video below or purchase the ad-free, printable PDF with stitch chart.
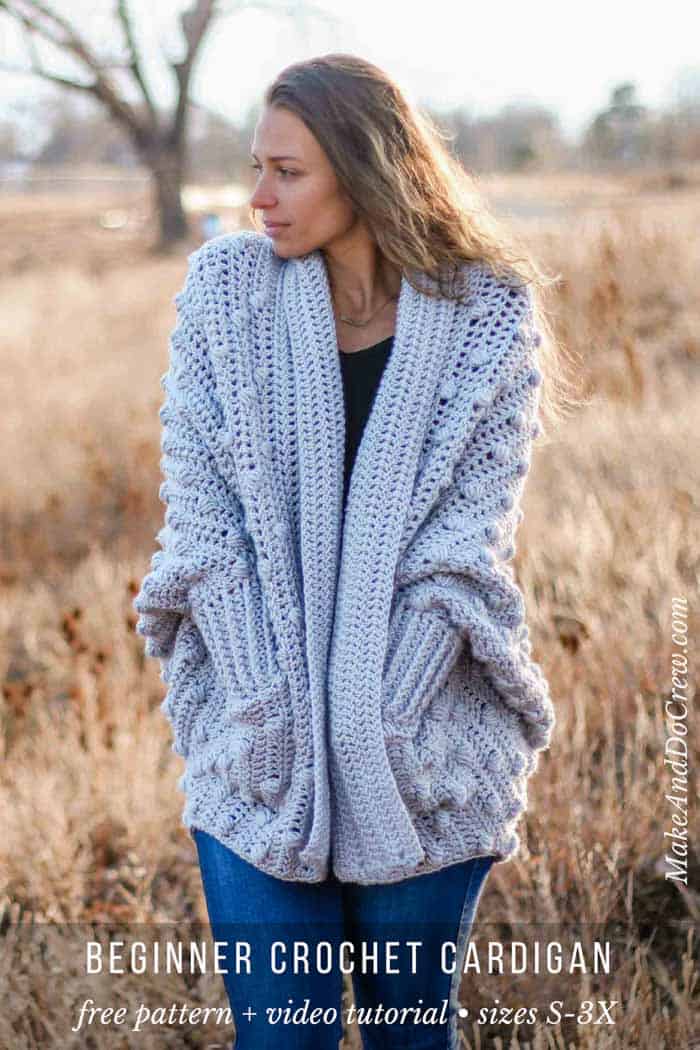
The Haven free crochet sweater pattern is part of a collaboration with Lion Brand Yarn. This post contains affiliate links.
Quick working, luxuriously chunky yarn and a playful bobble stitch come together to make a crochet cardigan that will feel like a haven from the winter chill. Read all the yarn and pattern details below or scroll down for the entire free crochet sweater pattern.
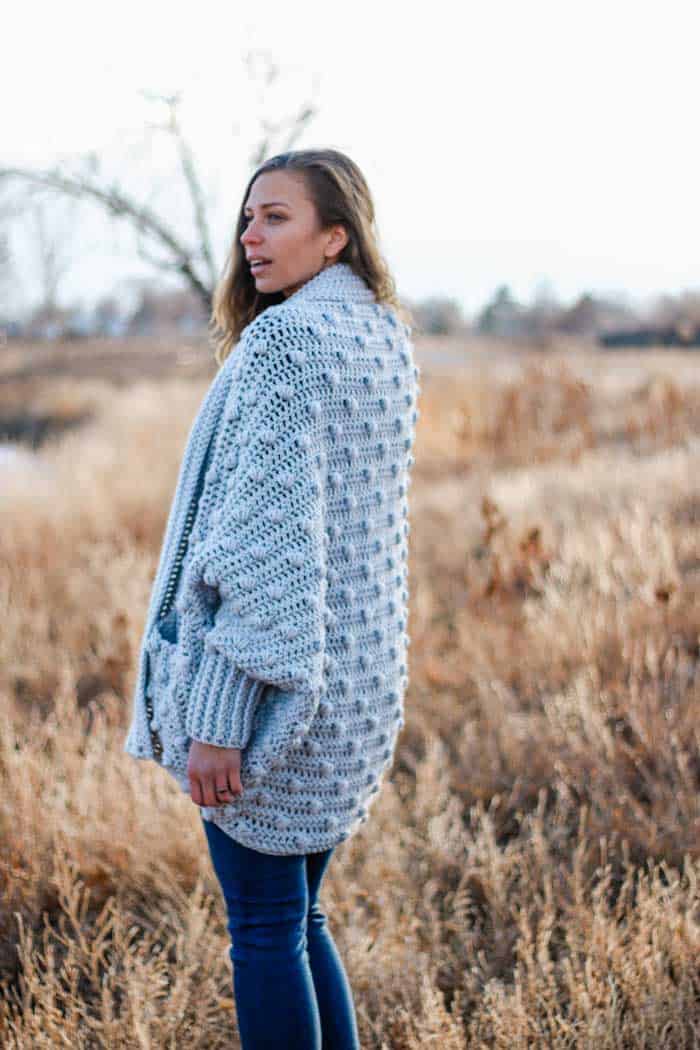
This is the Yarn We've Been Waiting For!
If like me, you have little patience for projects that progress at a snail's pace, but also love some beautiful stitch definition, you are going to LOVE this new yarn from Lion Brand. It's called Color Made Easy and as a category 5 weight yarn, it falls right between worsted favorites like Heartland and bulkier standbys like Wool-Ease Thick & Quick.
I've started to think of the rare category 5 yarns like this as worsted weights on steroids. They make projects progress faster and give them that chunky, luxury look, but the yarn still feels very different than the straight up "chunky" yarns that we all turn to when we need to bust out an entire project in four hours. And the colors of this yarn!? Well, they definitely live up to the name. You can see the entire line of colors of Color Made Easy yarn here!
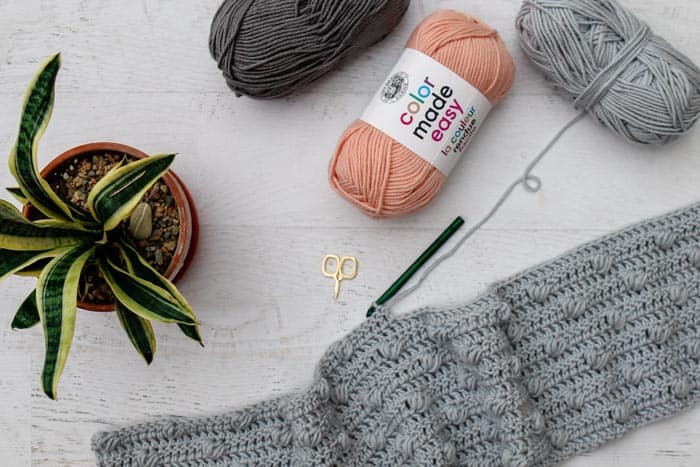
Now Find it Locally at Michaels
After ordering Color Made Easy from LionBrand.com for the the 1 Hour Beanie pattern, I was thrilled to find out that select Michaels have now started carrying this yarn in store too! (It's always a good idea to call your store before you go since different stores have different inventories. If your store doesn't carry it, you can order it from Michaels.com as well.)
I tend to be sort of an impulsive project starter, so having access to great yarn at my Michaels store may not help shorten my list of WIPs, but it sure makes a trip to buy supplies for my kids extra fun!
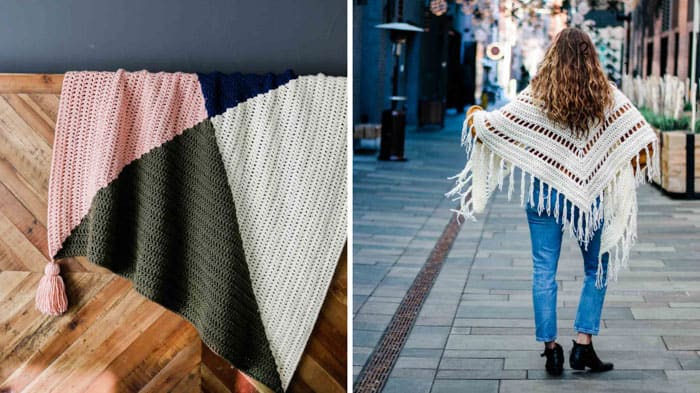
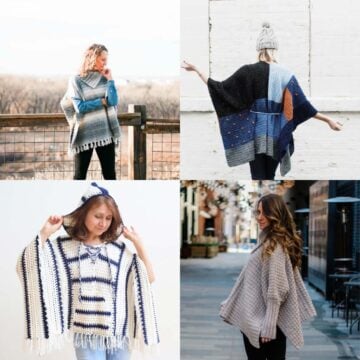
I'm so excited about this fantastic new yarn option that I've designed two additional free crochet patterns using Color Made Easy to share with you over the coming weeks. Stay tuned for a modern tasseled blanket (great for babies or your couch) and a chunky, fringed triangle shawl that will tickle your inner bohemian (both pictured below). First though, let's talk a little more about the new Haven Cardigan pattern!
Related: 30+ Easy Poncho Patterns to Crochet
An Entire Crocheted Sweater Made from a Rectangle? Say What?
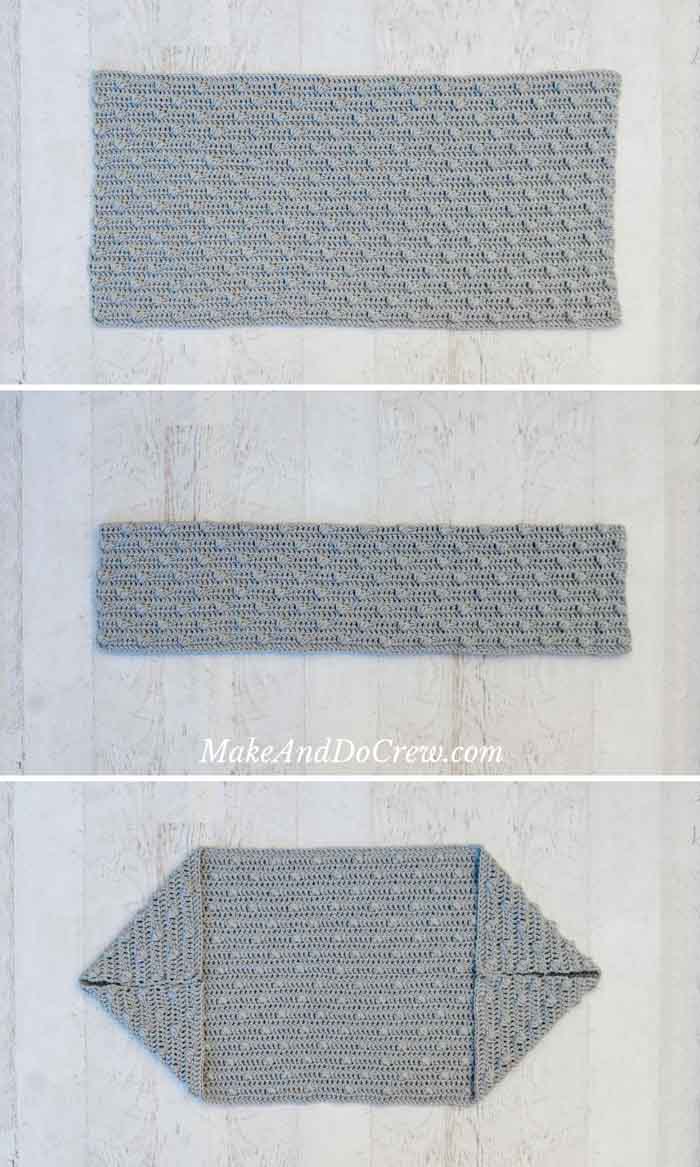
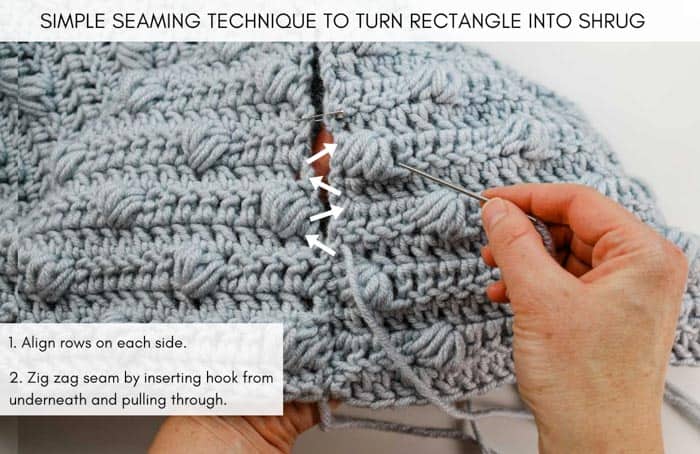
It's true, the entire foundation of this crochet sweater pattern is a simple bobble stitch rectangle. Because of some creative crochet geometry, using a rectangle allows us to eliminate any increasing or decreasing and leaves us with only two short seams in the entire pattern. (Here are lots more crochet sweater patterns made from rectangles.)
To me, this is one of those perfect projects that hits the sweet spot between mindless and mind-numbing. The bobble stitches will keep you just interested enough, but the simplicity of the project overall means you can work on it on car rides and while binge watching Marie Kondo's Tidying Up.
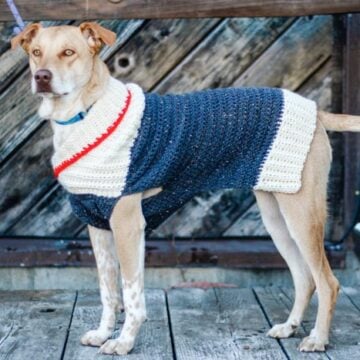
RELATED: Don't leave your pup out of the handmade cardigan fun! Crochet a dog sweater for small, medium and large pups
Crochet Sweater Patterns for Beginners
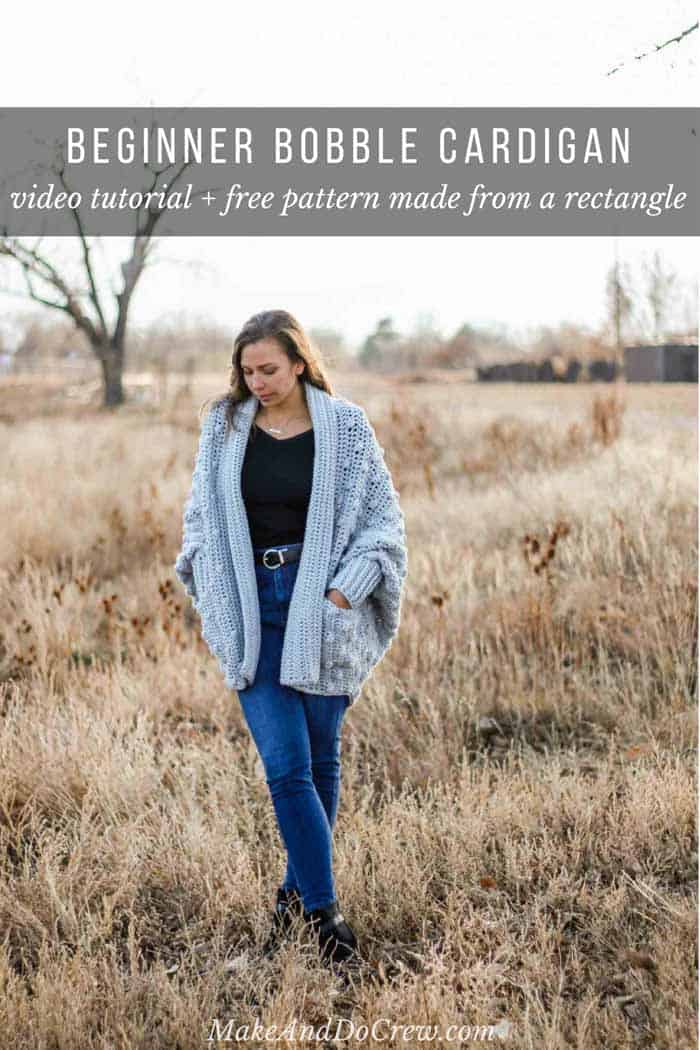
If you're more of a beginner crocheter, please don't be intimidated by the scope of making an entire sweater. This is a perfect first garment project to try. The thicker yarn and super easy construction make this crochet sweater pattern way faster and easier than it looks! Plus, you can follow the step-by-step video tutorial to learn how to make a Haven Cardigan right alongside me.
New to making cardigans? Don't miss How to Crochet a Sweater for our best beginner tips
Help for All the Visual Learners
As a visual learner myself, I always want to find ways to help less-experienced pattern readers. For this crochet sweater pattern, I suggest grabbing the ad-free PDF because in addition to being easy to print, it includes two really helpful tools for beginners and visual learners.
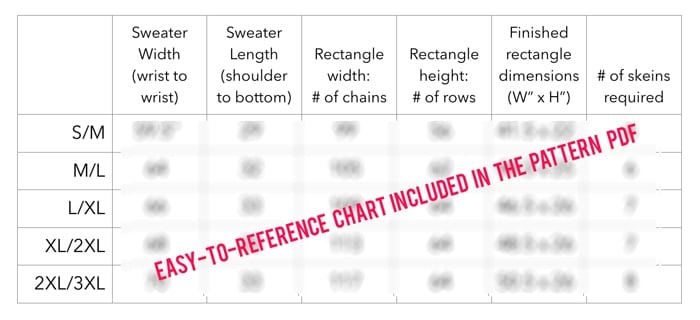
First, you'll find an chart that outlines all the key details of the pattern in one handy place, making it much simpler to get the takeaways of the written pattern. (You'll still need to read the written pattern, but this will provide a lot of guidance.)
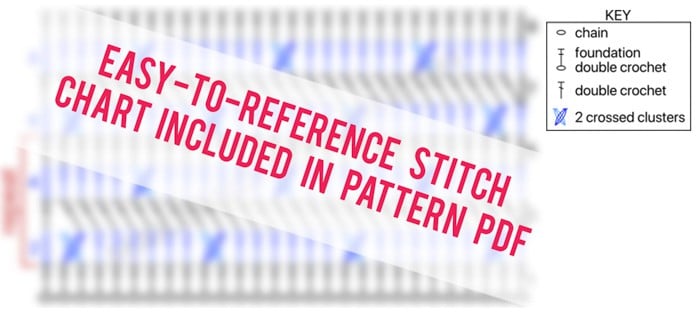
Secondly, the PDF also includes a stitch chart for the bobble stitch pattern, which for me, is a FAR easier way to understand a crochet stitch repeat than reading a written pattern. If all that sounds good to you, you can purchase the PDF here.
And lastly, below, I've created a quick video tutorial of how to work the crossed cluster stitch used in this pattern in case it's easier for you to understand than reading the written instructions.
If you'd like me to walk you through the entire pattern step-by-step, check out the complete Haven Cardigan video tutorial here.
Treat Yourself to a New Project Kit
I always love when Lion Brand chooses to turn one of my patterns into a crochet kit because it means that you have easy access to all the supplies you need to create your own project. You can grab the Haven Cardigan kit here, which includes all the yarn necessary plus a printed copy of the pattern (with stitch chart!)
How To Crochet a Crossed Cluster Stitch Video Tutorial
More Free Crochet Sweater Patterns
Crochet sweater patterns don't need to be difficult. In fact, most of ours are made with very simple shapes. Dive into the wonderful world of crochet garments with cardigans, pullovers, ponchos, shrugs and more!
See more free crochet sweater patterns →
Don't spend hours for a "meh" result!
Tired of crocheting garments that don't fit? Learn our C.R.A.F.T. Framework to make sweaters that fit and feel amazing!
The Haven Cardigan
Free, Easy Crochet Sweater Pattern
Purchase the ad-free, printable PDF with stitch chart here.
Save this pattern to your Ravelry here.
Pin it for later here.
Watch the video tutorial here.
Explanation:
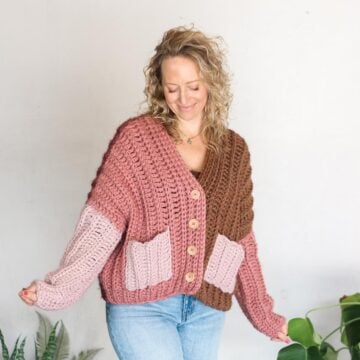
Take winter refuge in this cozy, oversized crochet sweater. While the bobble stitches create beautiful texture and depth, the construction of this complex-looking cardigan couldn’t be easier. You’ll make a large rectangle, seam it in two places and build the sweater using simple stitches from there. The result is flattering to a variety of body-types and will be a style statement you’re proud to claim as handmade.
Skills required include double crochet, bobble and post stitches and basic seaming, all of which is covered in the upcoming video tutorial. YOU can make this on-trend, comfy cardigan!
Supplies:
Purchase a kit with all the yarn you'll need, plus a printed copy of the pattern here.
• Lion Brand Color Made Easy (Weight: 5/bulky - 247 yds, 7 oz)
- Shade (#195-149) – 7 (8, 10, 11, 12) skeins [approx. 1370 (1580, 1820, 2060, 2270) g]
• Tapestry needle
• Size L (8.0 mm) crochet hook
• Stitch markers or safety pins
Sizes:
S/M, M/L, L/1X, 1X/2X, 2X/3X
See chart in printable PDF additional measurements per size.
Sample pictured is a M/L on a 5’9” model with a 38” bust.
Gauge:
Main Rectangle:
6.25 rows worked in main rectangle stitch pattern = 4”
10 dc = 4”’
Sleeves:
8.5 rows worked in sleeve stitch pattern = 4”
11 fpdc/bpdc = 4”
Abbreviations and Glossary (US Terms):
bpdc – back post double crochet
ch – chain
dc – double crochet
fdc – foundation double crochet
fpdc – front post double crochet
MC – main color
PM – place marker
rep – repeat
RS – right side
sk – skip
sl st – slip stitch
st(s) – stitch(es)
tch – turning chain
WS – wrong side
yo – yarn over
Special Stitch:
2CC – (2 crossed clusters): sk 1 st, in next st work *[yo, insert hook, yo, draw loop through] three times, yo, draw through all 7 loops on hook; rep from * in st just skipped, working in front of previous cluster. (See video tutorial in blog post above for visual instructions on this stitch.)
Overall Pattern + Sizing Notes:
• Pattern is written for size S/M with M/L, L/1X, 1X/2X, 2X/3X written in parentheses: S/M (M/L, L/1X, 1X/2X, 2X/3X). Sample shown is size M/L. Because of the oversized style of the sweater, choosing a size is less about exact chest size and more about how loose you want your sweater to fit.
• If you’re a visual learner, check out the stitch chart at the end of the pattern PDF as it can be extremely helpful in making the stitch repeat easy to comprehend.
• Ch-3 counts as first dc throughout.
• The first cluster of the 2CC following a ch-3 is difficult to work into. Pattern compensates for that by working an extra dc at the beginning of the next row (by not skipping first dc) so stitch count can remain consistent. Stitch chart at end of pattern reflects this option. If you prefer to find and work into this st, skip the first dc on each and every row.
Main Rectangle
Notes:
• Each row of crossed clusters will align with the row three rows down. Use this regularity to double check your work if you’re unsure of cluster placement.
• Recommended Foundation Row is worked in foundation double crochet stitches because they are much easier to crochet into versus working into a long chain. If foundation double crochet intimidates you, use Alternative Foundation Chain followed by Alternative Foundation Row 1.
• See video tutorial in blog post above for visual instructions on the 2CC stitch.
Note that although Rows 3 and 5 are both double crochet, they differ in that Row 3 doesn’t skip the first stitch and Row 5 does skip the first stitch.
Preferred Foundation Row (RS): Fdc 100 (108, 116, 124, 132). [100 (108, 116, 124, 132)]
OR
Wanna save this pattern?
Alternative Foundation Chain: Ch 102 (110, 118, 126, 134).
Alternative Foundation Row 1 (RS): Sk 3 ch (counts as 1 dc), dc in each ch to end. [100 (108, 116, 124, 132)]
Row 2 (WS): Ch 3, sk first st, *2CC over next 2 sts, dc in each of next 6 sts; rep from * until 3 sts remain, 2CC over next 2 sts, dc in last stitch (or top of tch if alternative foundation chain used); turn. [100 (108, 116, 124, 132)]
Row 3 (RS): Ch 3, do not sk first st, dc in each st to end, working last dc in top of tch; turn. [100 (108, 116, 124, 132)]
✨Unlock this free subscriber-exclusive pattern ✨
Follow these steps to view the full free pattern below
Adding Collar
Notes:
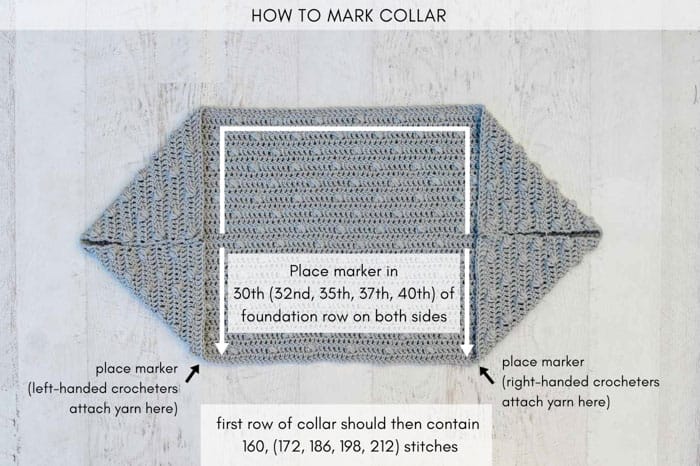
• Each collar row is worked between both stitch markers, beginning in marked st in the direction of first seam, continuing along entire final row of main rectangle toward second seam, and finishing in marked st on opposite side of second seam.
Because stitch counts per size differ, please note the instructions for the size you’re making when determining whether or not to skip first stitch in Row 2.
When working Row 1, take special care to work into each st on either side of seams (but not into the seam). Doing so should ensure that each crossed cluster lines up with the crossed cluster 3 rows down (in main rectangle). Verify crossed cluster placement to double check your work.
Continuing with WS facing working toward first seam:
Row 1 (WS): Ch 3, sk marked st, dc in each of next 2 (0, 3, 1, 0) sts, *2CC over next 2 sts, dc in each of next 6 sts; rep from * until 4 (2, 5, 3, 2) sts remain before marked stitch, 2CC over next 2 sts, dc in each of next 2 (0, 3, 1, 0) sts, dc in marked stitch; turn. [160, (172, 186, 198, 212)]
Row 2 (RS): Ch 3, do, (do not, do, do, do not) sk first st, dc in each st to end, working last dc in top of tch; turn. [160 (172, 186, 198, 212)]
Row 3 (WS): Ch 3, sk first st, dc in each of next 6 (4, 7, 5, 4) sts, *2CC over next 2 sts, 1 dc in each of next 6 sts; rep from * to last 1 (7, 2, 0, 7) sts, work 0 (1, 0, 0, 1) 2CC over next 2 sts, dc in each of last 1 (5, 2, 0, 5) sts, working last dc in top of tch; turn. [160 (172, 186, 198, 212)]
Row 4 (RS): Ch 3, do sk first st, dc in next and each st to end, working last dc in top of tch; turn.
Row 5 (WS): Ch 3, sk first st, dc in each of next 2 (0, 3, 1, 0) sts, *2CC over next 2 sts, dc in each of next 6 sts; rep from * to last 5 (3, 6, 4, 3) sts, 2CC over next 2 sts, dc in each of next 3 (1, 4, 2, 1) sts; turn. [160 (172, 186, 198, 212)]
Rep Rows 2-5 once (once, once, twice, twice) more.
Rep Rows 2-4 once more to create a total of 12 (12, 12, 16, 16) rows.
ALL SIZES - Working in dc:
Row 1 (WS): Ch 3, do sk first st, dc in next st each st to end, working last dc in top of tch; turn. [160 (172, 186, 198, 212)]
Rows 2-8 (10, 12, 10, 12): Rep Row 1. [160 (172, 186, 198, 212)]
Final row should be a RS row.
Without fastening off, rotate sweater so that bottom border can be worked with RS of sweater facing.
ALL SIZES - Bottom Border:
Row 1 (RS): Ch 1, sc evenly across bottom of sweater, taking care that fabric is not rippling or getting pulled to tight. Fasten off at end of sweater bottom.
Adding Sleeves
Notes:
• Sleeve ribbing is achieved using post stitches. Please reference glossary of the pattern or the upcoming video tutorial for additional help.
• The sleeves are worked in the round. Do not turn work at the end of each round.
• Ch-3 at the beginning of each round counts as the first dc. In the post stitch pattern, this dc will represent a bpdc despite the fact that you can’t actually crochet around the post of a ch-3.
Attach yarn in armhole at seam created from sewing the rectangle together. Be sure to work with the RS (outside) of the sweater facing you at all times.
Round 1 (RS): Ch 3, work 24 (26, 26, 28, 30) dc around armhole opening, sl st to ch-3 from beginning of round to join. [25 (27, 27, 29, 31)]
Round 2 (RS): Ch 3, *fpdc around next dc, bpdc around next dc; rep from * until 2 sts remain, fpdc around next dc, dc in tch. [25 (27, 27, 29, 31)]
Rounds 3-17 (12, 11, 6, 5): Rep Round 2. [25 (27, 27, 29, 31)]
Fasten off and weave in ends. Repeat for second sleeve.
Pockets
Notes:
• As in main rectangle, two options are given for foundation row. Work only one.
• Ch-3 counts as first double crochet.
• When making slip knot to attach yarn to hook for Foundation Row, it’s helpful to leave a 25” tail so it can be used later for seaming.
• If you’d prefer a wider pocket, work an additional repeat of Rows 2-5.
Make 2.
Prefered Foundation Row (RS): Fdc 20.
OR
Alternative Foundation Chain: Ch 22.
Alternative Foundation Row 1 (RS): Sk 3 ch (counts as 1 dc), dc in each ch to end. (20)
Row 2 (WS): Ch 3, sk first st, *2CC over next 2 sts, dc in each of next 6 sts; rep from * until 3 sts remain, 2CC over next 2 sts, dc in last stitch (or top of tch if alternative foundation chain used); turn. (20)
Row 3 (RS): Ch 3, do not sk first st, dc in each st to end, working last dc in top of tch; turn. (20)
Row 4 (WS): Ch 3, sk first st, dc in each of next 4 sts, *2CC over next 2 sts, 1 dc in each of next 6 sts; rep from * to last 7 sts, 2CC over next 2 sts, dc in each of last 5 sts, working last dc in top of tch; turn. (20)
Row 5 (RS): Ch 3, do sk first st, dc in next st and each st to end, working last dc in top of tch; turn. (20)
Rep Rows 2-5 once more. Fasten off leaving a 25” tail.
Joining Pockets
Pin pockets to each side of cardigan collar. Take care to pay attention to the following details:
• Last row of pocket should be closest to edge of collar so that direction of pocket stitches matches direction of collar stitches.
• Crossed cluster stitches on pocket should align with overall pattern of collar. This means all crossed clusters on pocket should have a crossed cluster bobble on collar directly behind it.
Using tapestry needle and leftover tail of pocket, whip stitch around three pocket sides, leaving top open.
Repeat process for second pocket.
Wrap up in your new handmade hideaway and don’t come out until the summer sun does!
That was so fun! Now what?
Invitation to our Facebook group
Come discuss bobble cardigan patterns and lots of other crochet projects and techniques in our Make & Do Crew Facebook group. Here thousands of helpful crocheters answer each others questions and share their stitches. Come join us here.
Find Your Next Sweater Project
- Casual Pullover Sweater - with exposed seams
- Simple Everyday Cardigan - using the easy V-stitch
- Lightweight Jacket Pattern - seamless + beginner-friendly
- V-Neck Sweater -simple, easy striped design
- Crochet Wrap Sweater Pattern - unique take on a raglan
- Beginner Raglan Sweater Pattern - ideal first top down pattern
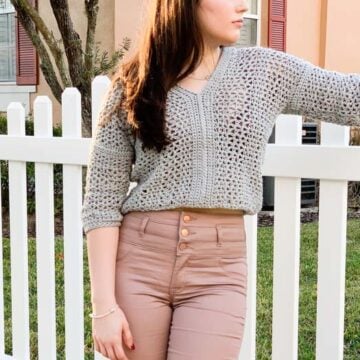
- Lightweight Mesh Top - doubles as a beach coverup
- Hexagon Layering Cardigan - with bishop sleeves
More Free Patterns + Tutorials
Can't get enough free crochet patterns!? Me either. You'll definitely want to breeze through these collections to find your next project.
- 55+ Free Crochet Sweater and Cardigan Patterns - our most popular garments
- 40+ Free Crochet Blanket Patterns - baby blankets, throws + c2c graphgans
- 36+ Granny Square Patterns + tips for the perfect square
- 30+ Crochet Animal Patterns - adorable amigurumi stuffed animals
- Crochet Gift Ideas - easy patterns to make for others
- Fast Crochet Projects - start to finish in less than a day
Learn a New Skill
And when you're ready to master a new skill, check out our detailed guides that include everything you need to know to level up your crochet game.
- How to Corner to Corner (C2C) Crochet for Beginners - with video tutorials to get you started
- How to Crochet a Beginner Hat - make an entire beanie in 1.5 hours!
- How to Crochet Amigurumi for Beginners - the ultimate guide to making your own toys and plushies
- How to Tunisian Crochet - learn with this video and a standard hook
More Free Crochet Patterns to Stay Cozy
In my opinion, you can never have too many crocheted wardrobe pieces, so here are some more free patterns that will keep you busy, stylish and warm. Find all our free crochet sweater patterns here. (Many of these include video tutorials as well!)
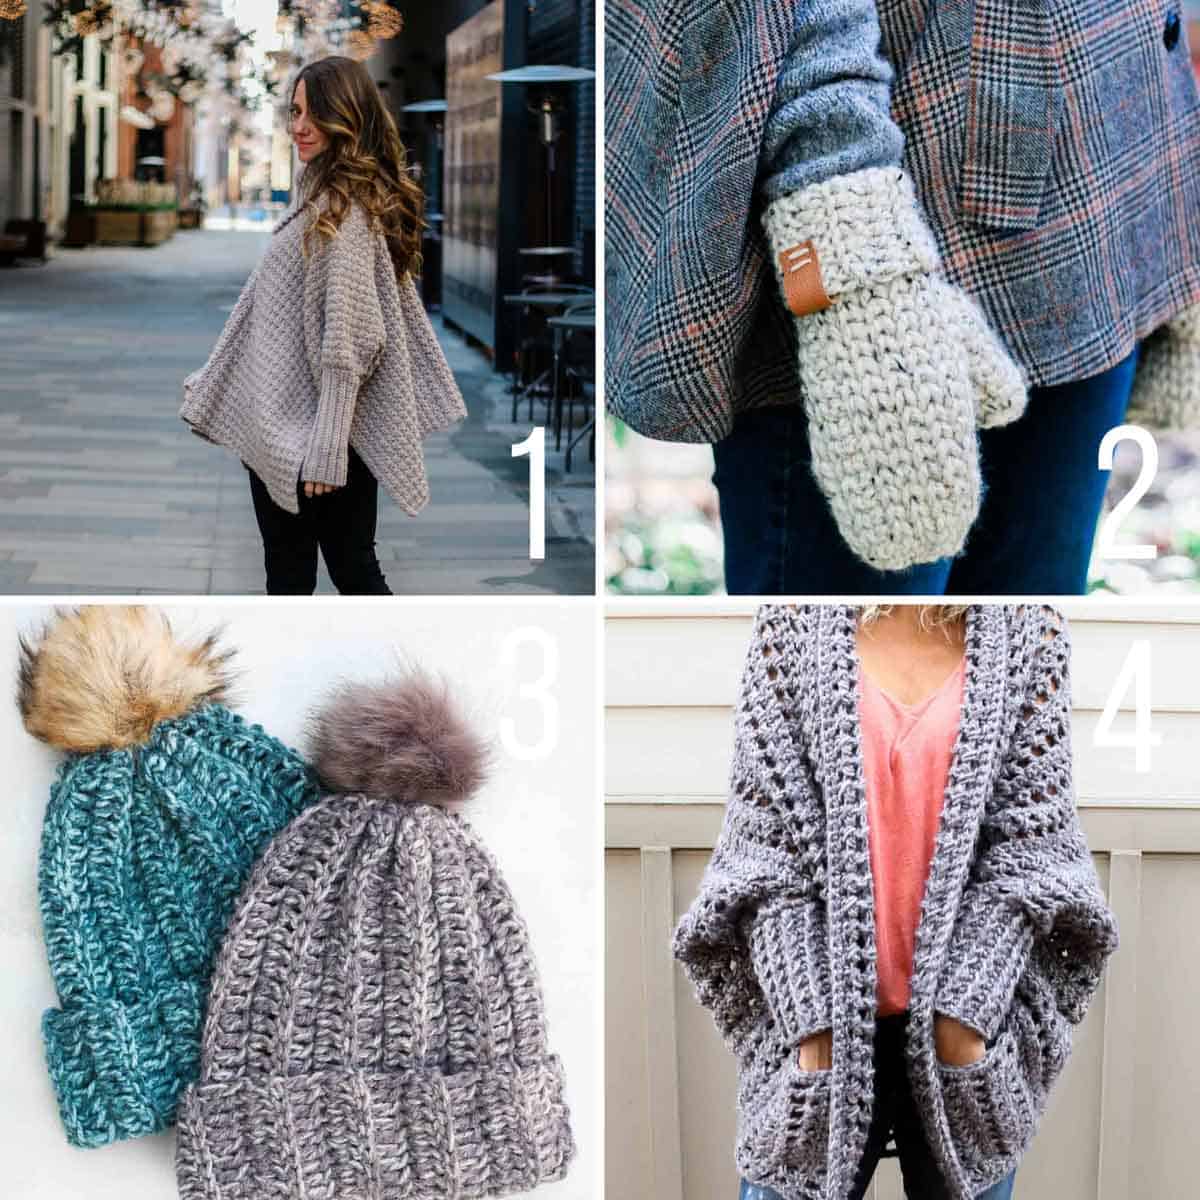
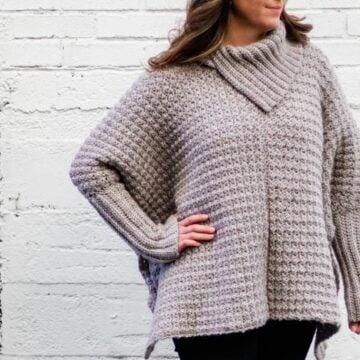
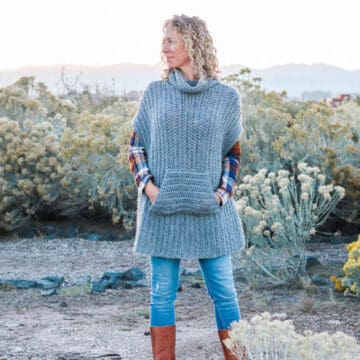
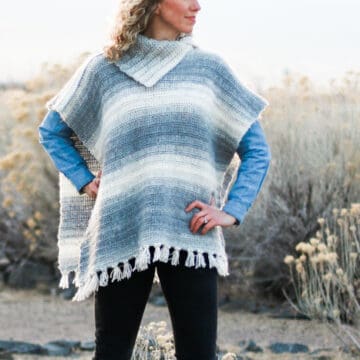
1. Alpine Poncho Sweater - This stylish crochet poncho with sleeves is very easy because it’s made from five simple rectangles.
2. Morning Mittens - This free crochet mitten pattern uses cozy wool and a knit-looking stitch to create a timeless mitten style that’s great for personalizing and gift giving.
3. 1.5 Hour Beanie - Whether you’re new to crocheting or just need a project that works up quickly, this free crochet hat pattern for beginners is astonishingly easy.
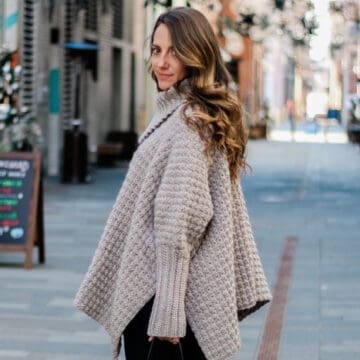
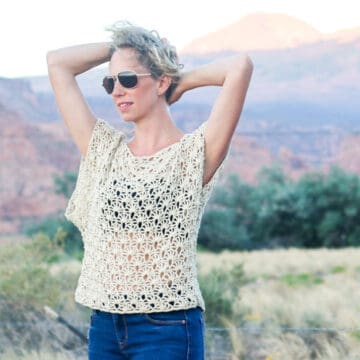
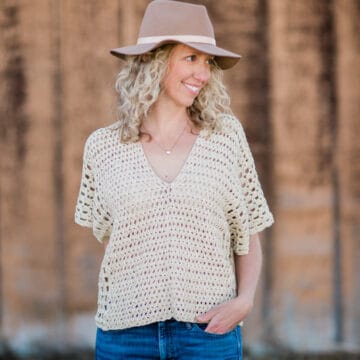
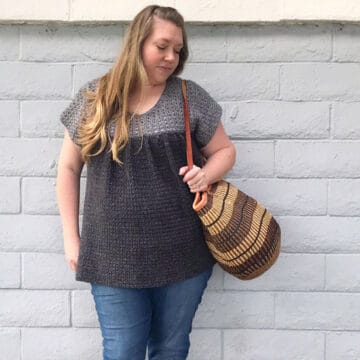
4. Dwell Sweater - Creatively constructed from a simple rectangle, this flattering chunky crochet sweater comes together easily with zero shaping, increasing or decreasing.




Janice Chrostoski says
I love your sweater. It's beautiful! I can't wait to make it.
Congratulations on the new baby. I love your work.
Rhonda says
Hi
I'm very confused by your collar instructions. Are there two different collar options? It seems like the CC stitch is used in one instruction but then when I look at the photos the example sweater does't have any CC in the collar. Further down I see what seems like collar instructions for DC? I purchased the pattern hoping there would be more clarification but there isn't. I don't want to start the sweater until I feel I understand it. I hope you do a video for this. This is definitely not beginner friendly.
Jess @ Make and Do Crew says
Hey Ronda,
I'll have a video tutorial posted in the next week. 🙂
There are two parts to the collar, first you work some rows in crossed clusters and then you finish with rows of just basic dc. Both are outlined in the "Adding Collar" section. Hope that clears things up!
Jess
Rhonda says
I love this sweater and want to make it but when reading the pattern, I don't understand this portion and don't see any photo explanation. Can you clarify regarding the collar?
"When working Row 1, take special care to work into each st on either side of seams (but not into the seam). Doing so should ensure that each crossed cluster lines up with the crossed cluster 3 rows down (in main rectangle). Verify crossed cluster placement to double check your work."
Jess @ Make and Do Crew says
Hey Ronda,
This simply means that you're working into the stitches on either side of the seam, but not the seam itself (as this would add extra stitches to the row that shouldn't be there). The second part of that note means that you can look at the crossed clusters to make sure they're lining up with the rows below as they've lined up in the pattern throughout. This is a way to just visually check that you're on the right track.
As I mentioned in my previous comment, I'll have a video for you shortly. 🙂
Jess
KazGates says
Hi Jess
I just wanted to say that I absolutely adore your crochet patterns, they're all soft squishy, chinky and oh so cozy!
Thank you so much for taking the time to share them with us.
Jess @ Make and Do Crew says
Thank you so much! It really makes it all worth it when I know that crocheters like you are enjoying them. 🙂
Jess
Audrey P says
Oh this is adorable!!! So I had some Lion Brand scarfie yarn, which happens to be one if my yarns I’m obsessed with... I wanted something trendy and fun with it, and here you go!!! Thanks Jess and I love you!!! I’ll post pics on Instagram
Jess @ Make and Do Crew says
I can't wait to see your photos. I hadn't thought of using Scarfie, but I bet that will be lovely!
Happy crocheting!
Jess
Linda says
Thank you for your generosity sharing these patterns! I have a question:
Under the "Adding Collar" section, Row 2, you have written, "Ch 3, do, (do not, do, do, do not) sk first st"
So, is it DO or DO NOT skip the first stitch?
Jess @ Make and Do Crew says
Hey Linda,
Great question. It depends on your size. So just like how you reference the first description/number for size small, the second for size medium, etc, you'll do that here. Whichever size you've been following within the pattern, follow that same description in this sequence. (So you'll only do one--either DO skip it or DON'T skip it, depending on your size.) Does that make sense?
Jess
Jackie says
Hi , I was wondering if the following links were still available . When I tried to access them I was taken to your page and an error 404 came up for both links .
It’s true, the entire foundation of this crochet sweater pattern is a simple bobble stitch rectangle. Because of some creative crochet geometry, using a rectangle allows us to eliminate any increasing or decreasing and leaves us with only two short seams in the entire pattern. (Here are lots more crochet sweater patterns made from rectangles.)
If you’re interested in more free beginner crochet sweater patterns made from very simple shapes, here are a few of the most loved by M&DC crocheters.
Sorry to be bother , its just that I was interested in viewing the patterns .
Thanks Jackie